Google Cloud Console overview
1. How Google console site built. Navigation with various API, Google services and predefined Virtual machines.
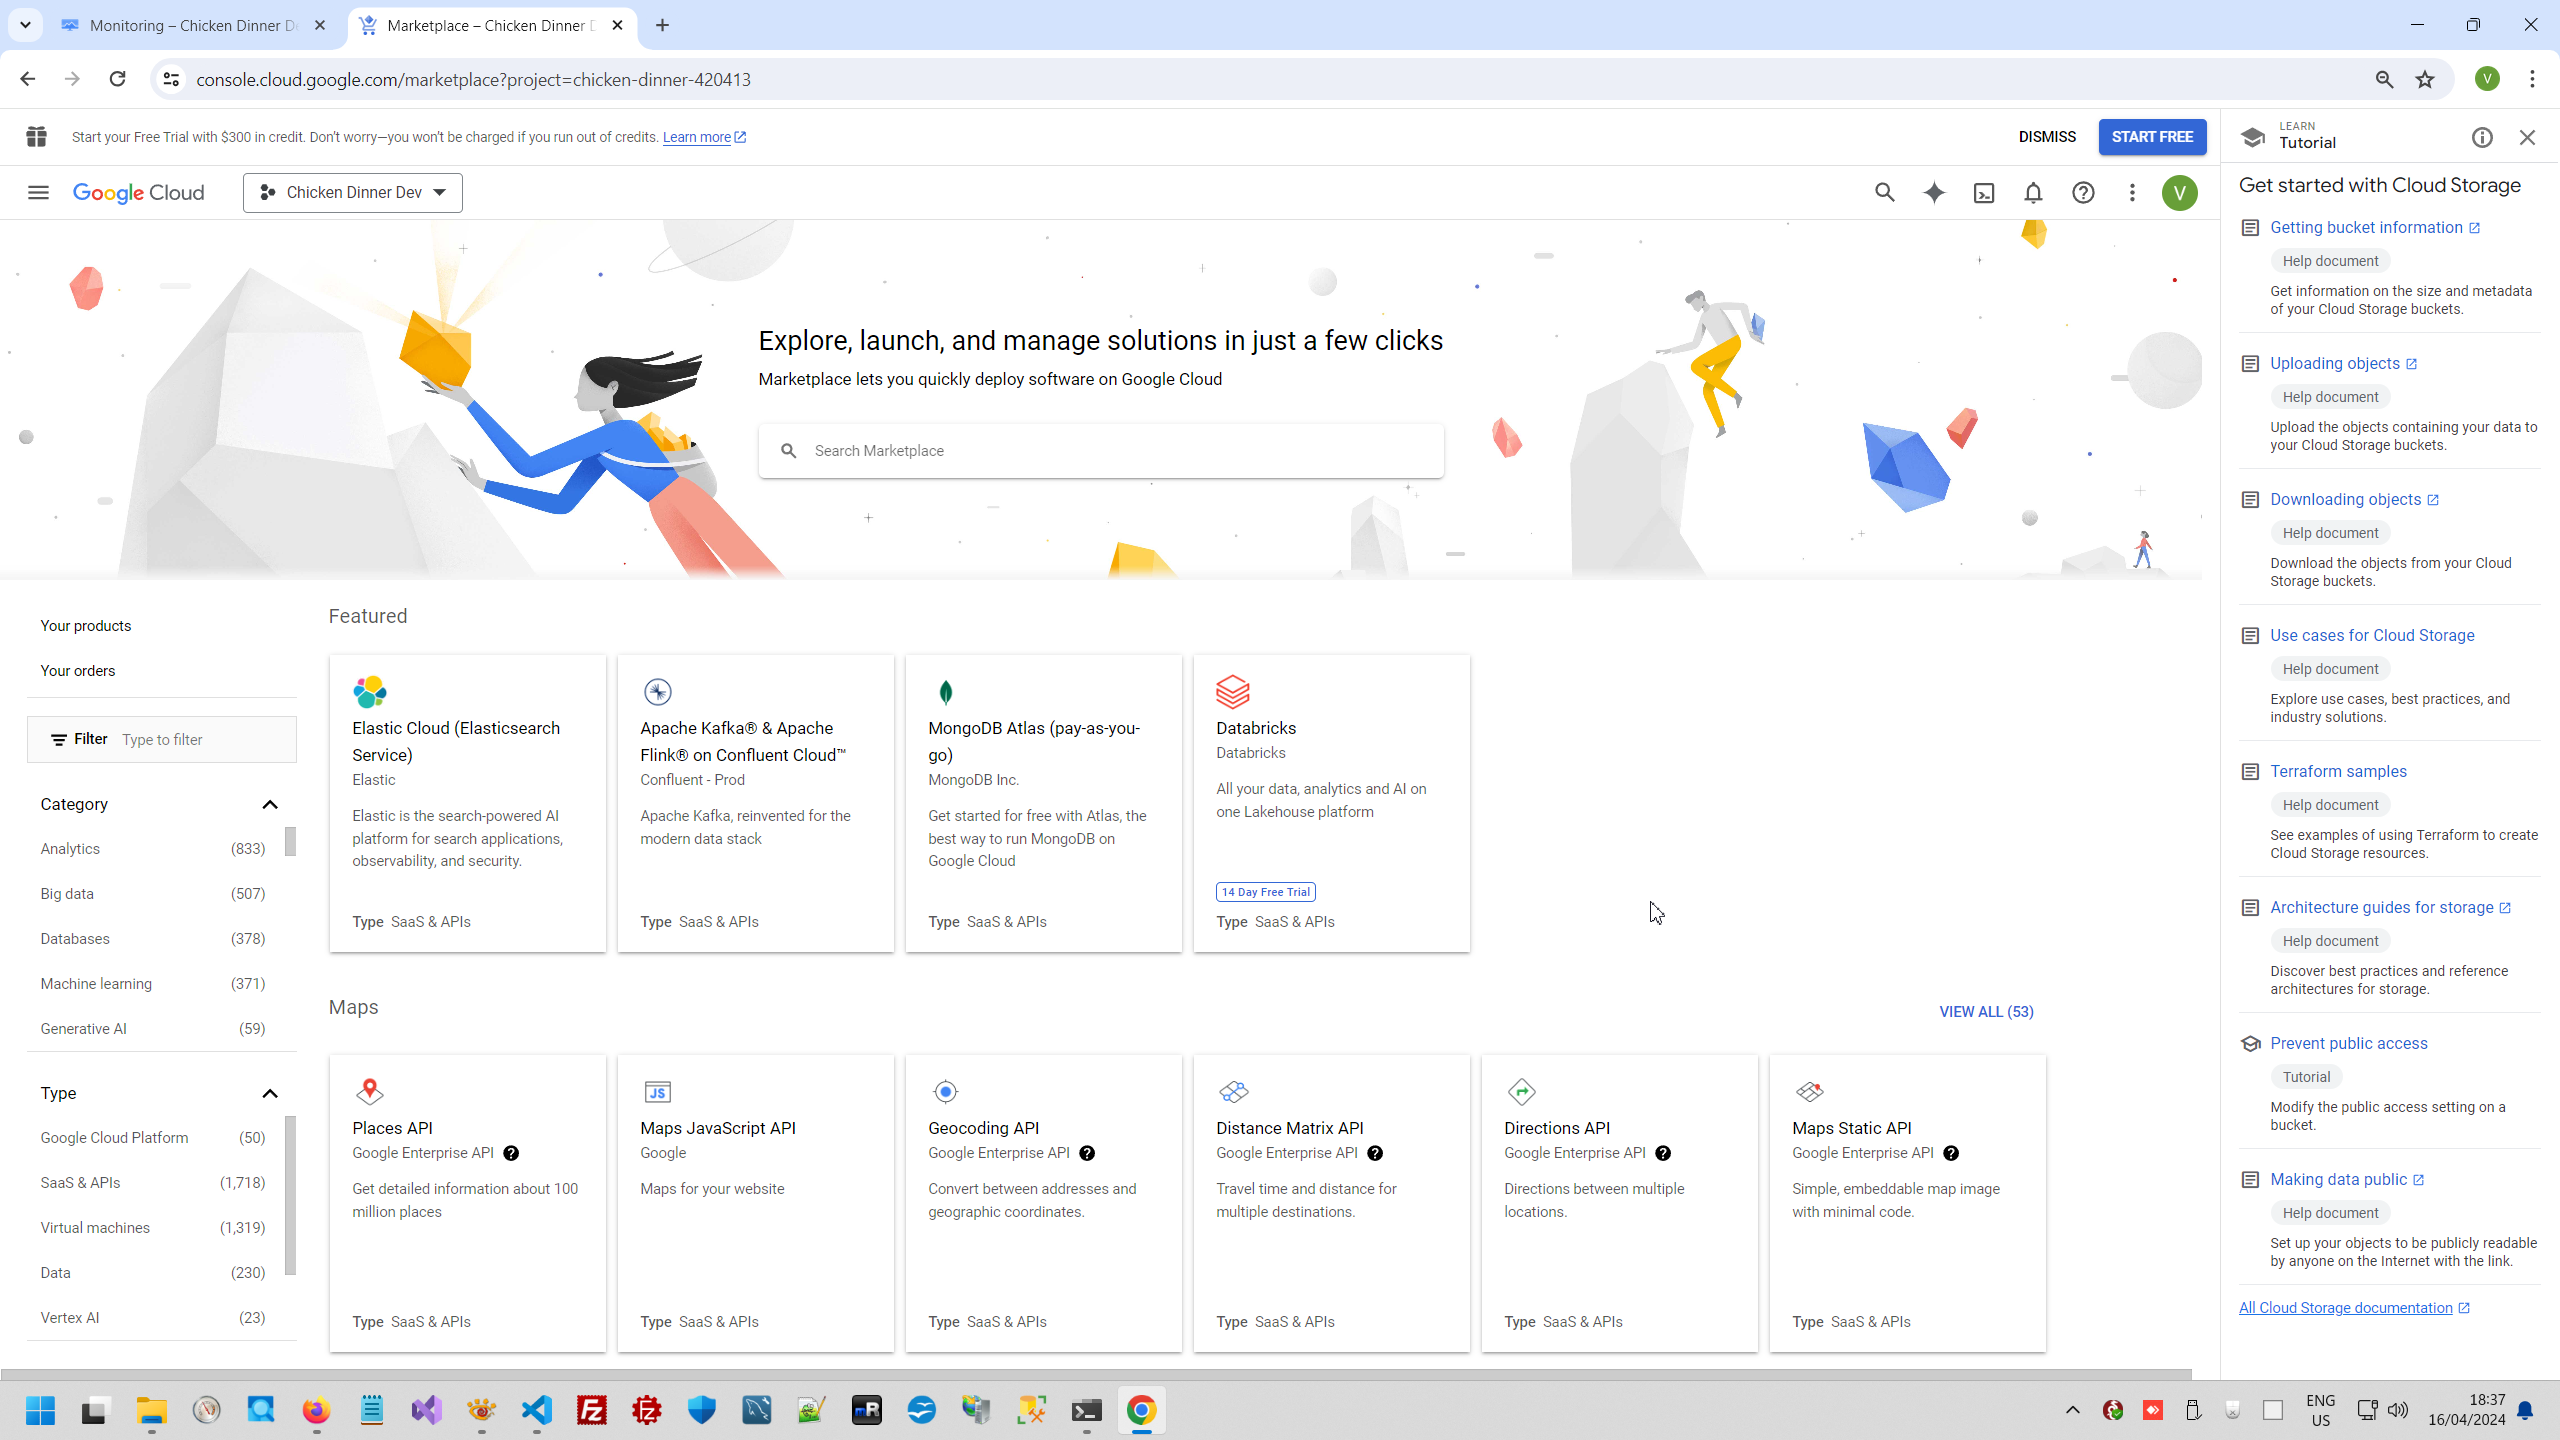
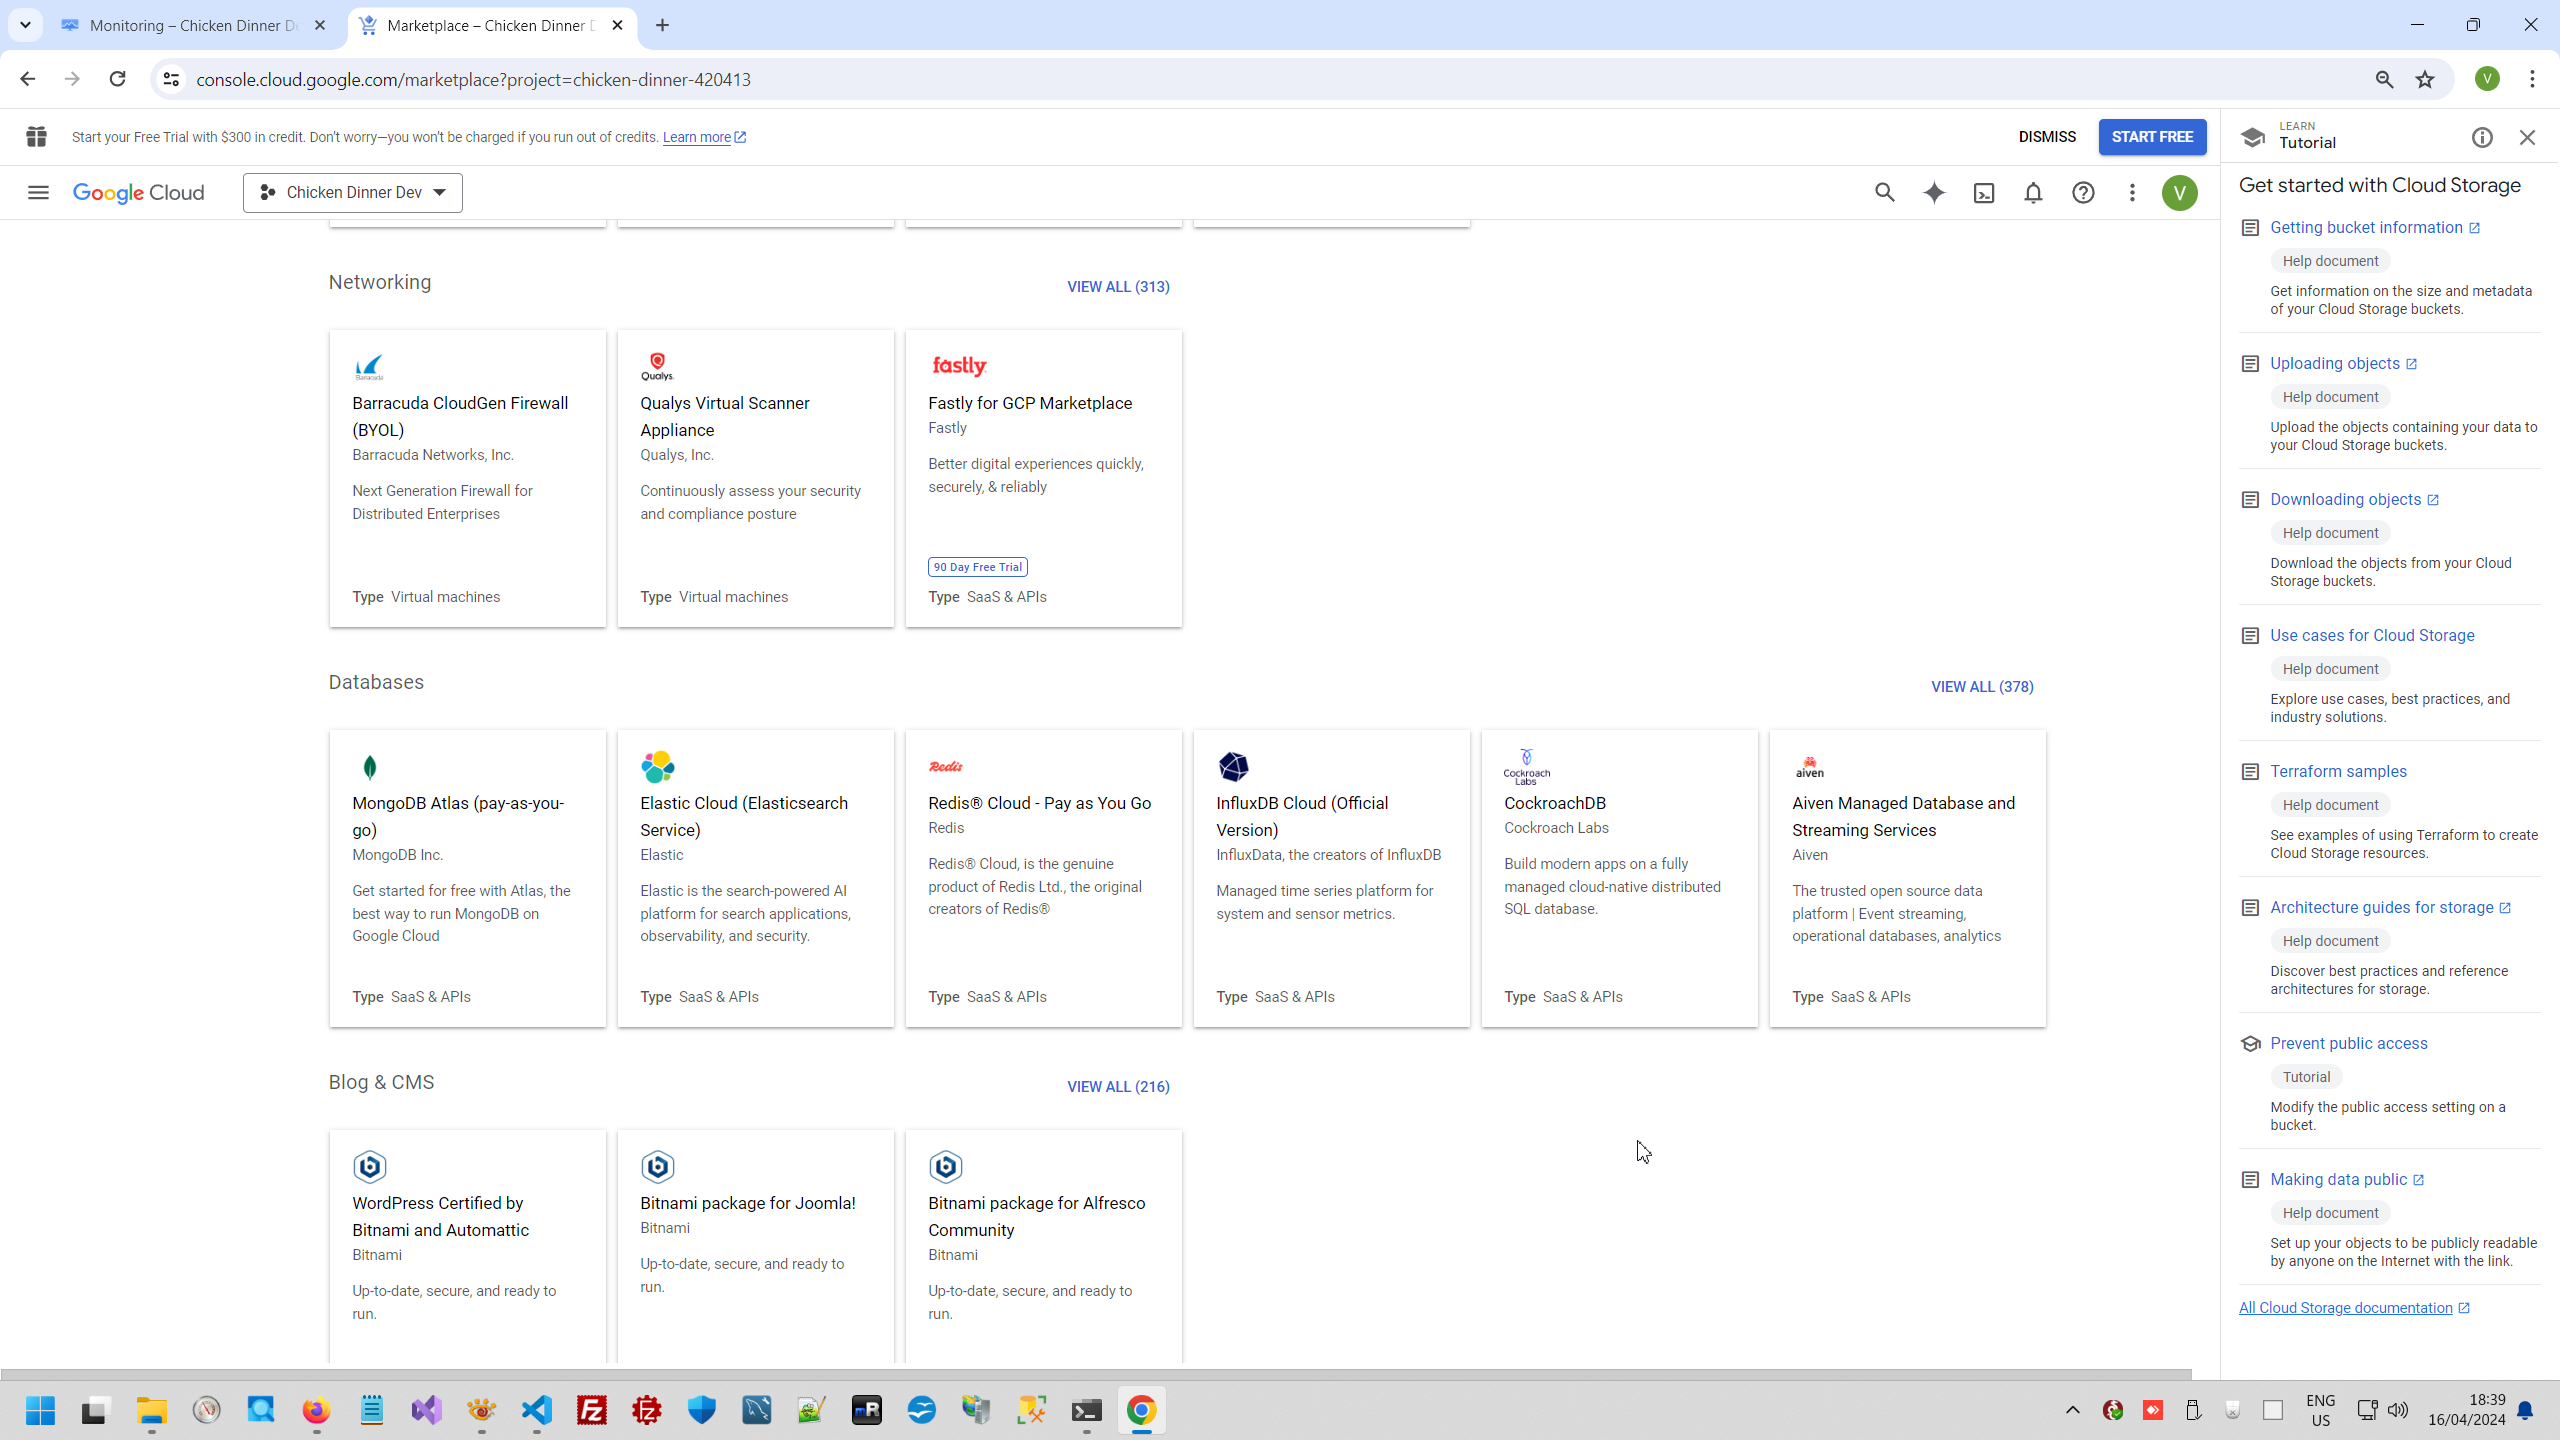
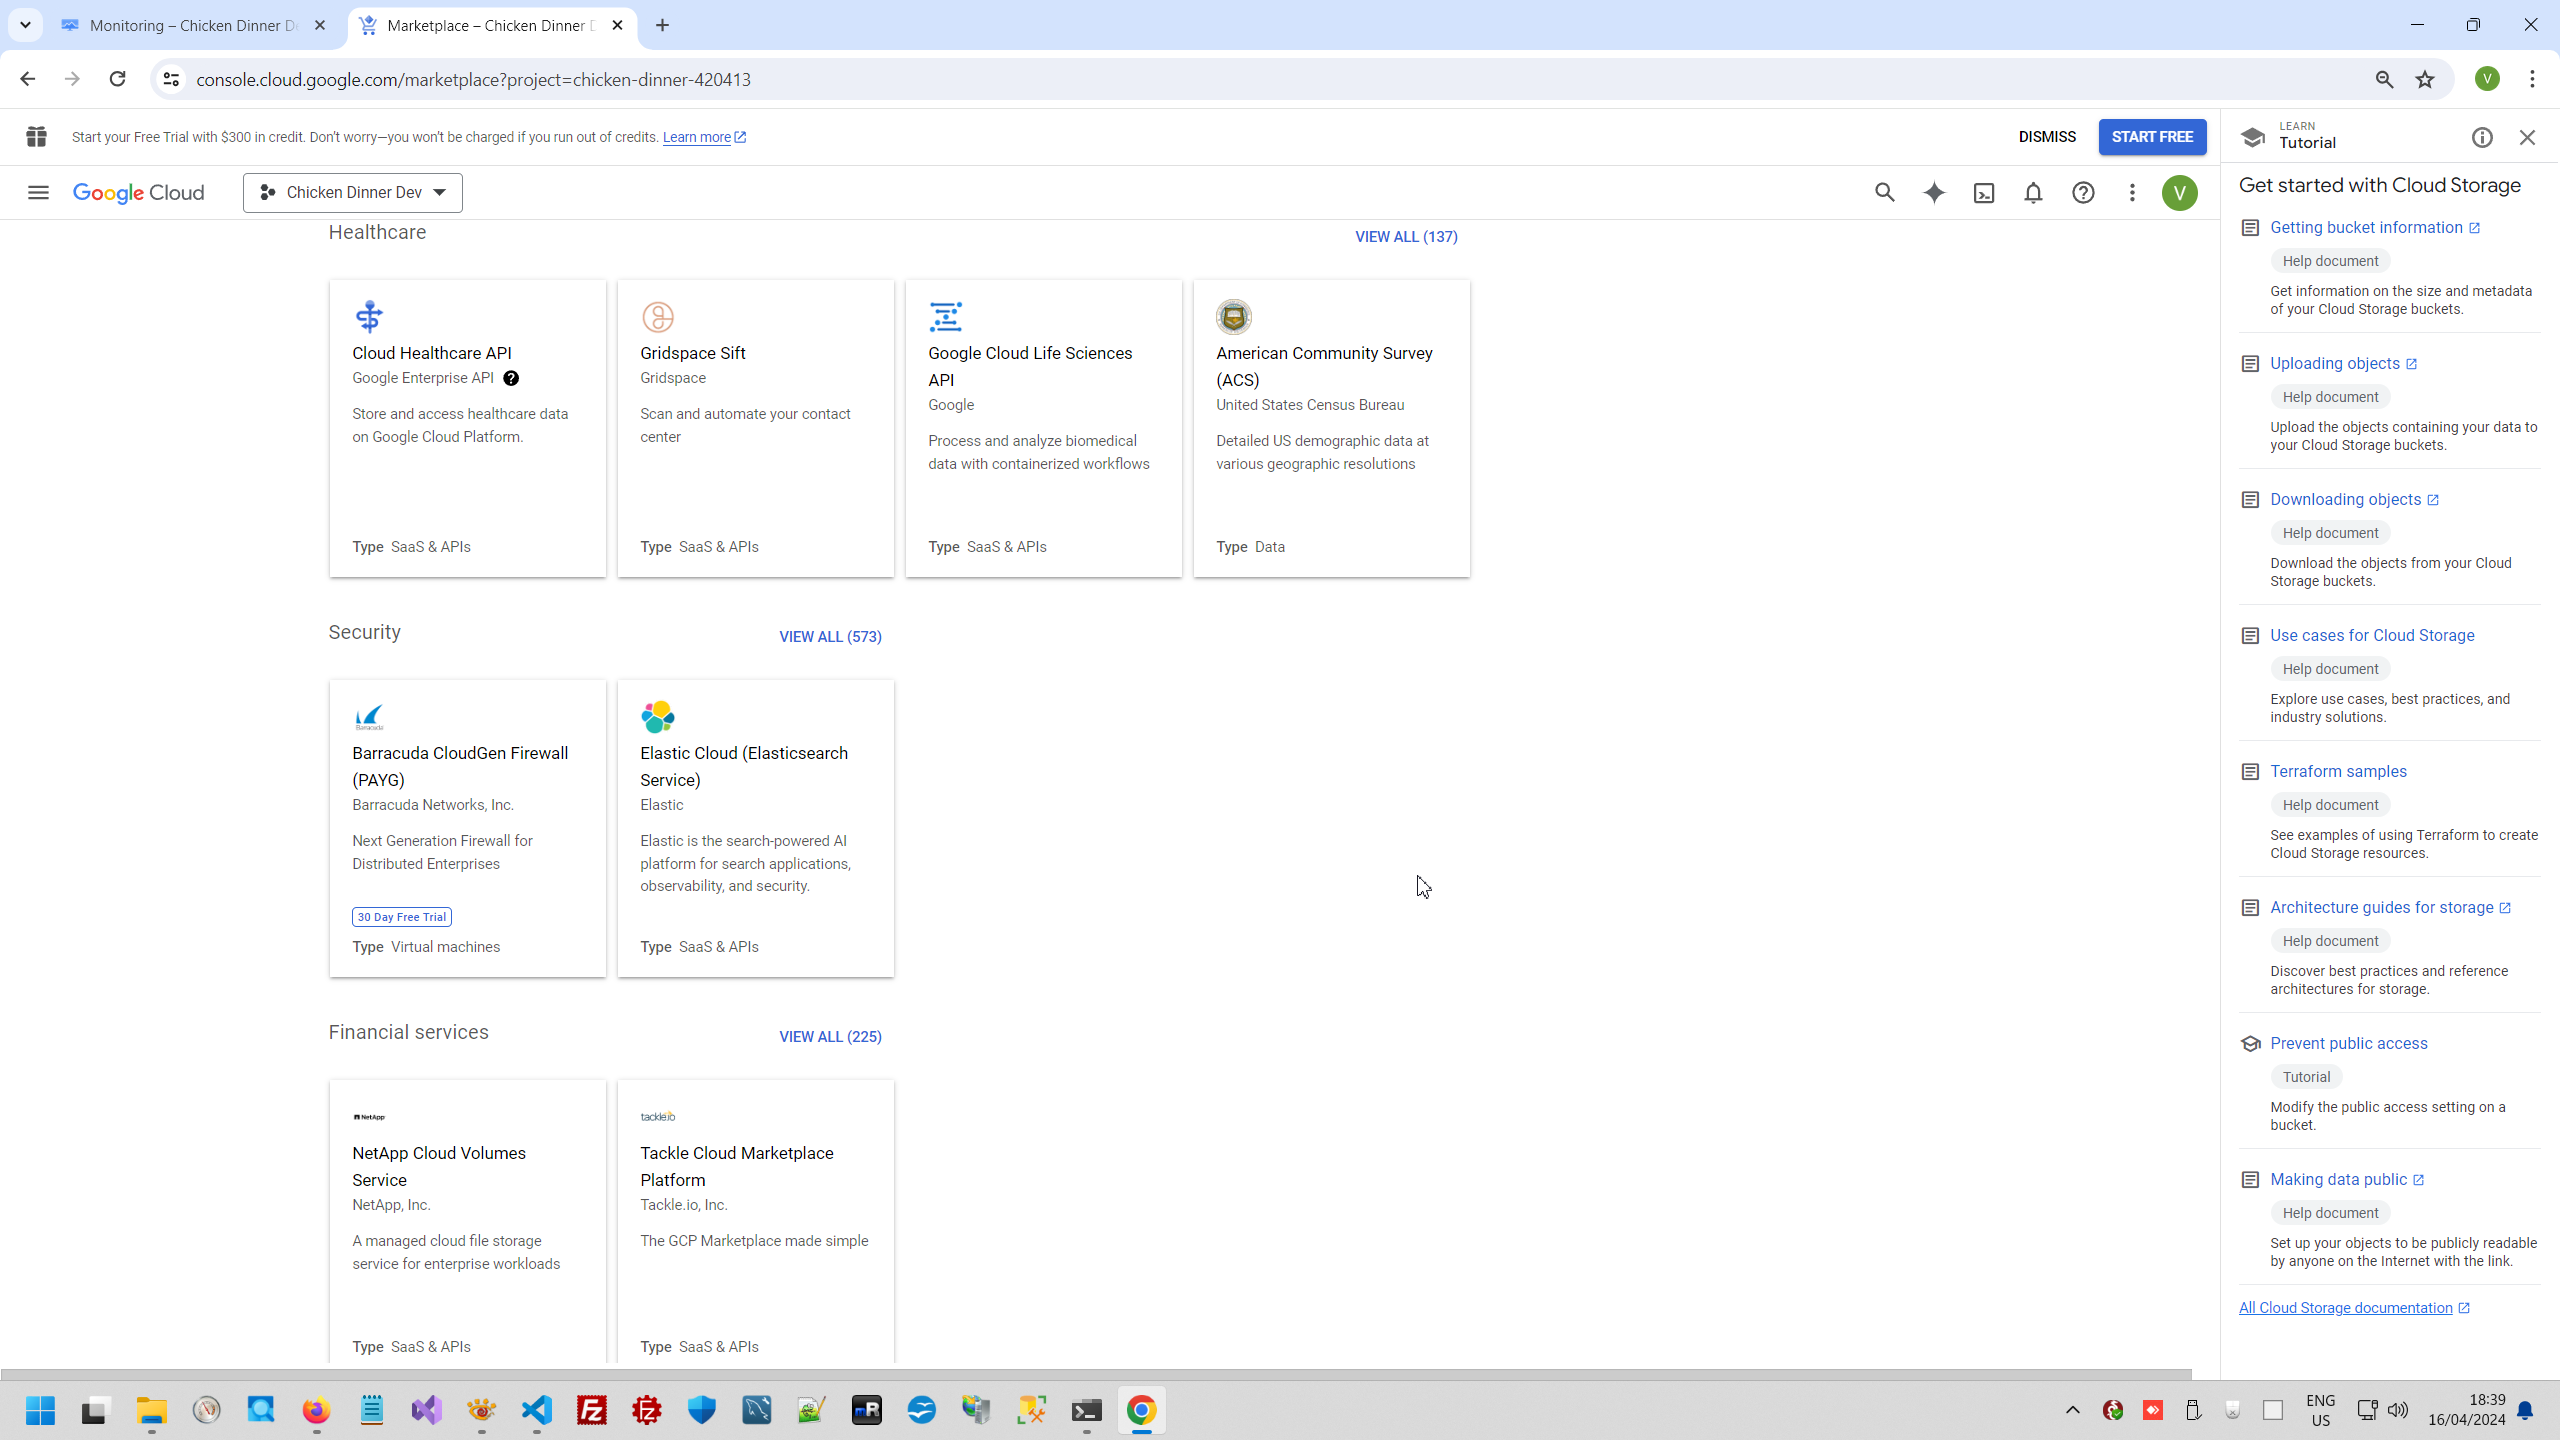
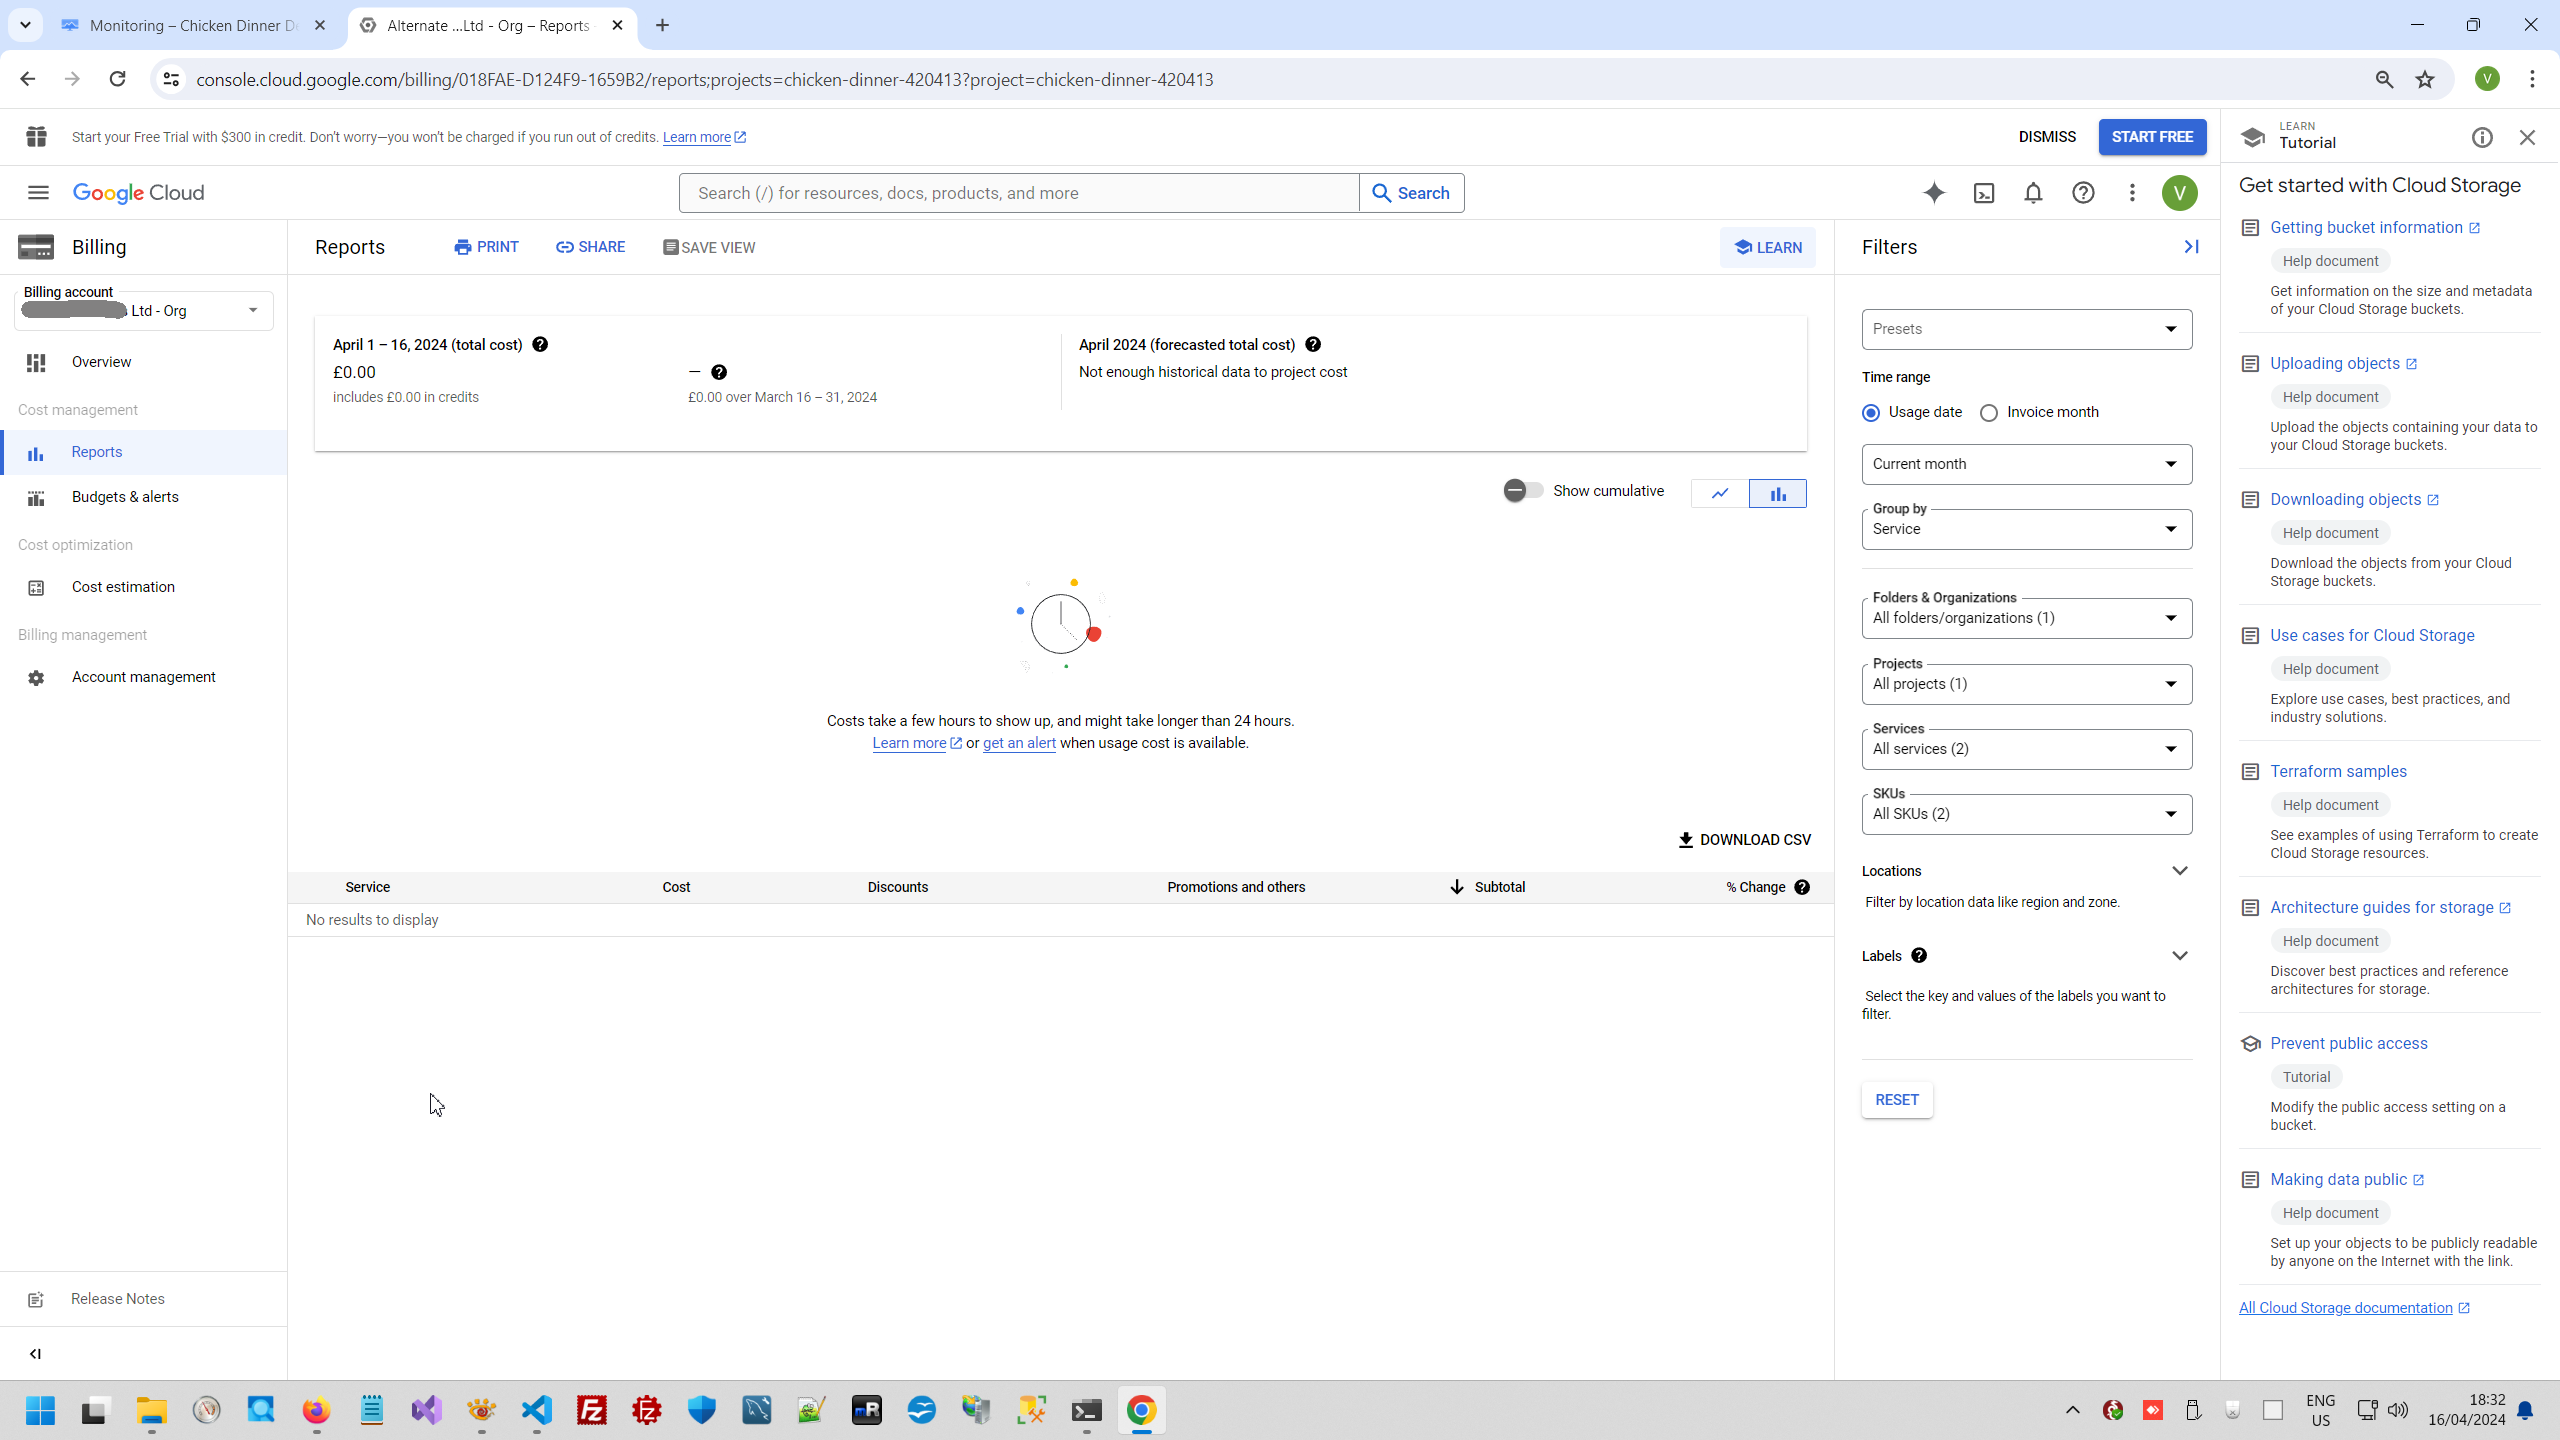
Google Cloud is paid services, this is big difference with Cloudflare feature overview. Google Cloud is just only parts of all Google services How to create full list of Google API. And Google has a lot of services and predefined VM what can be deployed in Google Cloud..
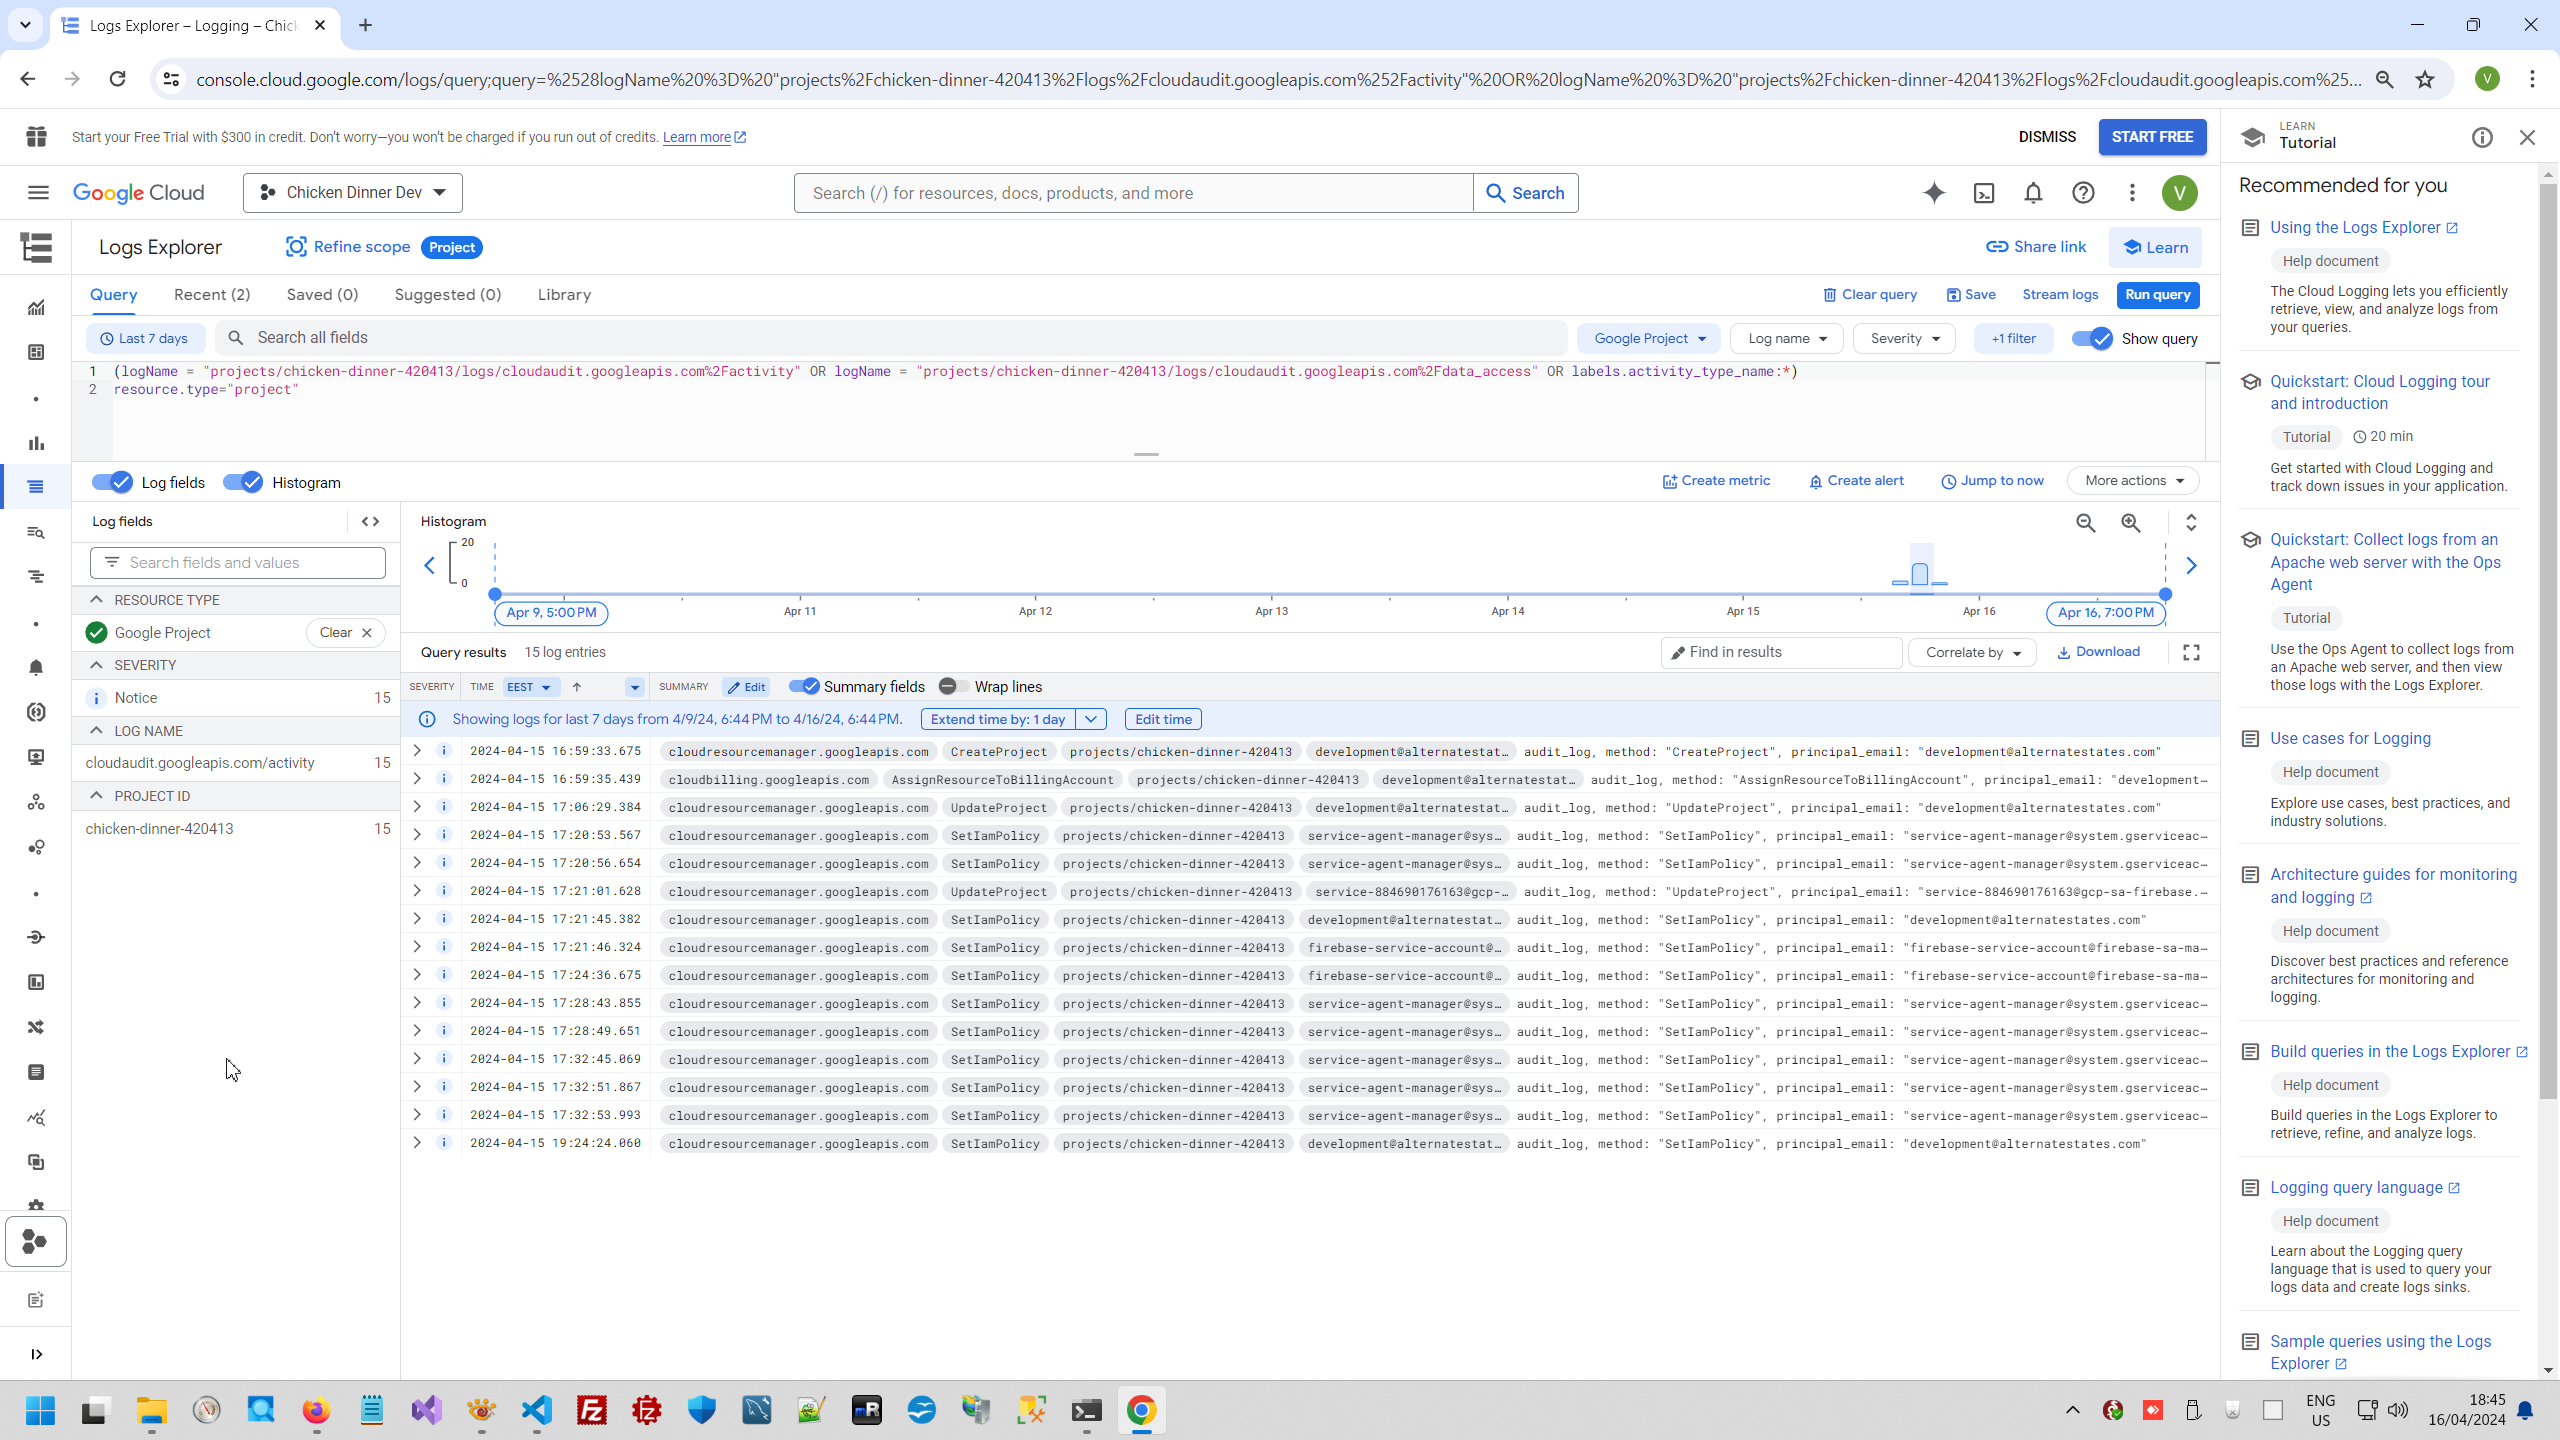
Google menu is confusing, some very important page (like Cloud Run) even not possible to add to your personal "hamburger menu". Google common logic also is quite strange, for example idea to enable/disable API. Or, for example, idea to use many different account to one Cloud application. Therefore this page will with some Google screenshot with my comments.
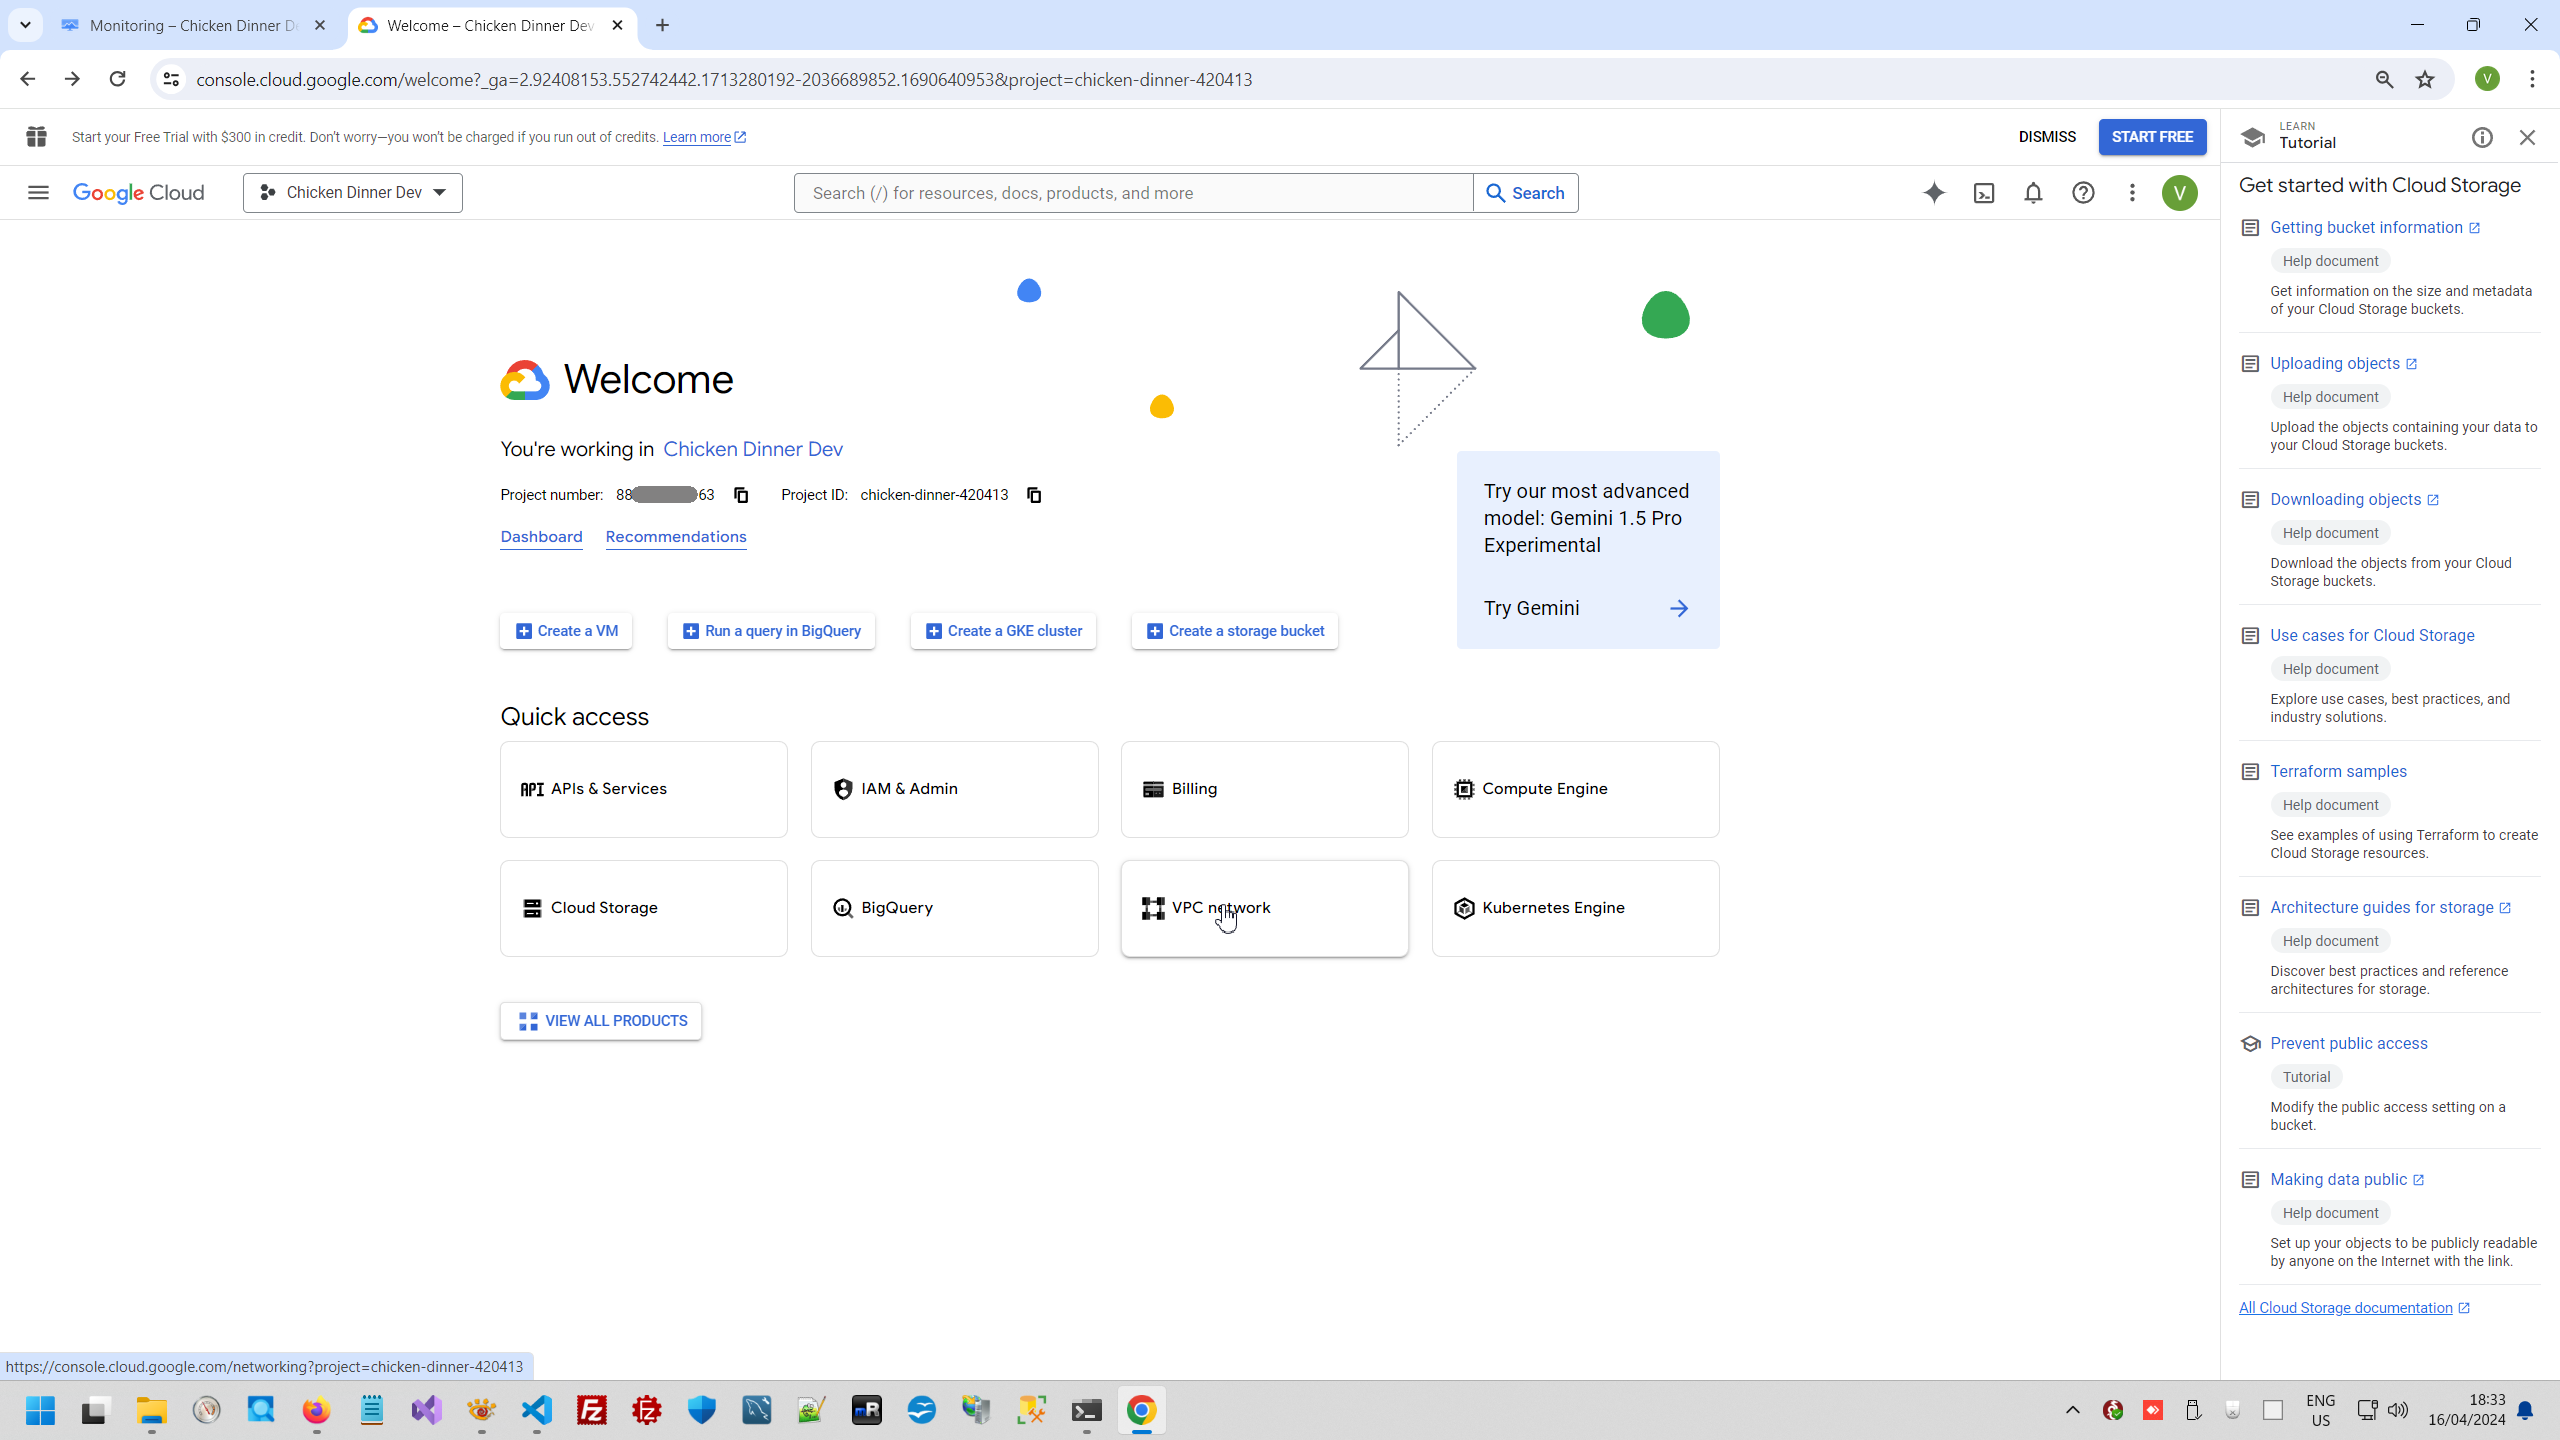
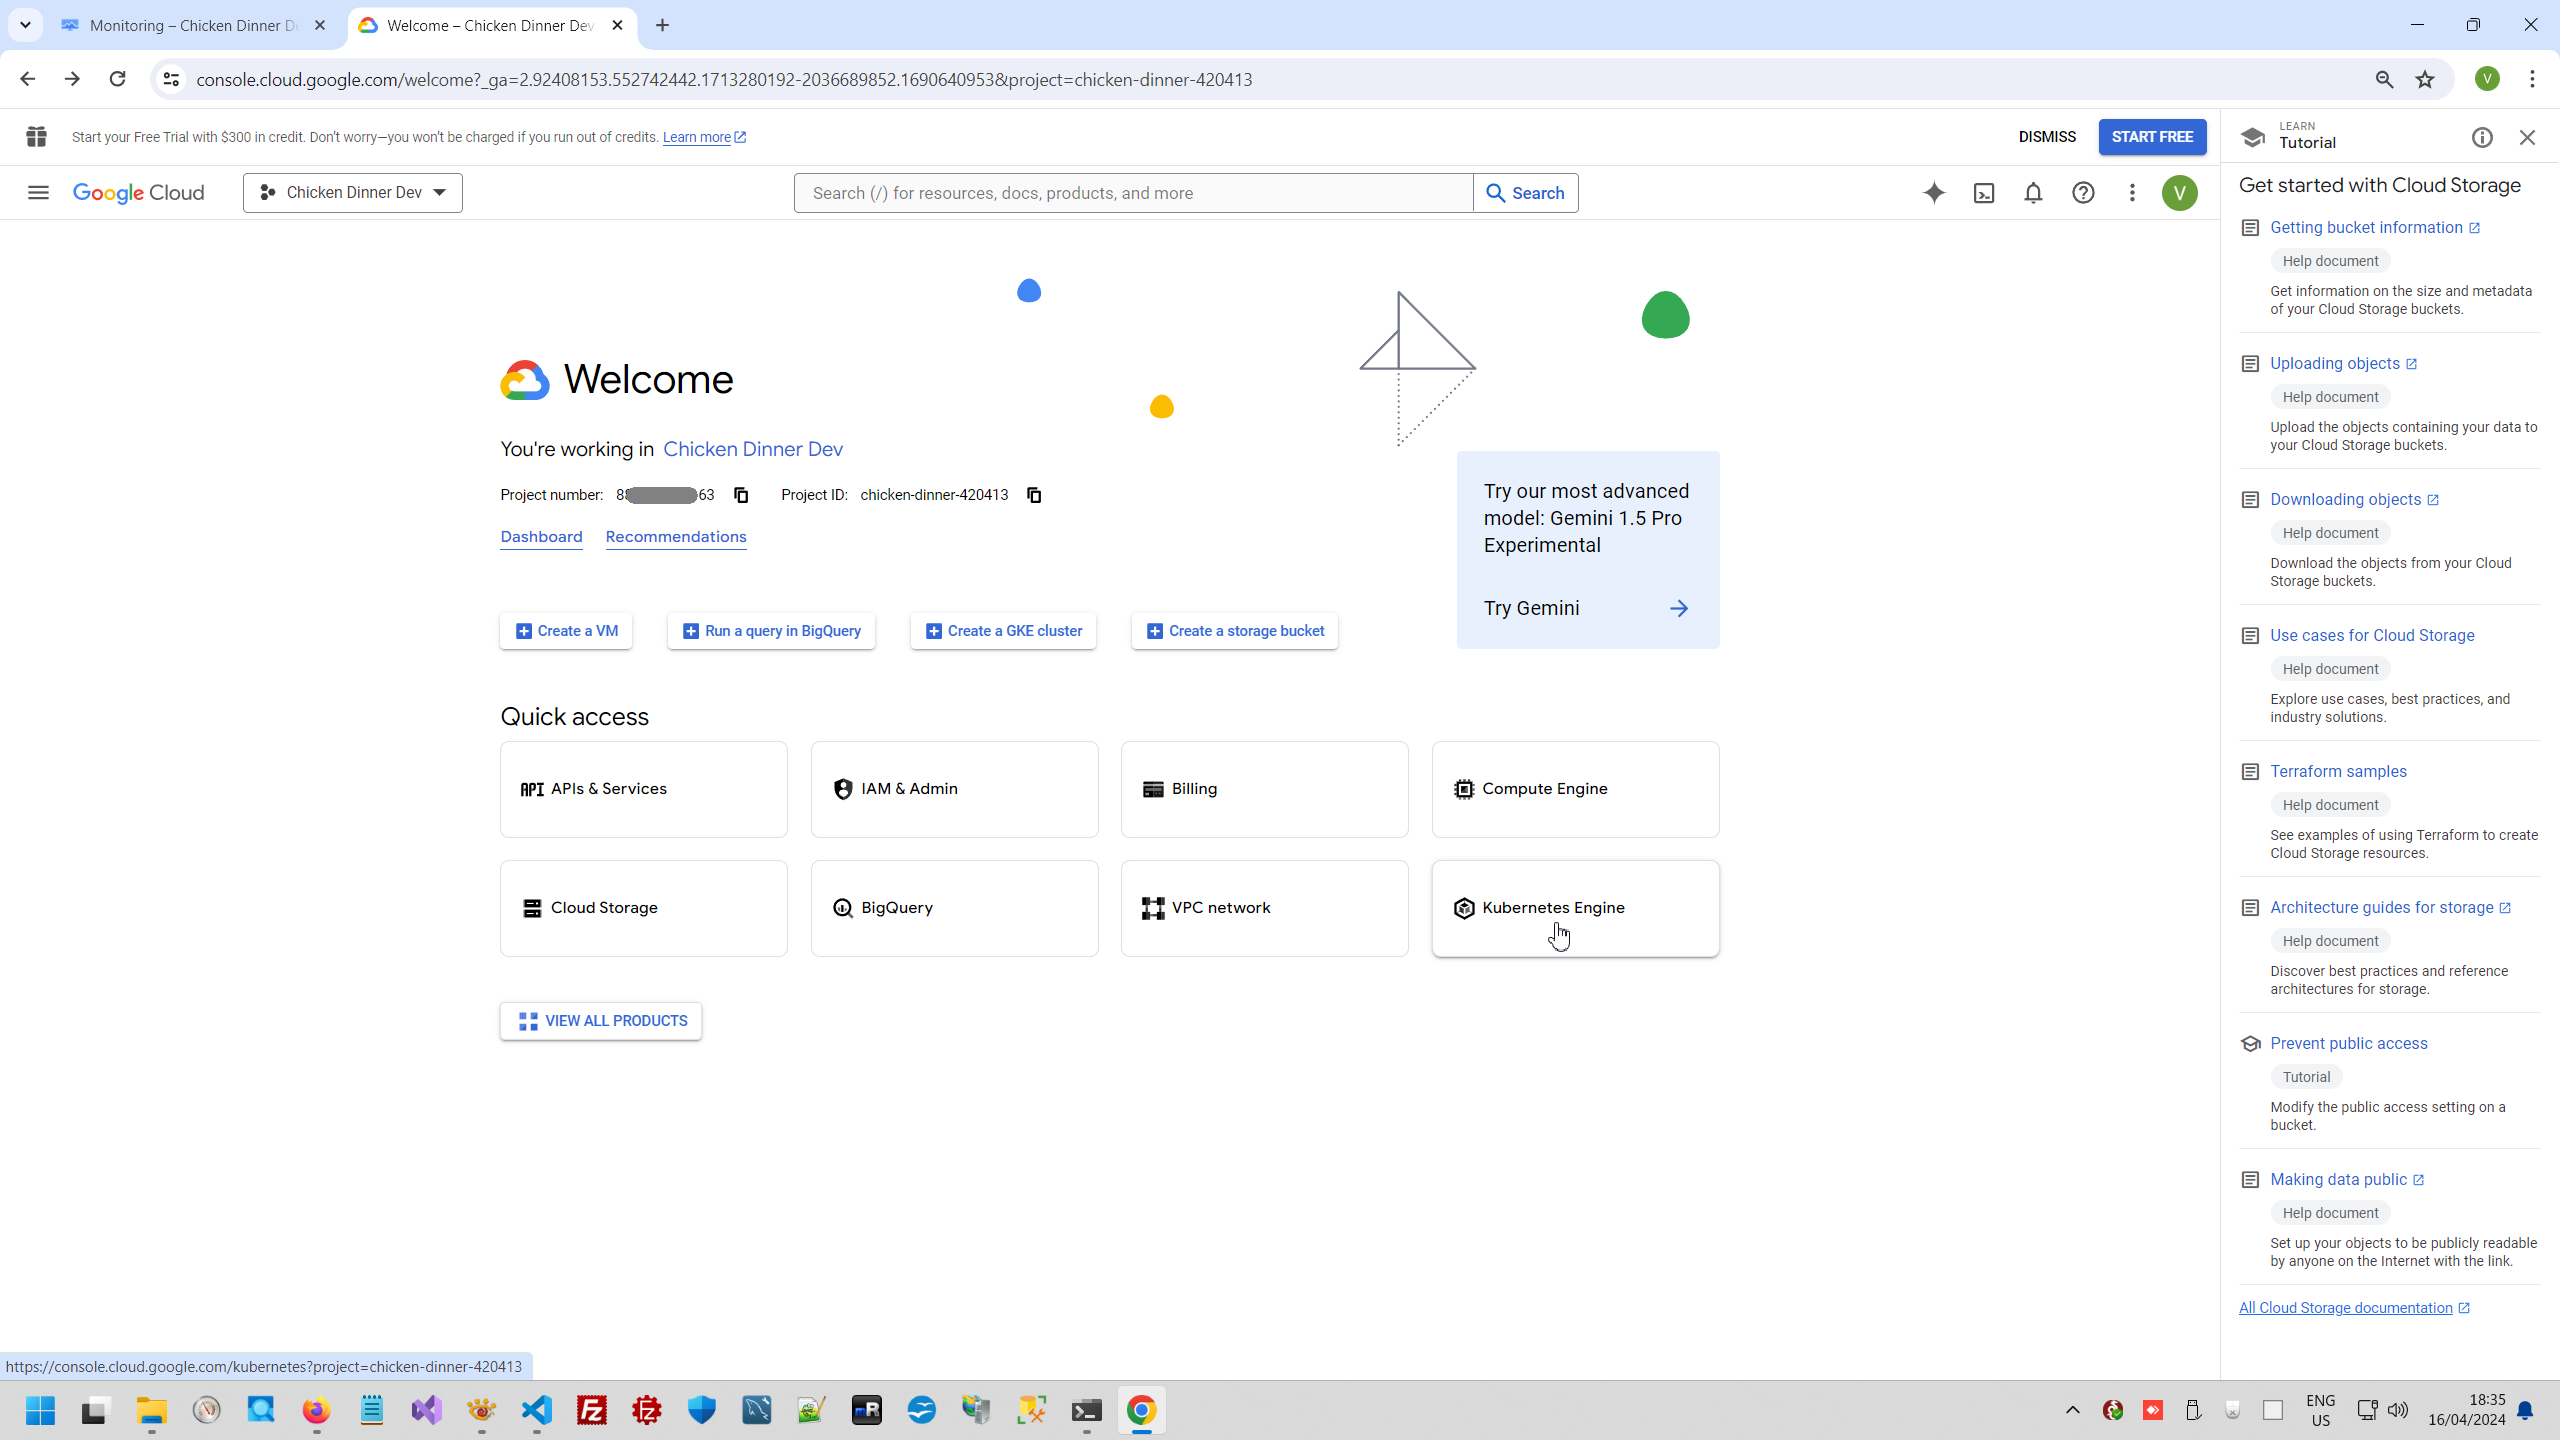
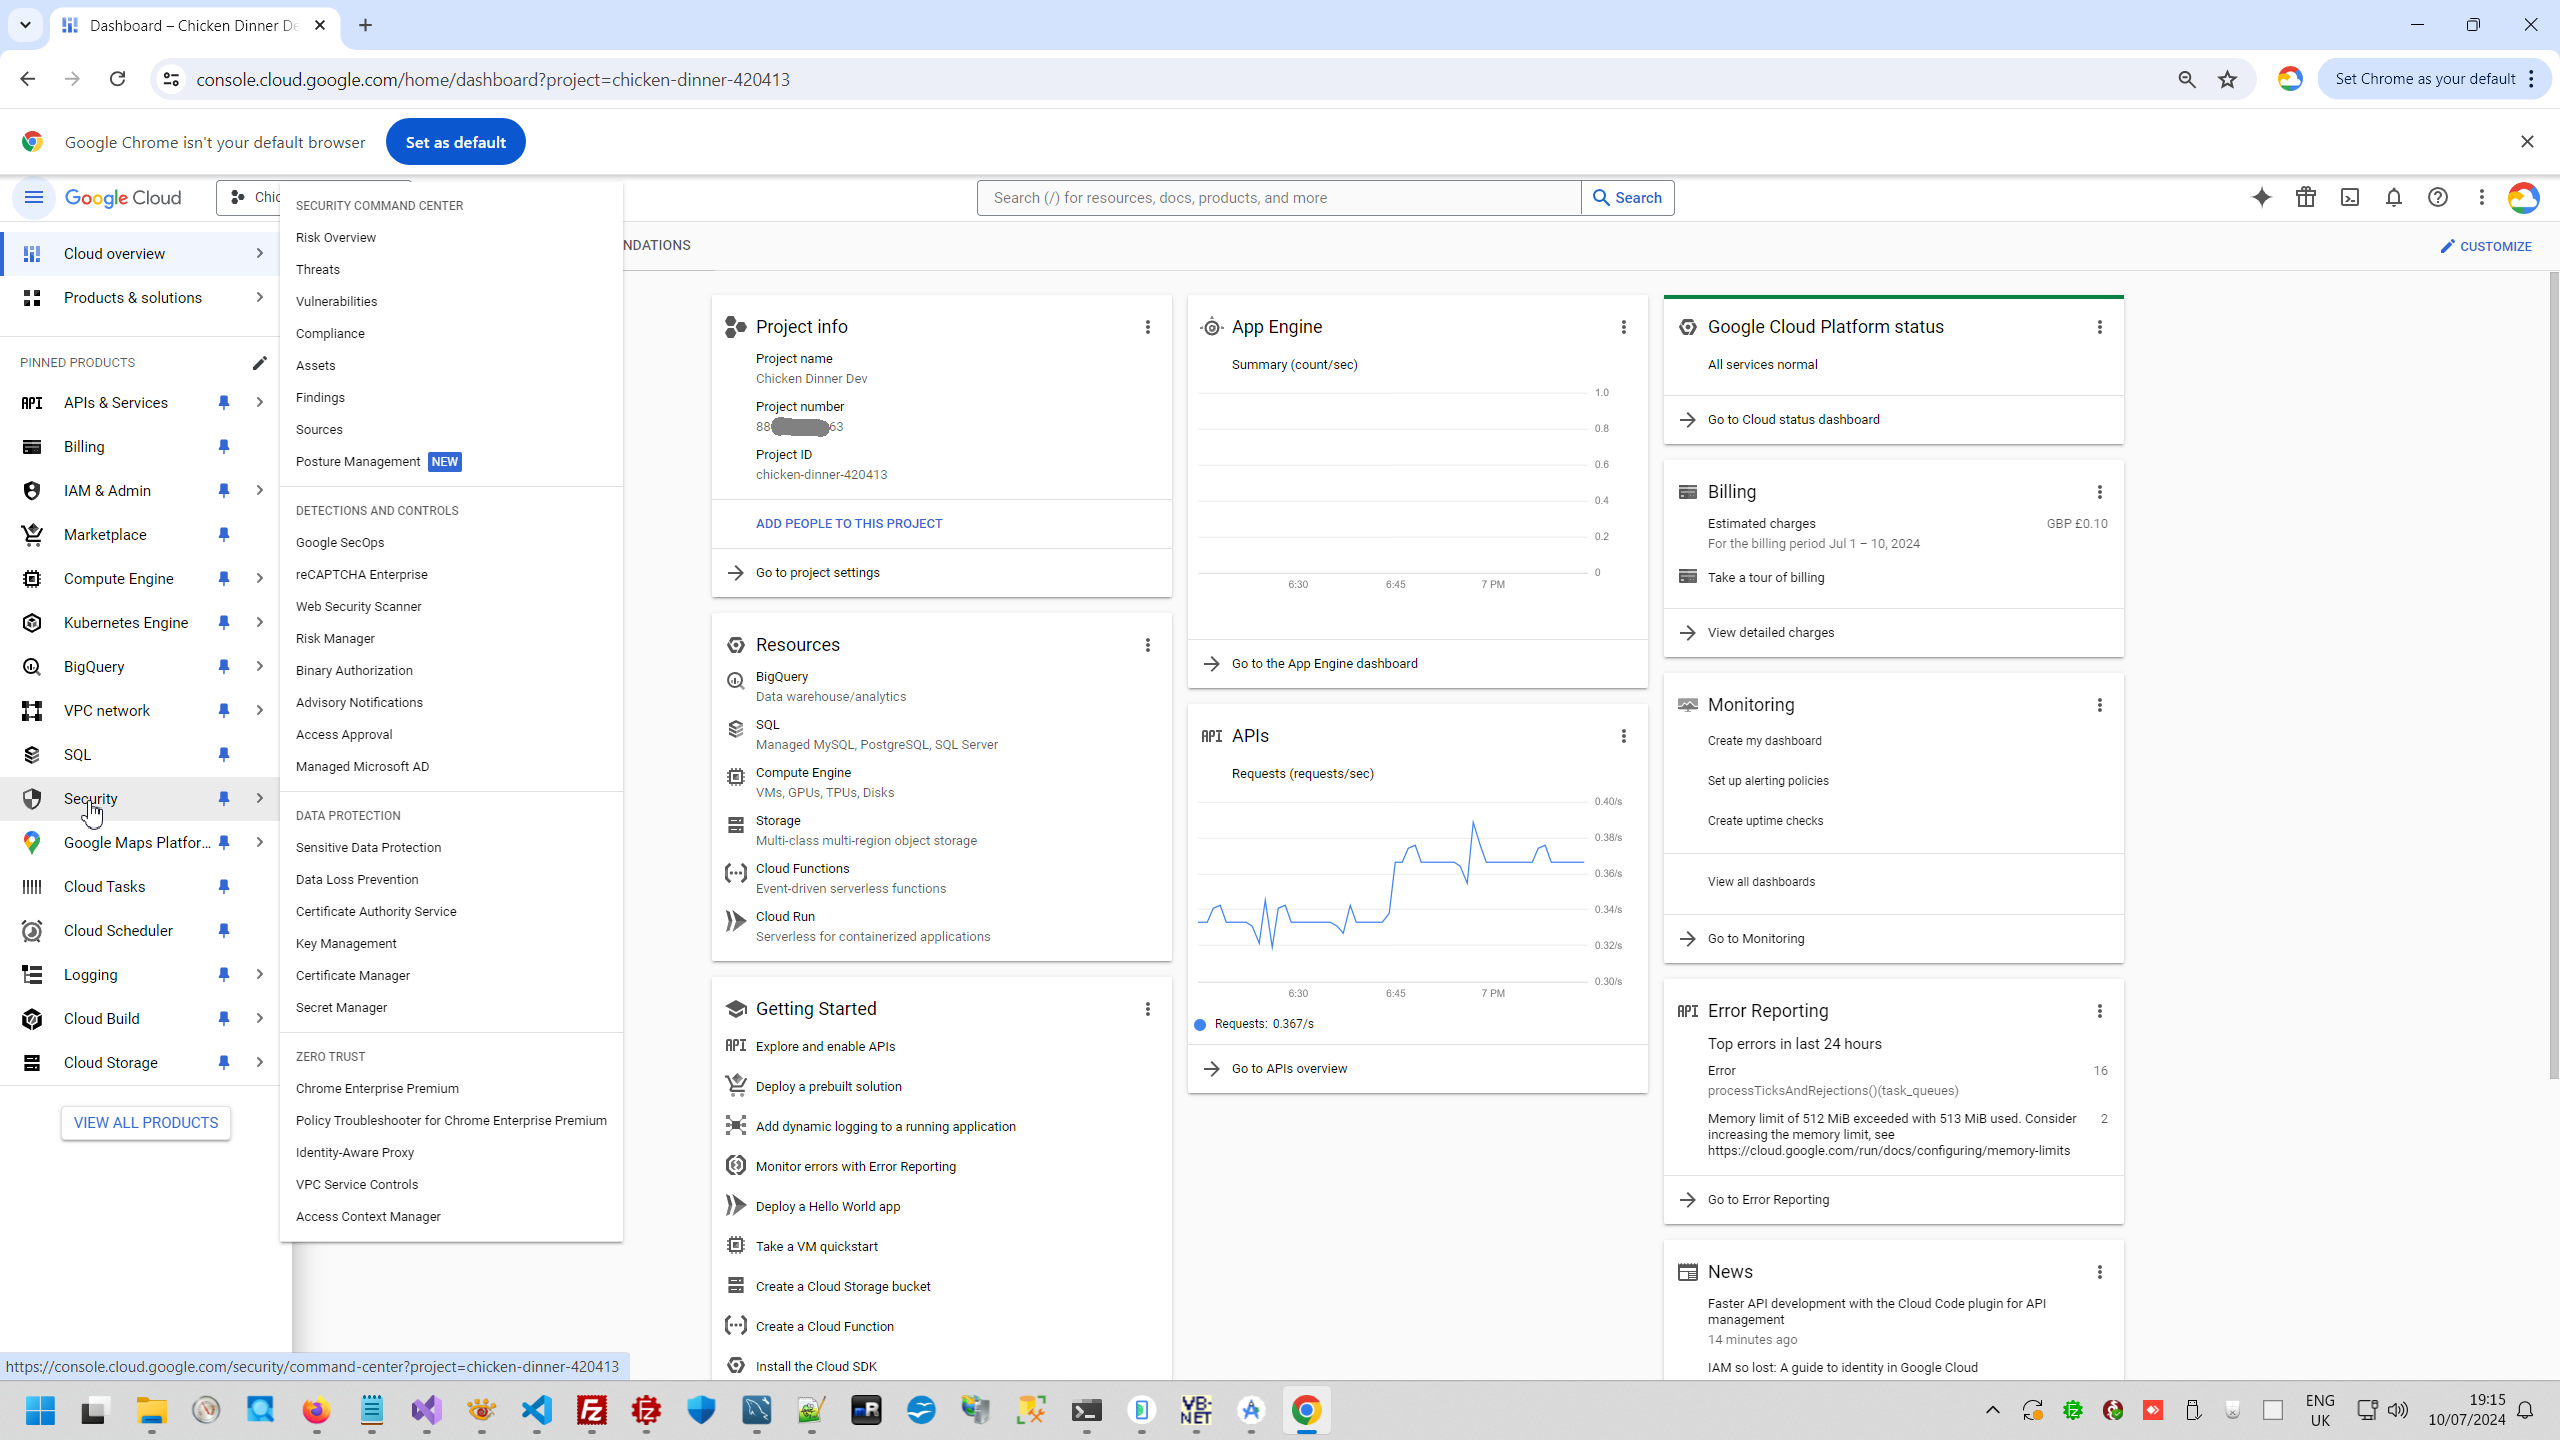
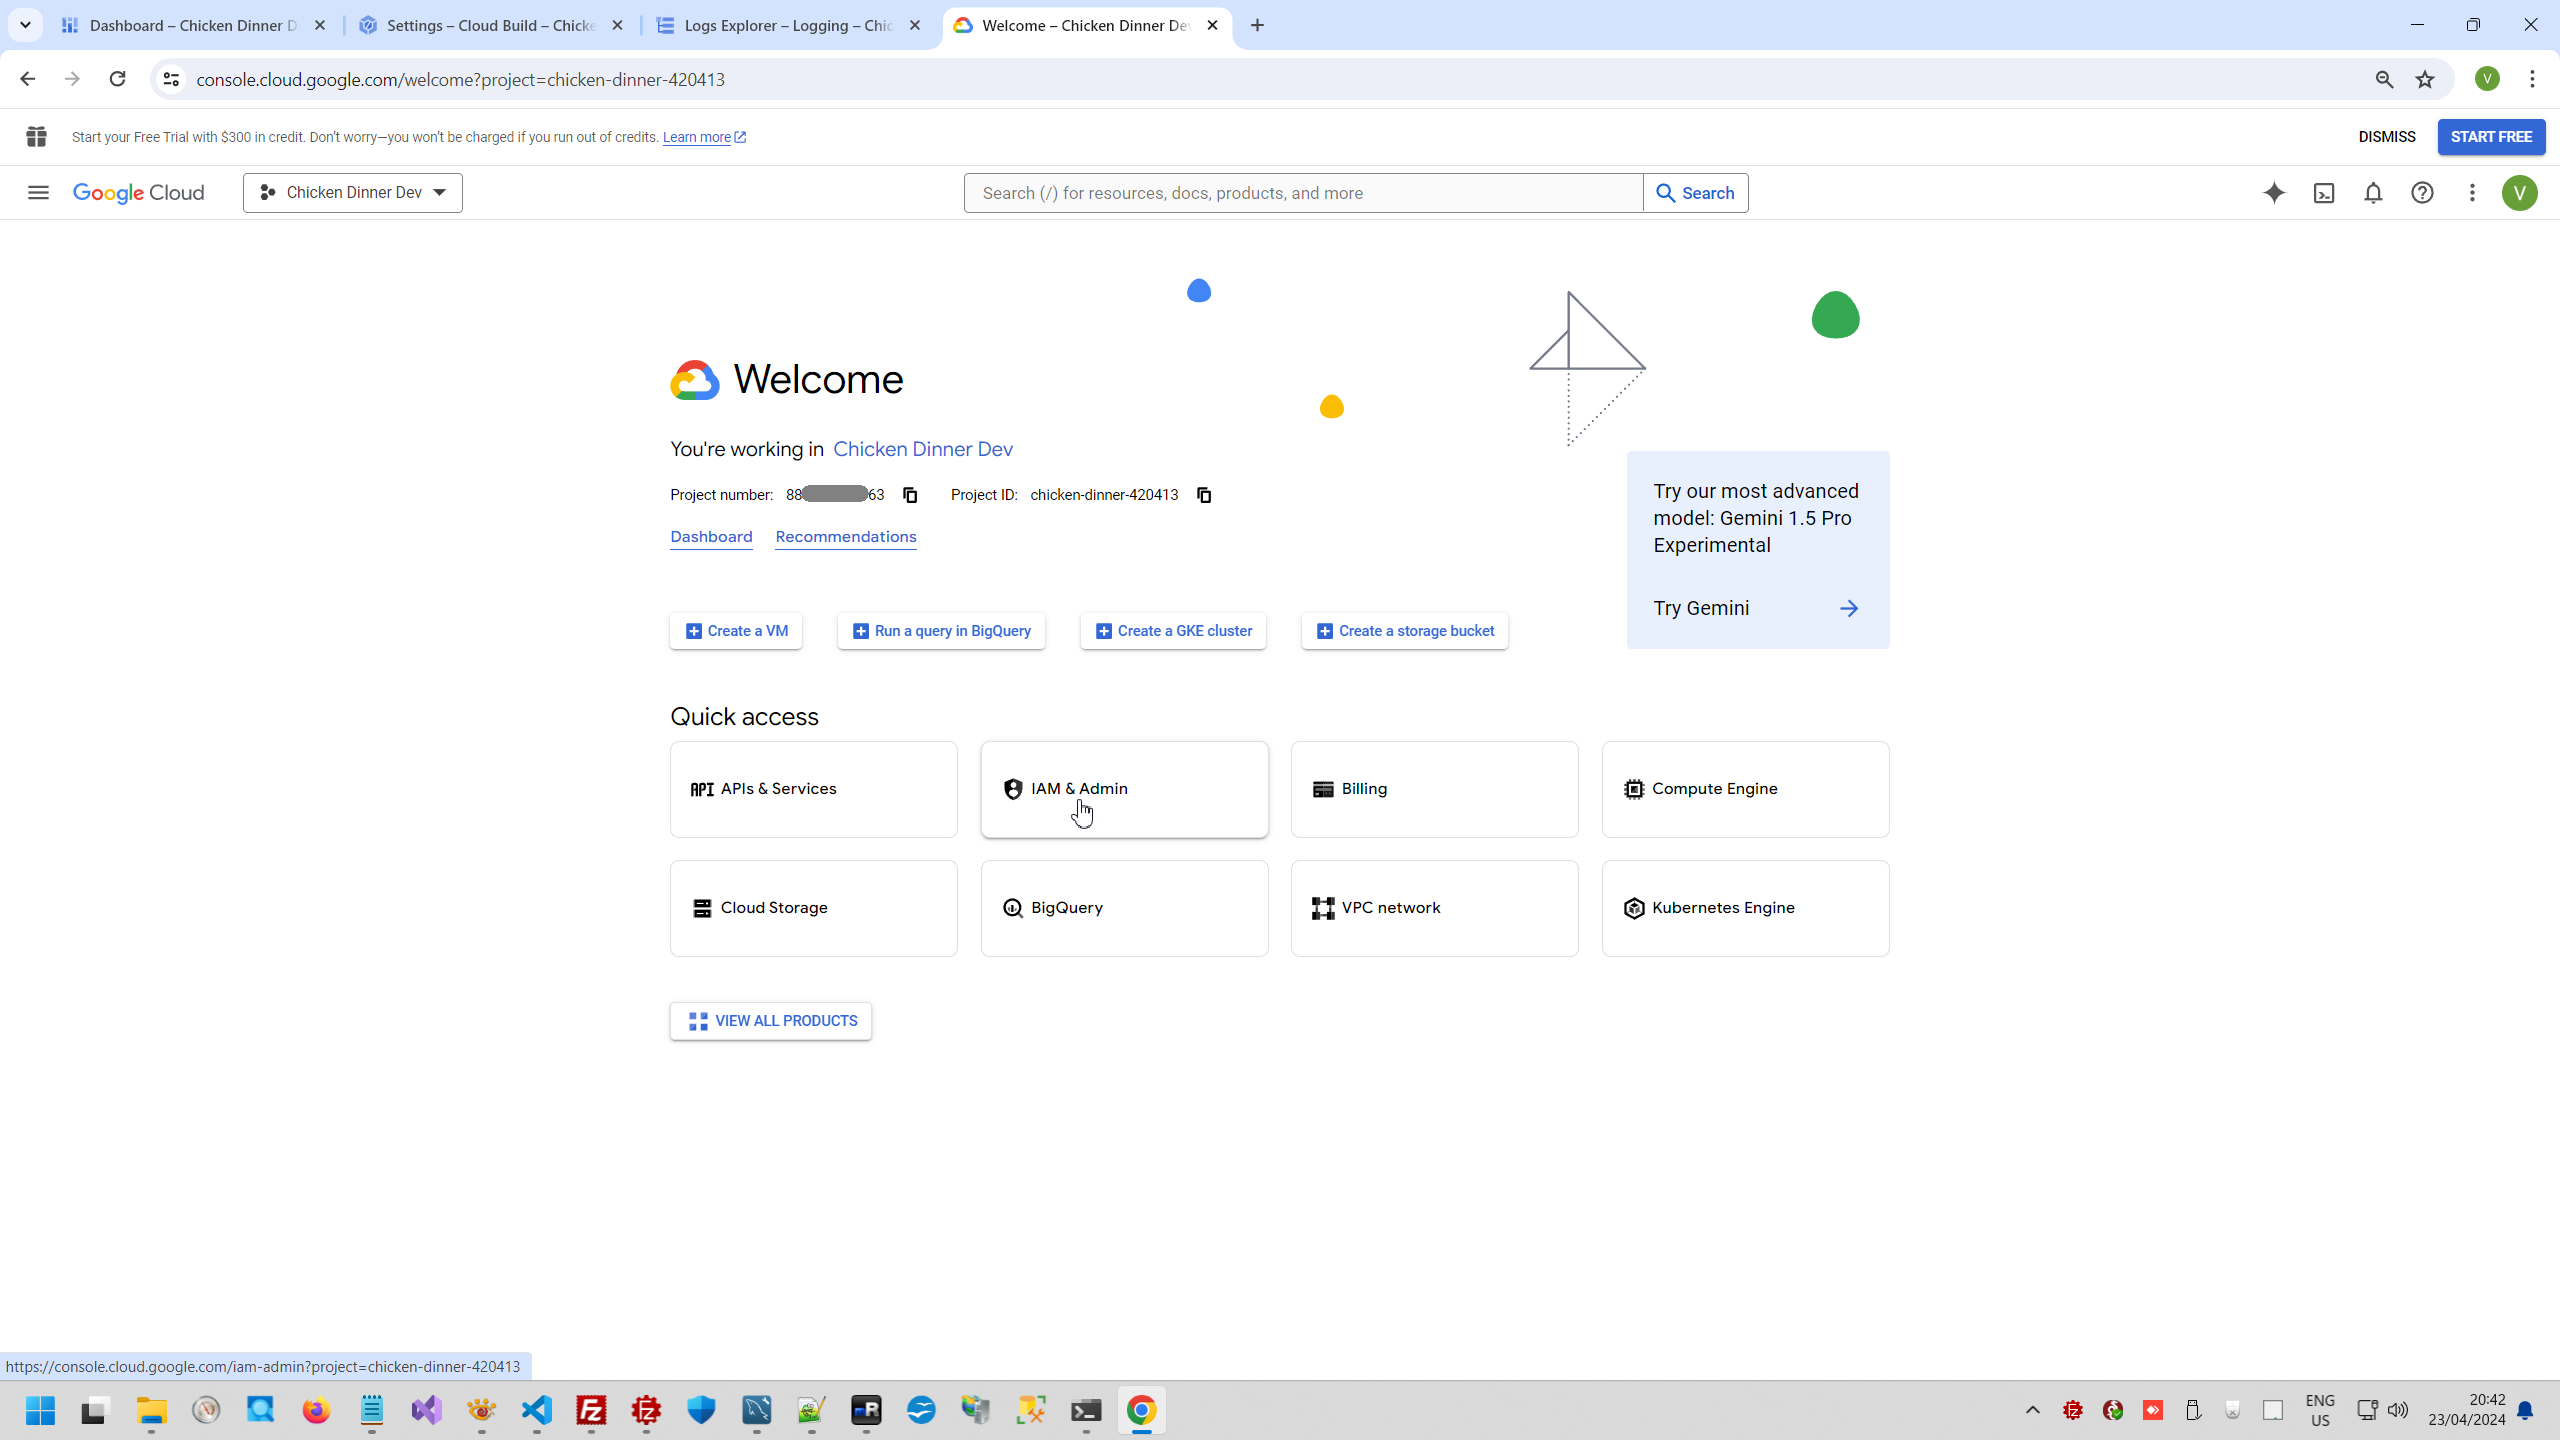
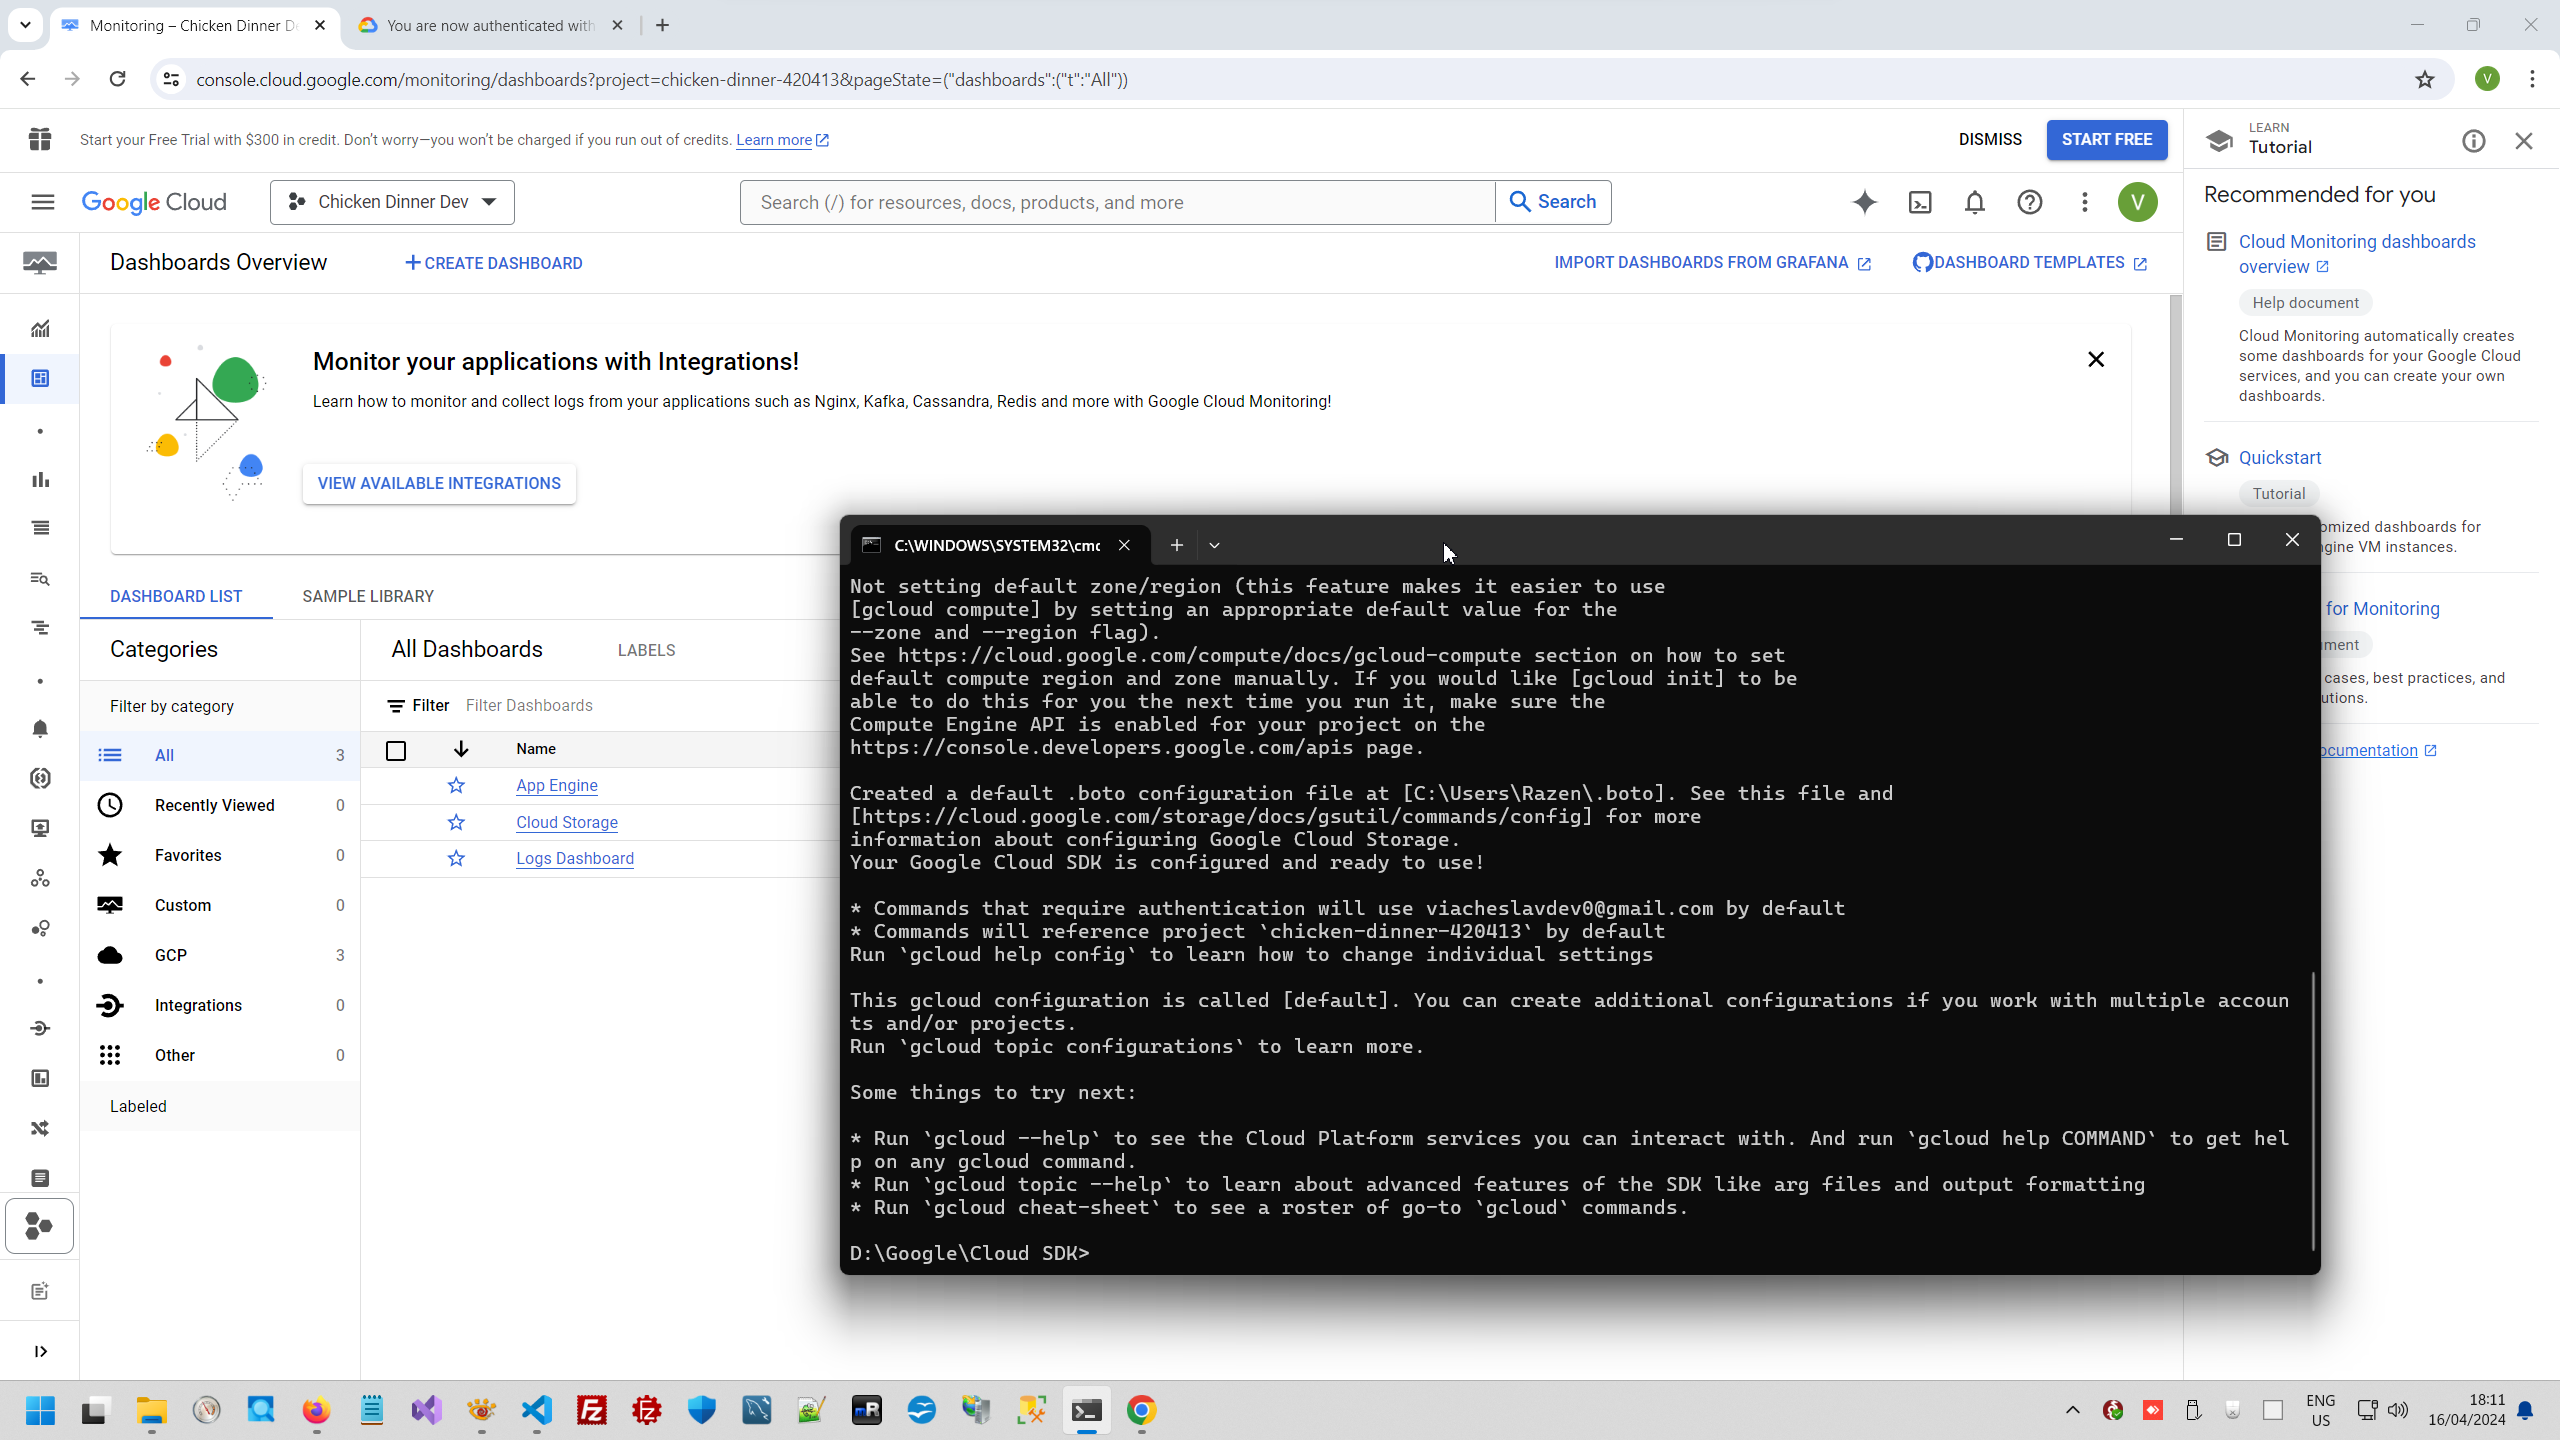
This is main menu you will see when you going to Google Cloud.

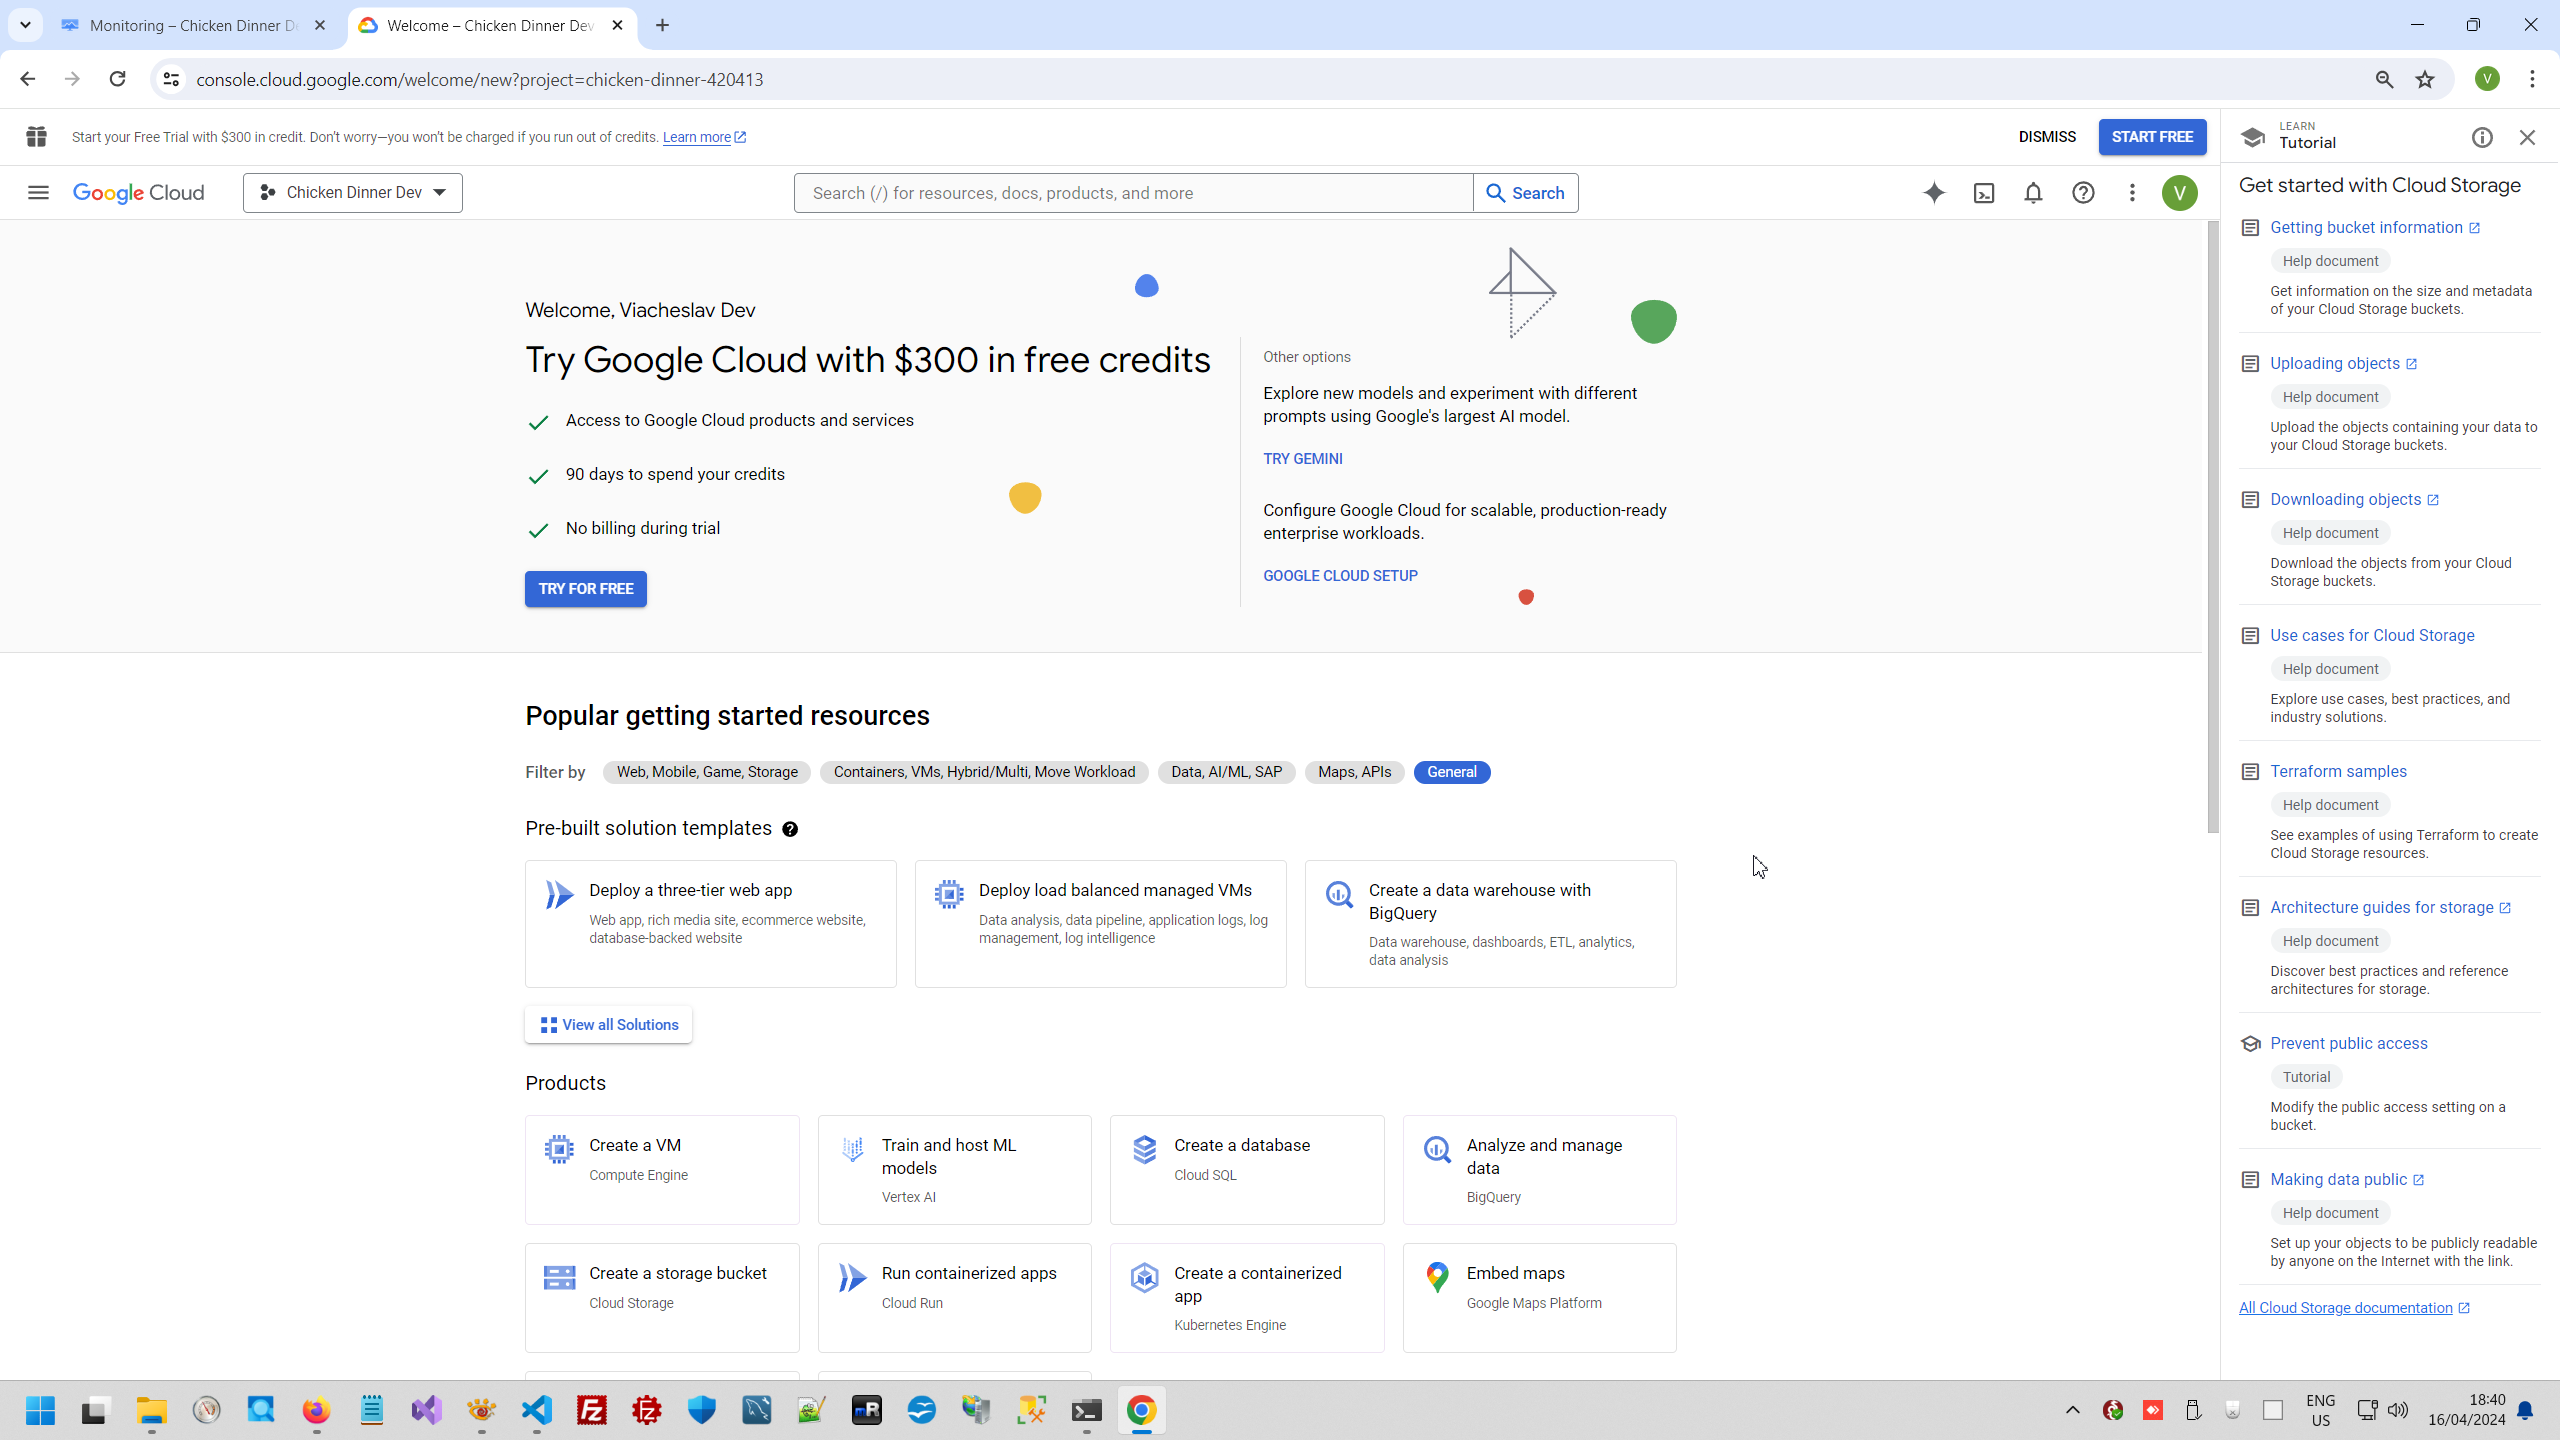
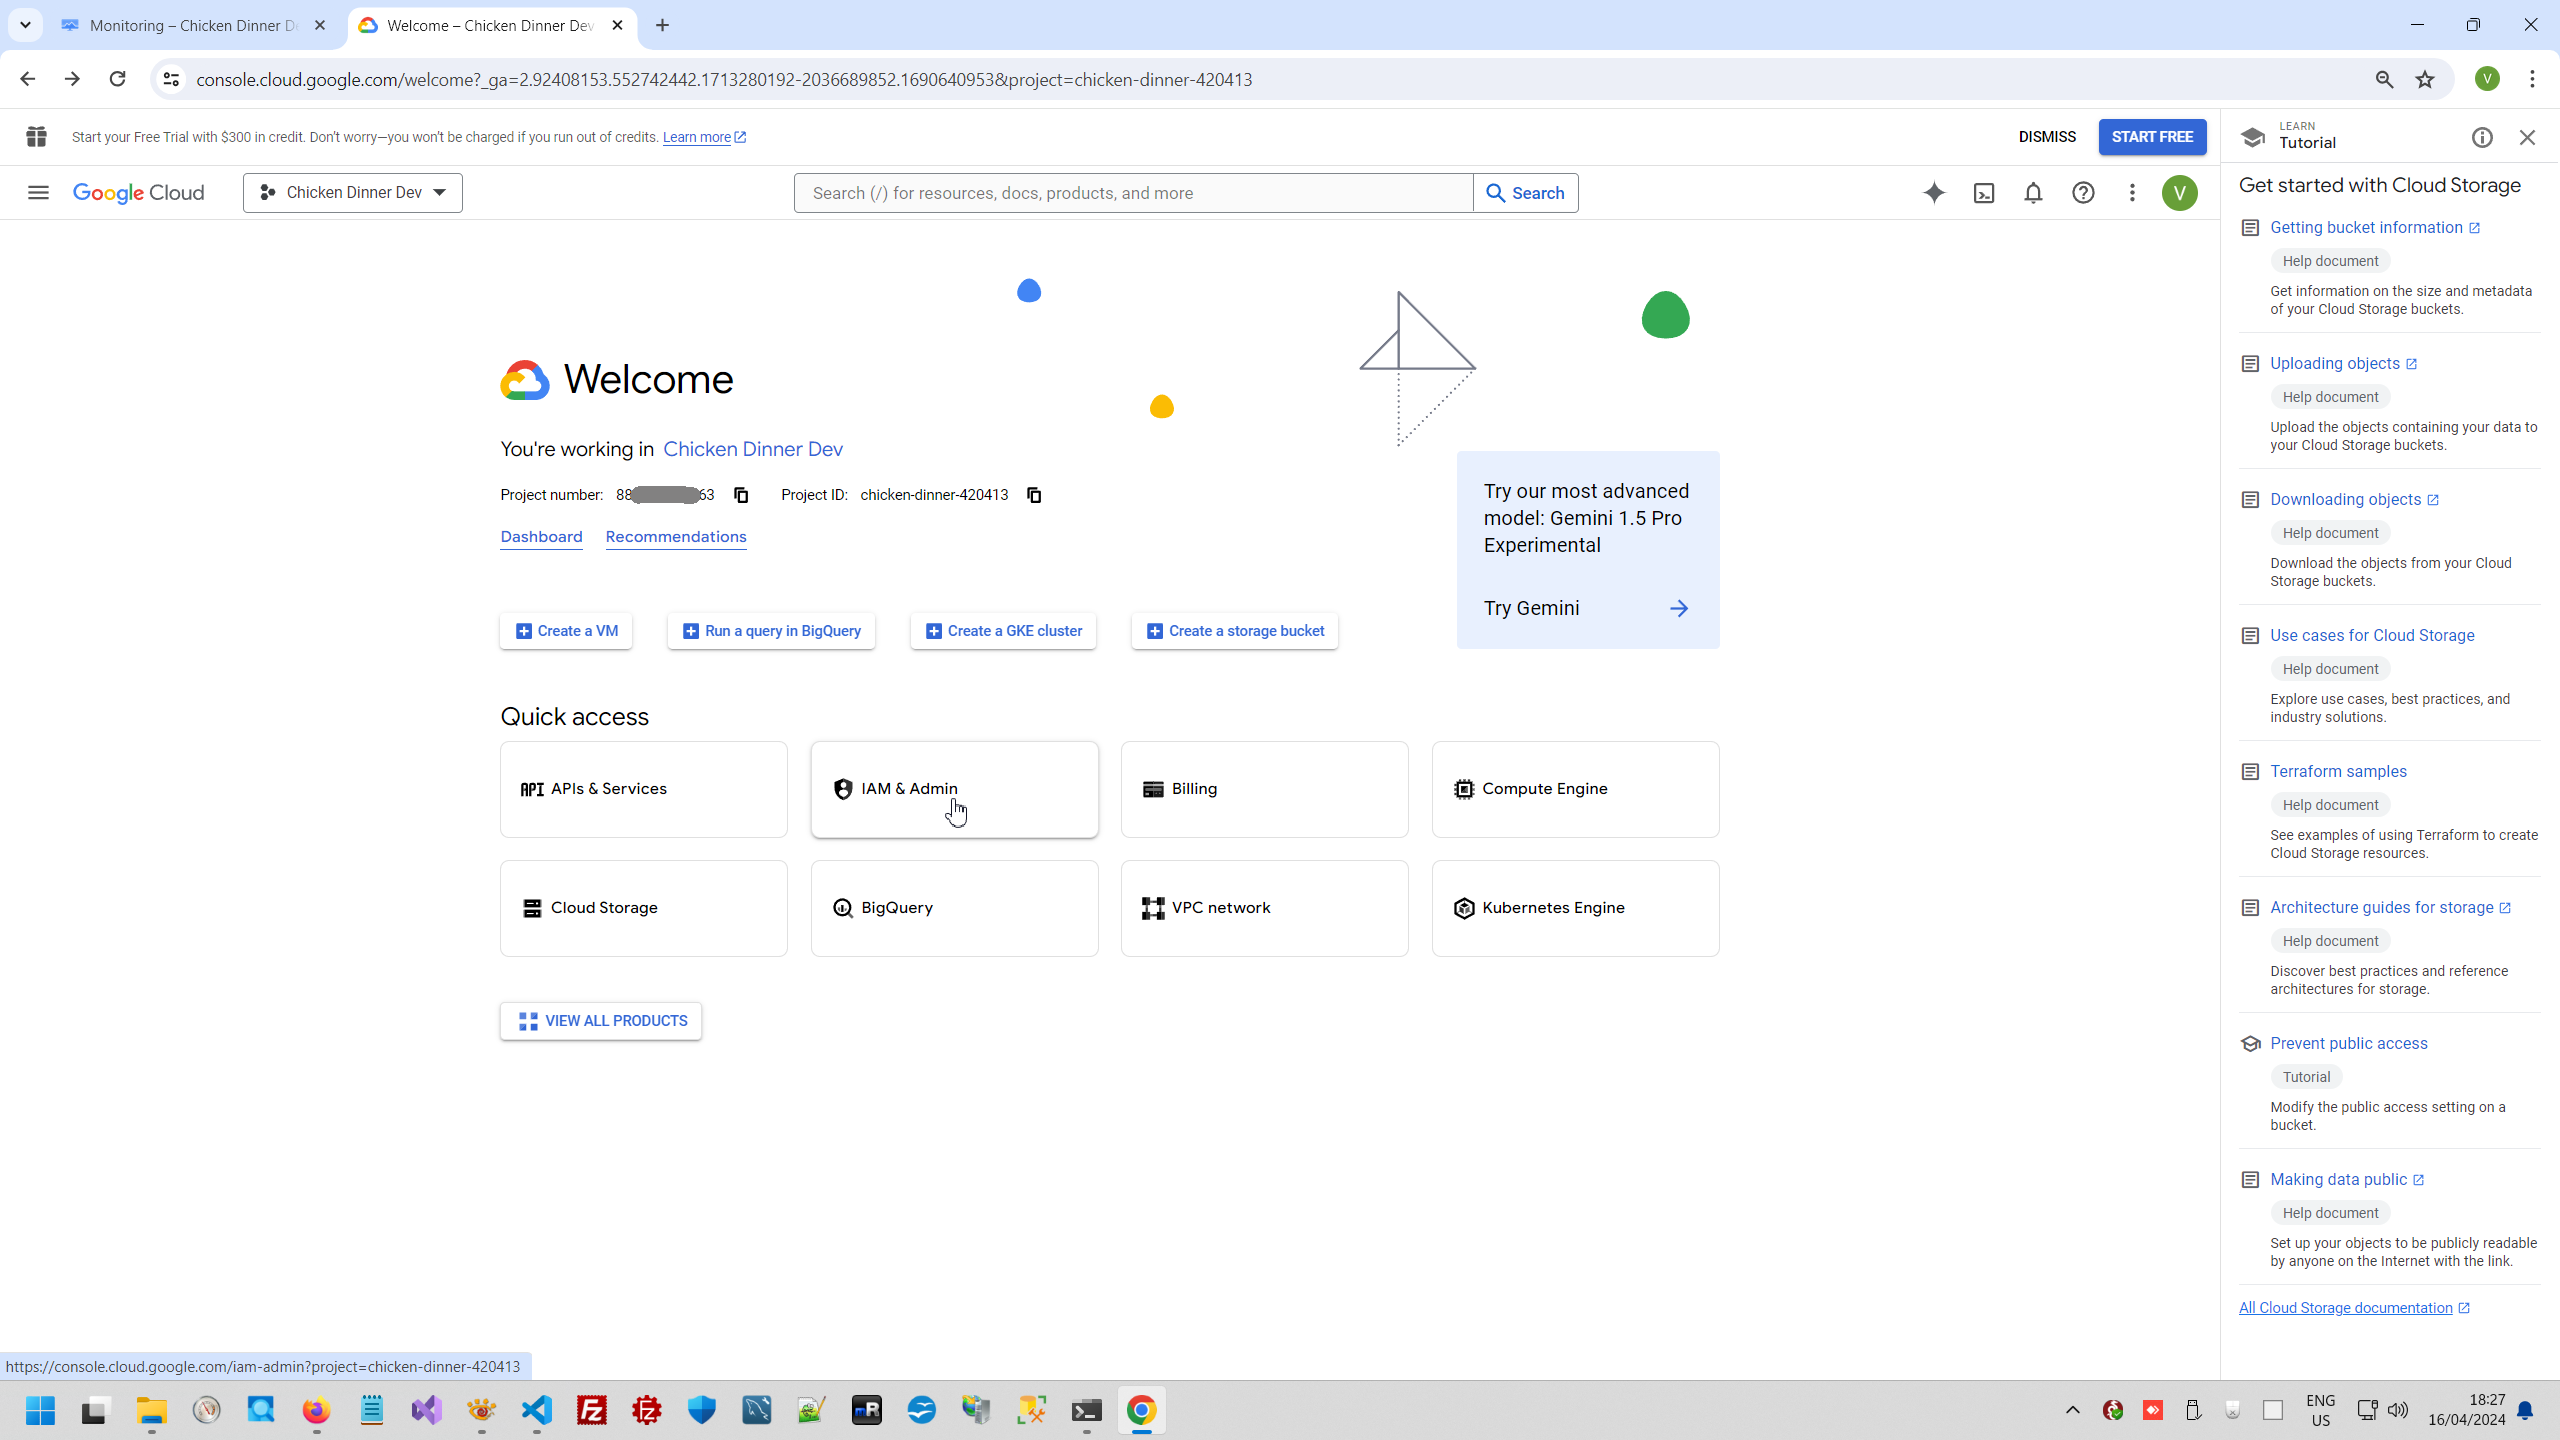
Firstly a couple words how Google Cloud console site created at all. When we can open Cloud console and take a look what we see, this is welcome screen

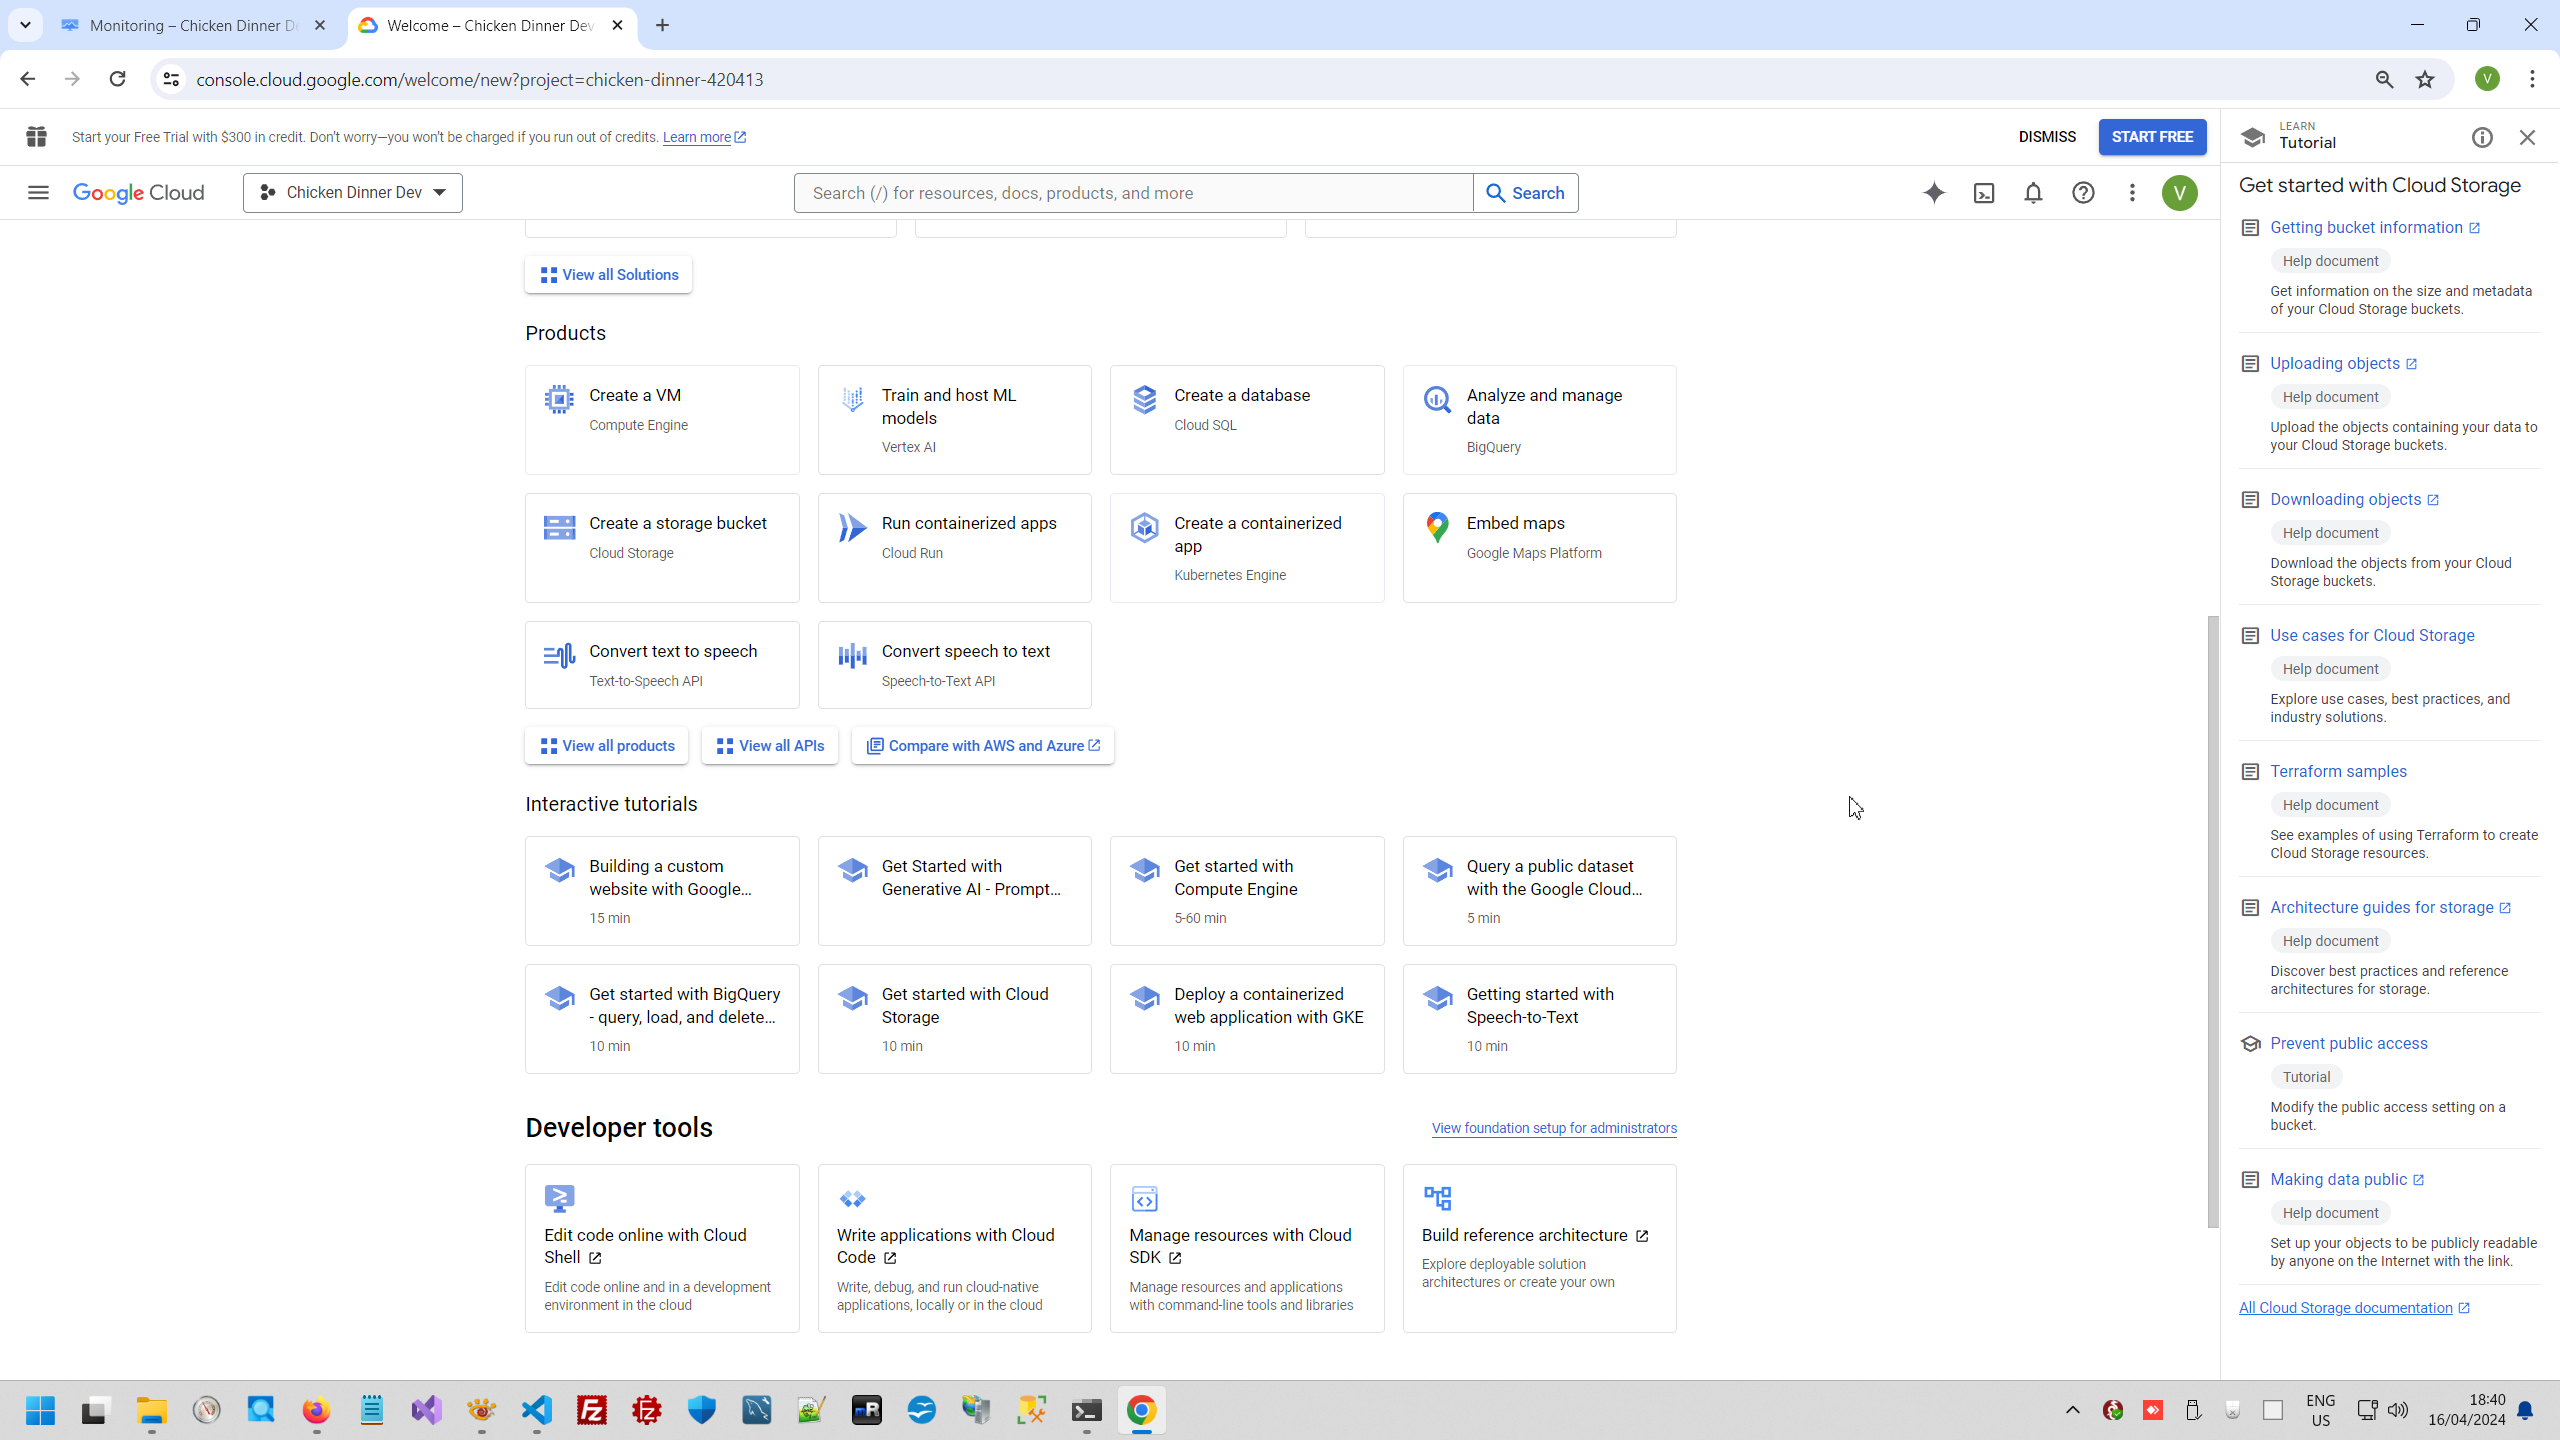
And this is top 8 submenu from Welcome menu:


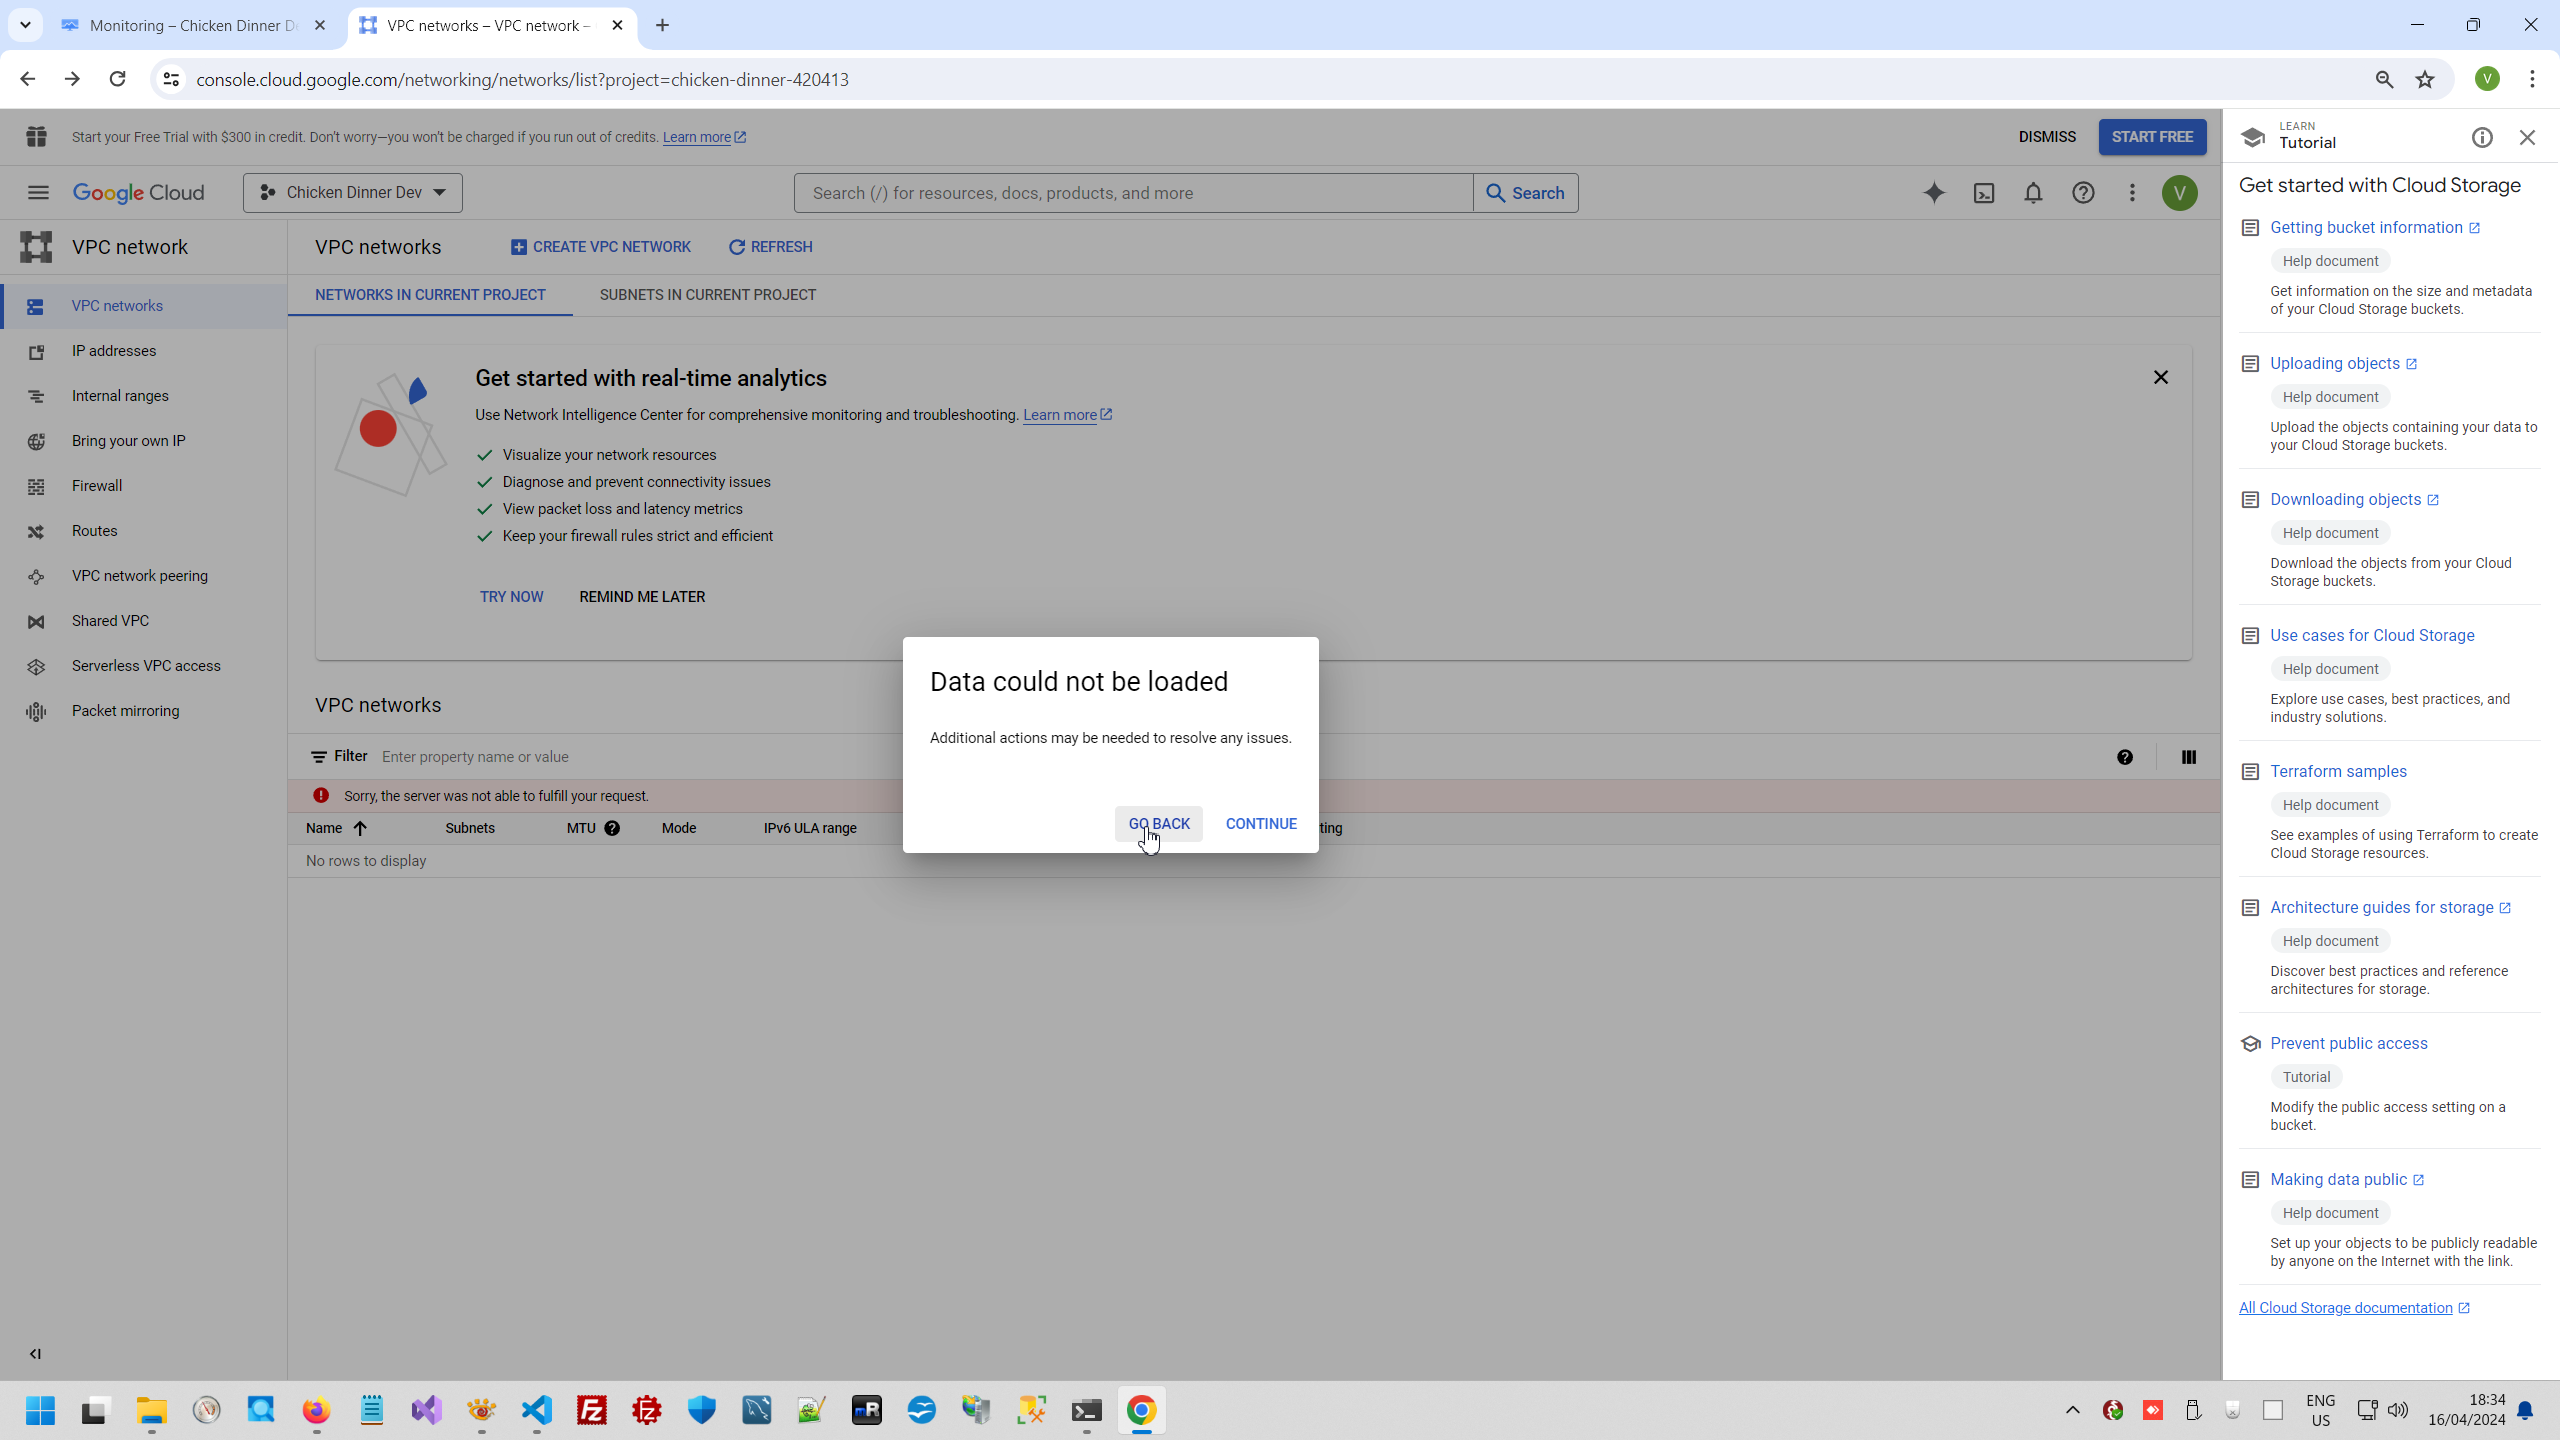

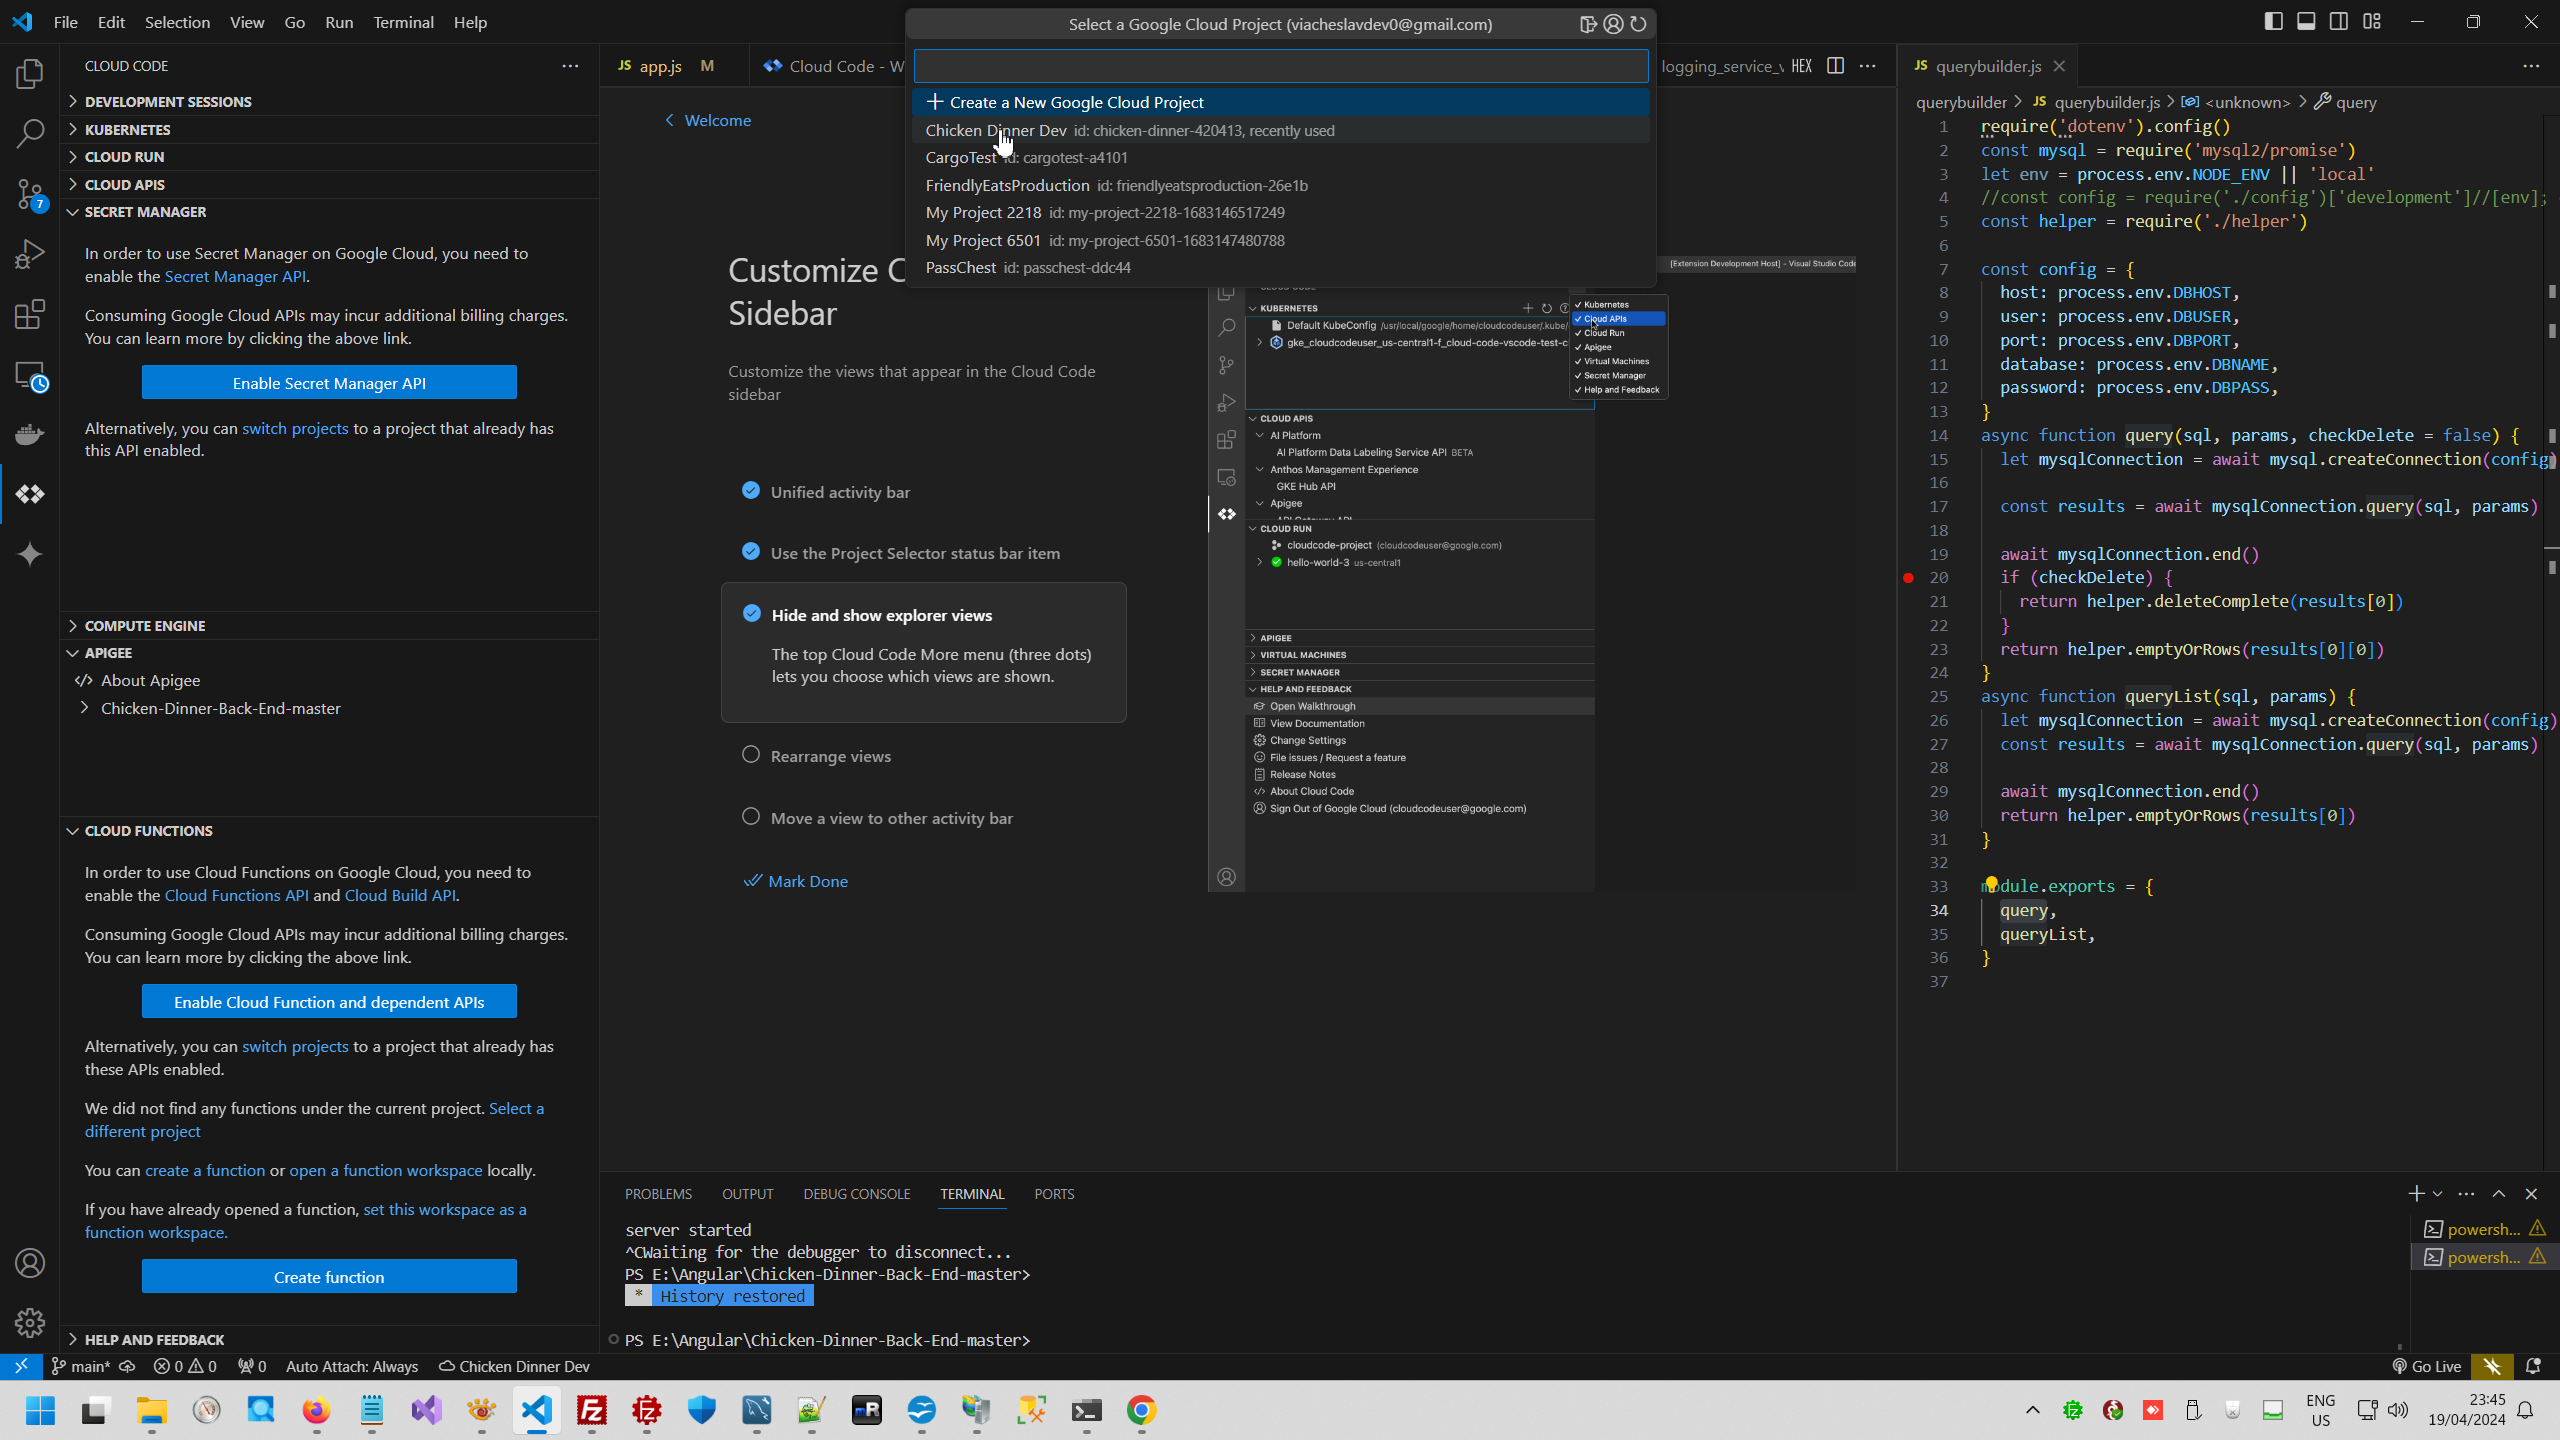
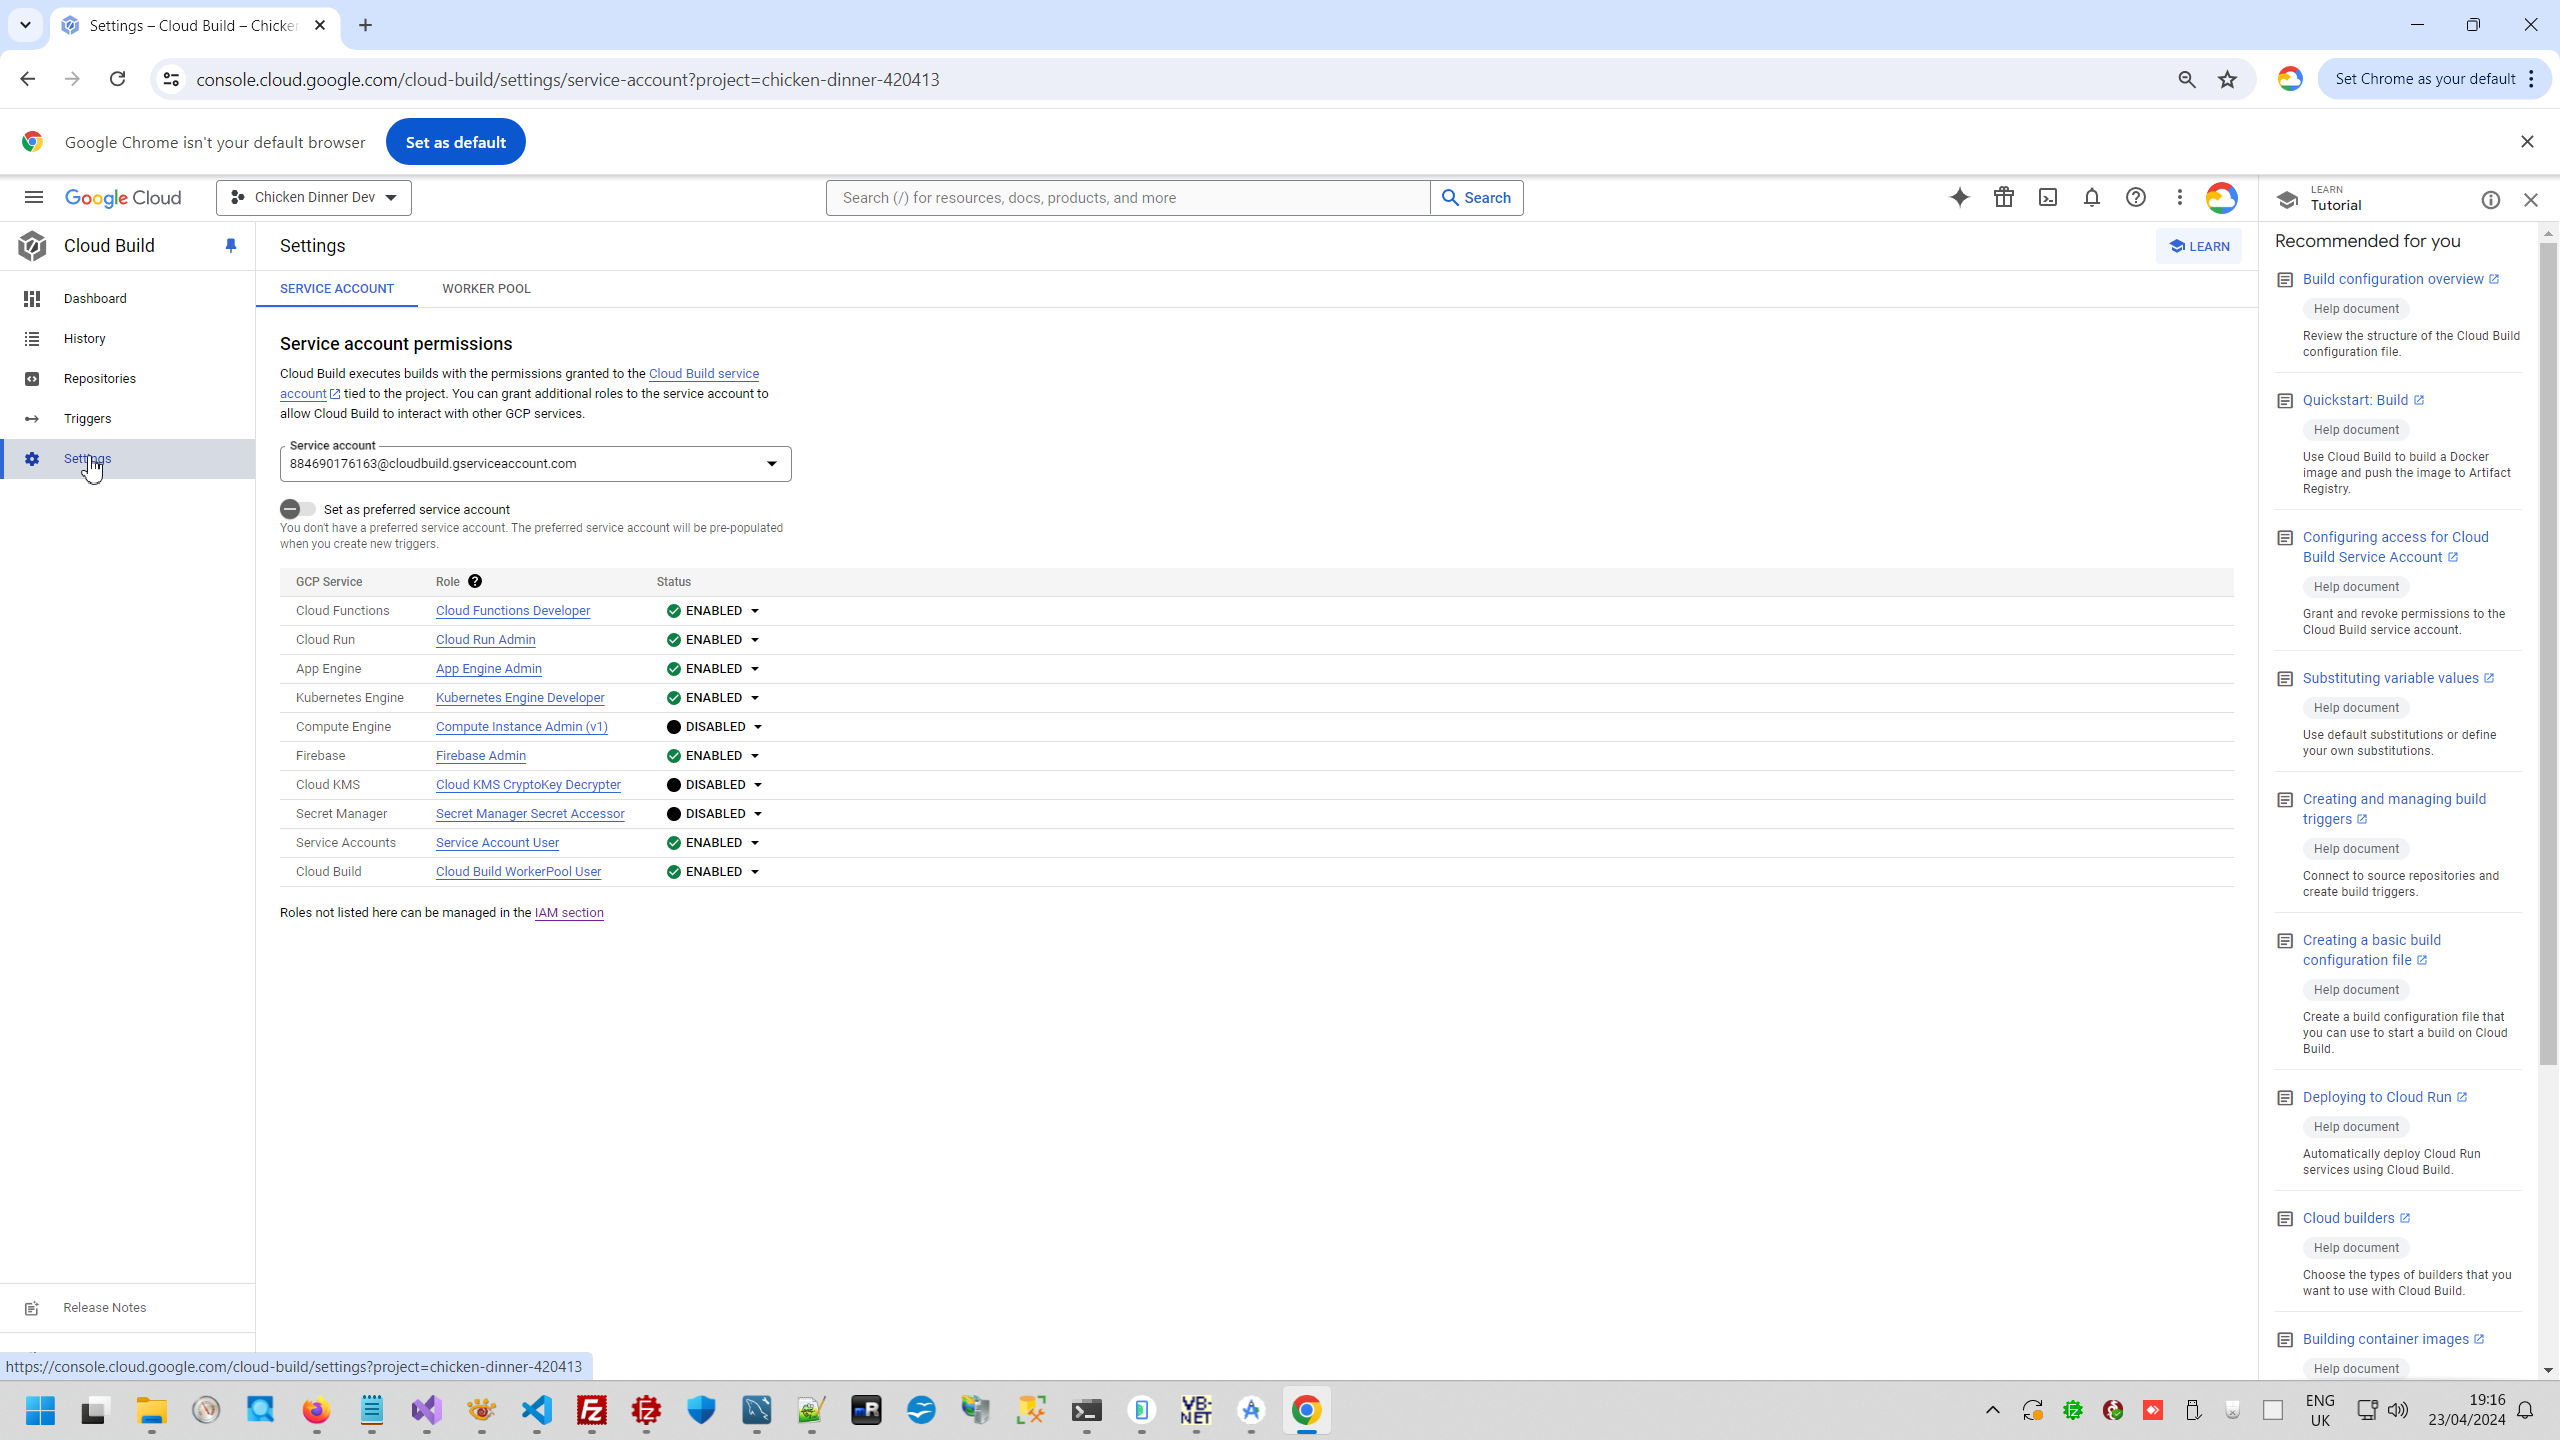
This is left menu panel, any point can be pinned to left menu panel, Hamburger menu can be collapsed.


However some important menu point missing in Hamburger menu, you meed to search it in search panel.
Also on the right side of Hamburger menu we have Dashboard with 3 links.

For example I have configured this most interesting menu point to top hamburger menu.
2. More about Bucket service, Firebase service, Cloud shell service, Gemini service, Cron service and Message broker service.
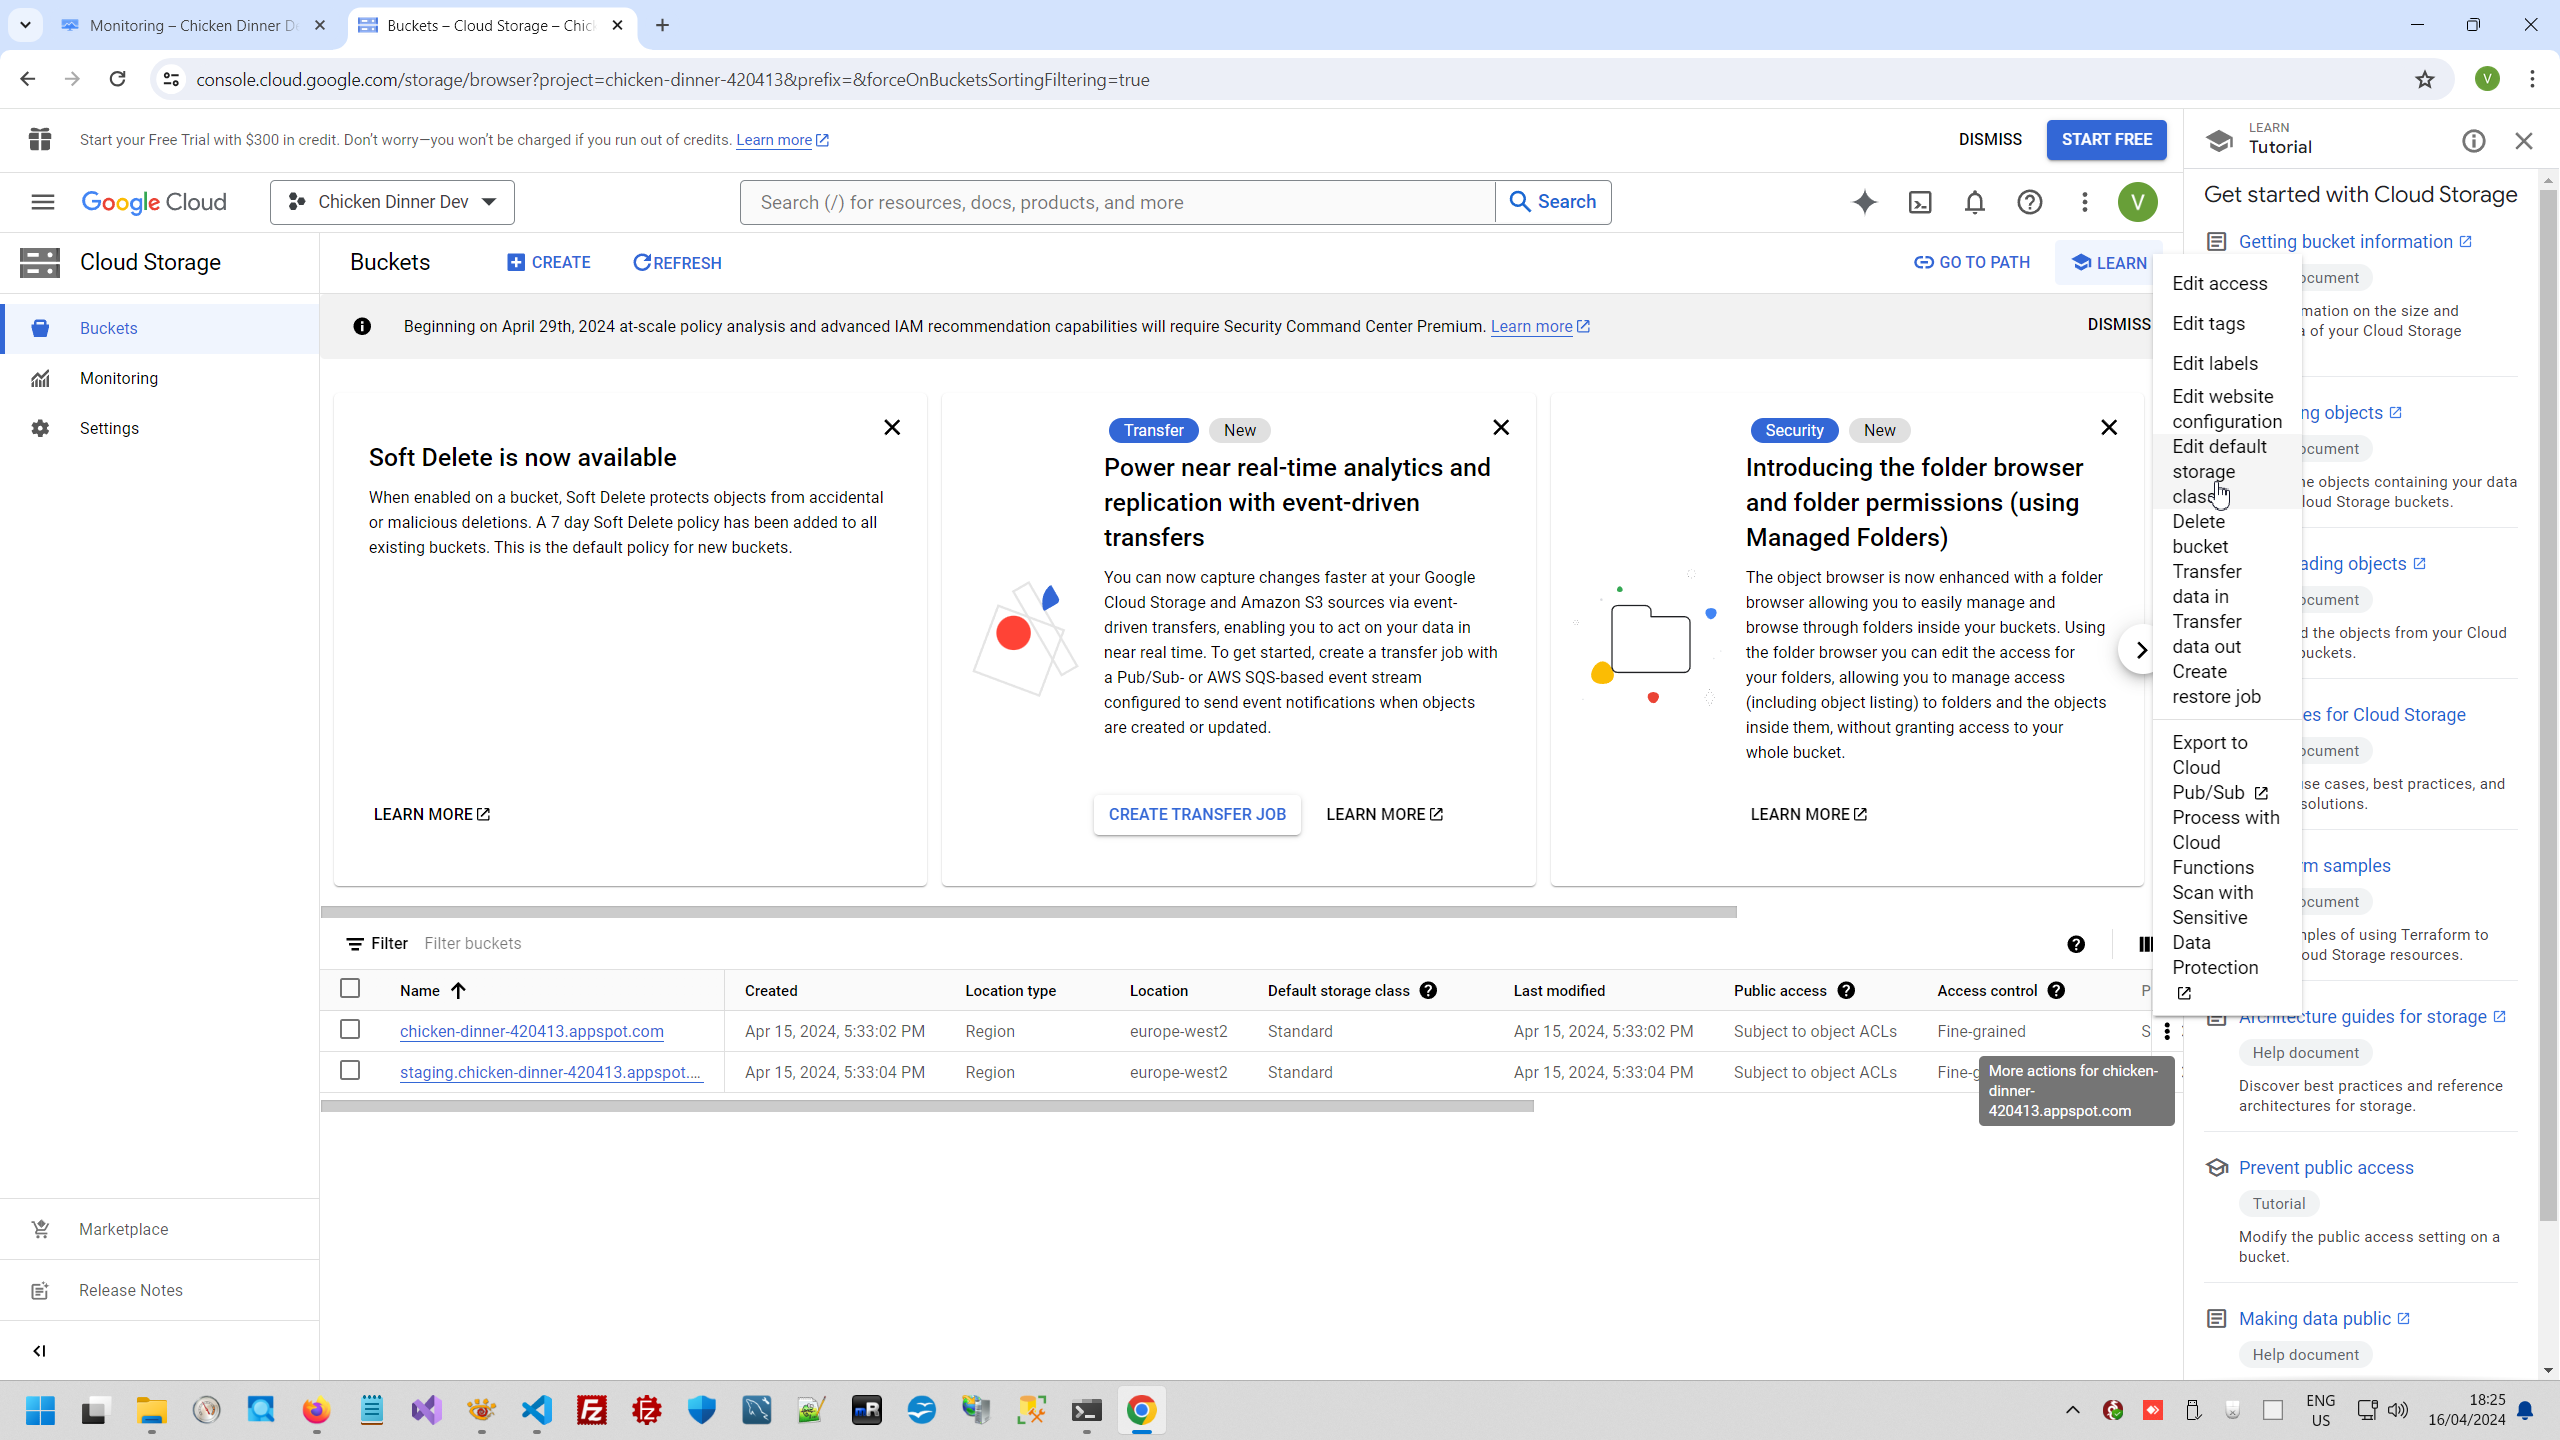
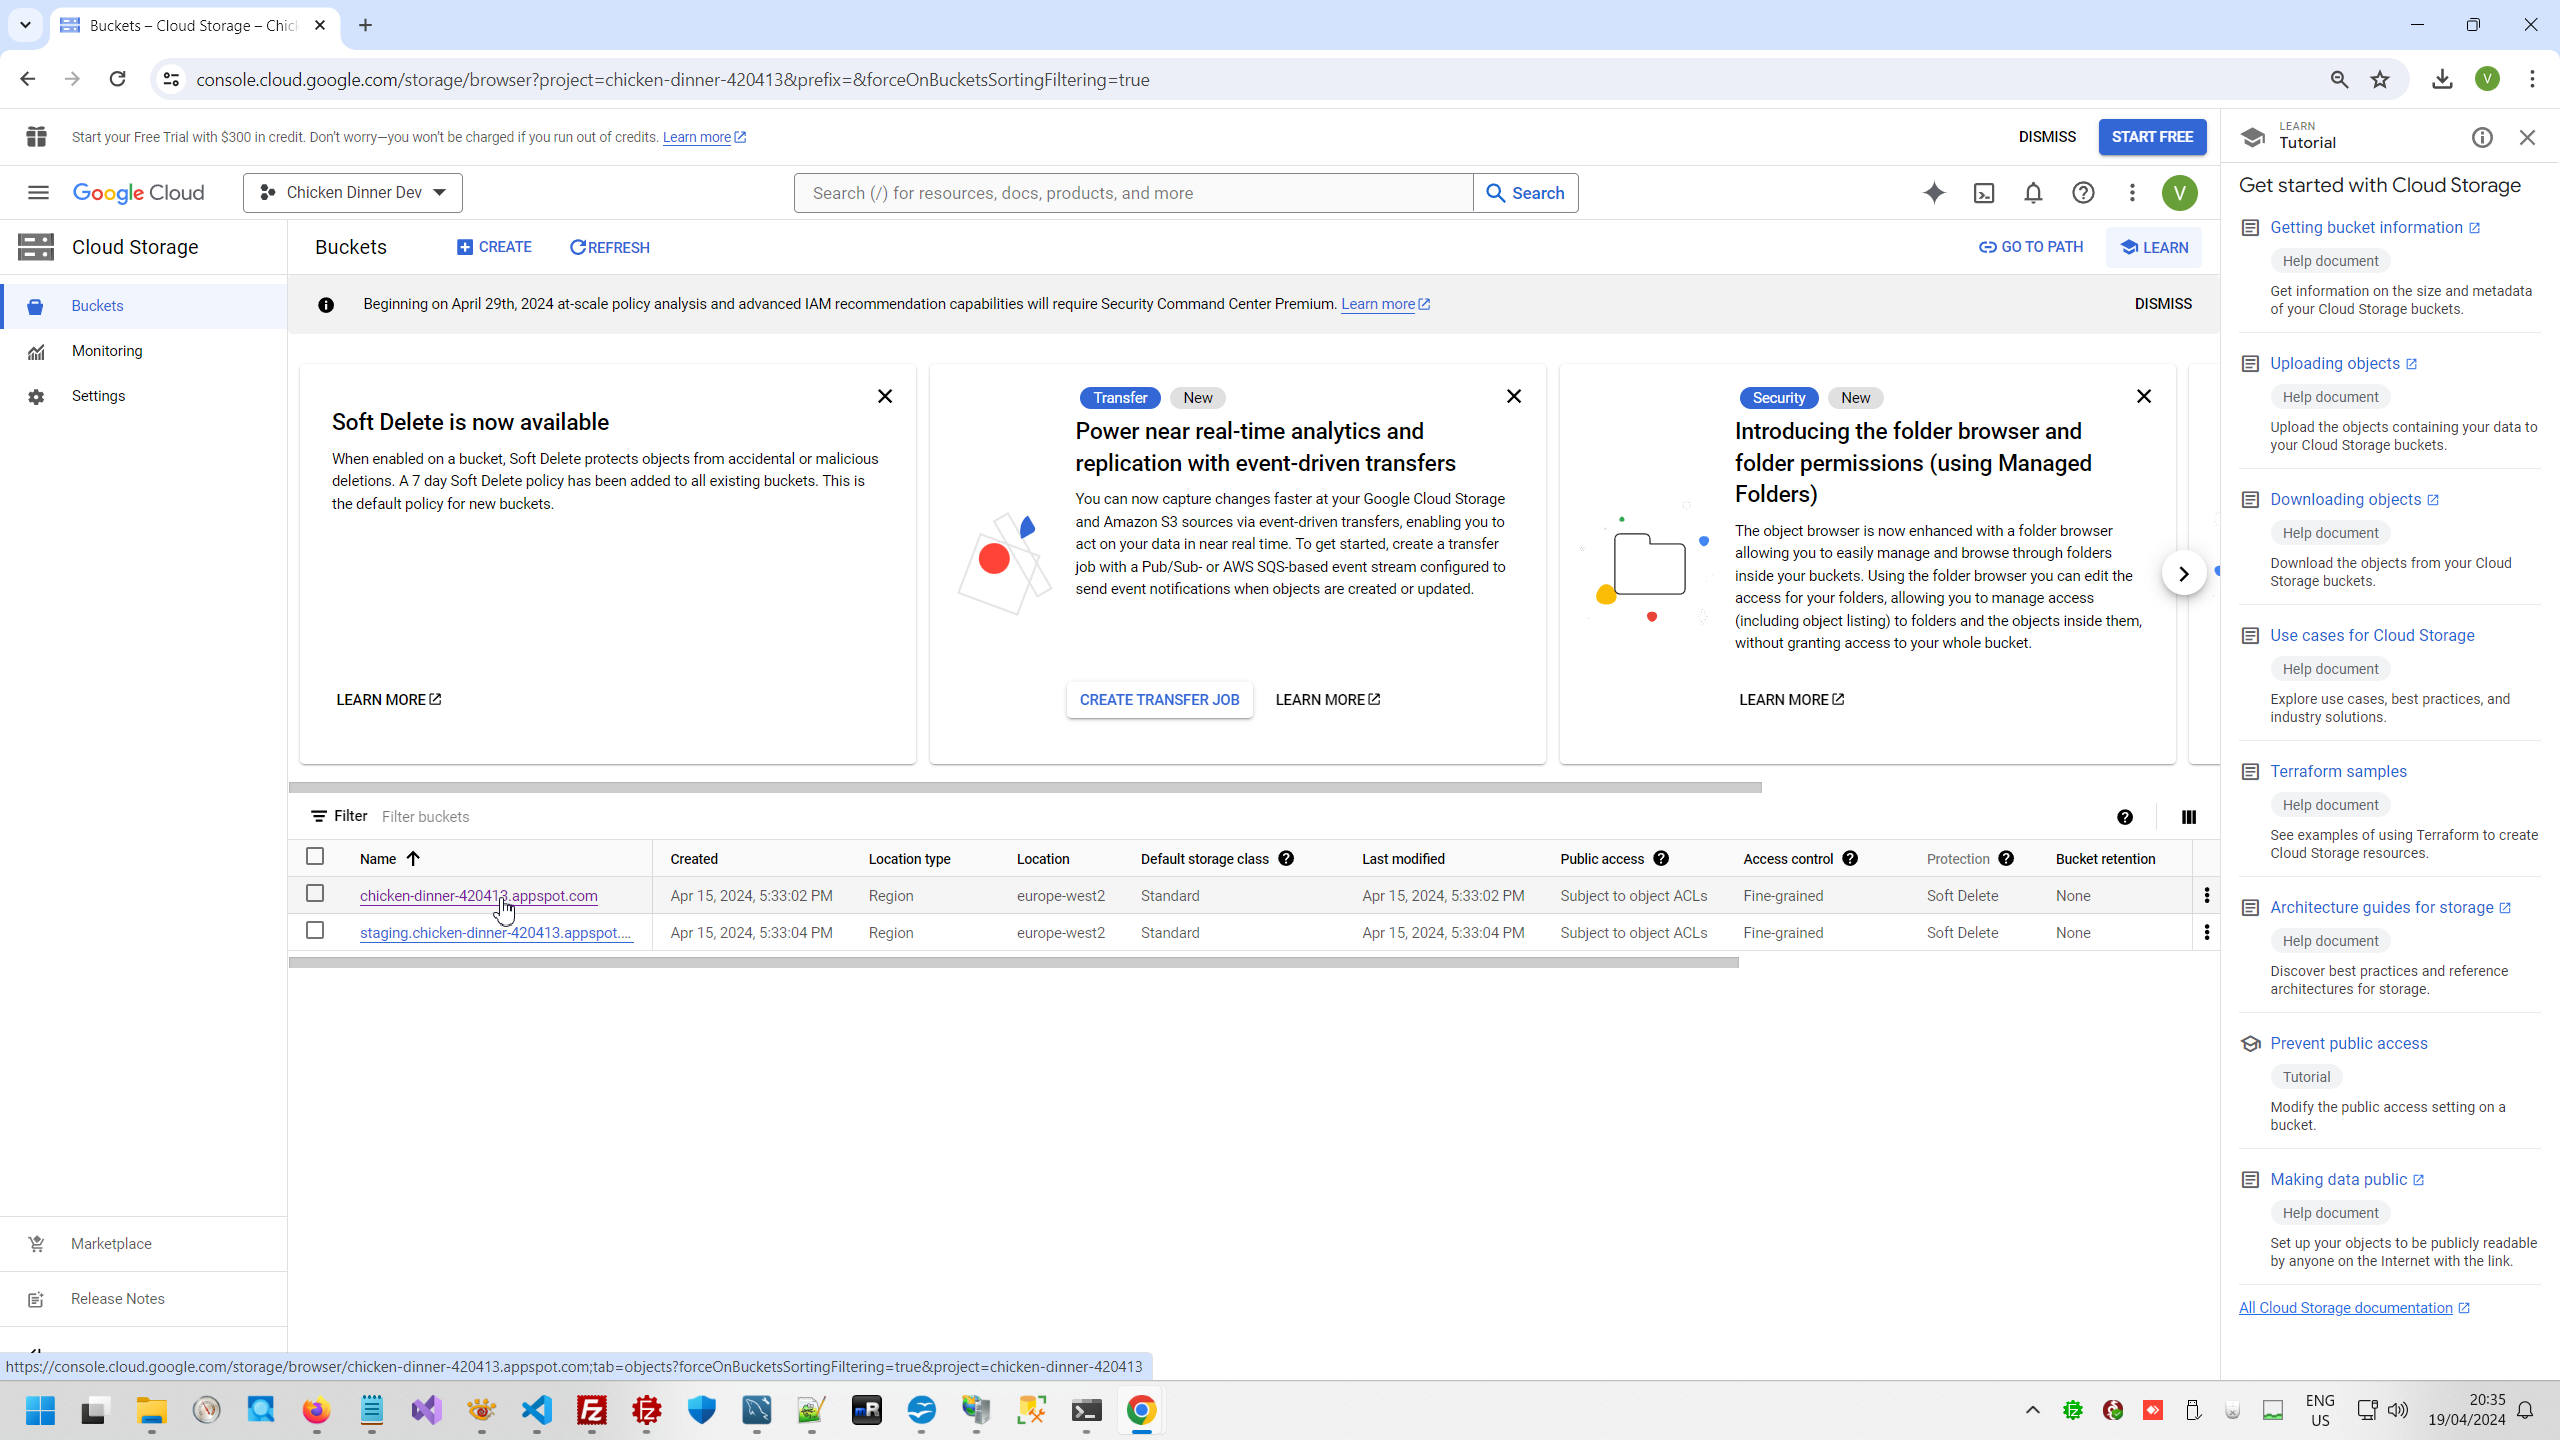
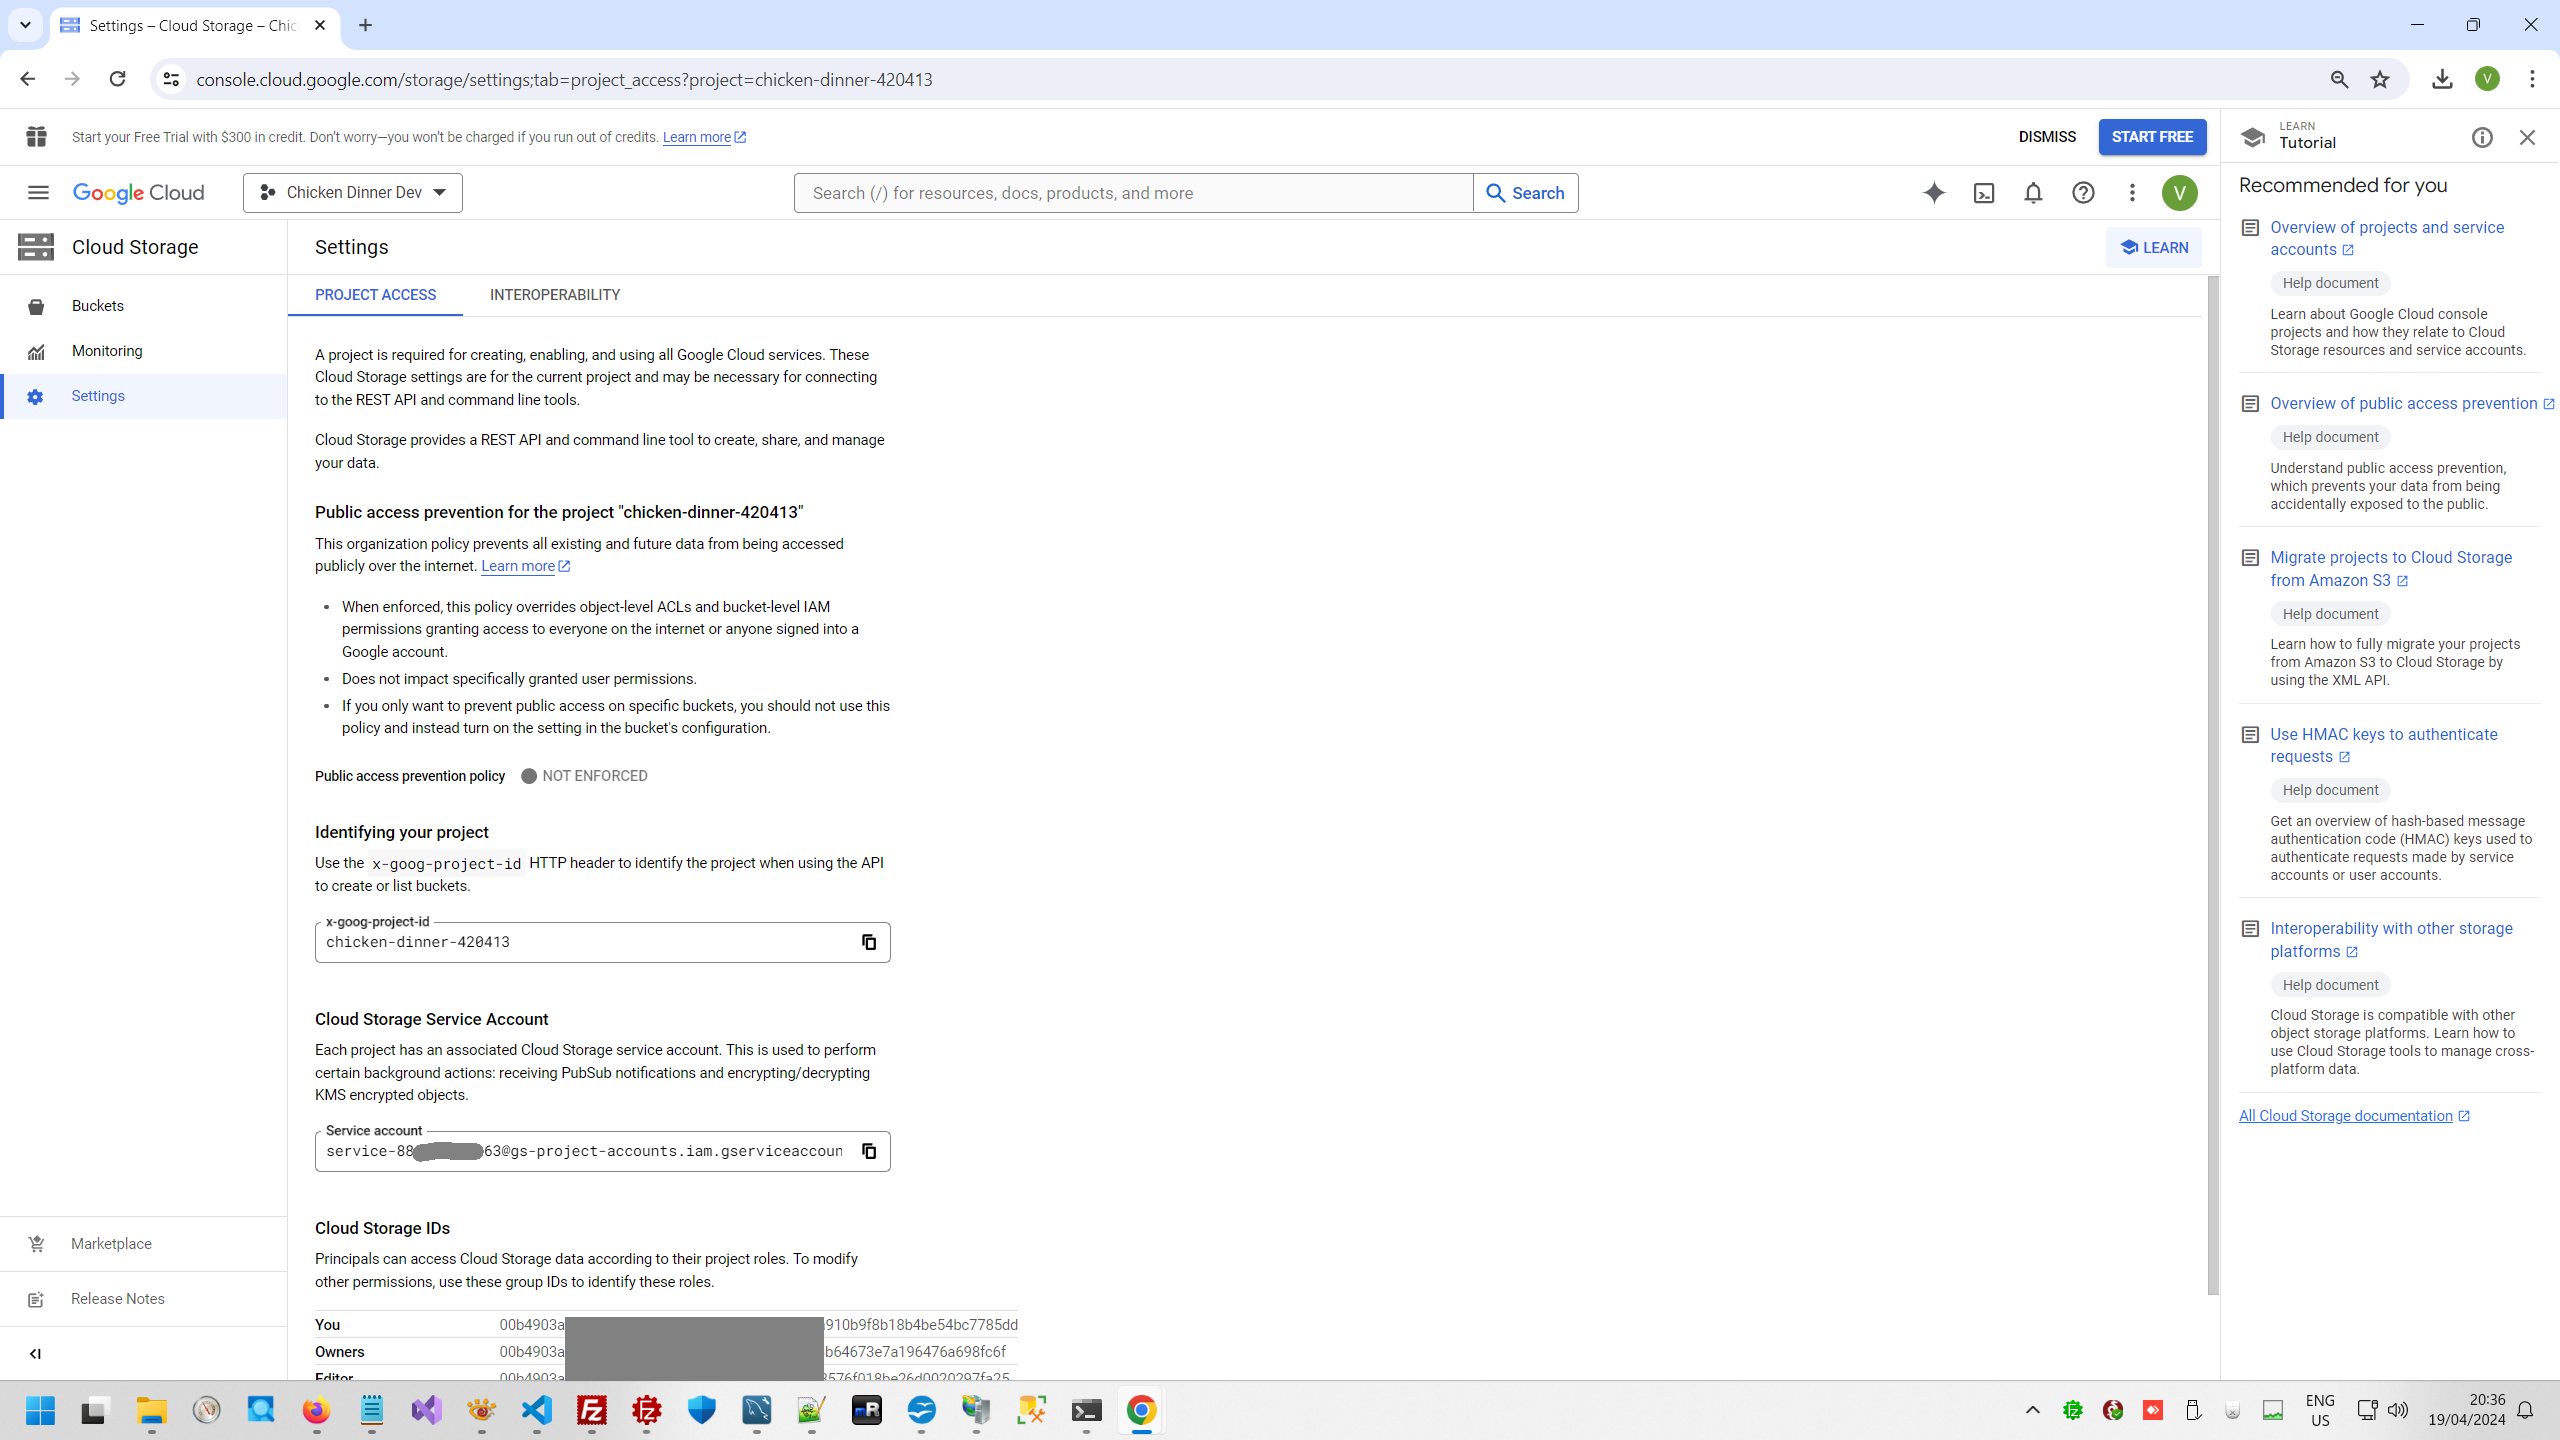
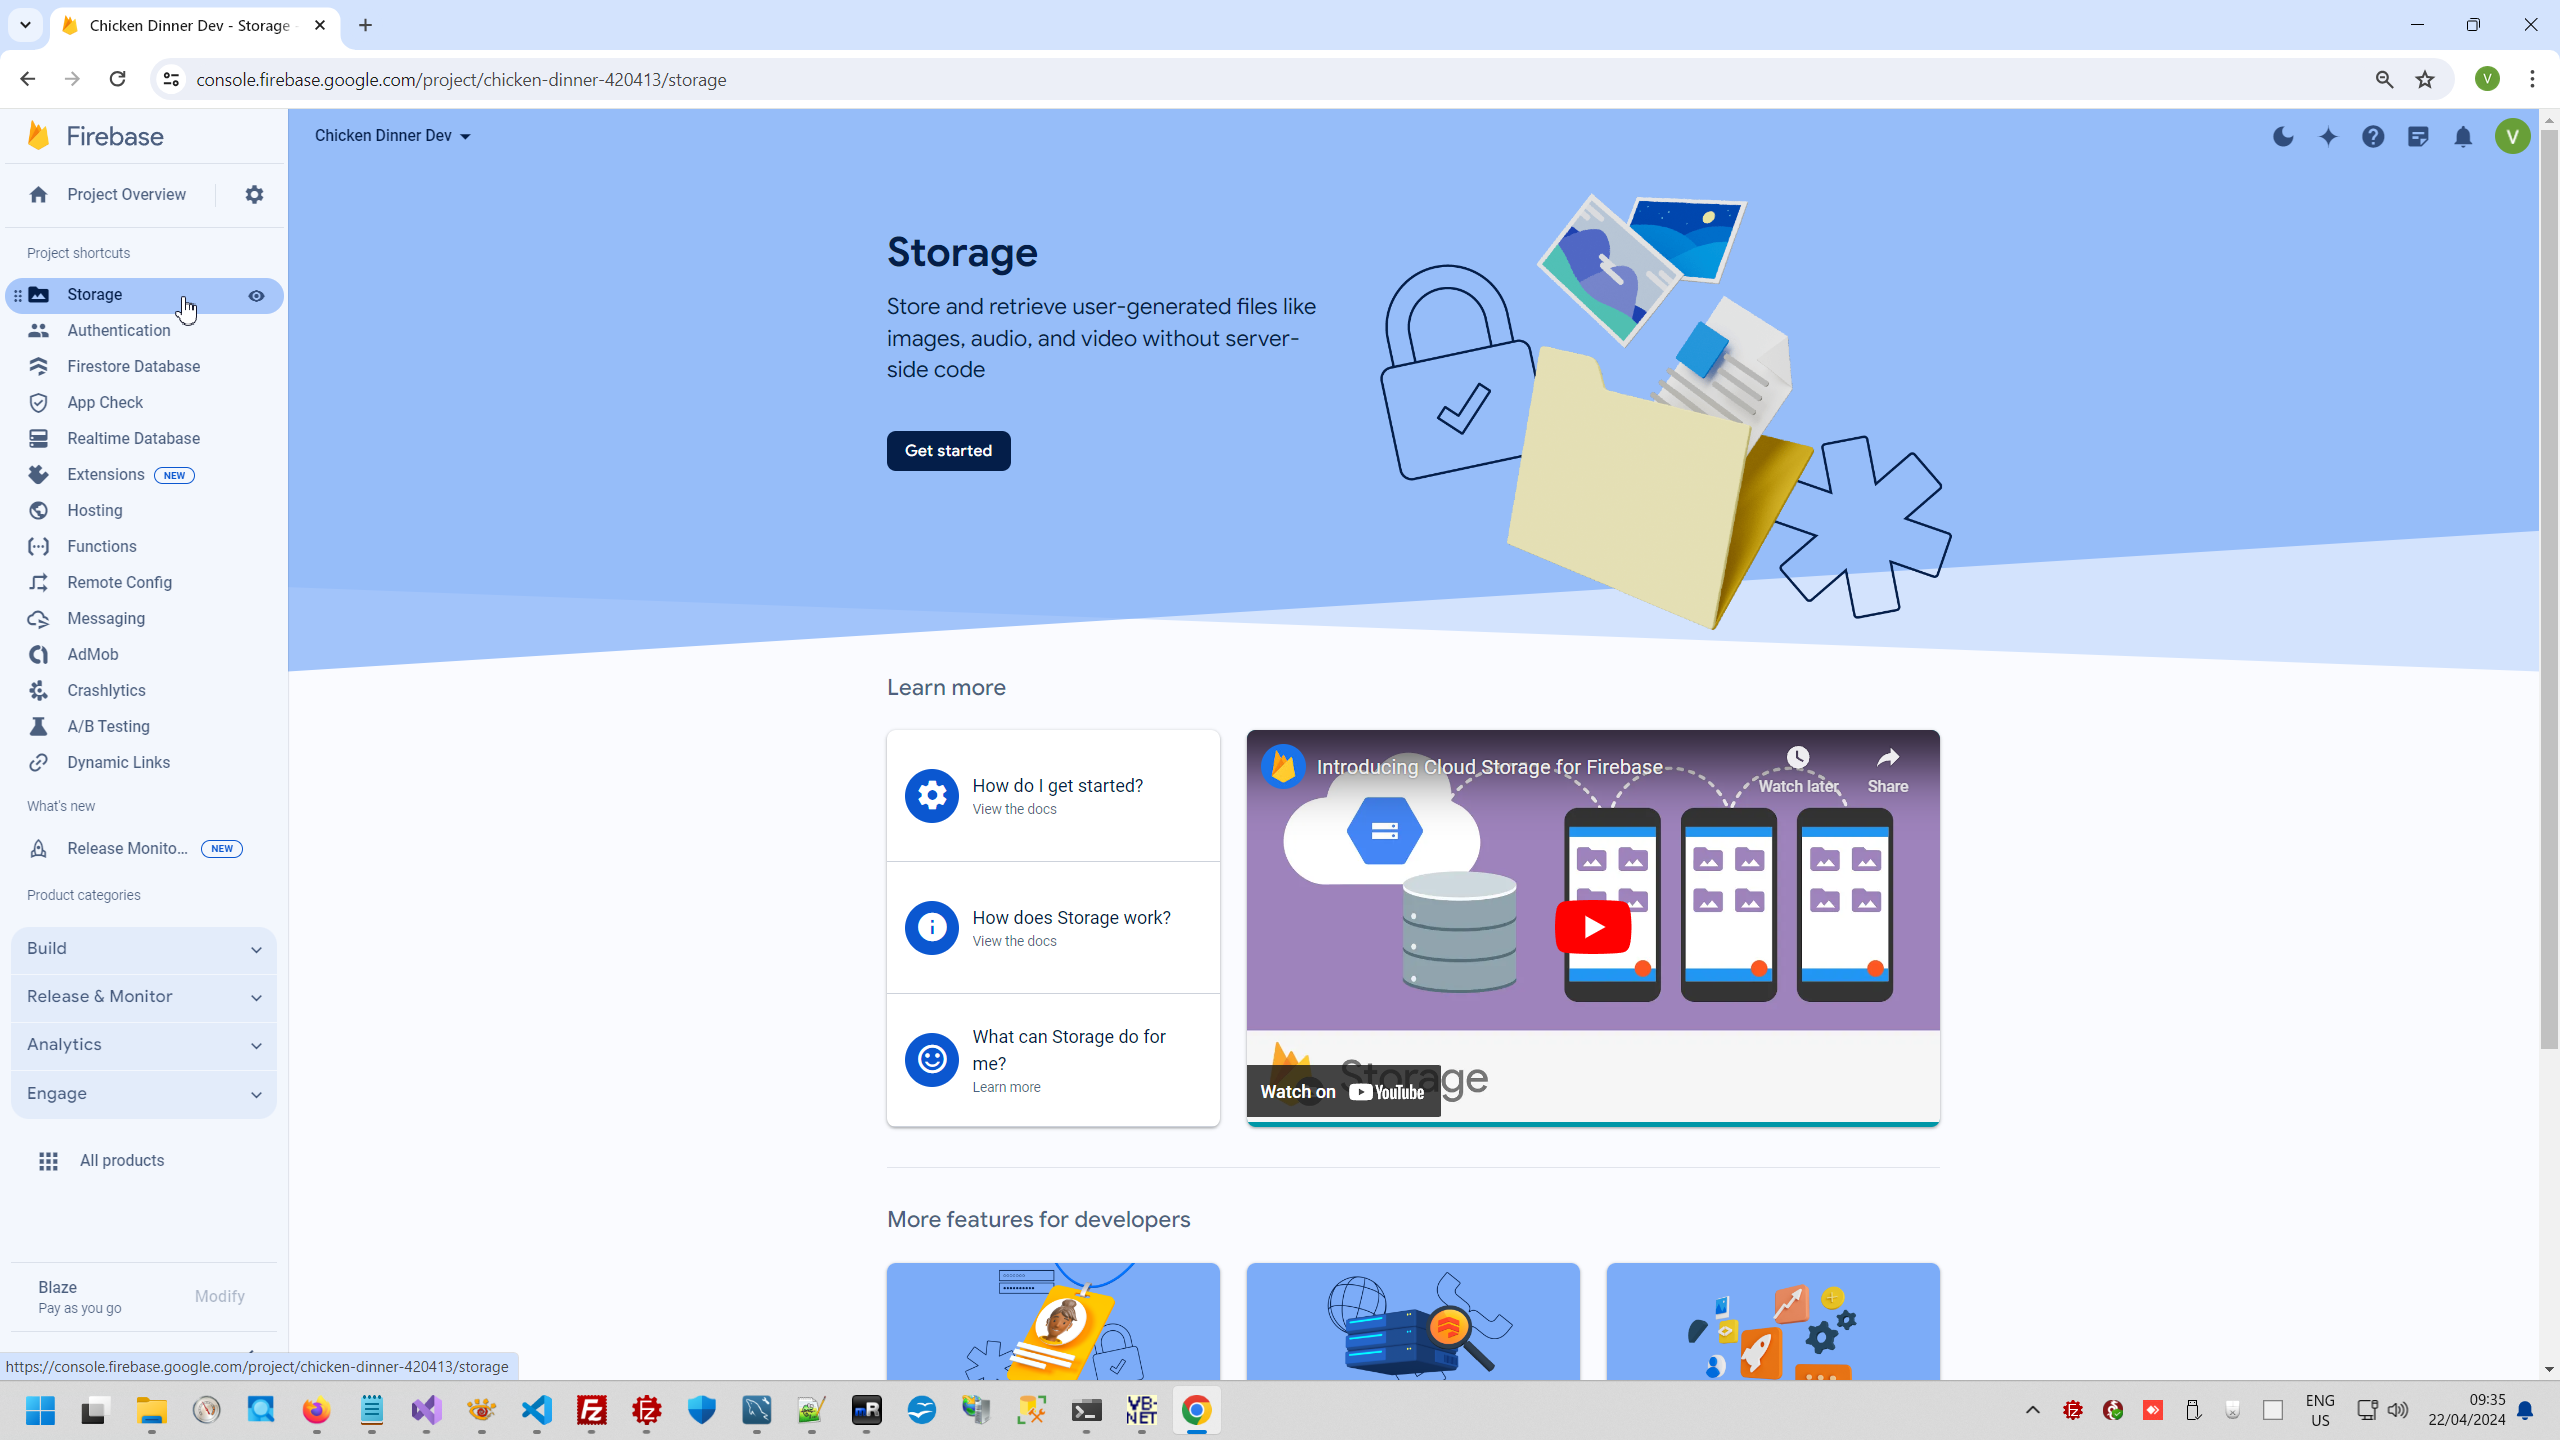
From project main page we can add to project Cloud Backet.

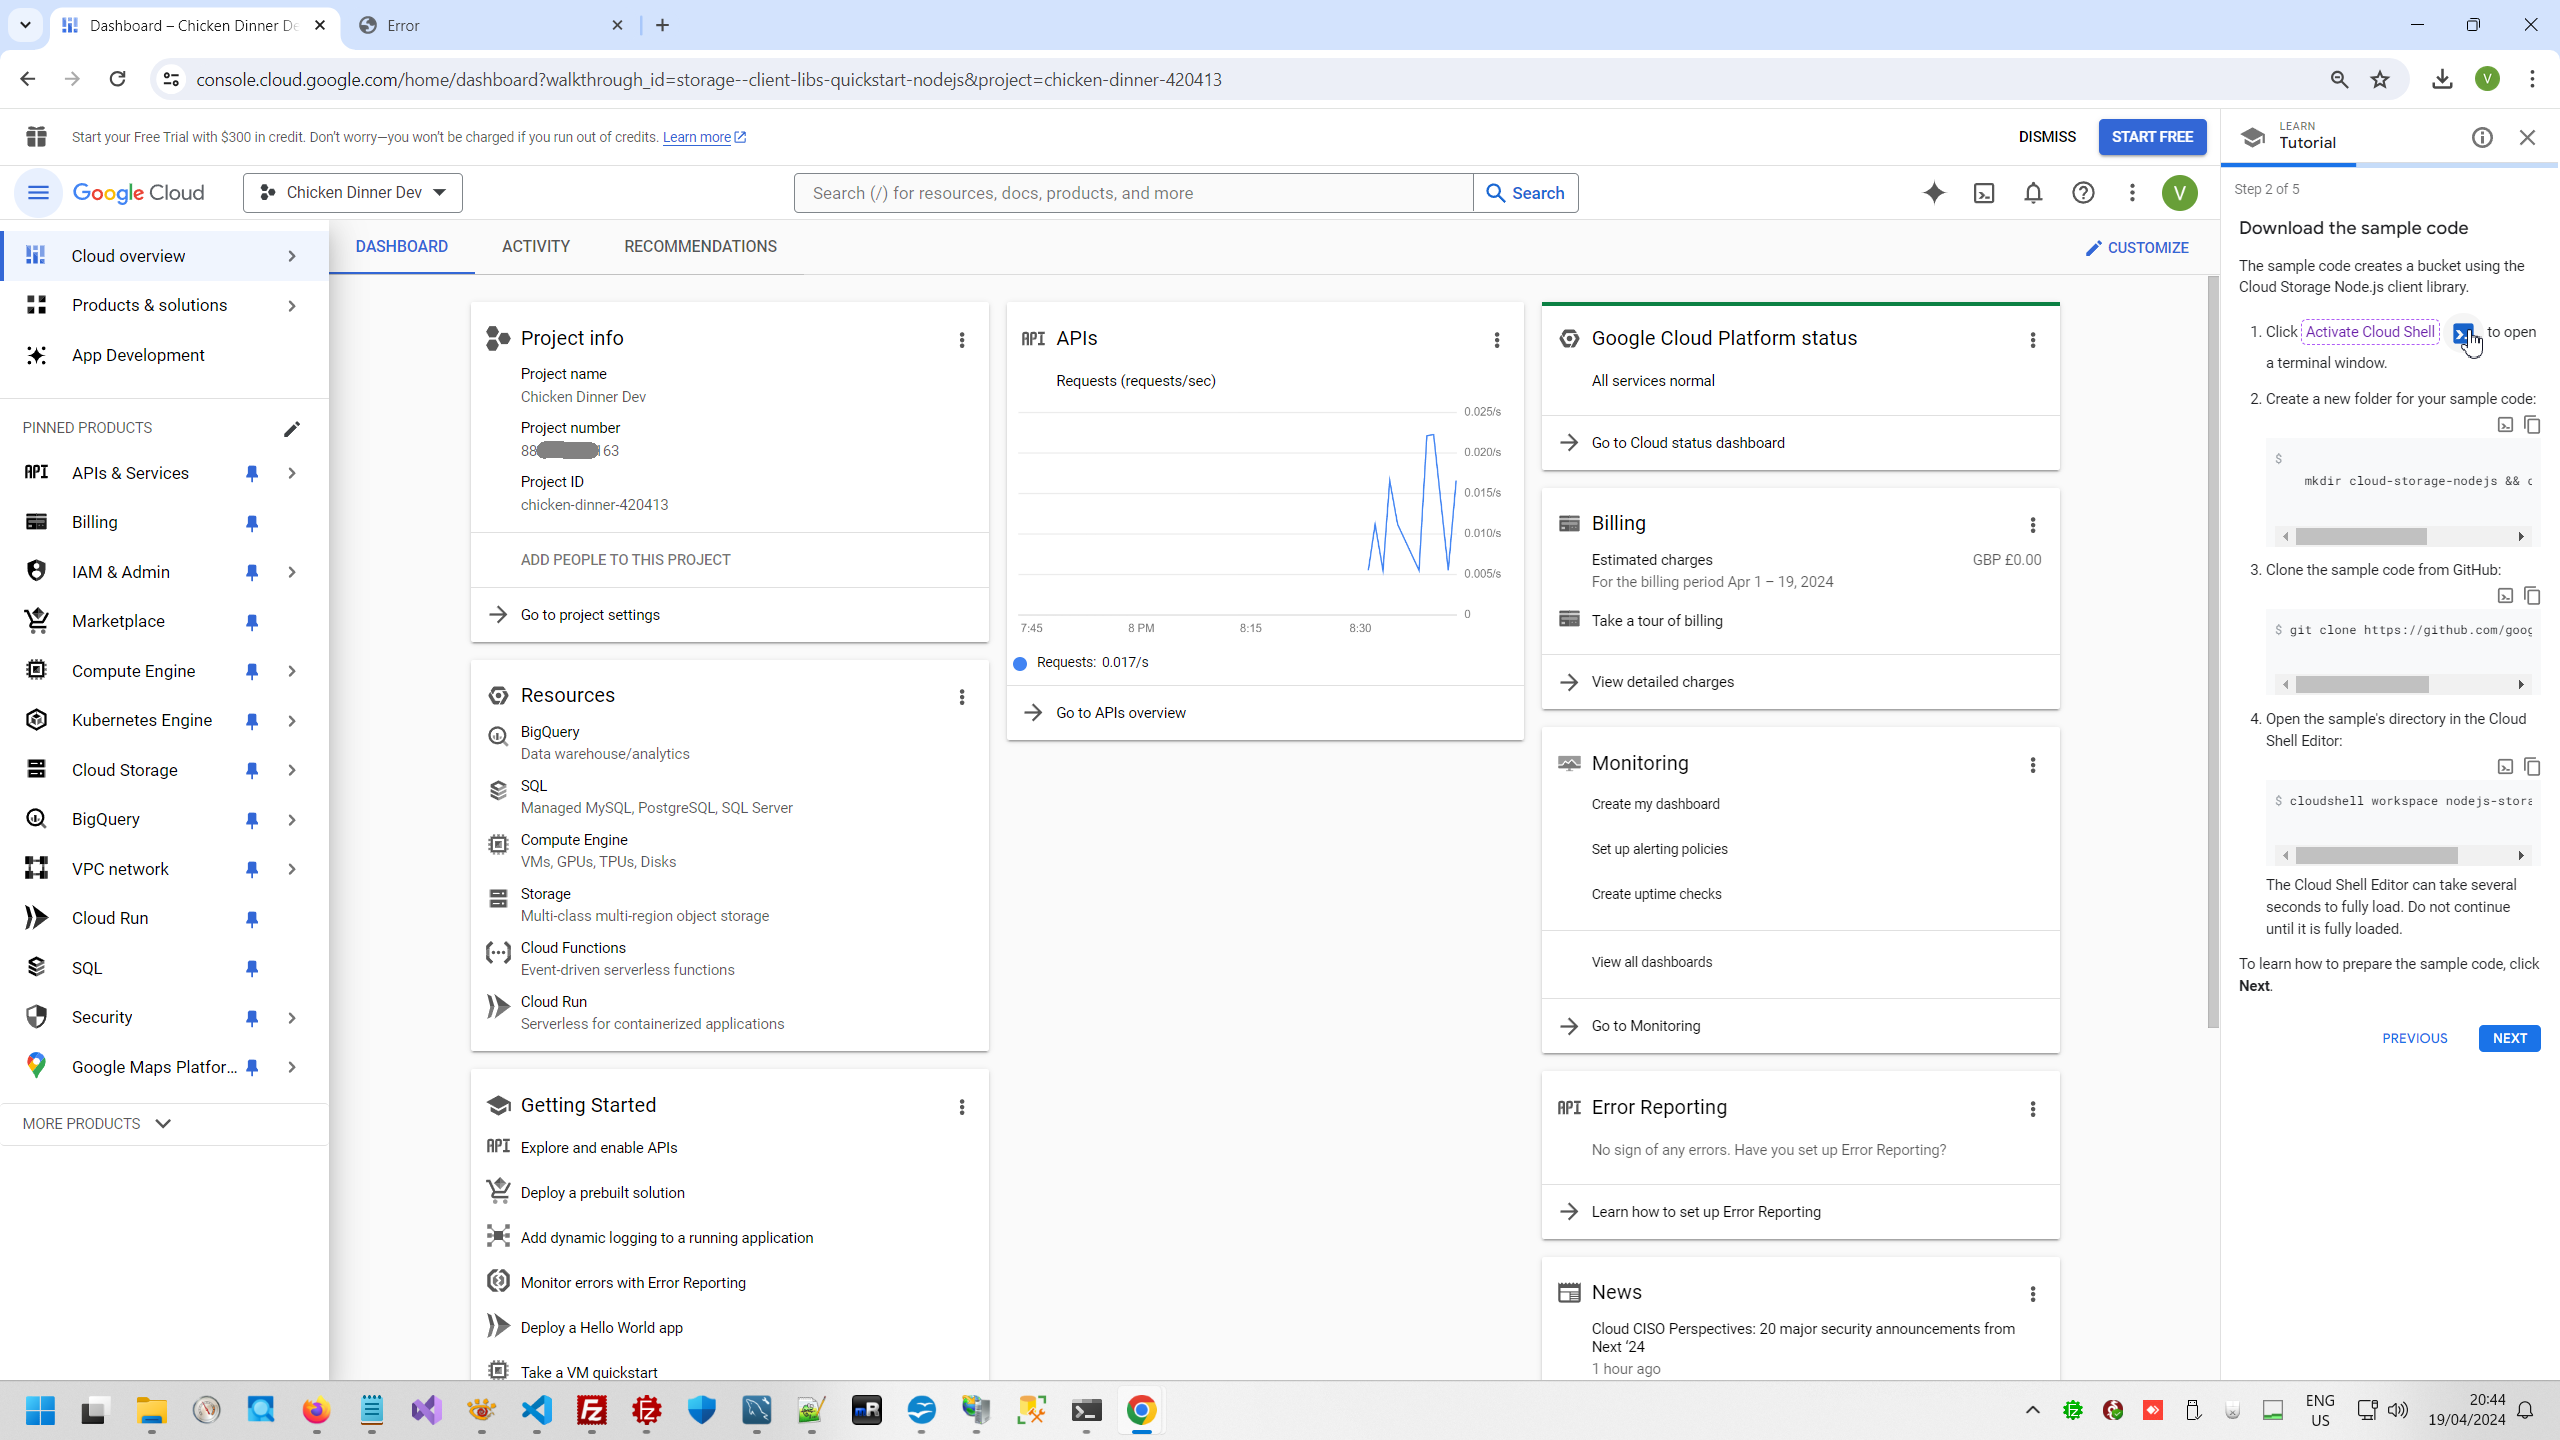
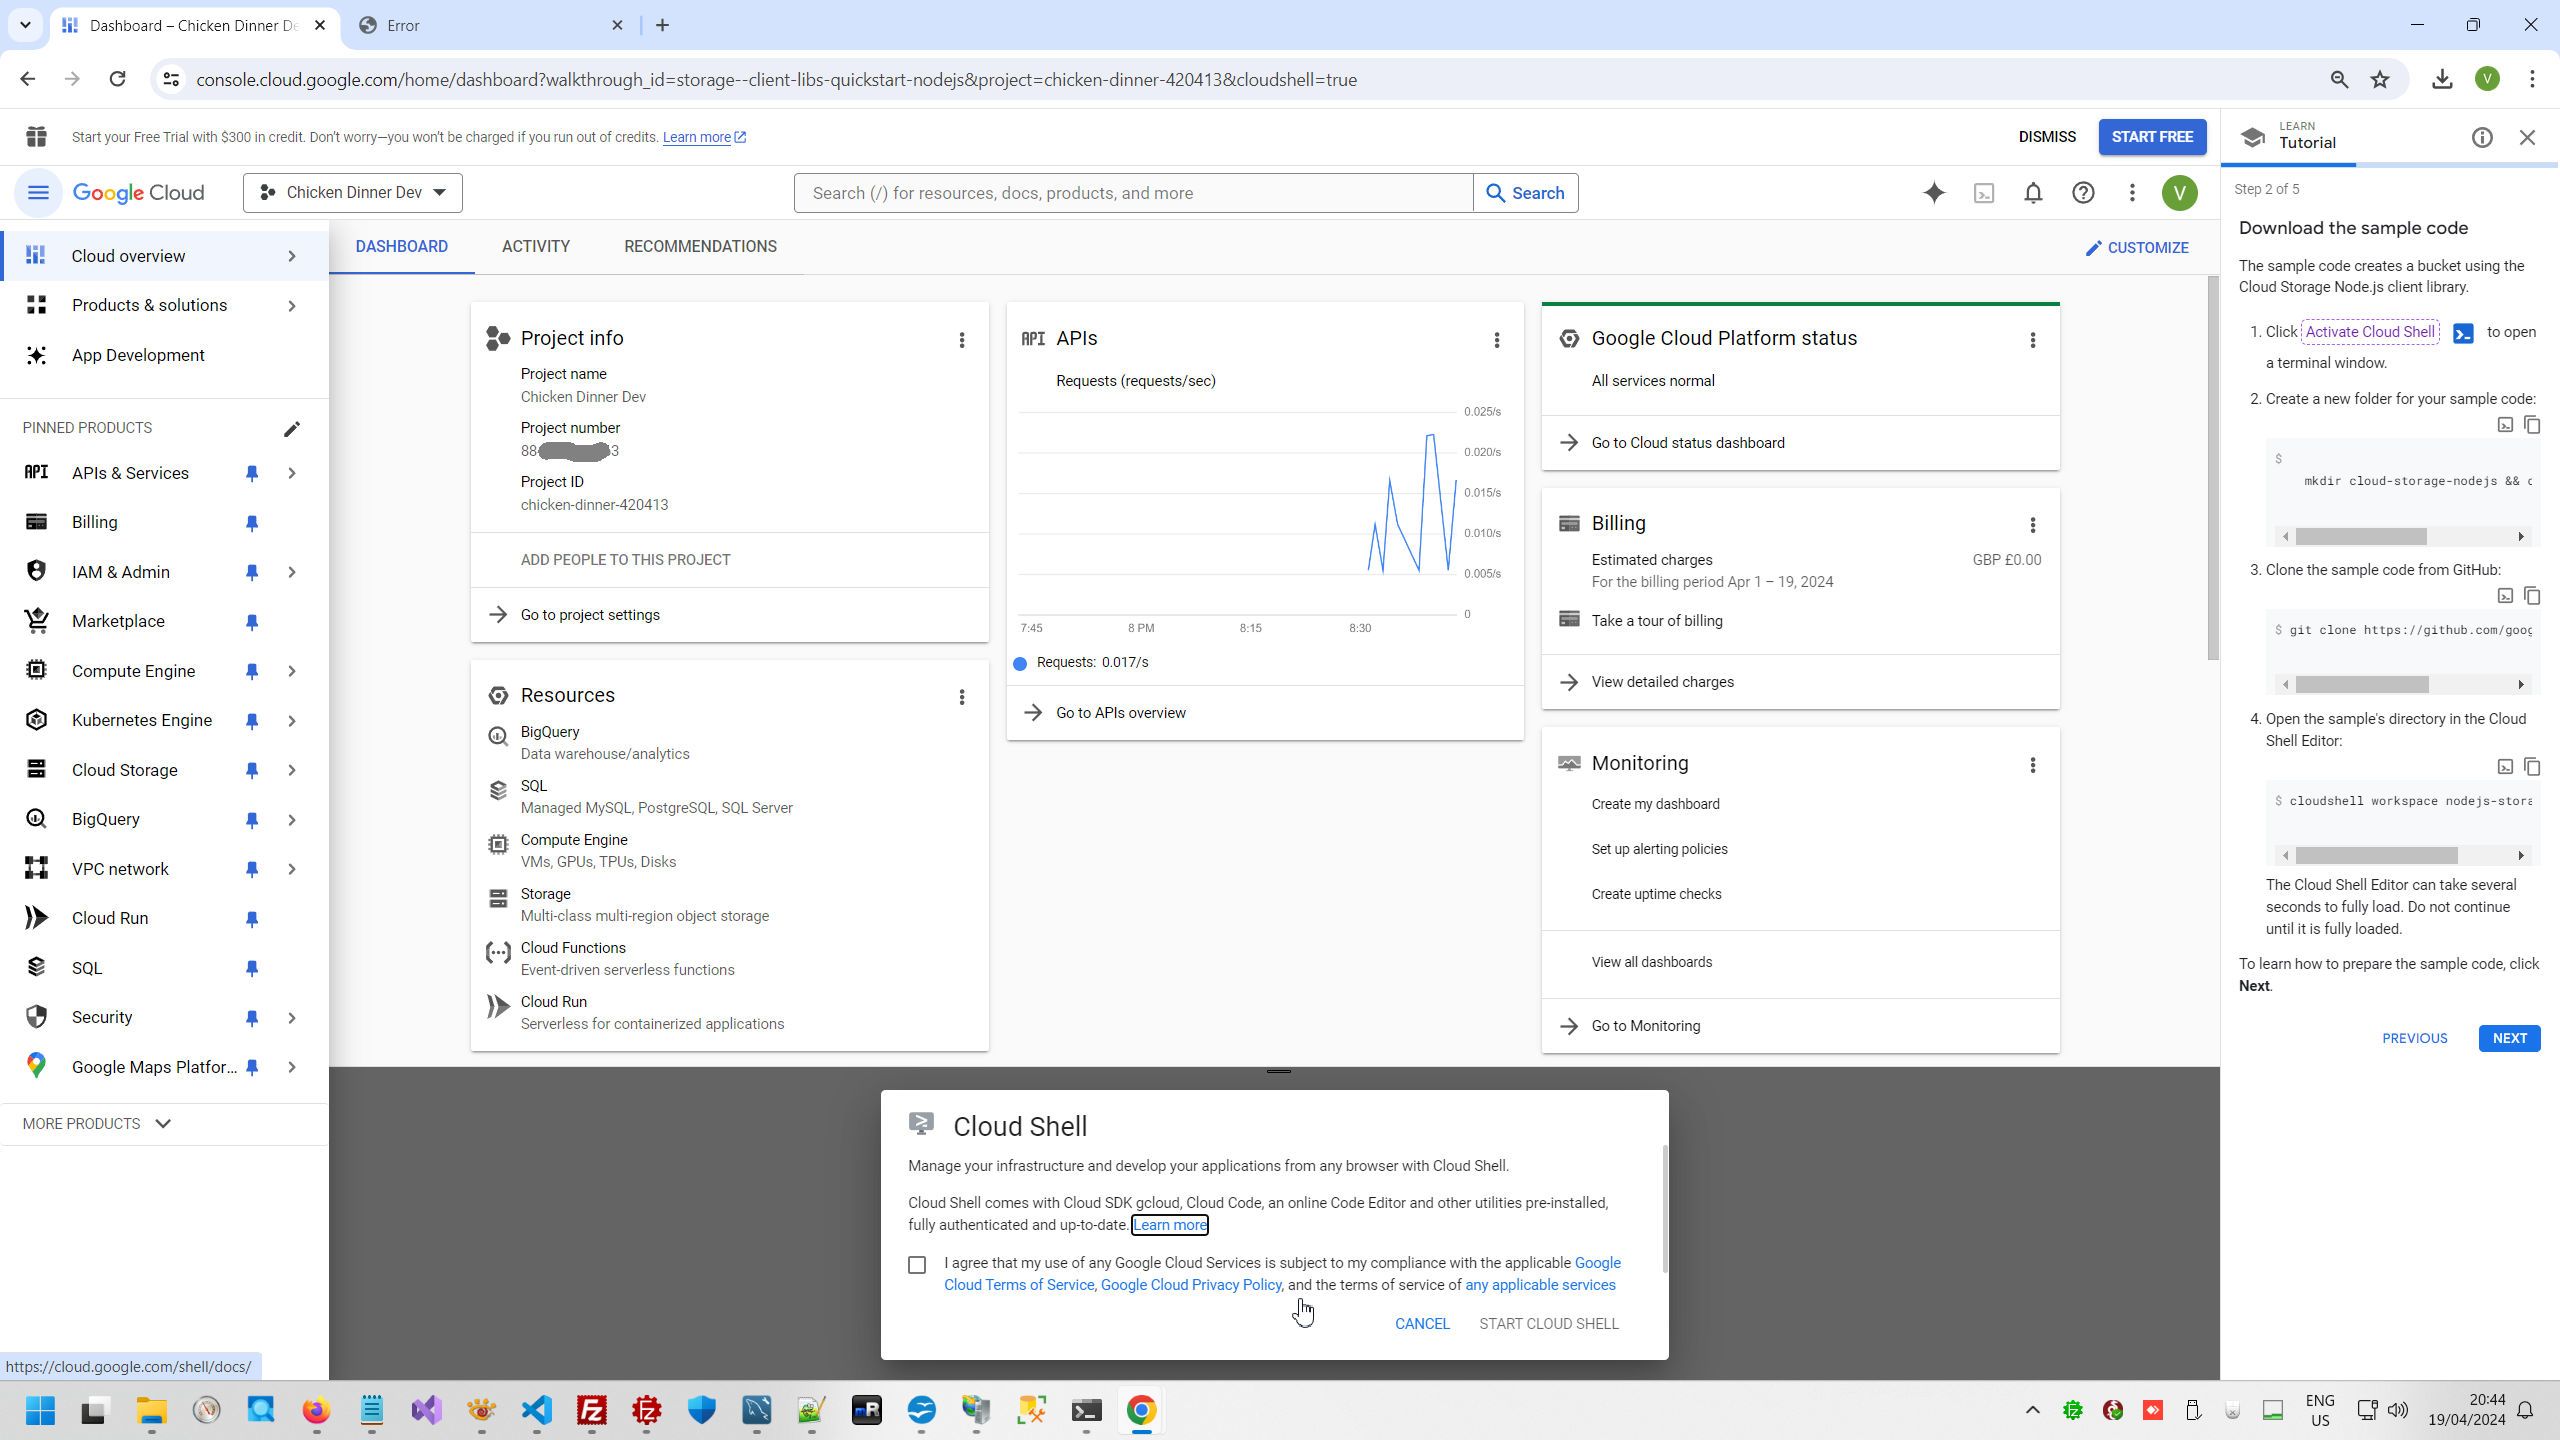
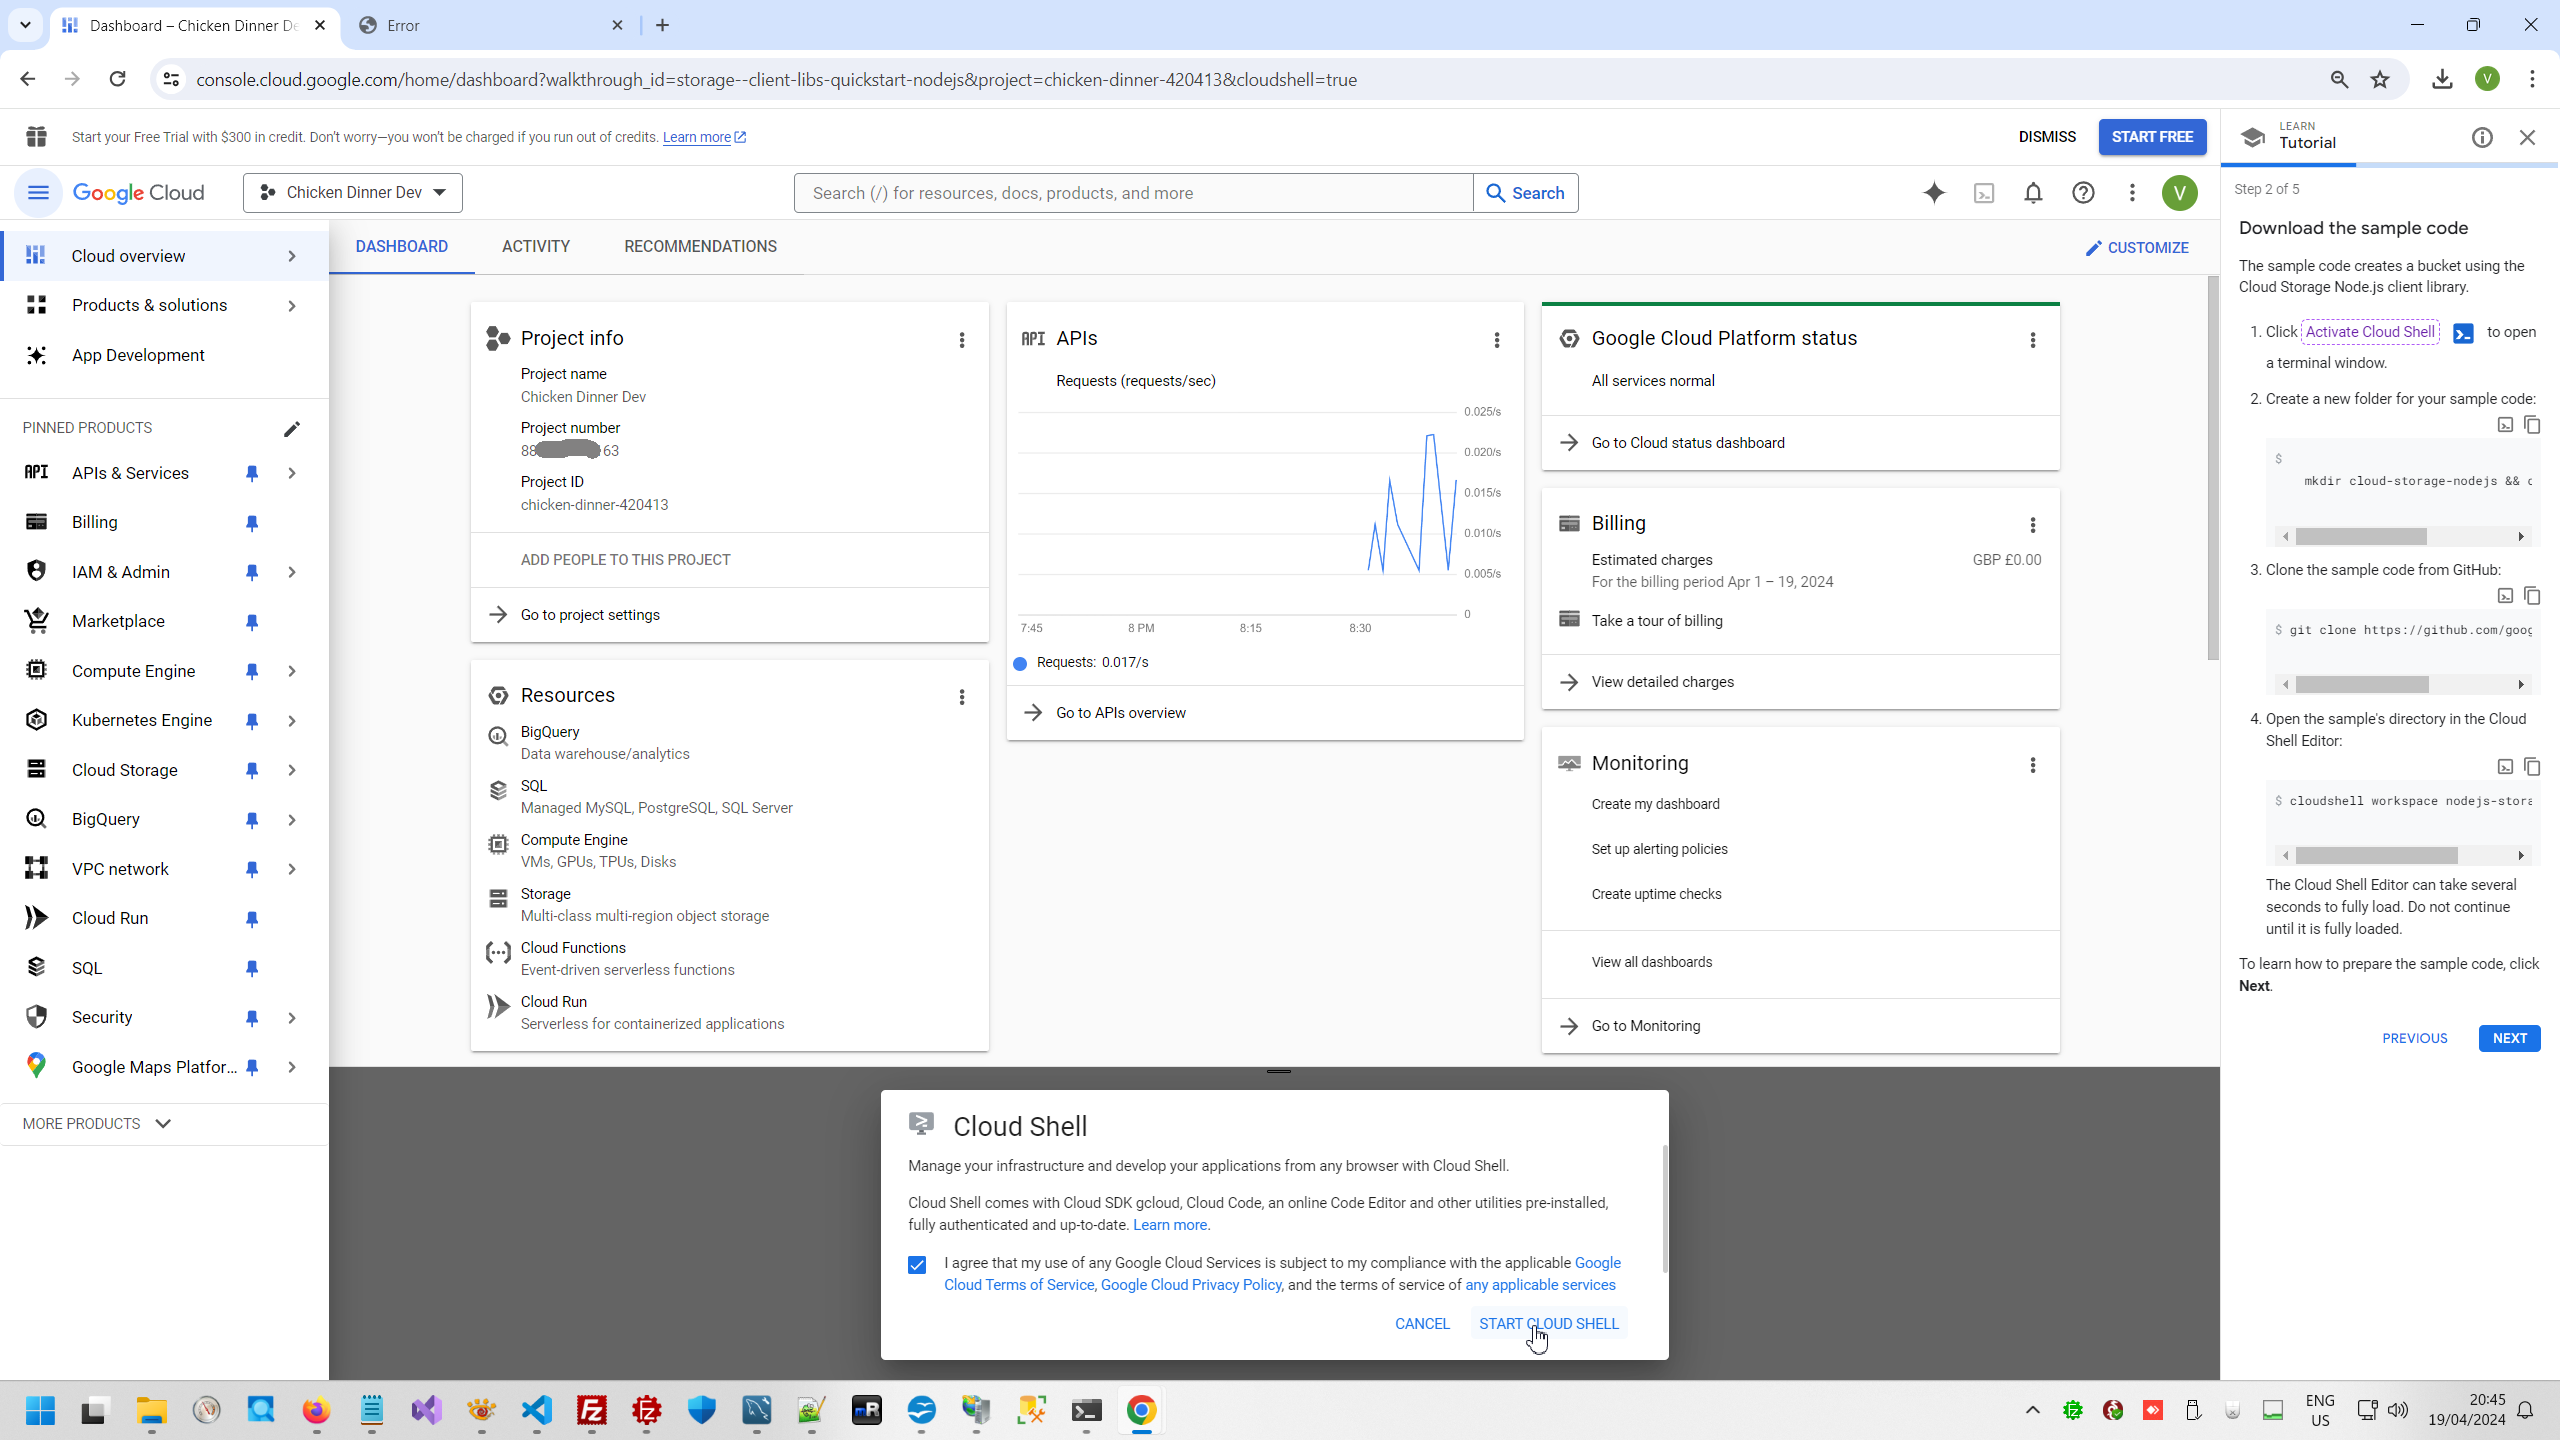
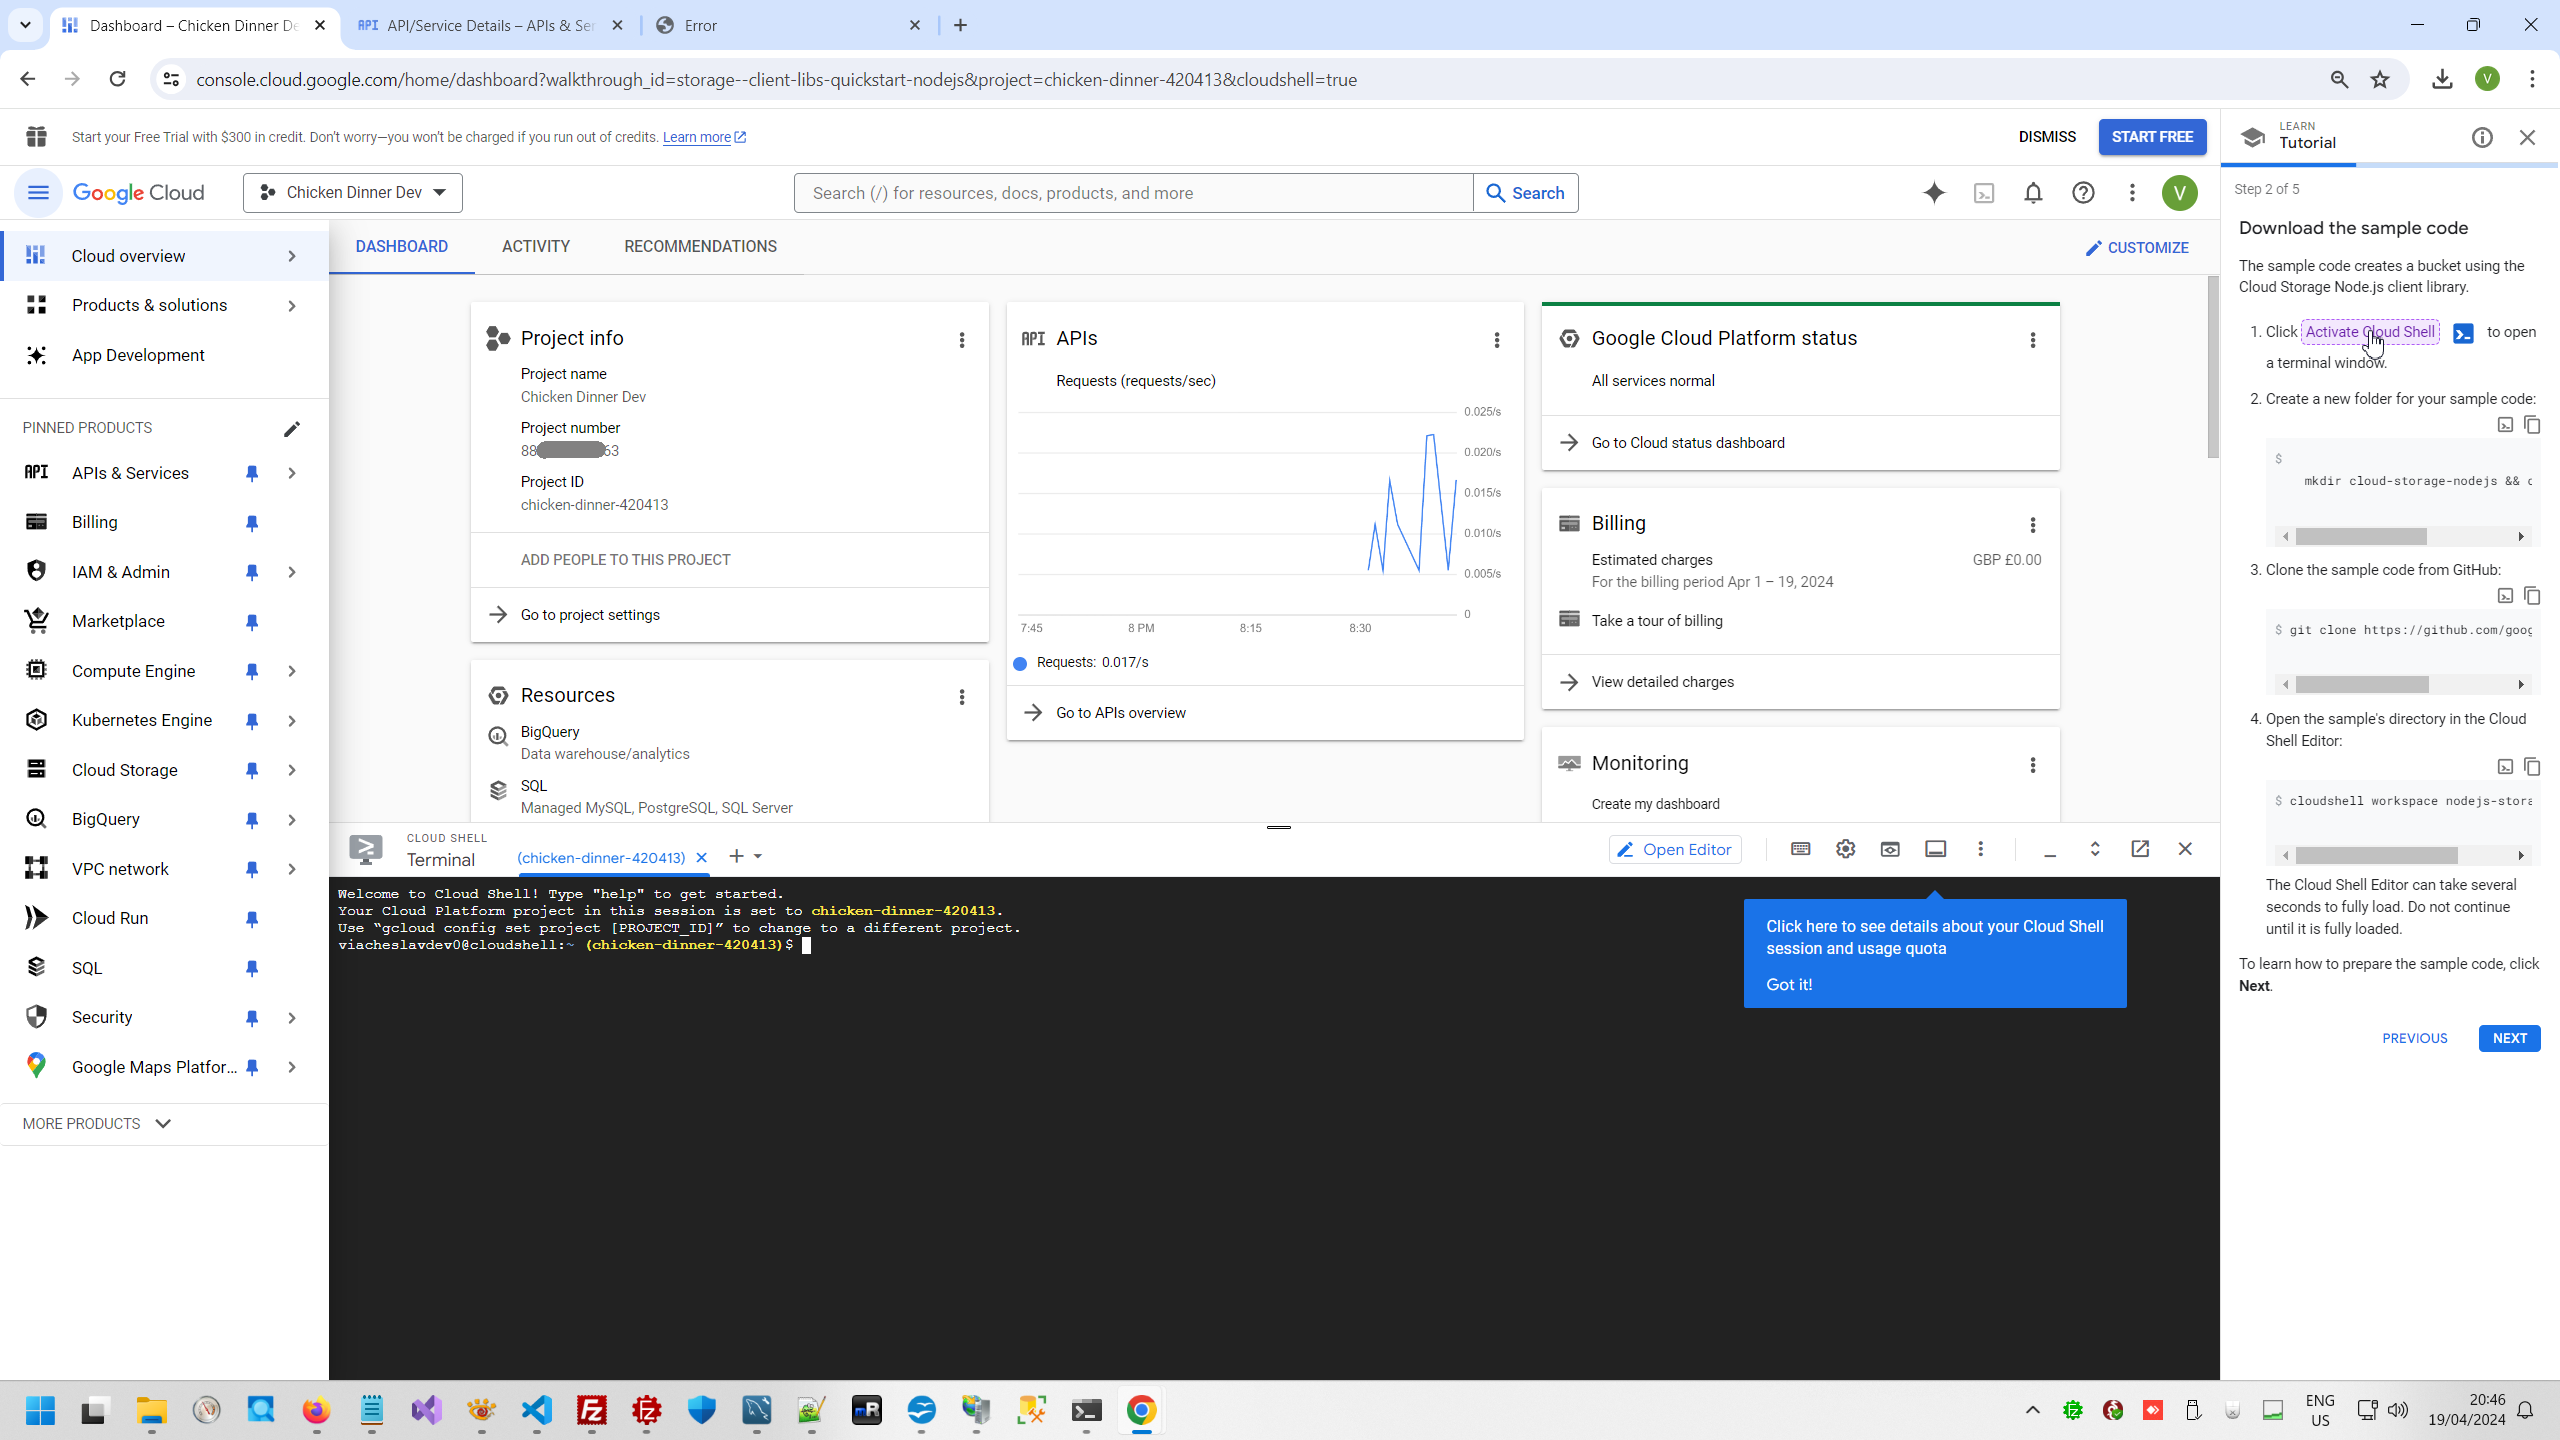
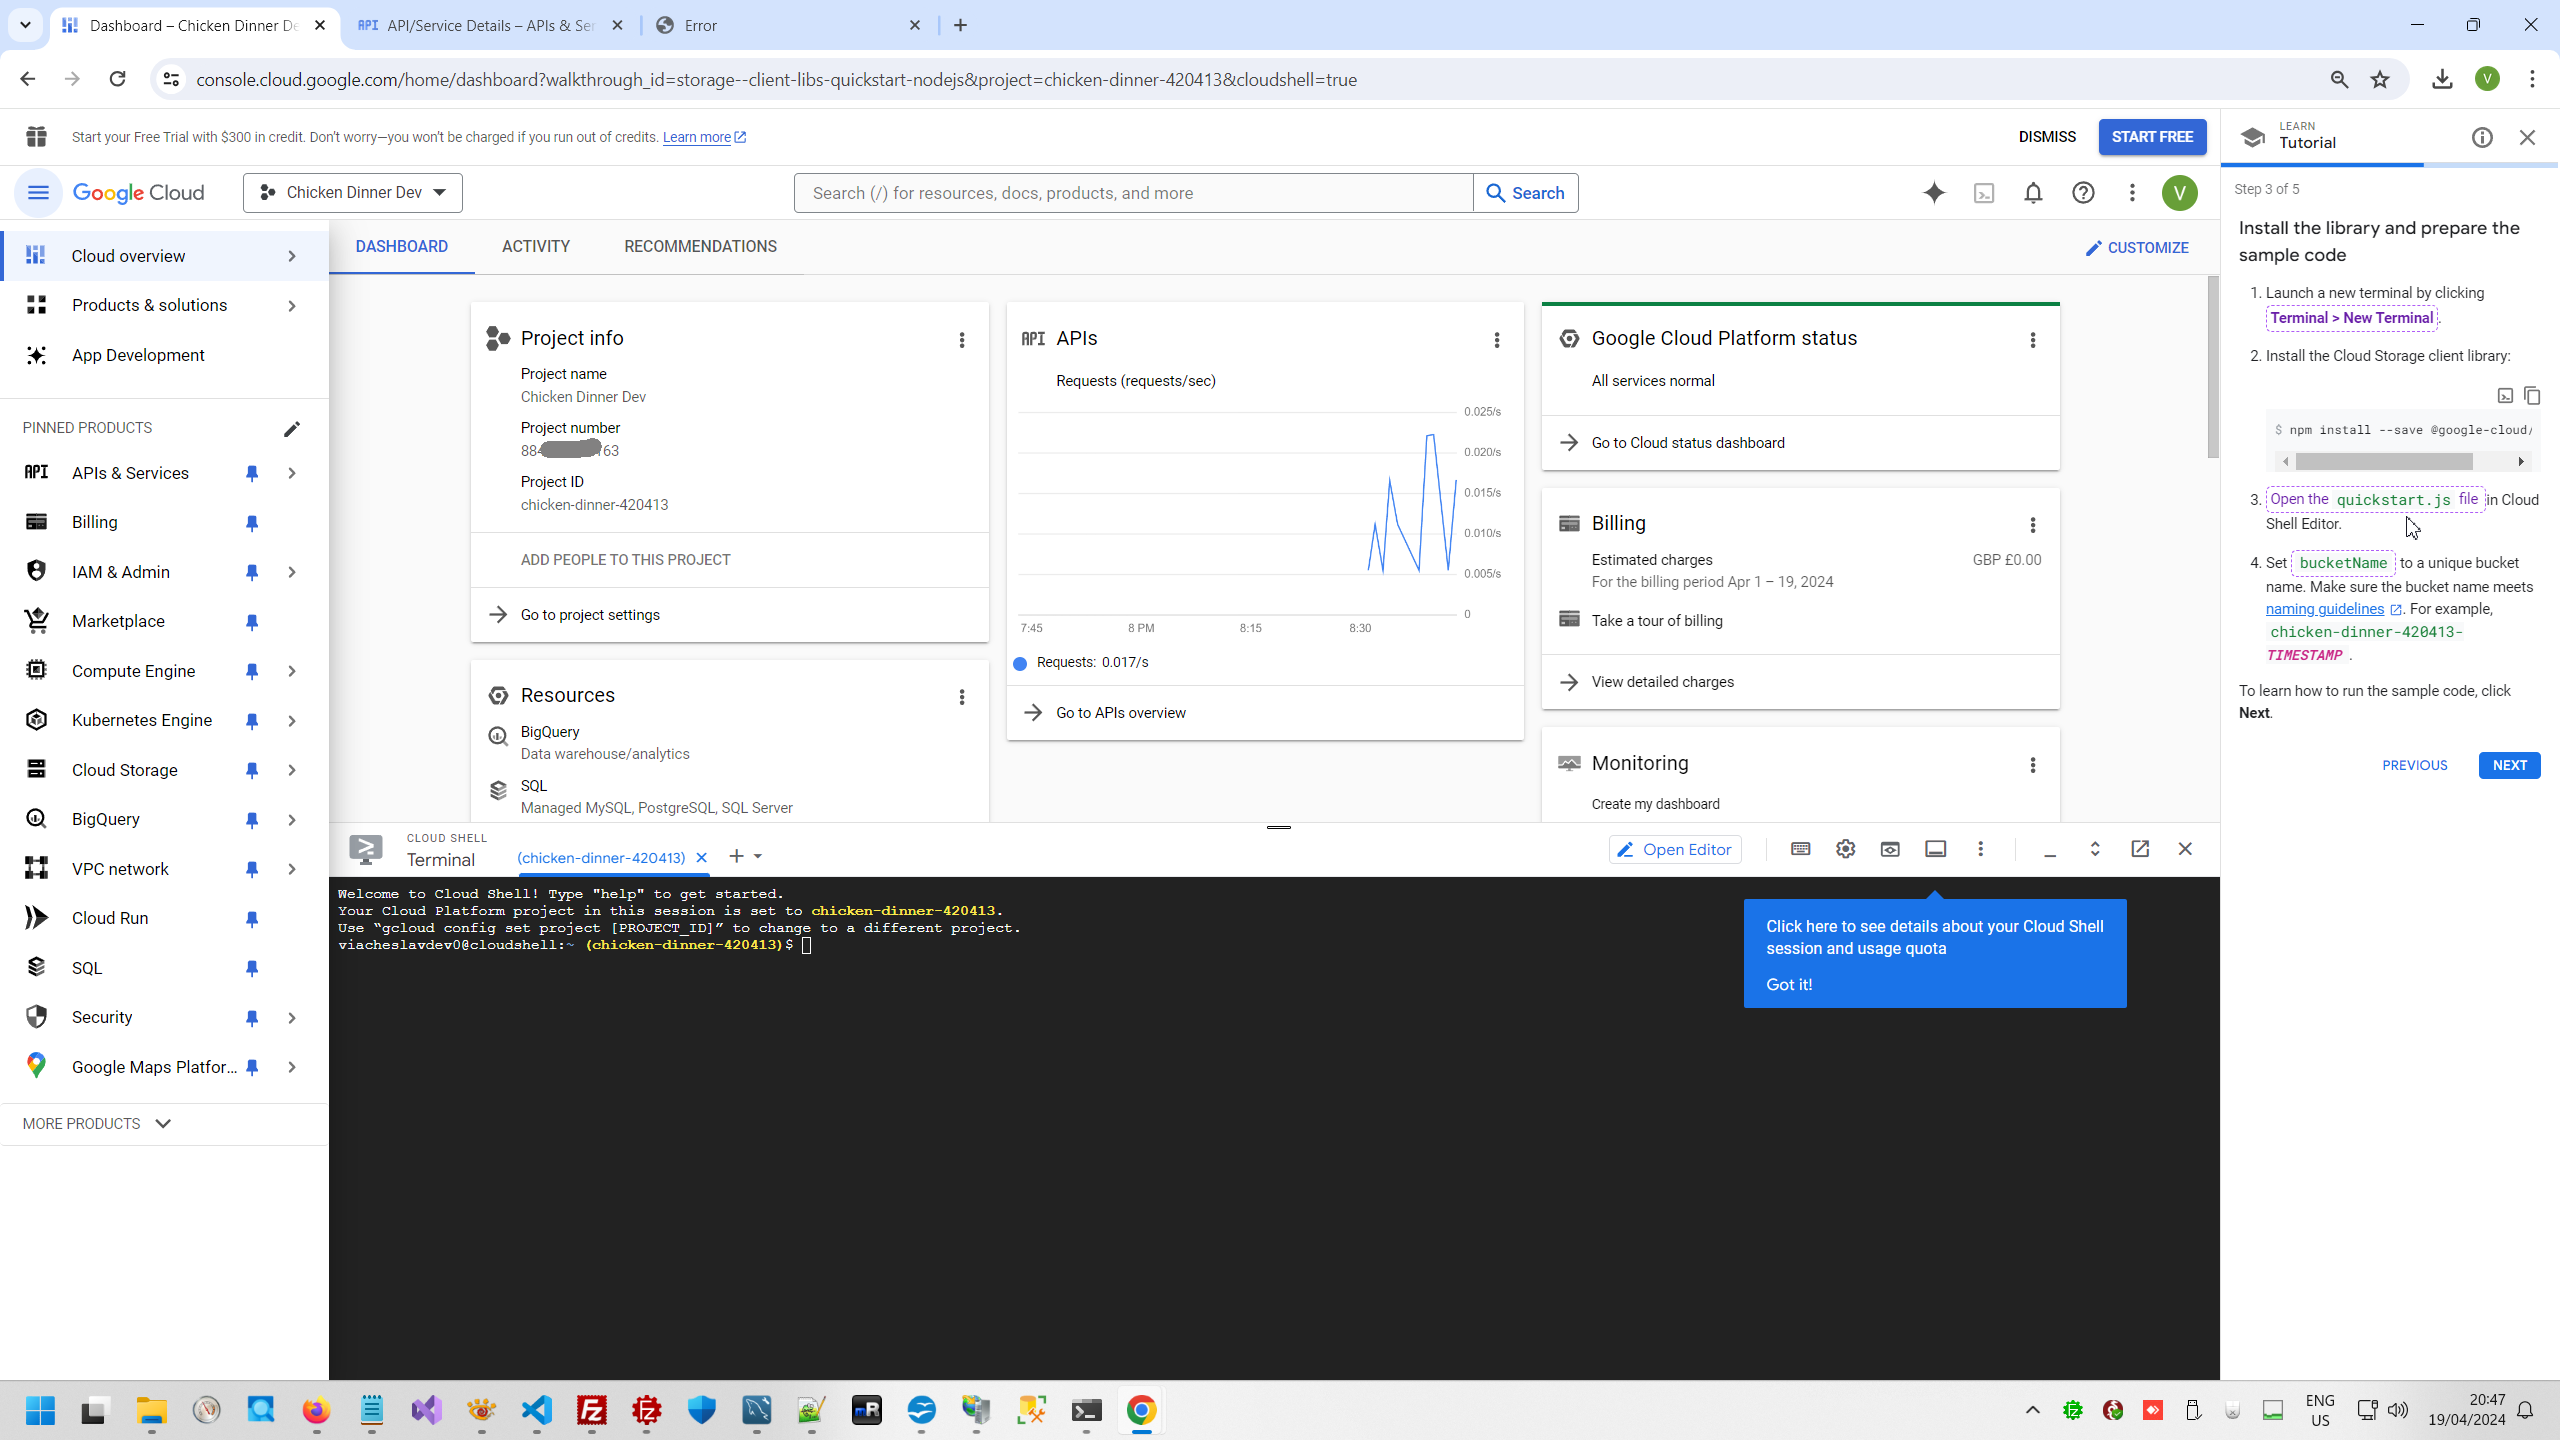
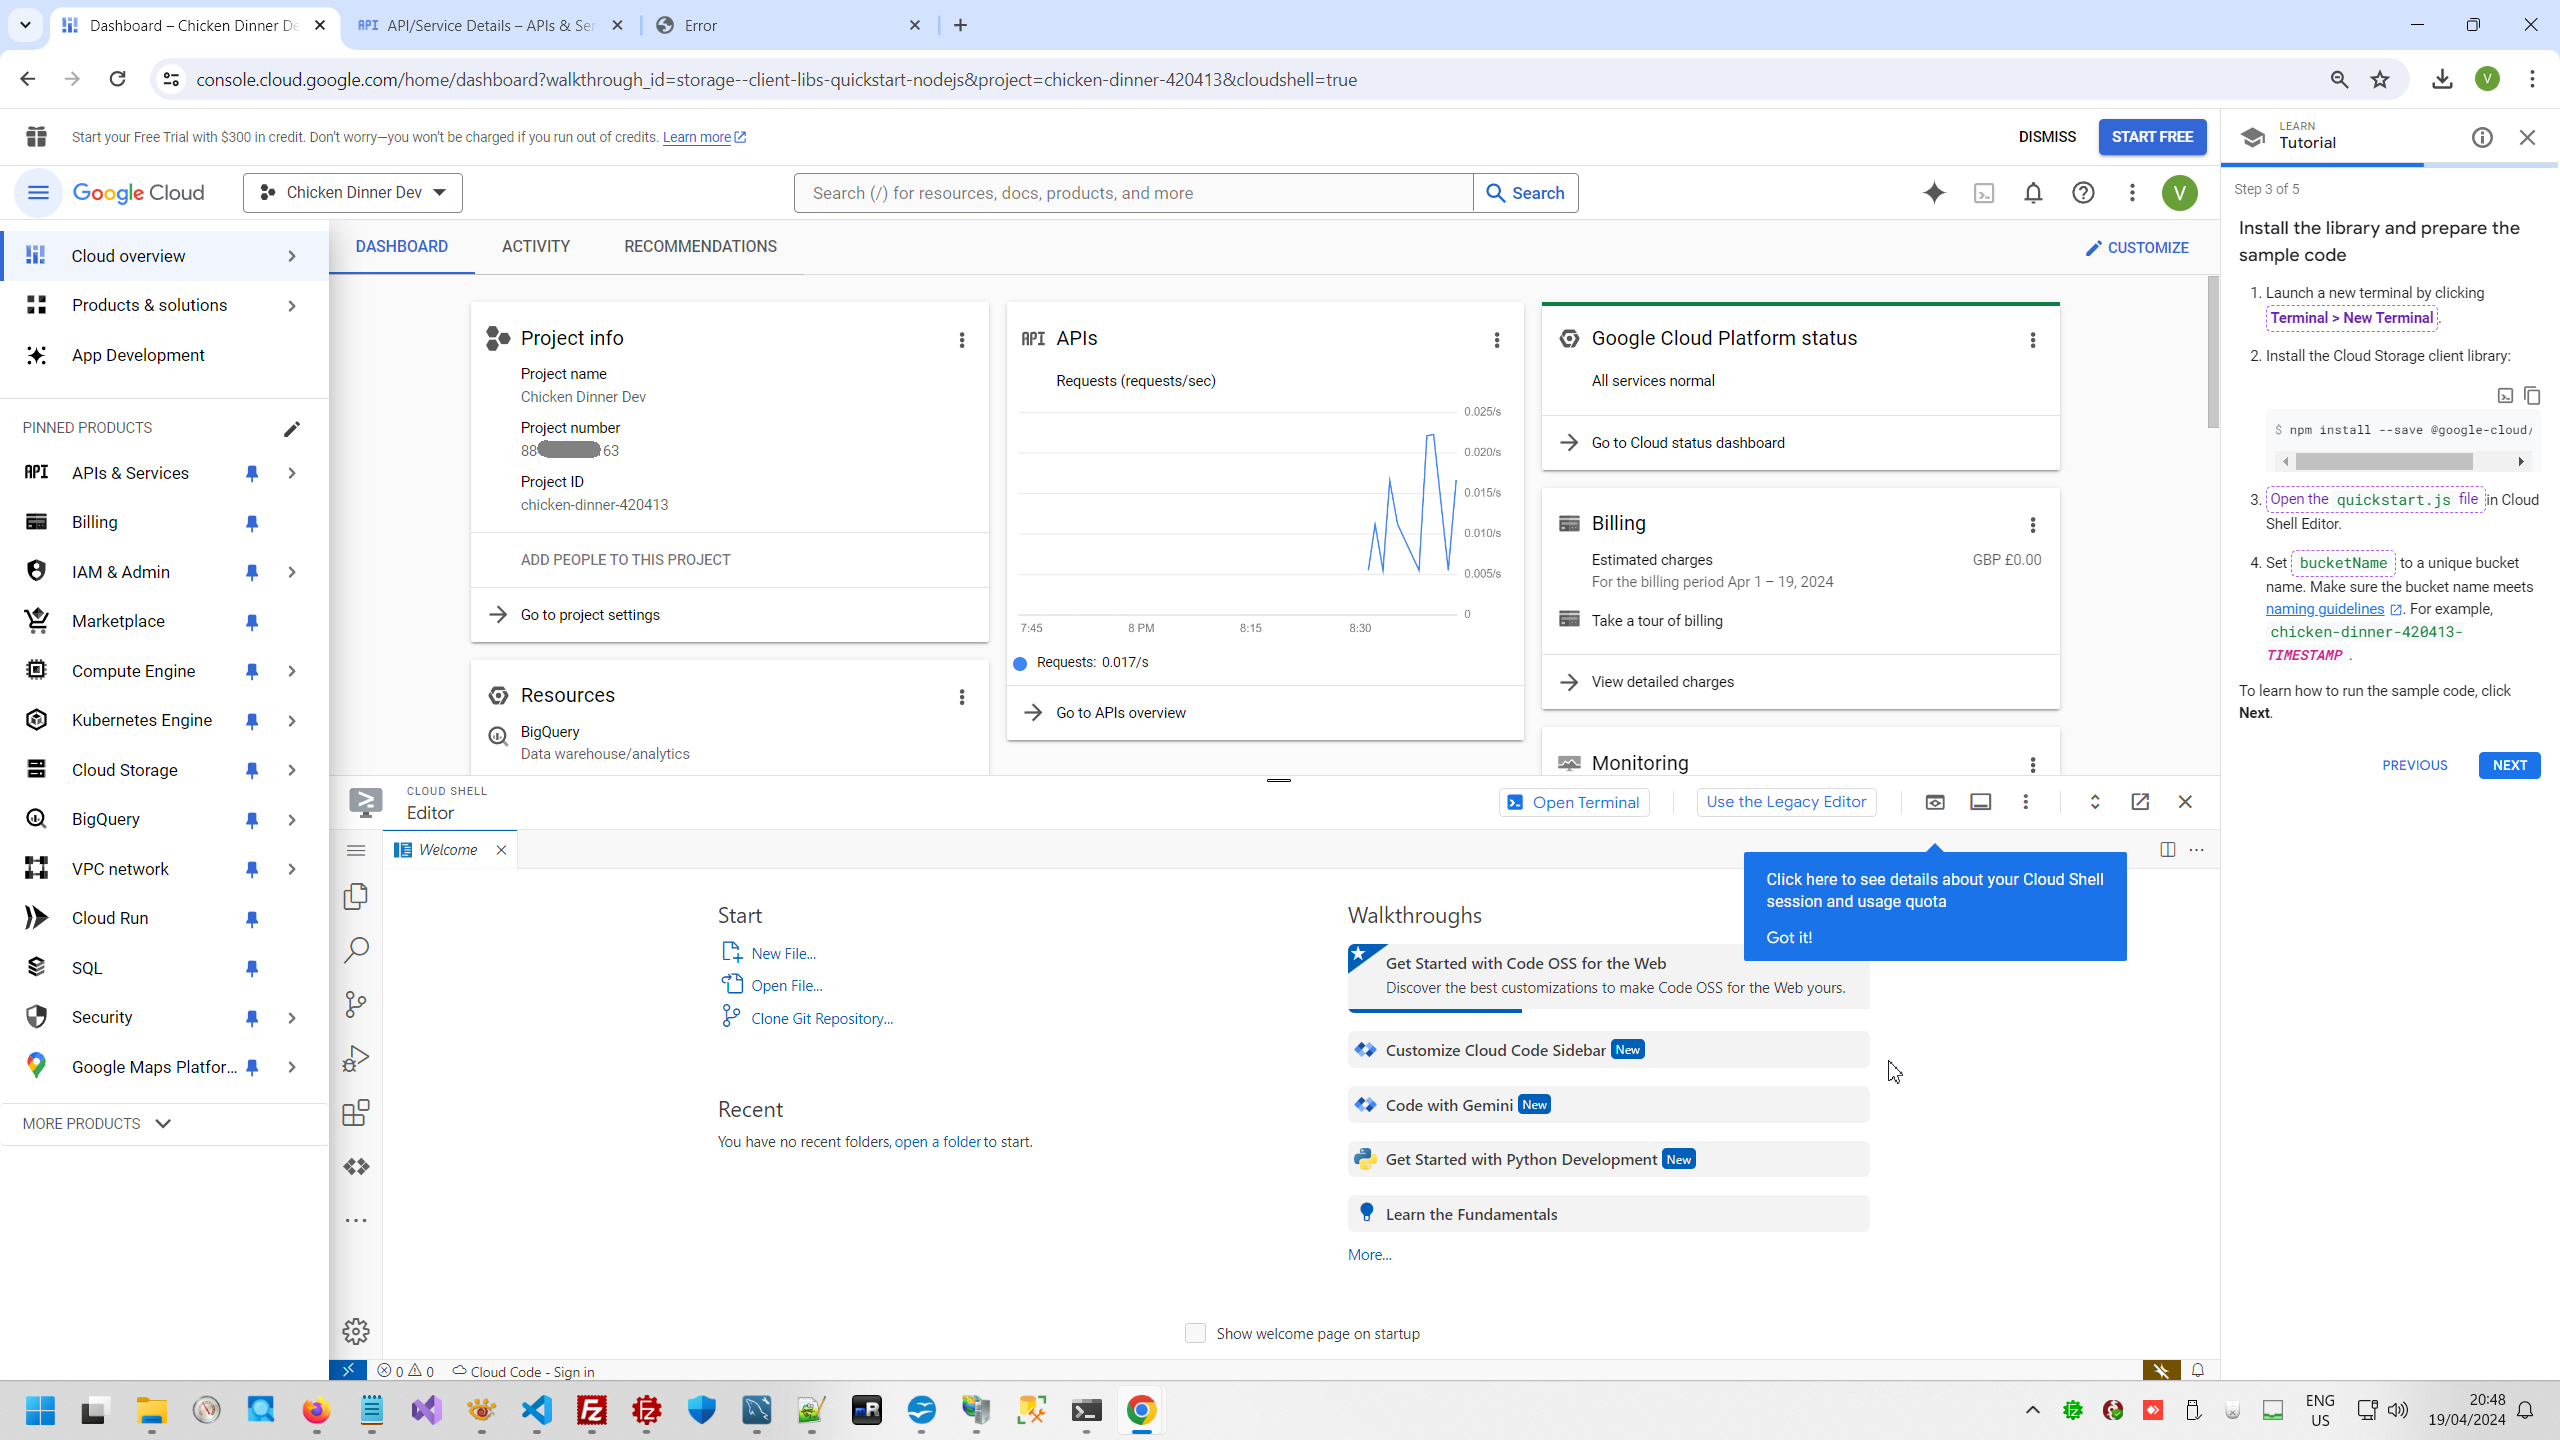
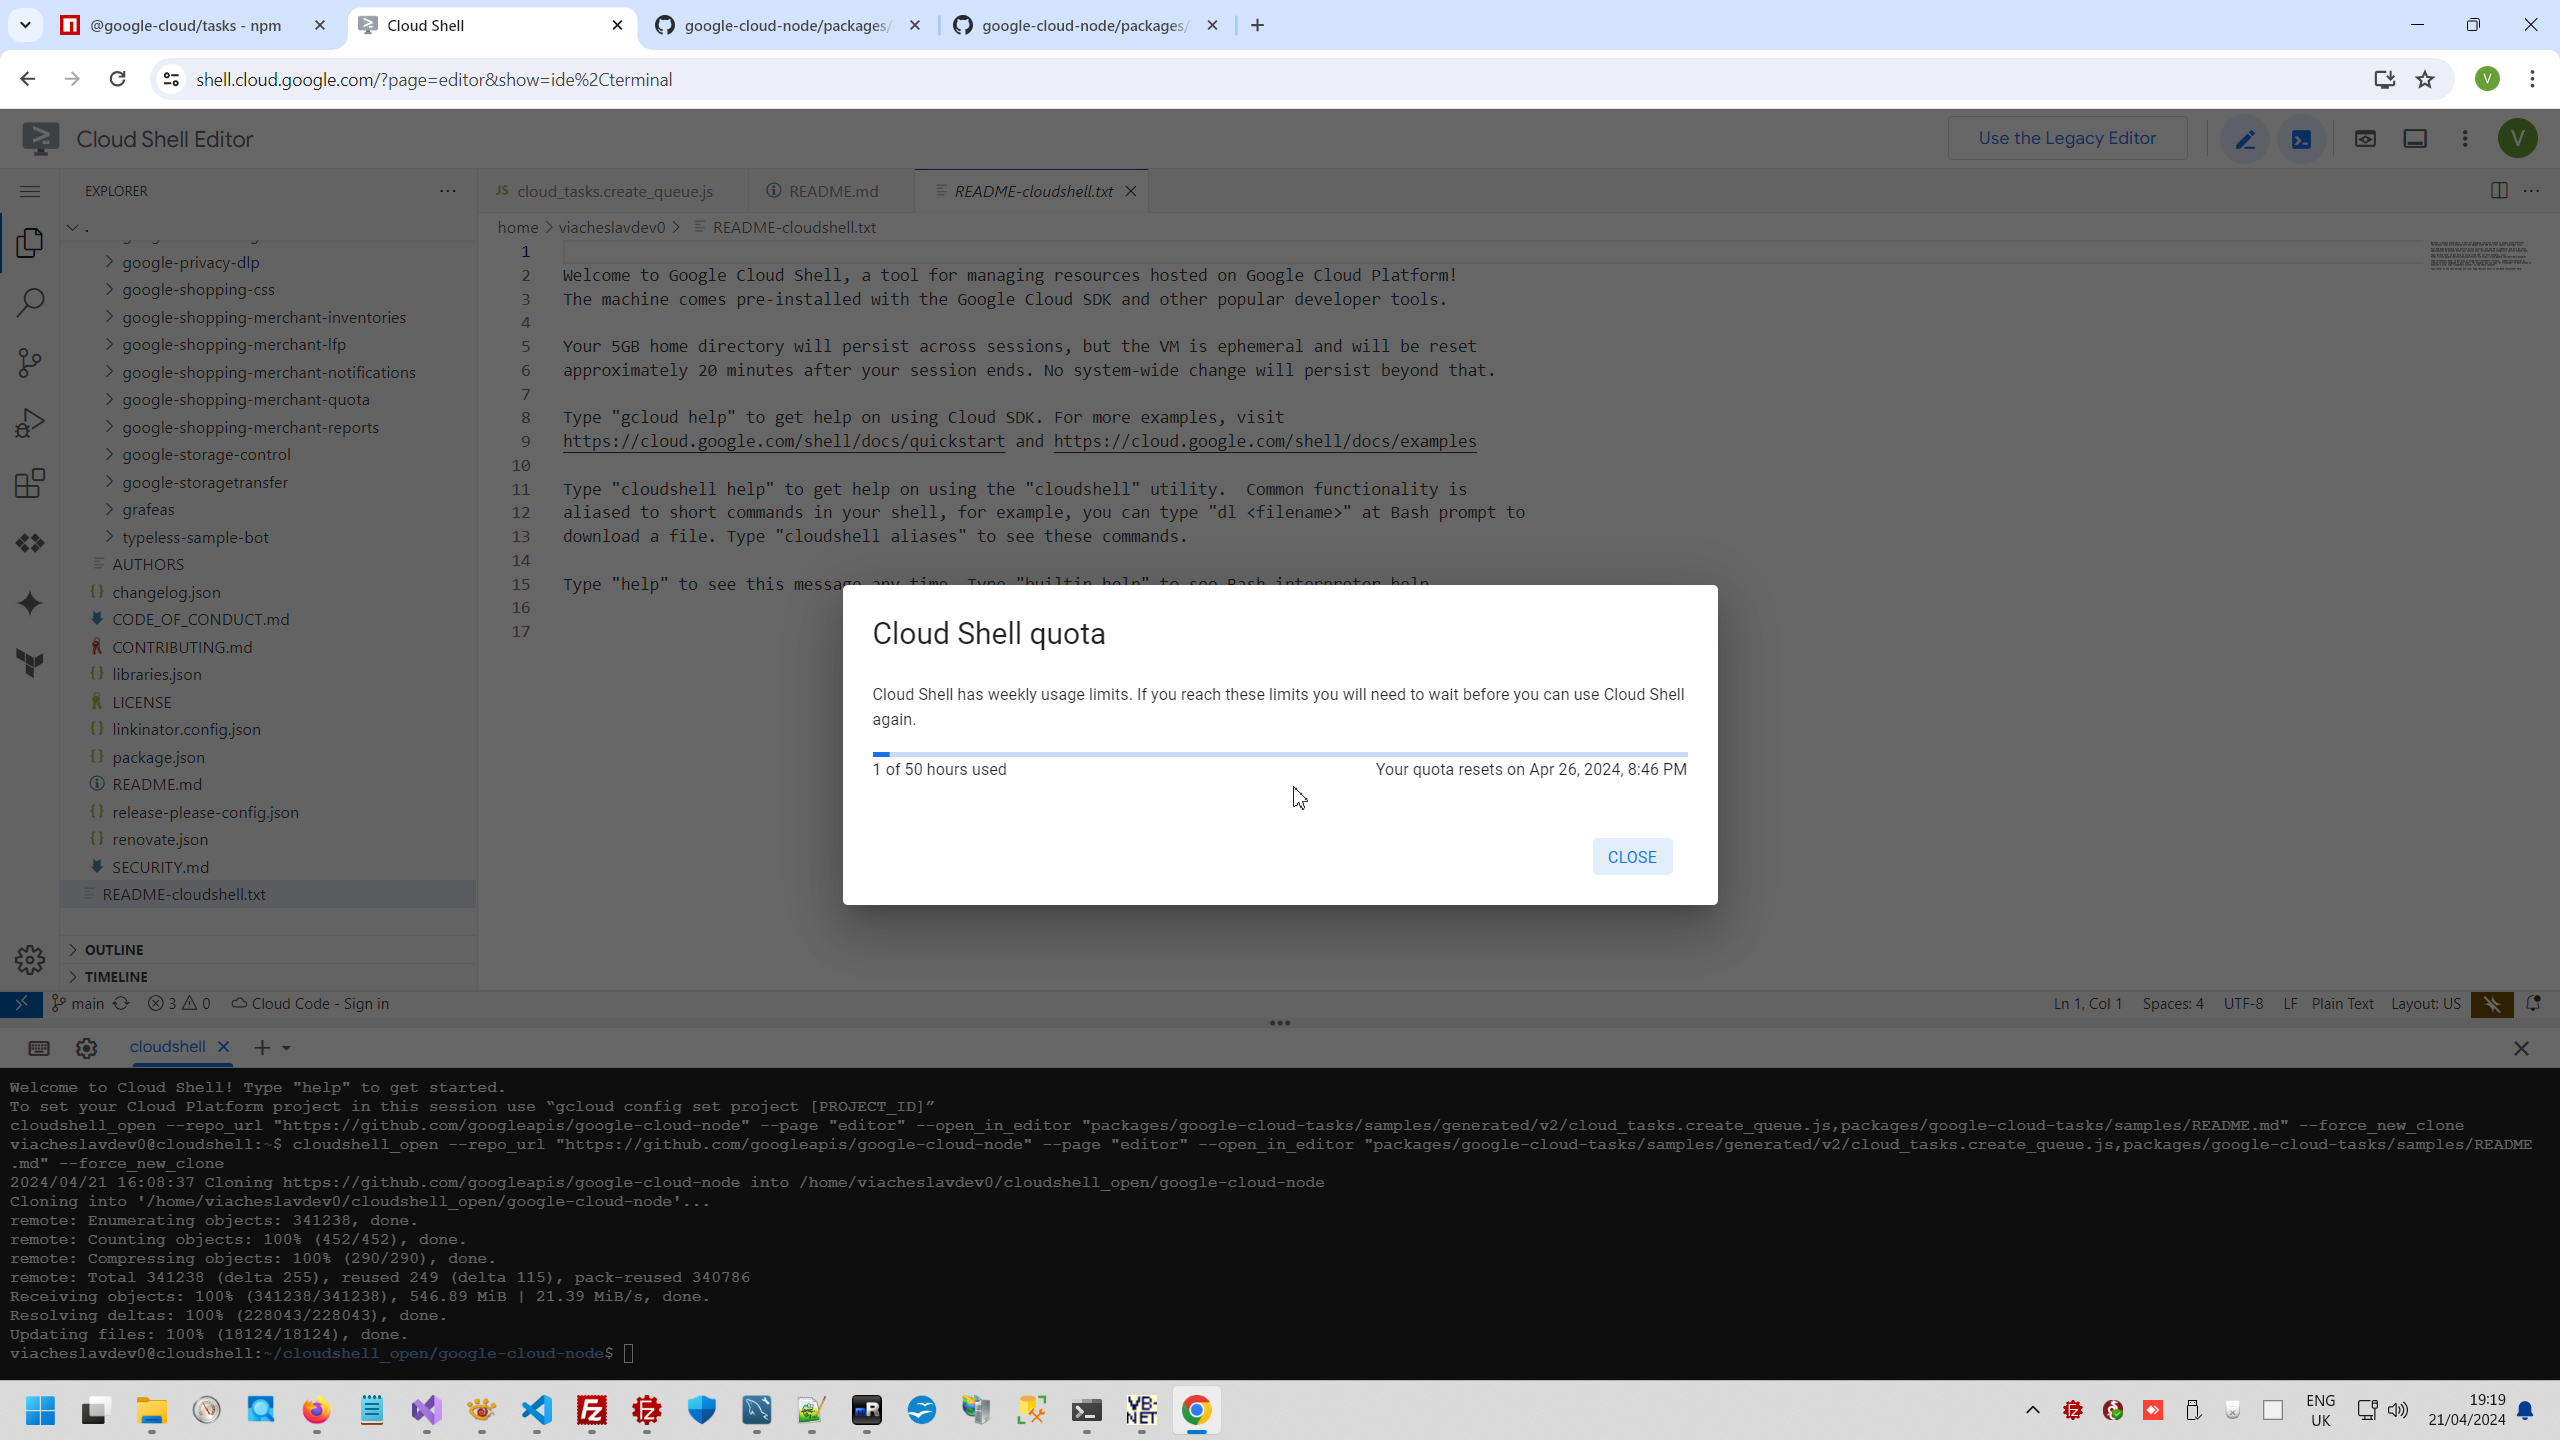
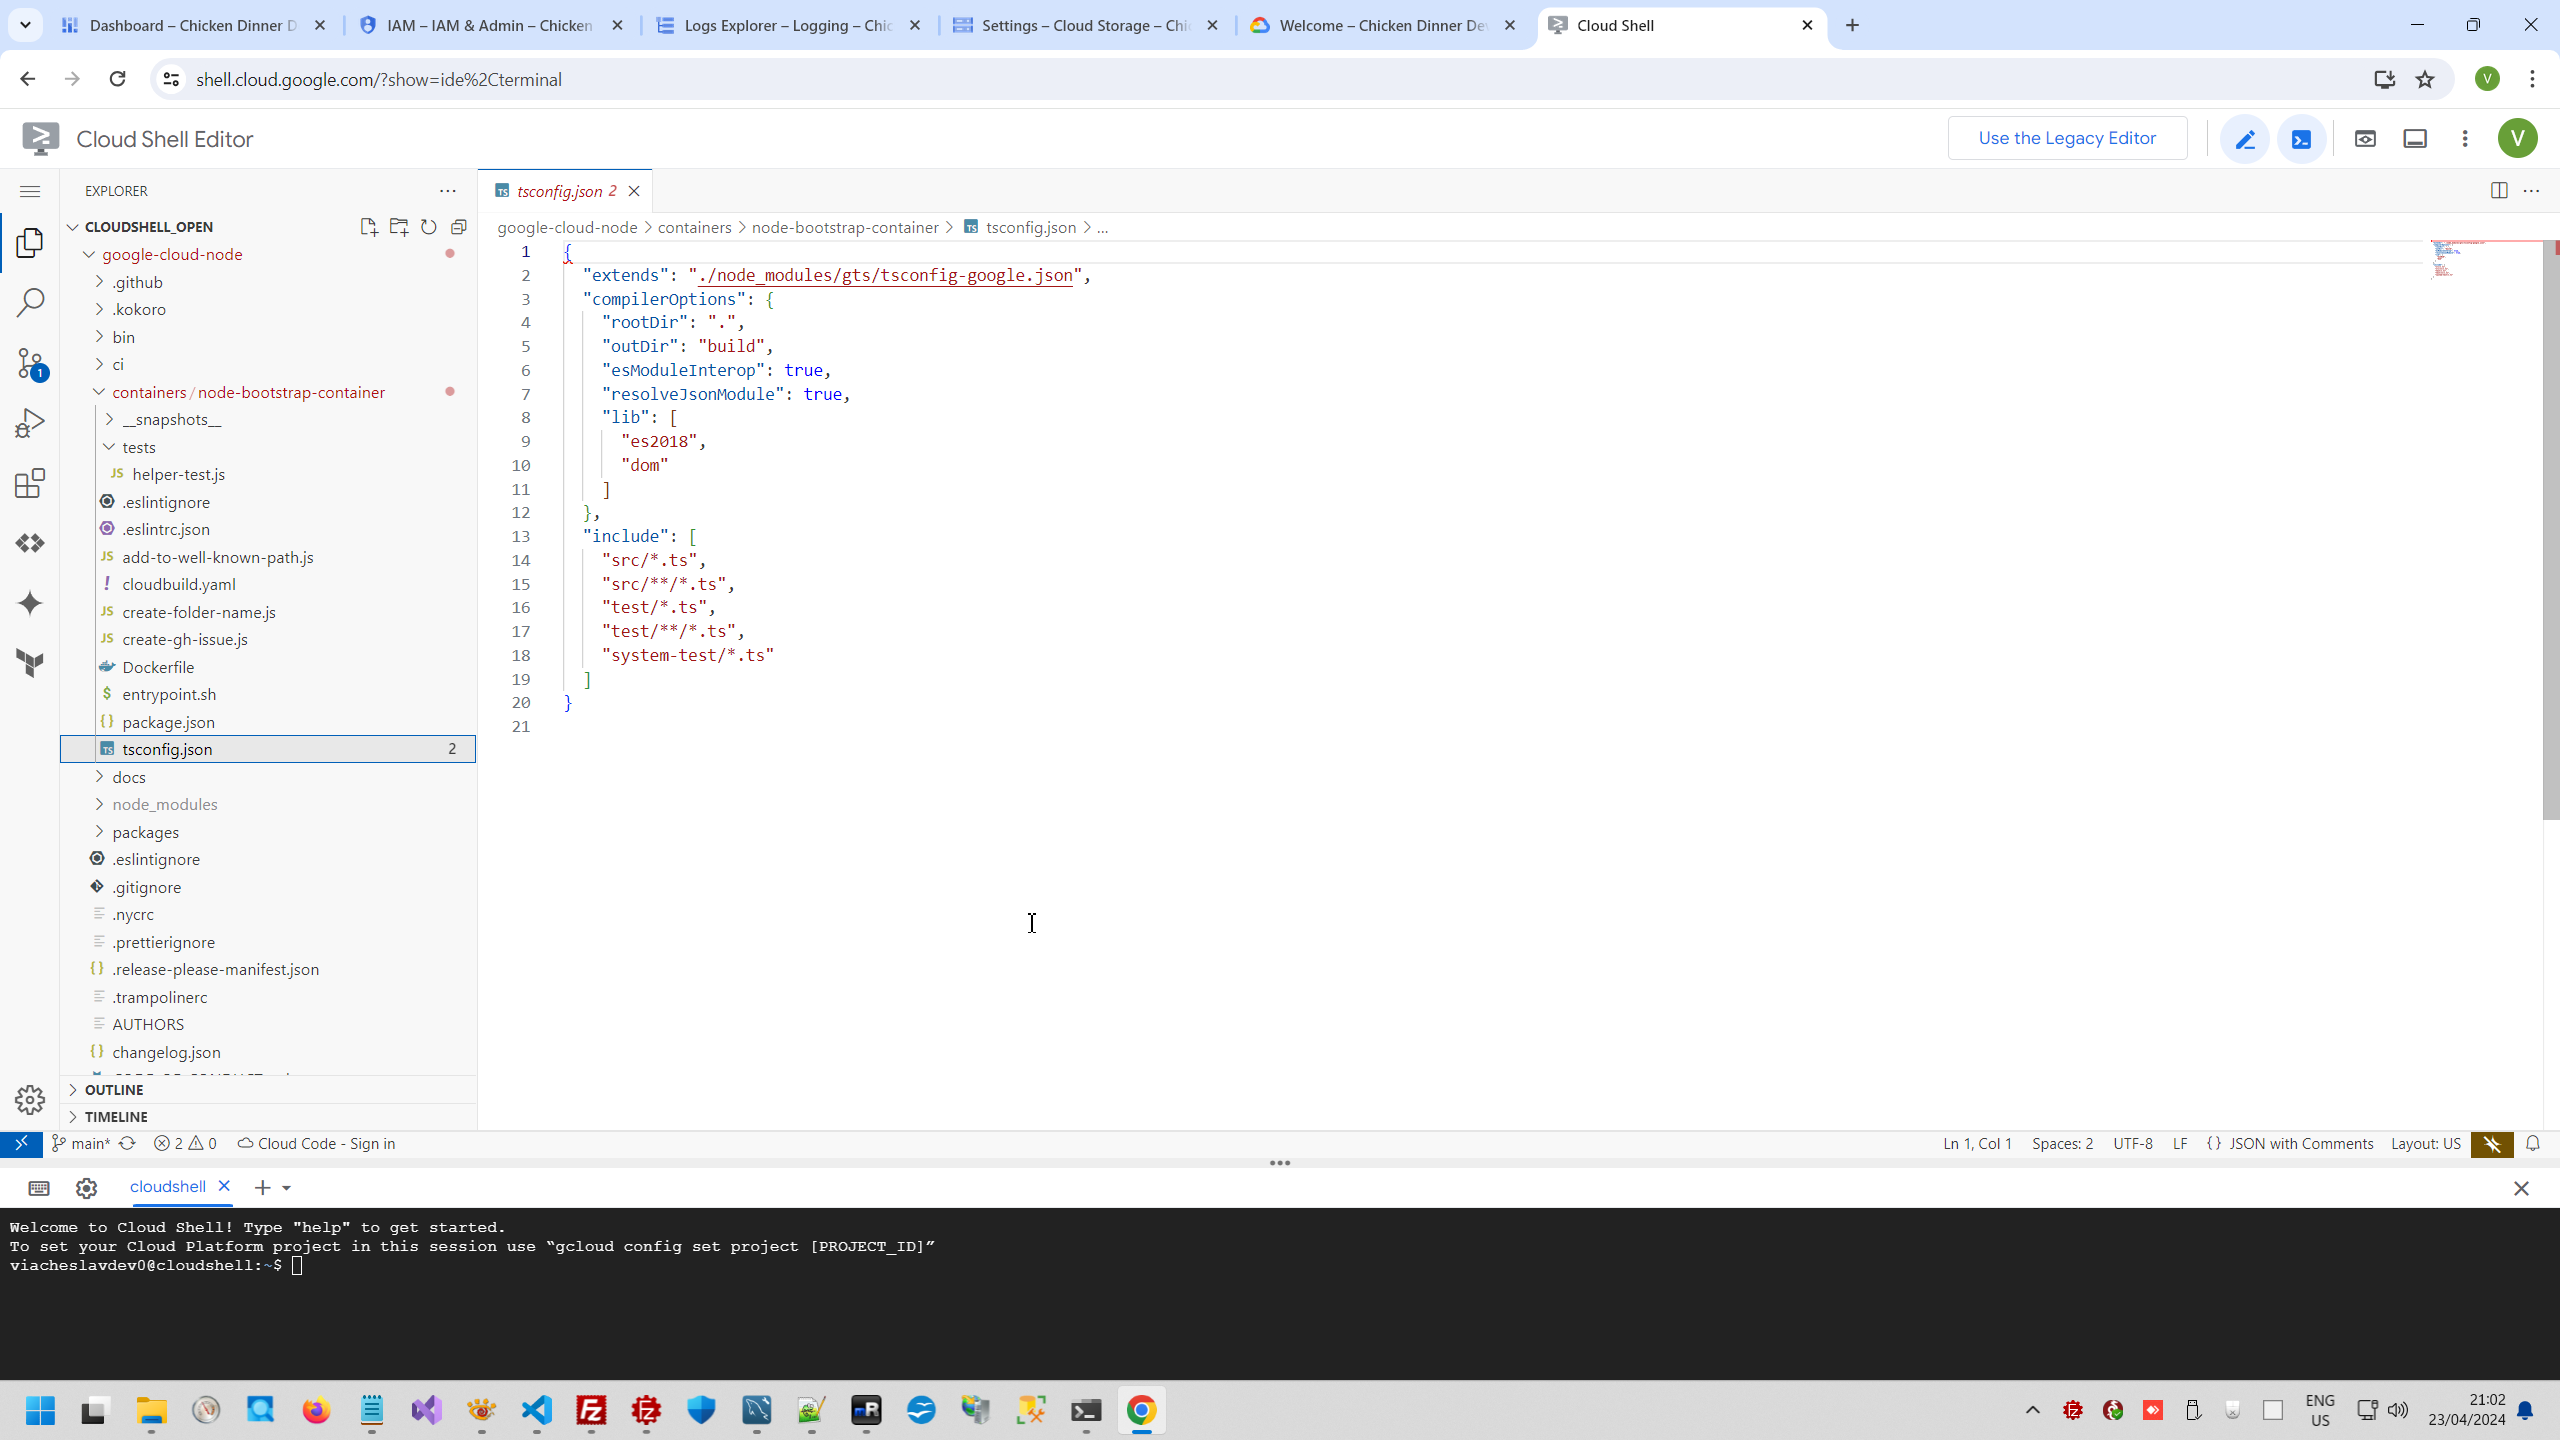
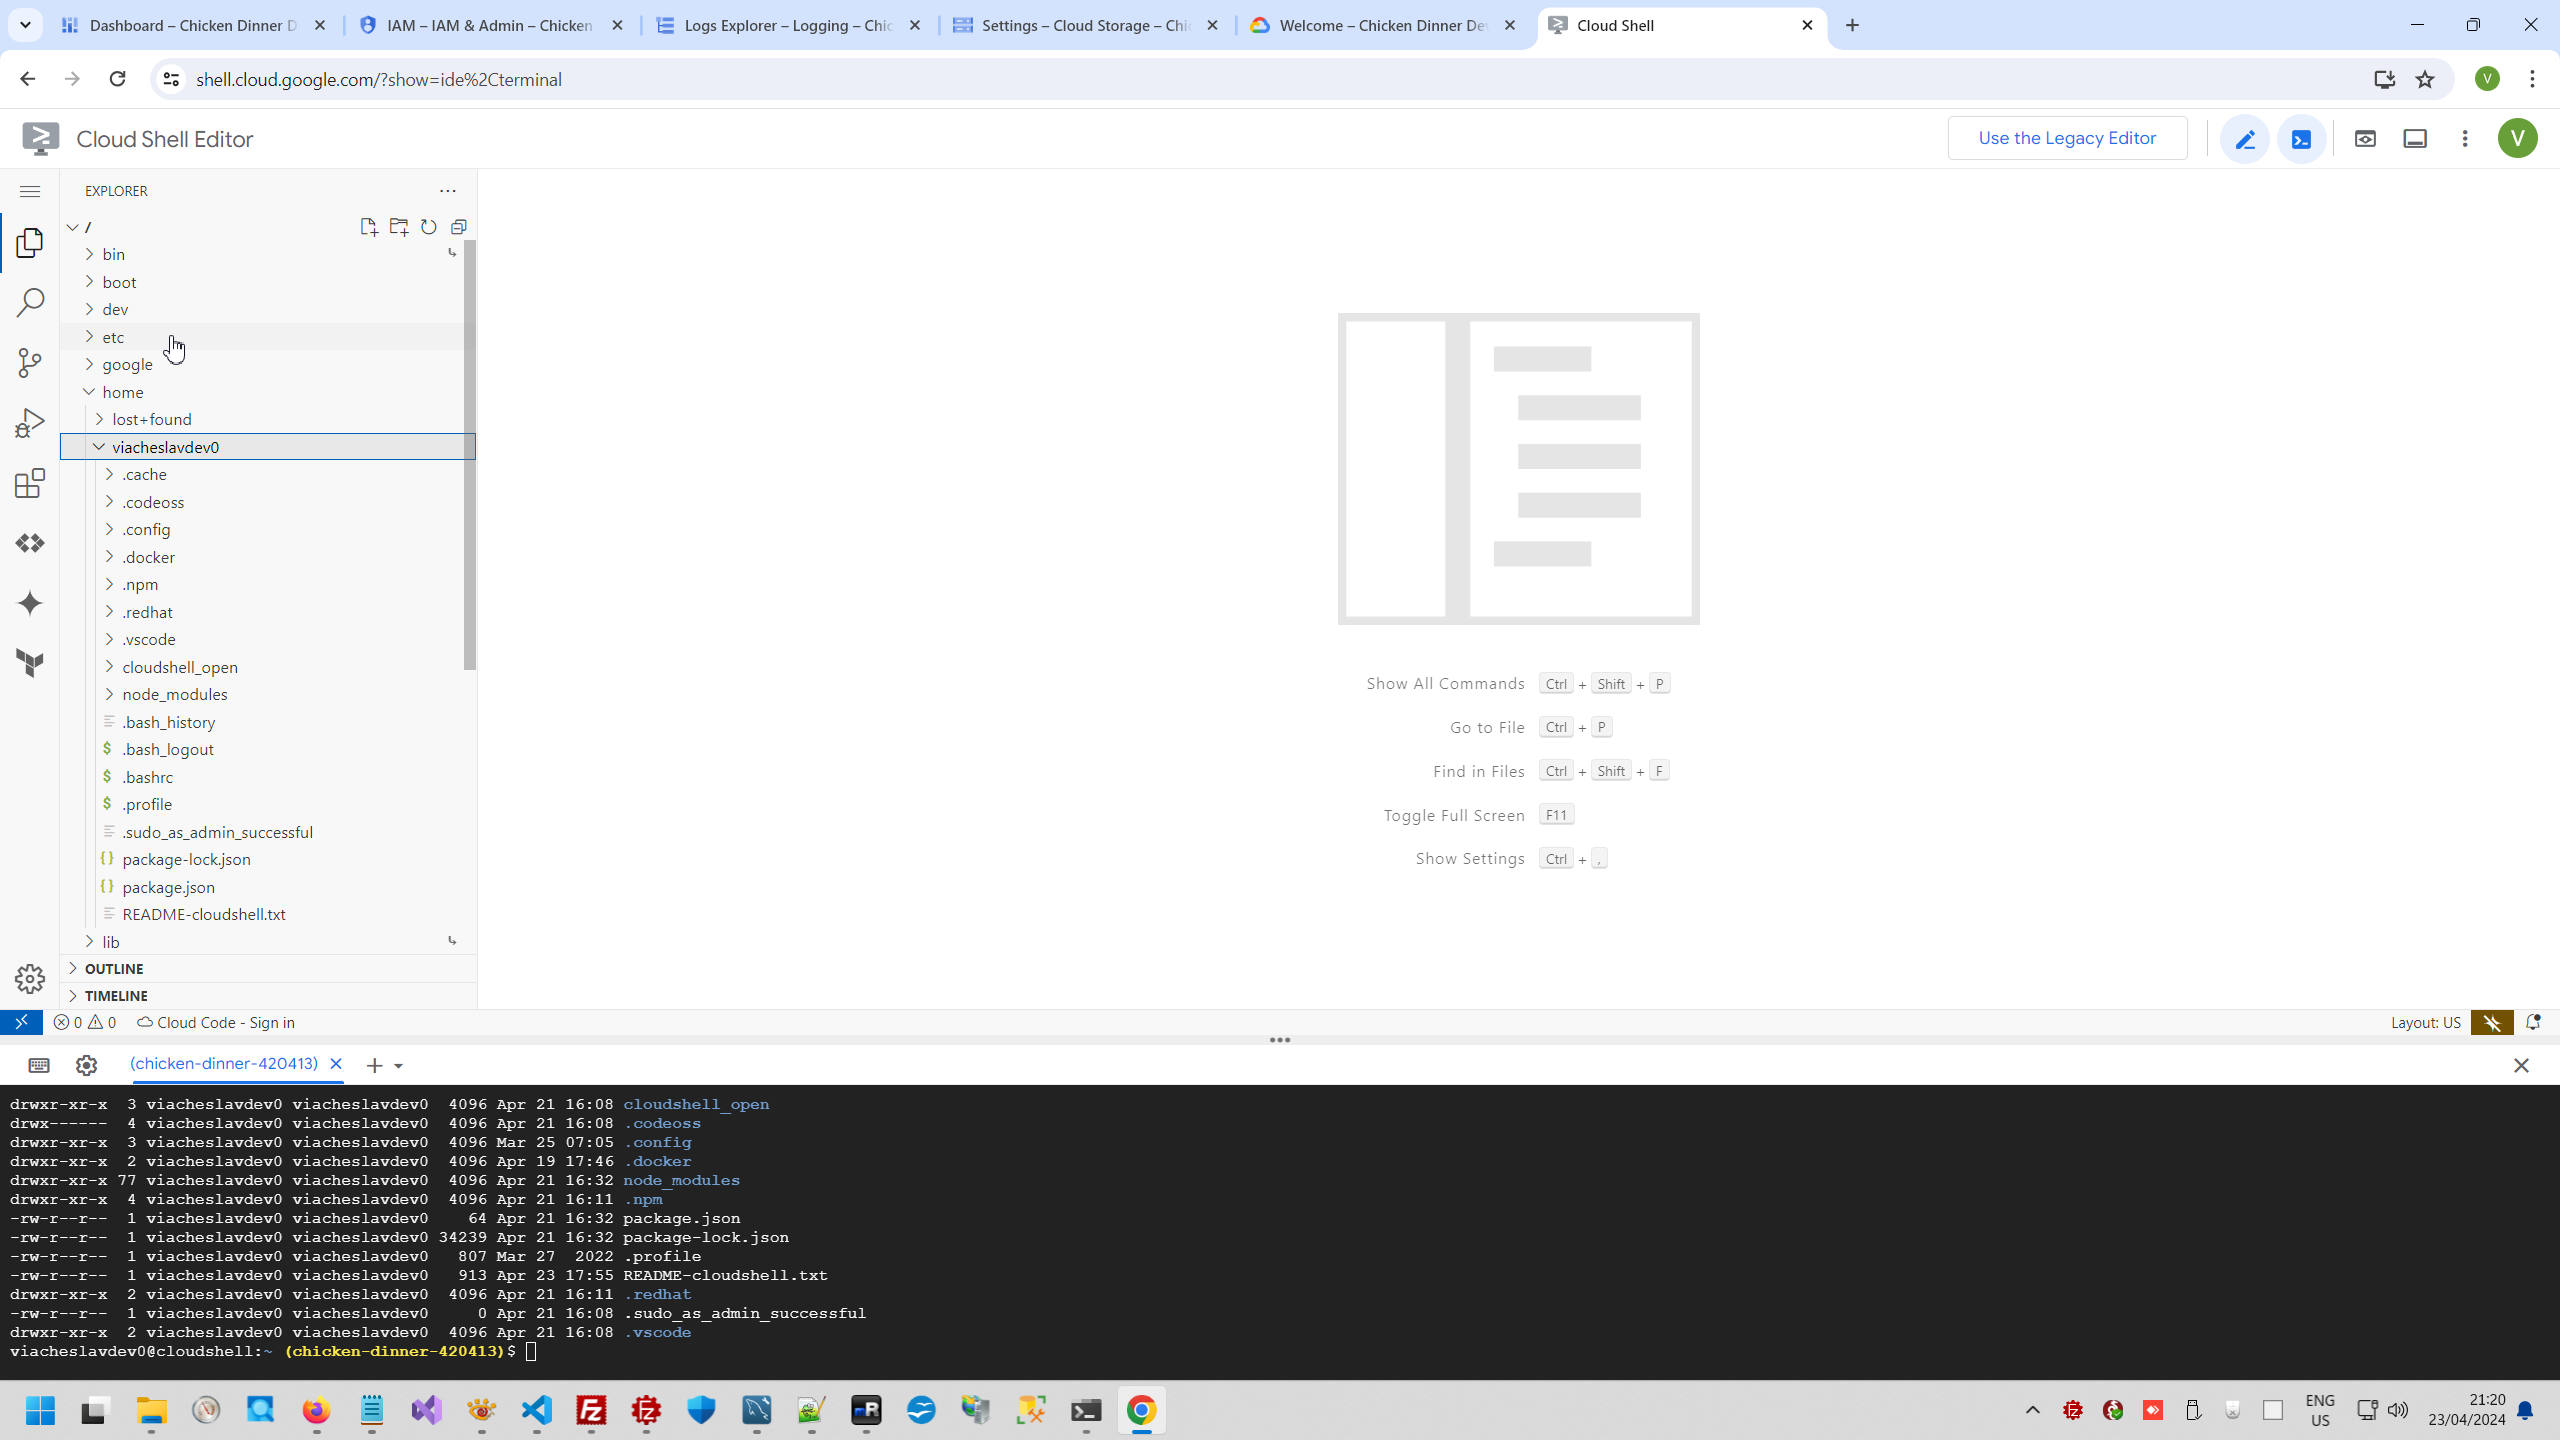
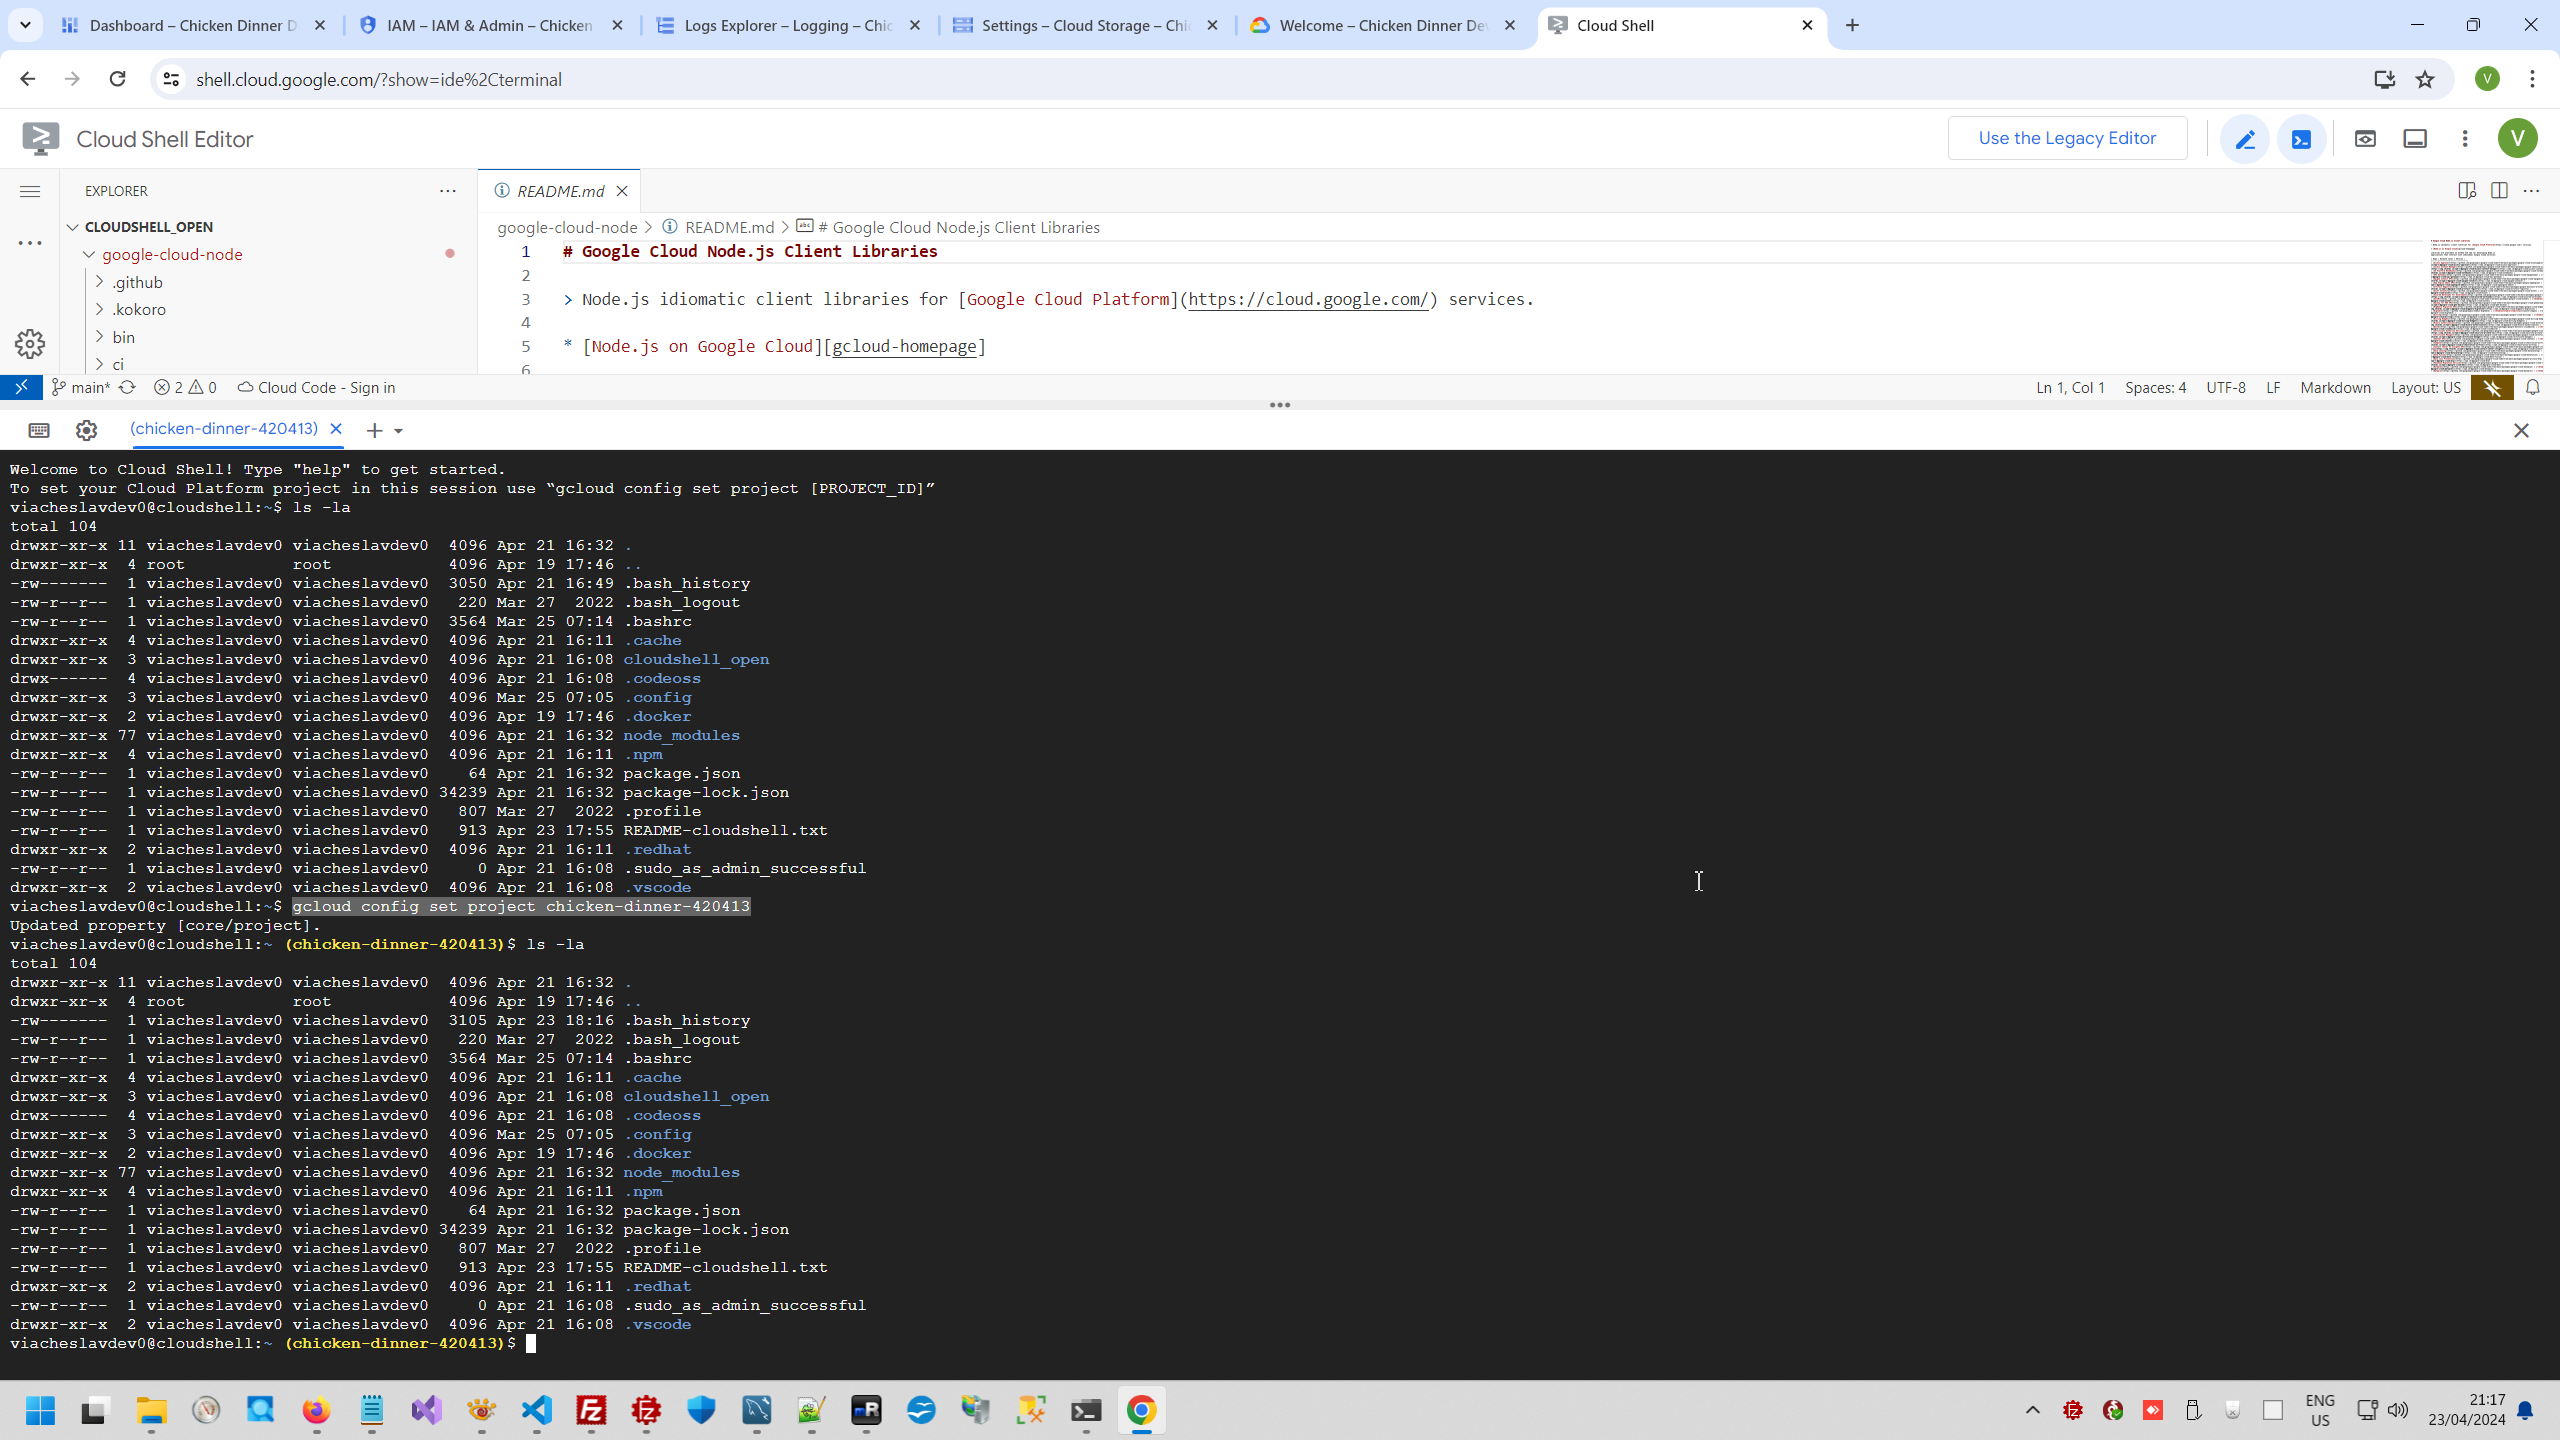
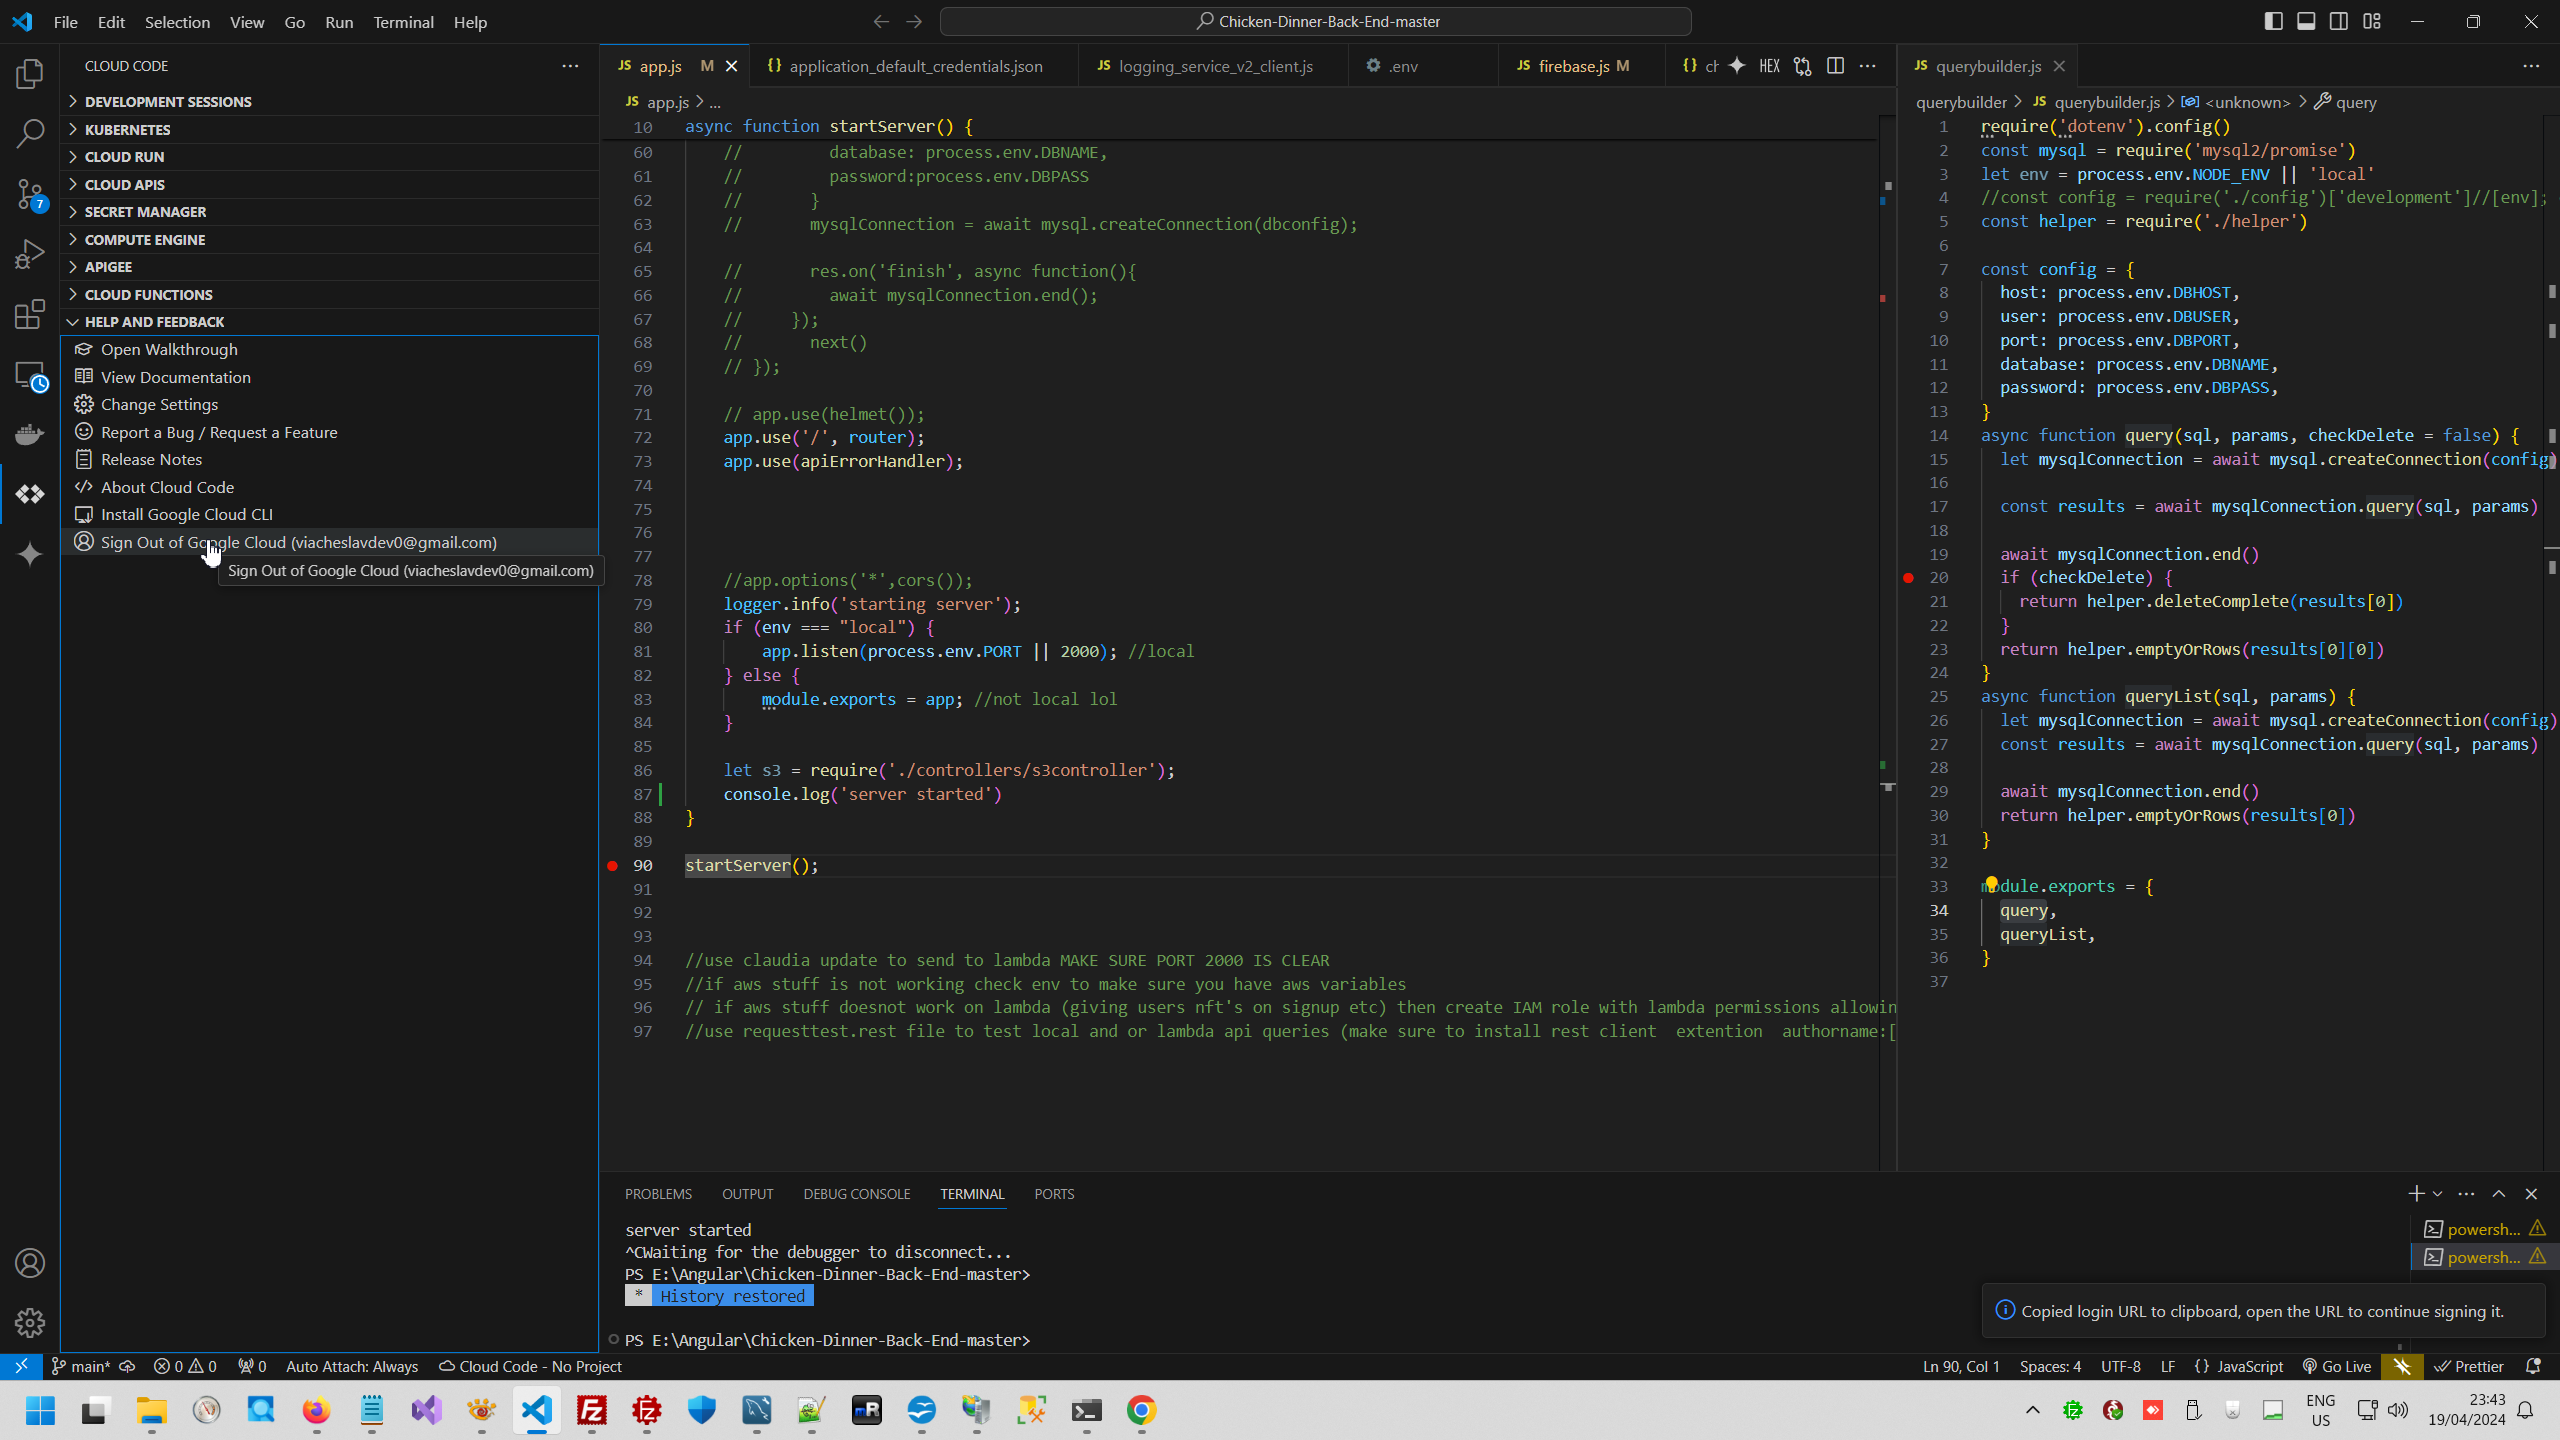
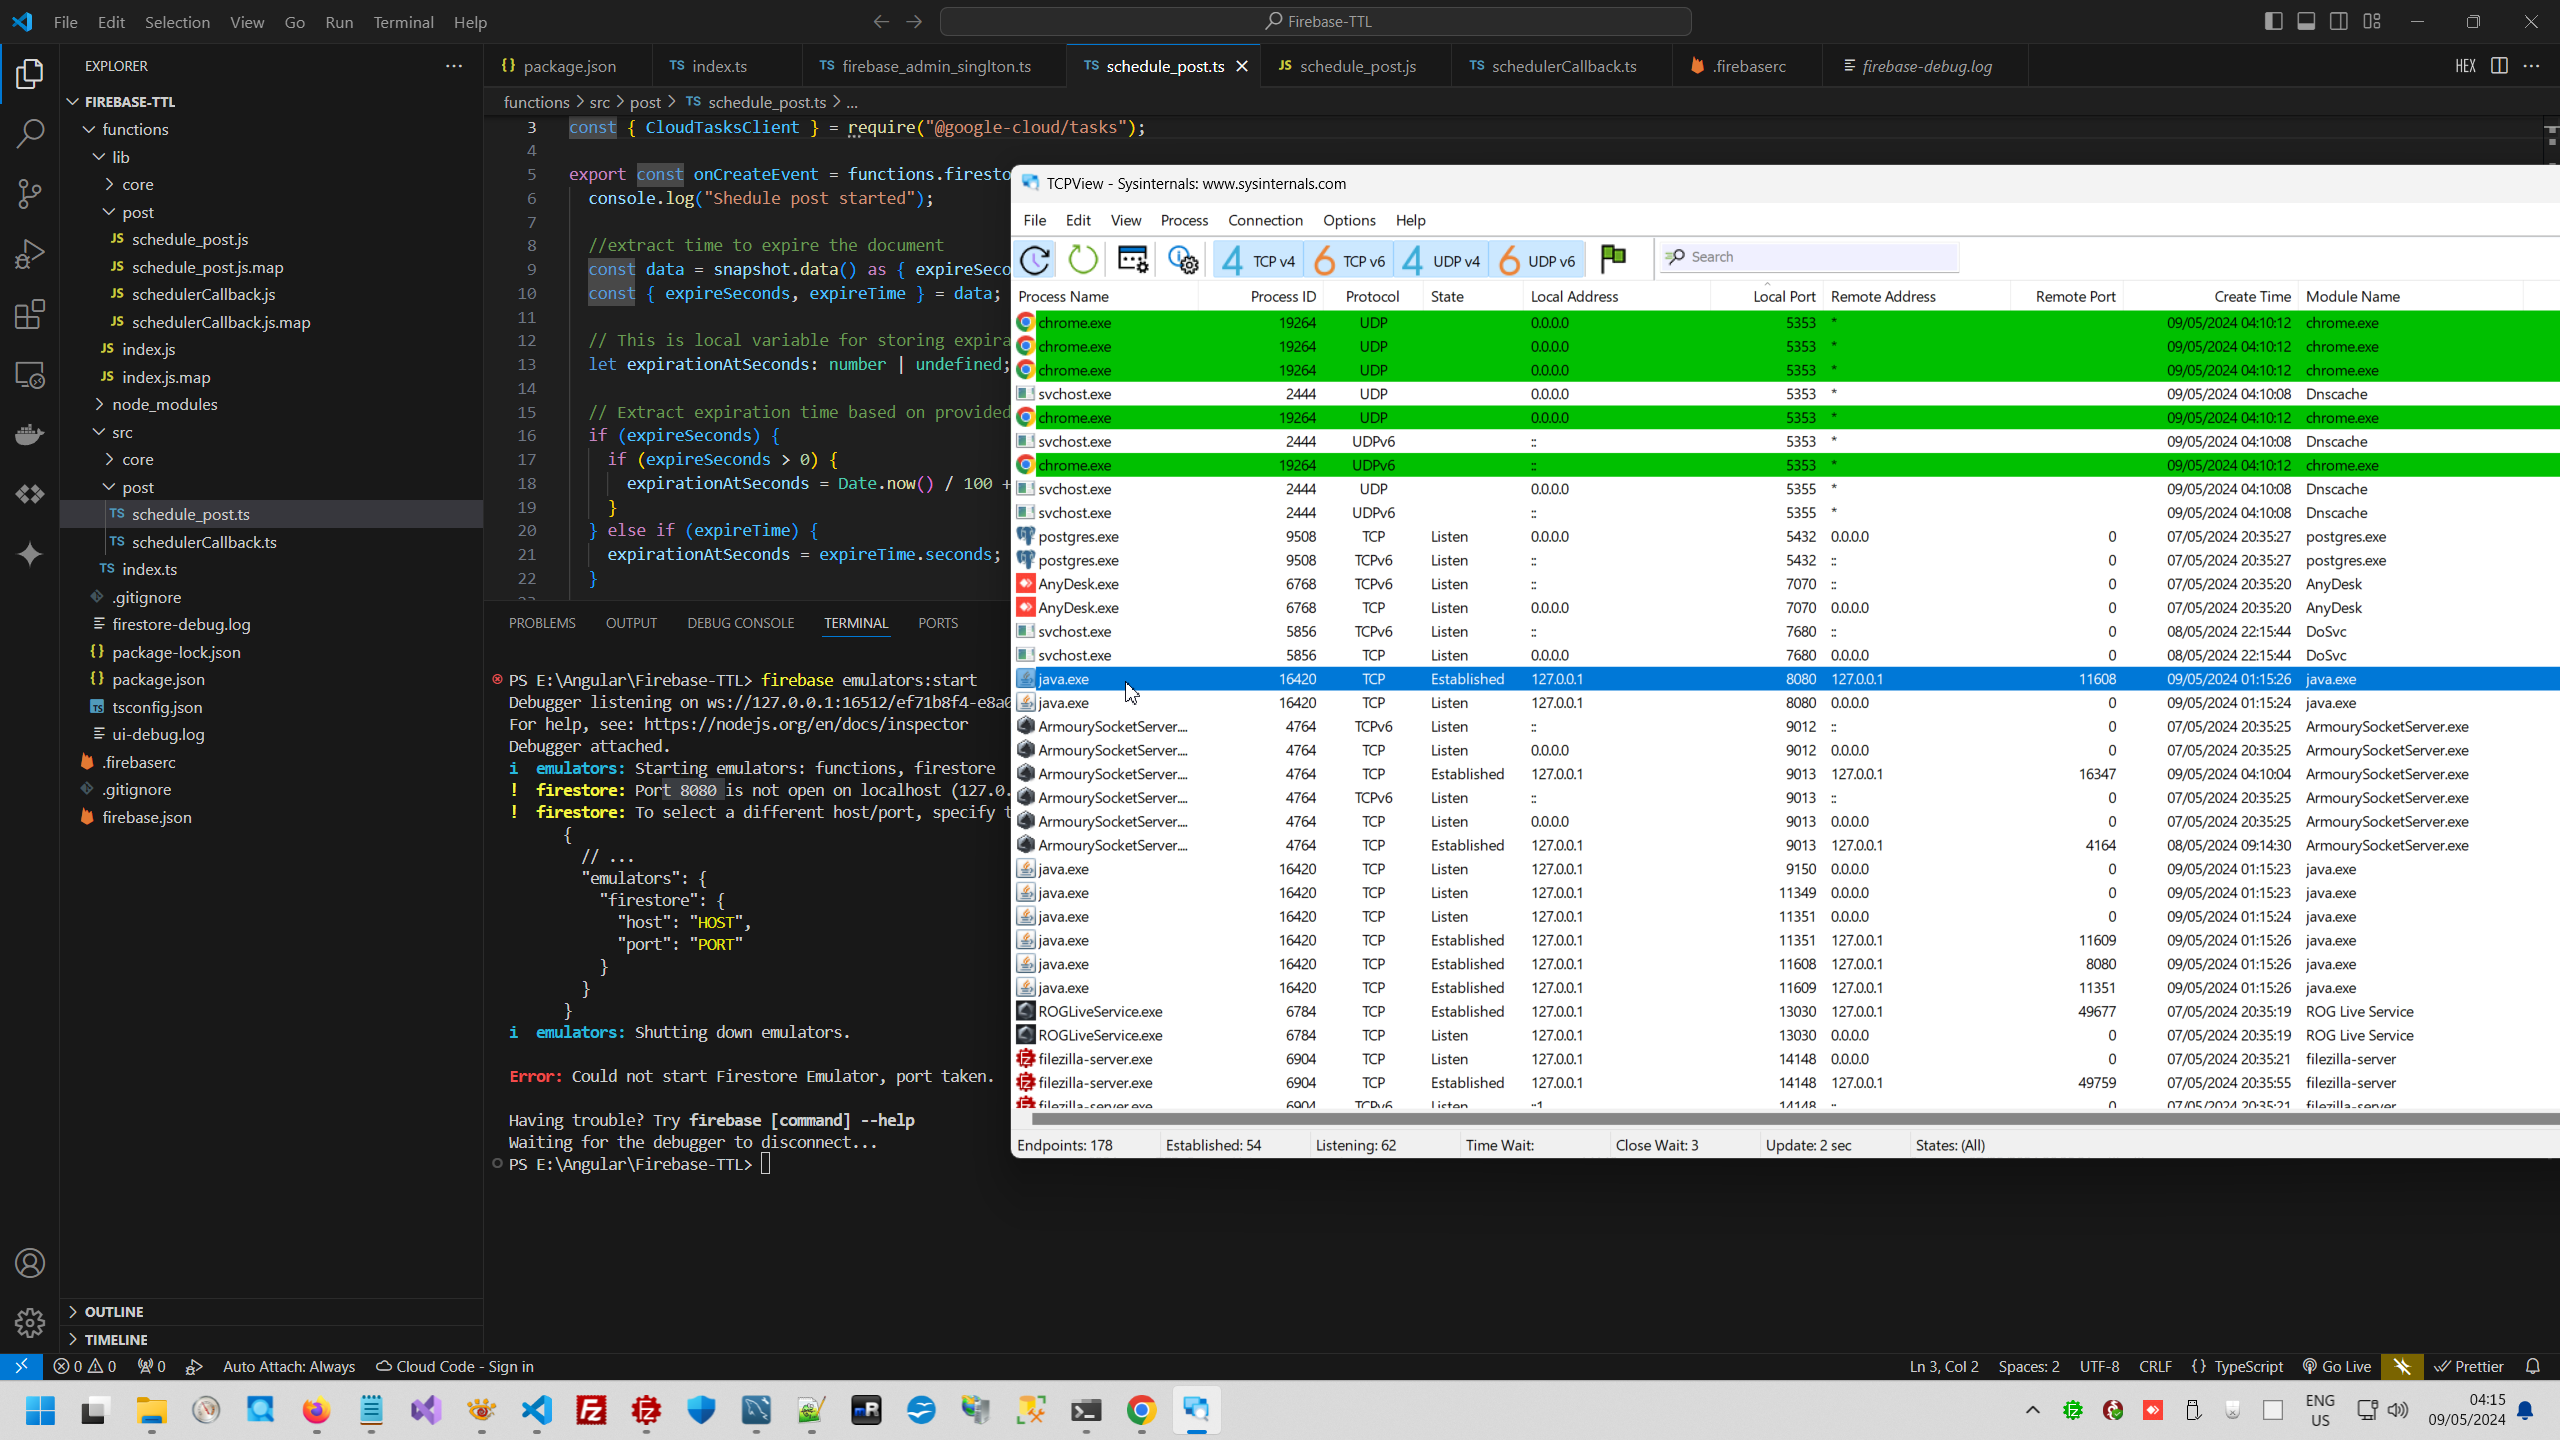
Also interesting feature is Cloud Shell, what is clone of VS Code and allow make development full remotely without any local files.


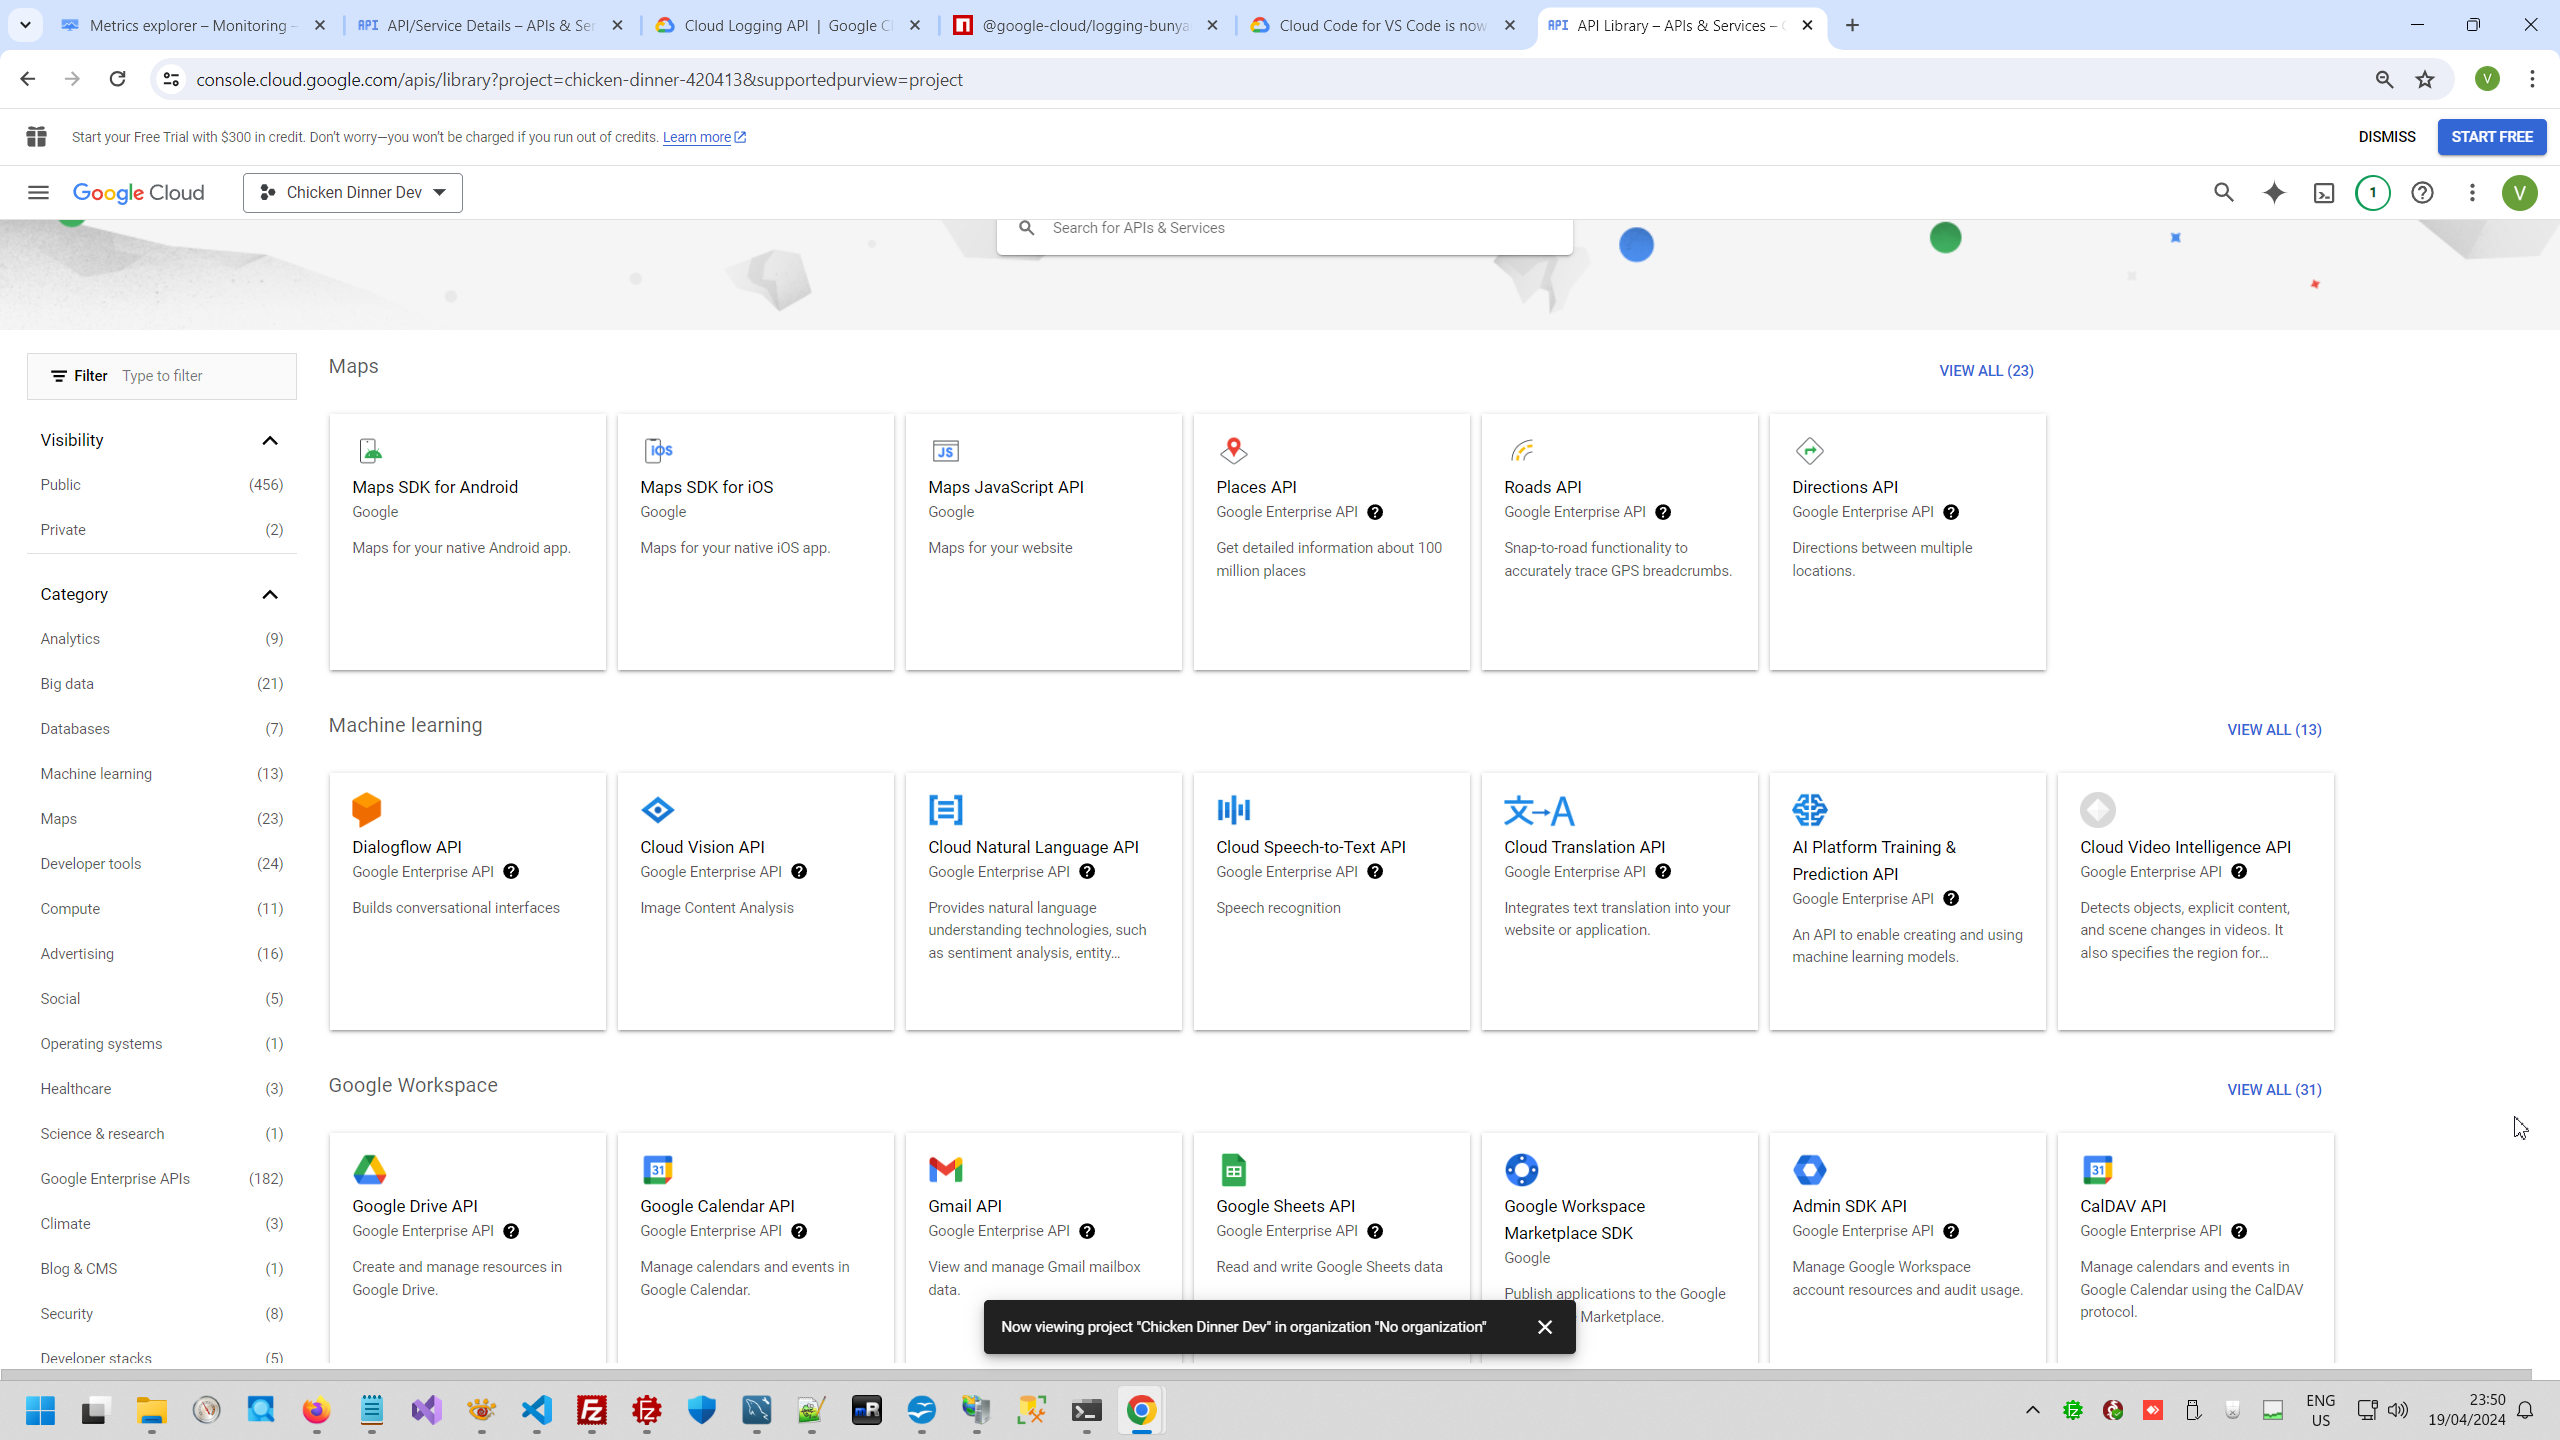
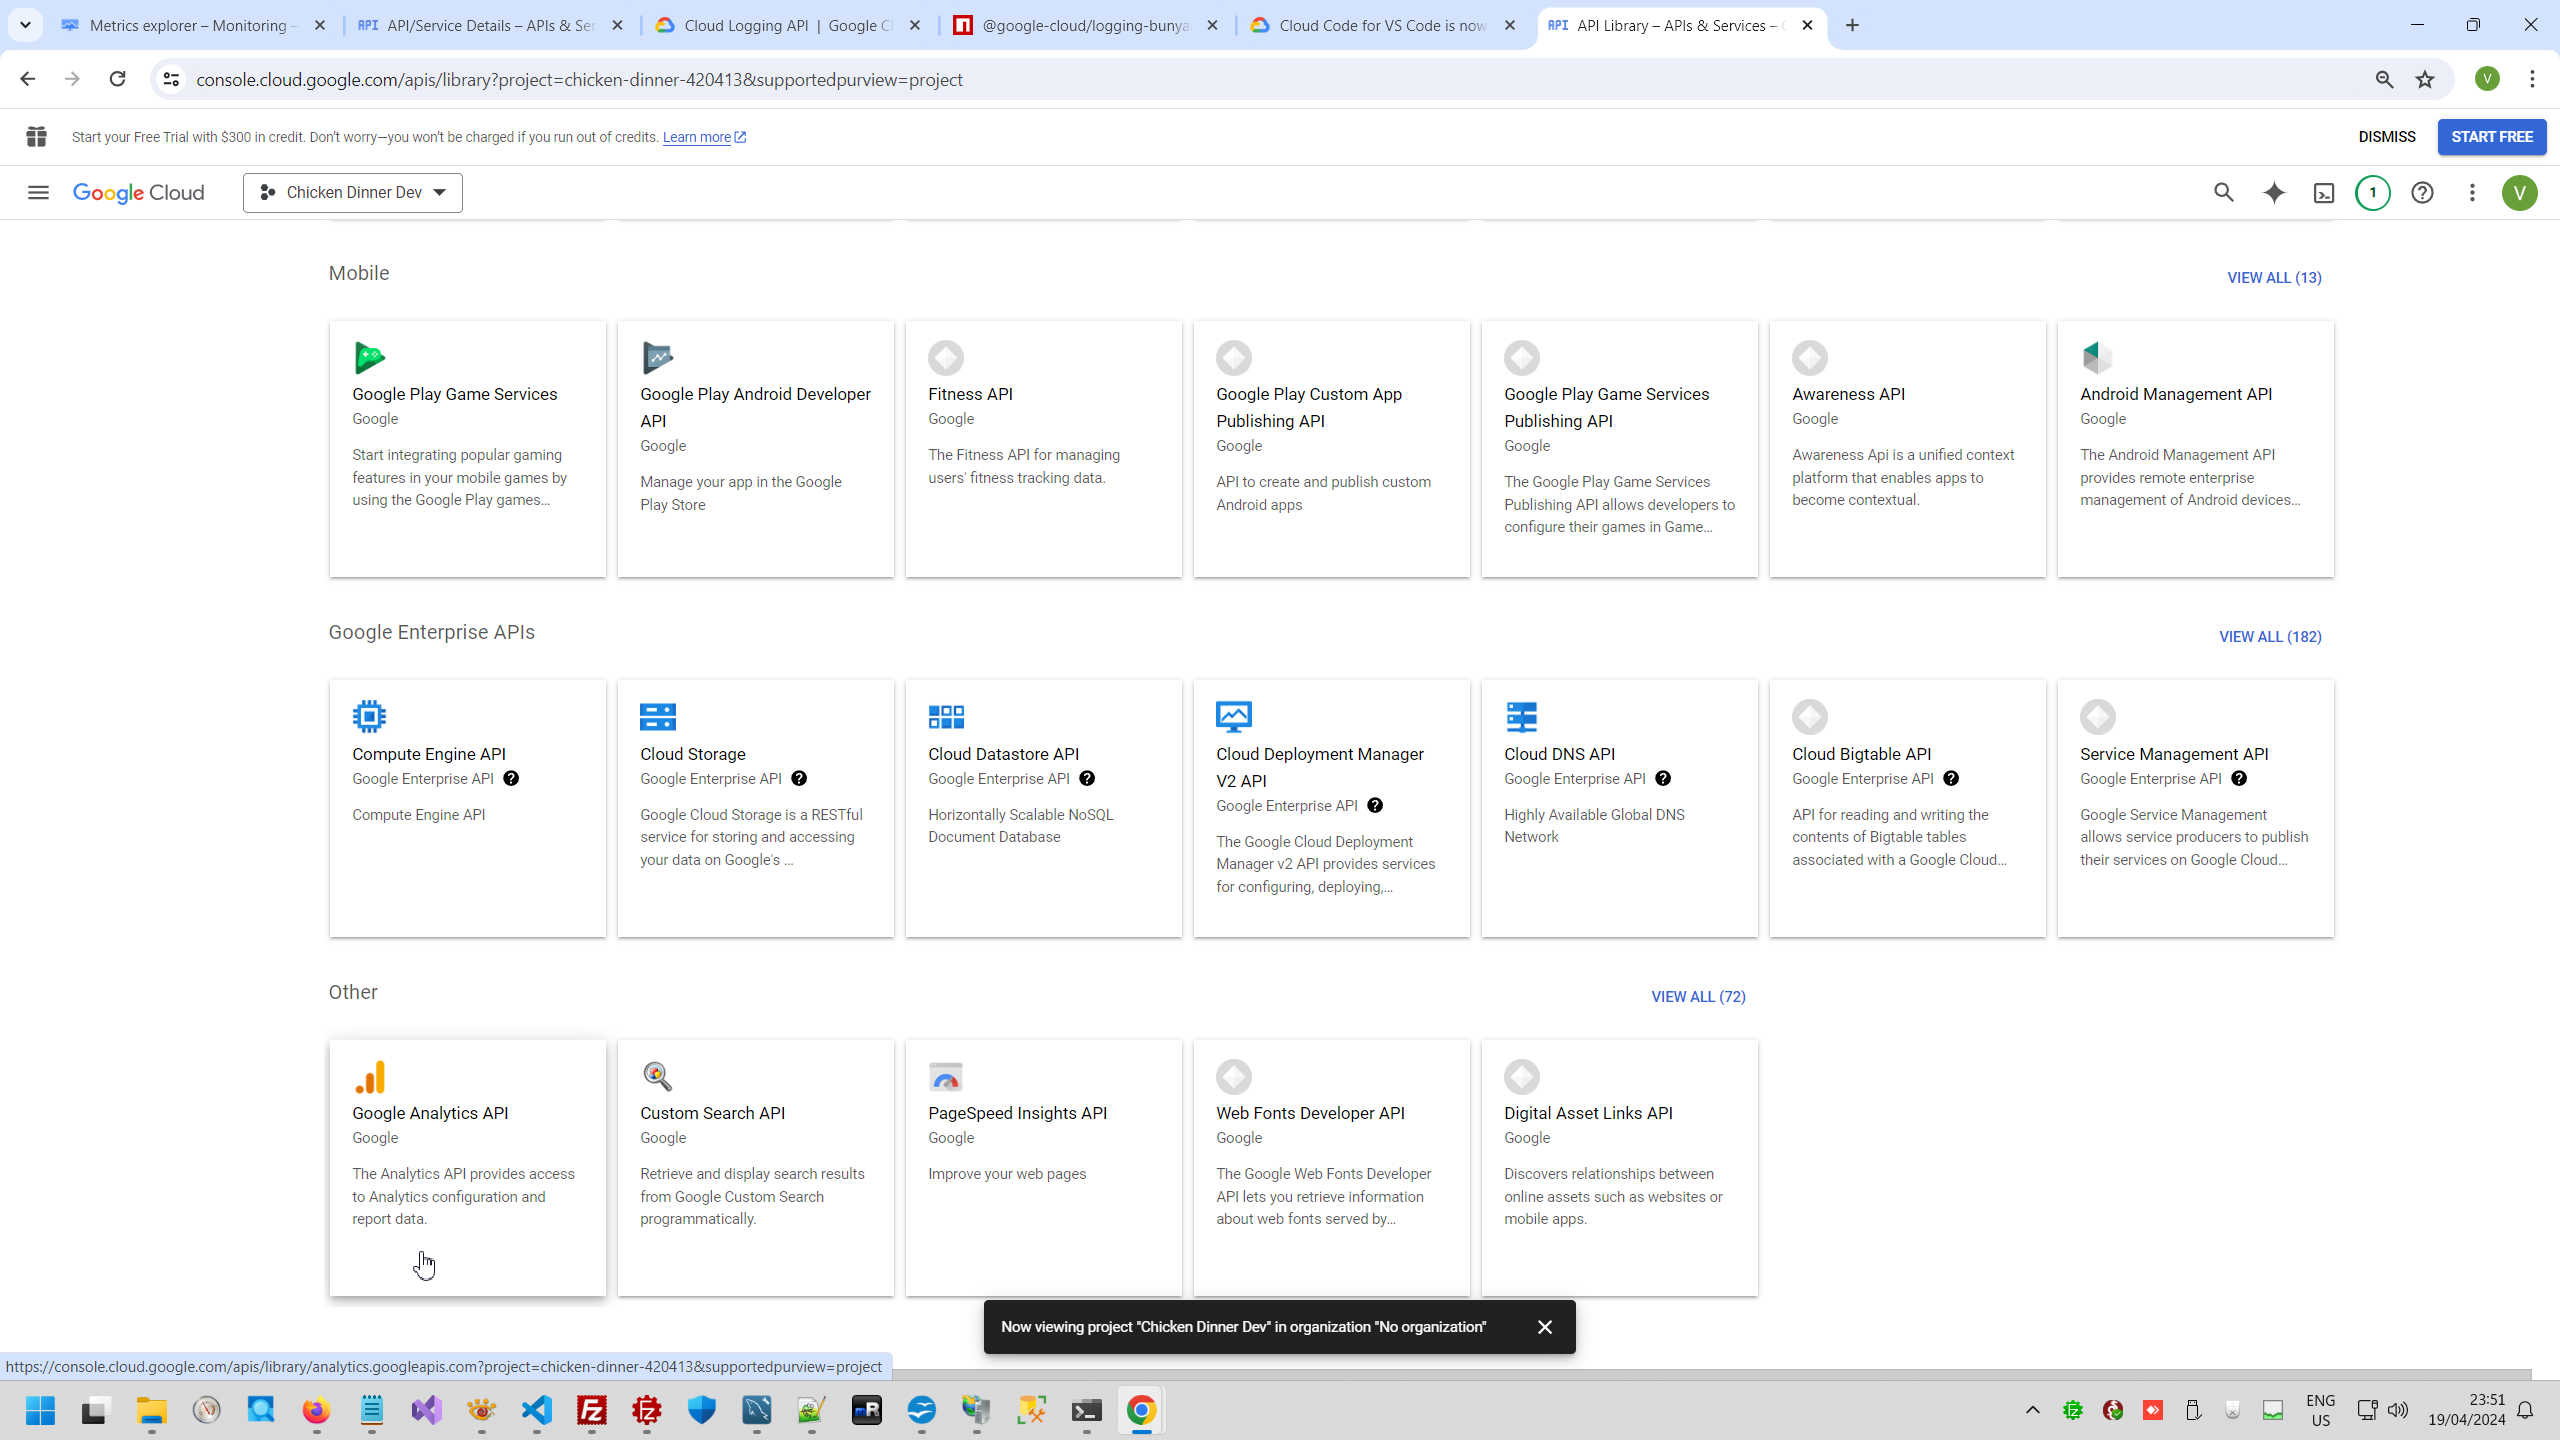
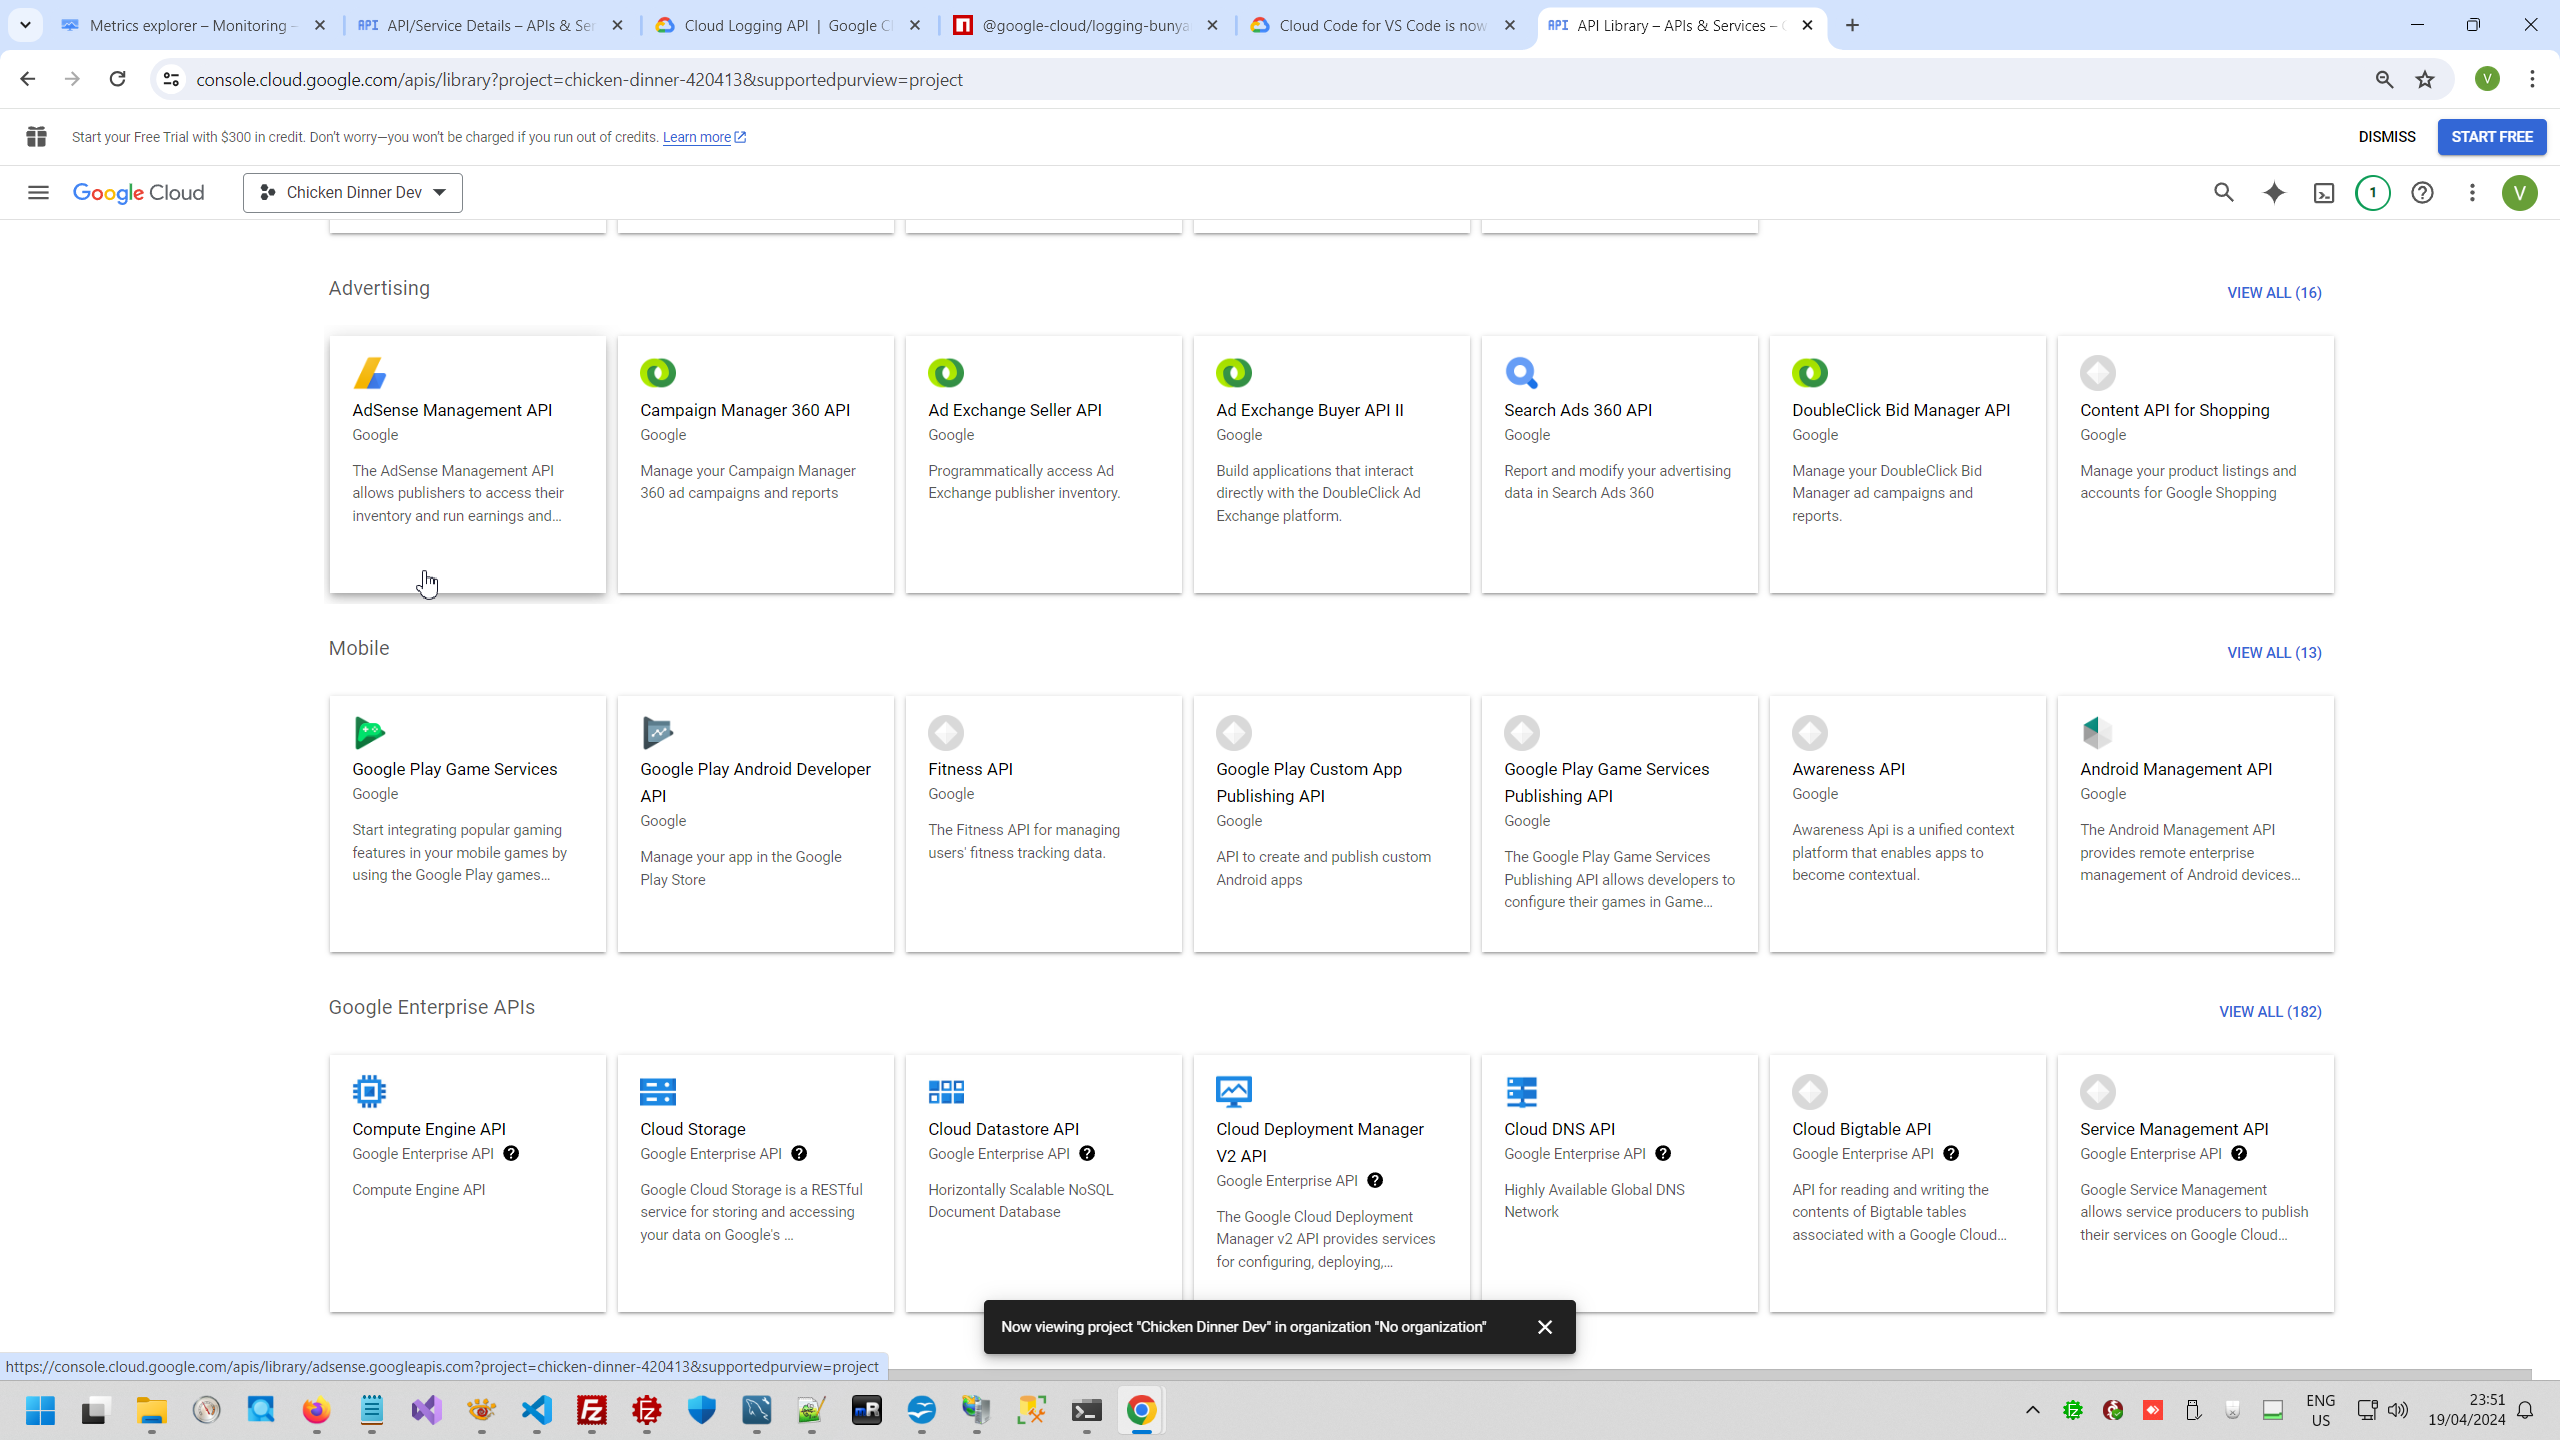
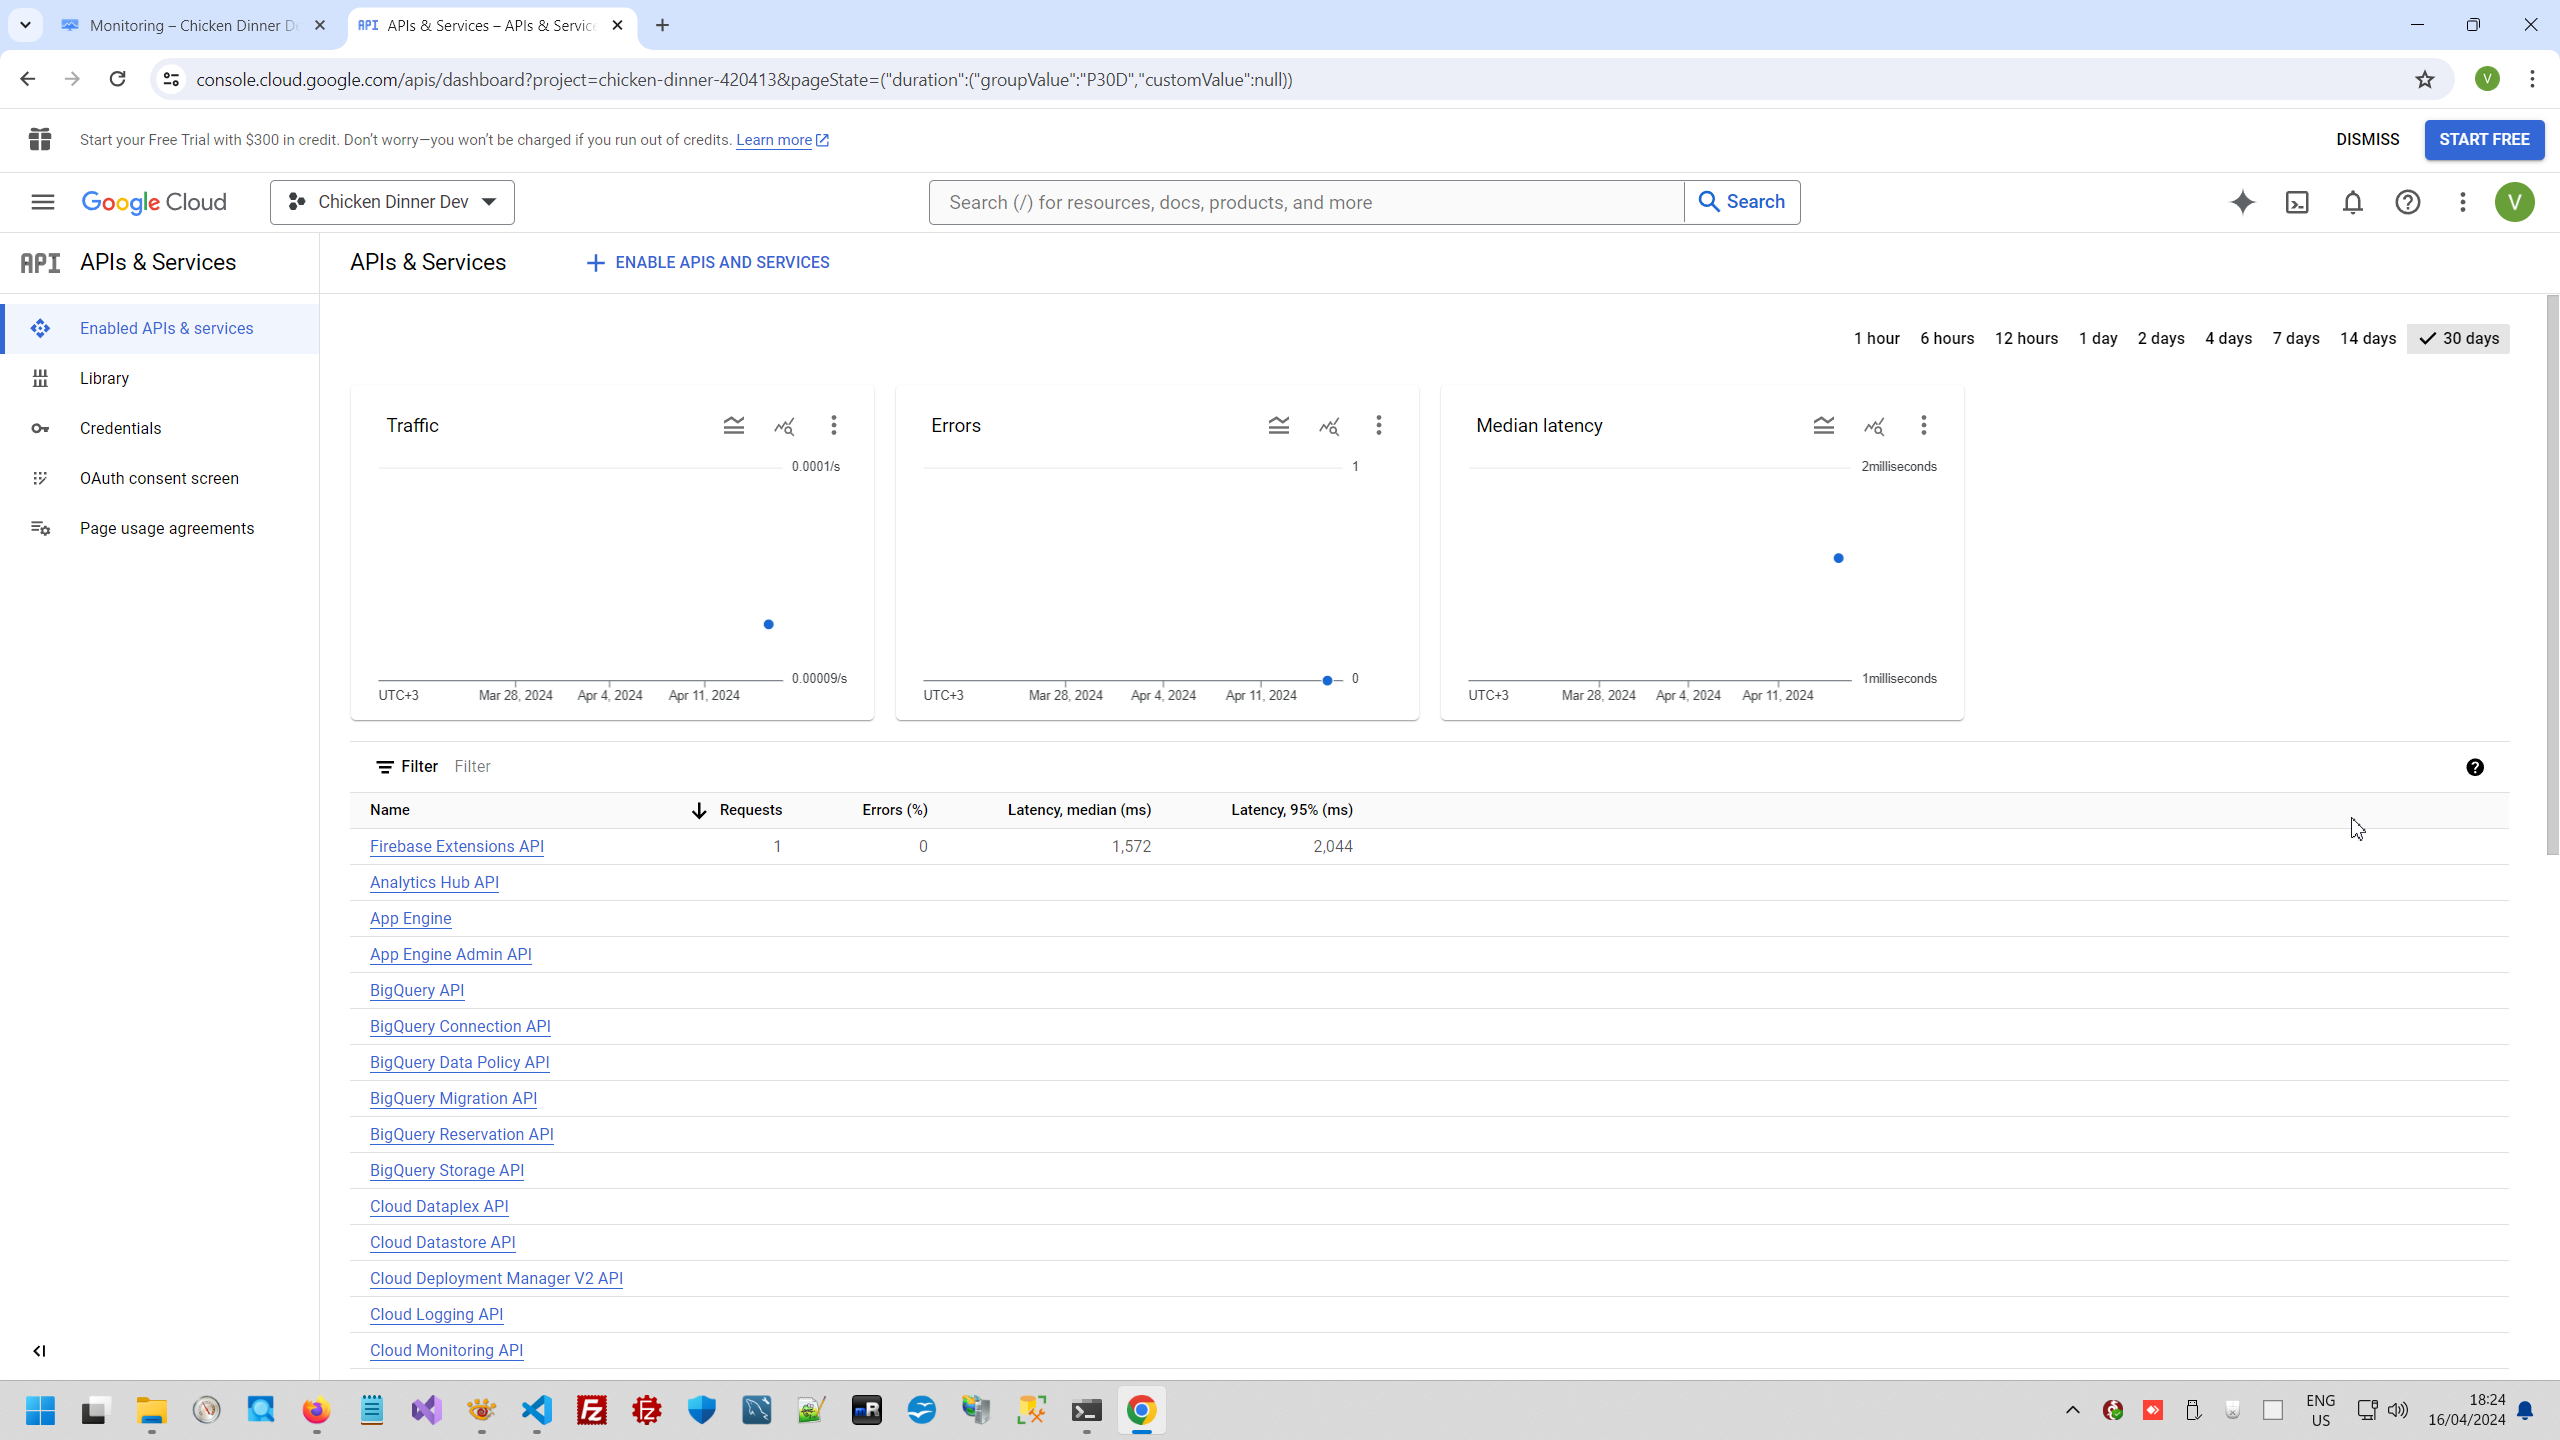
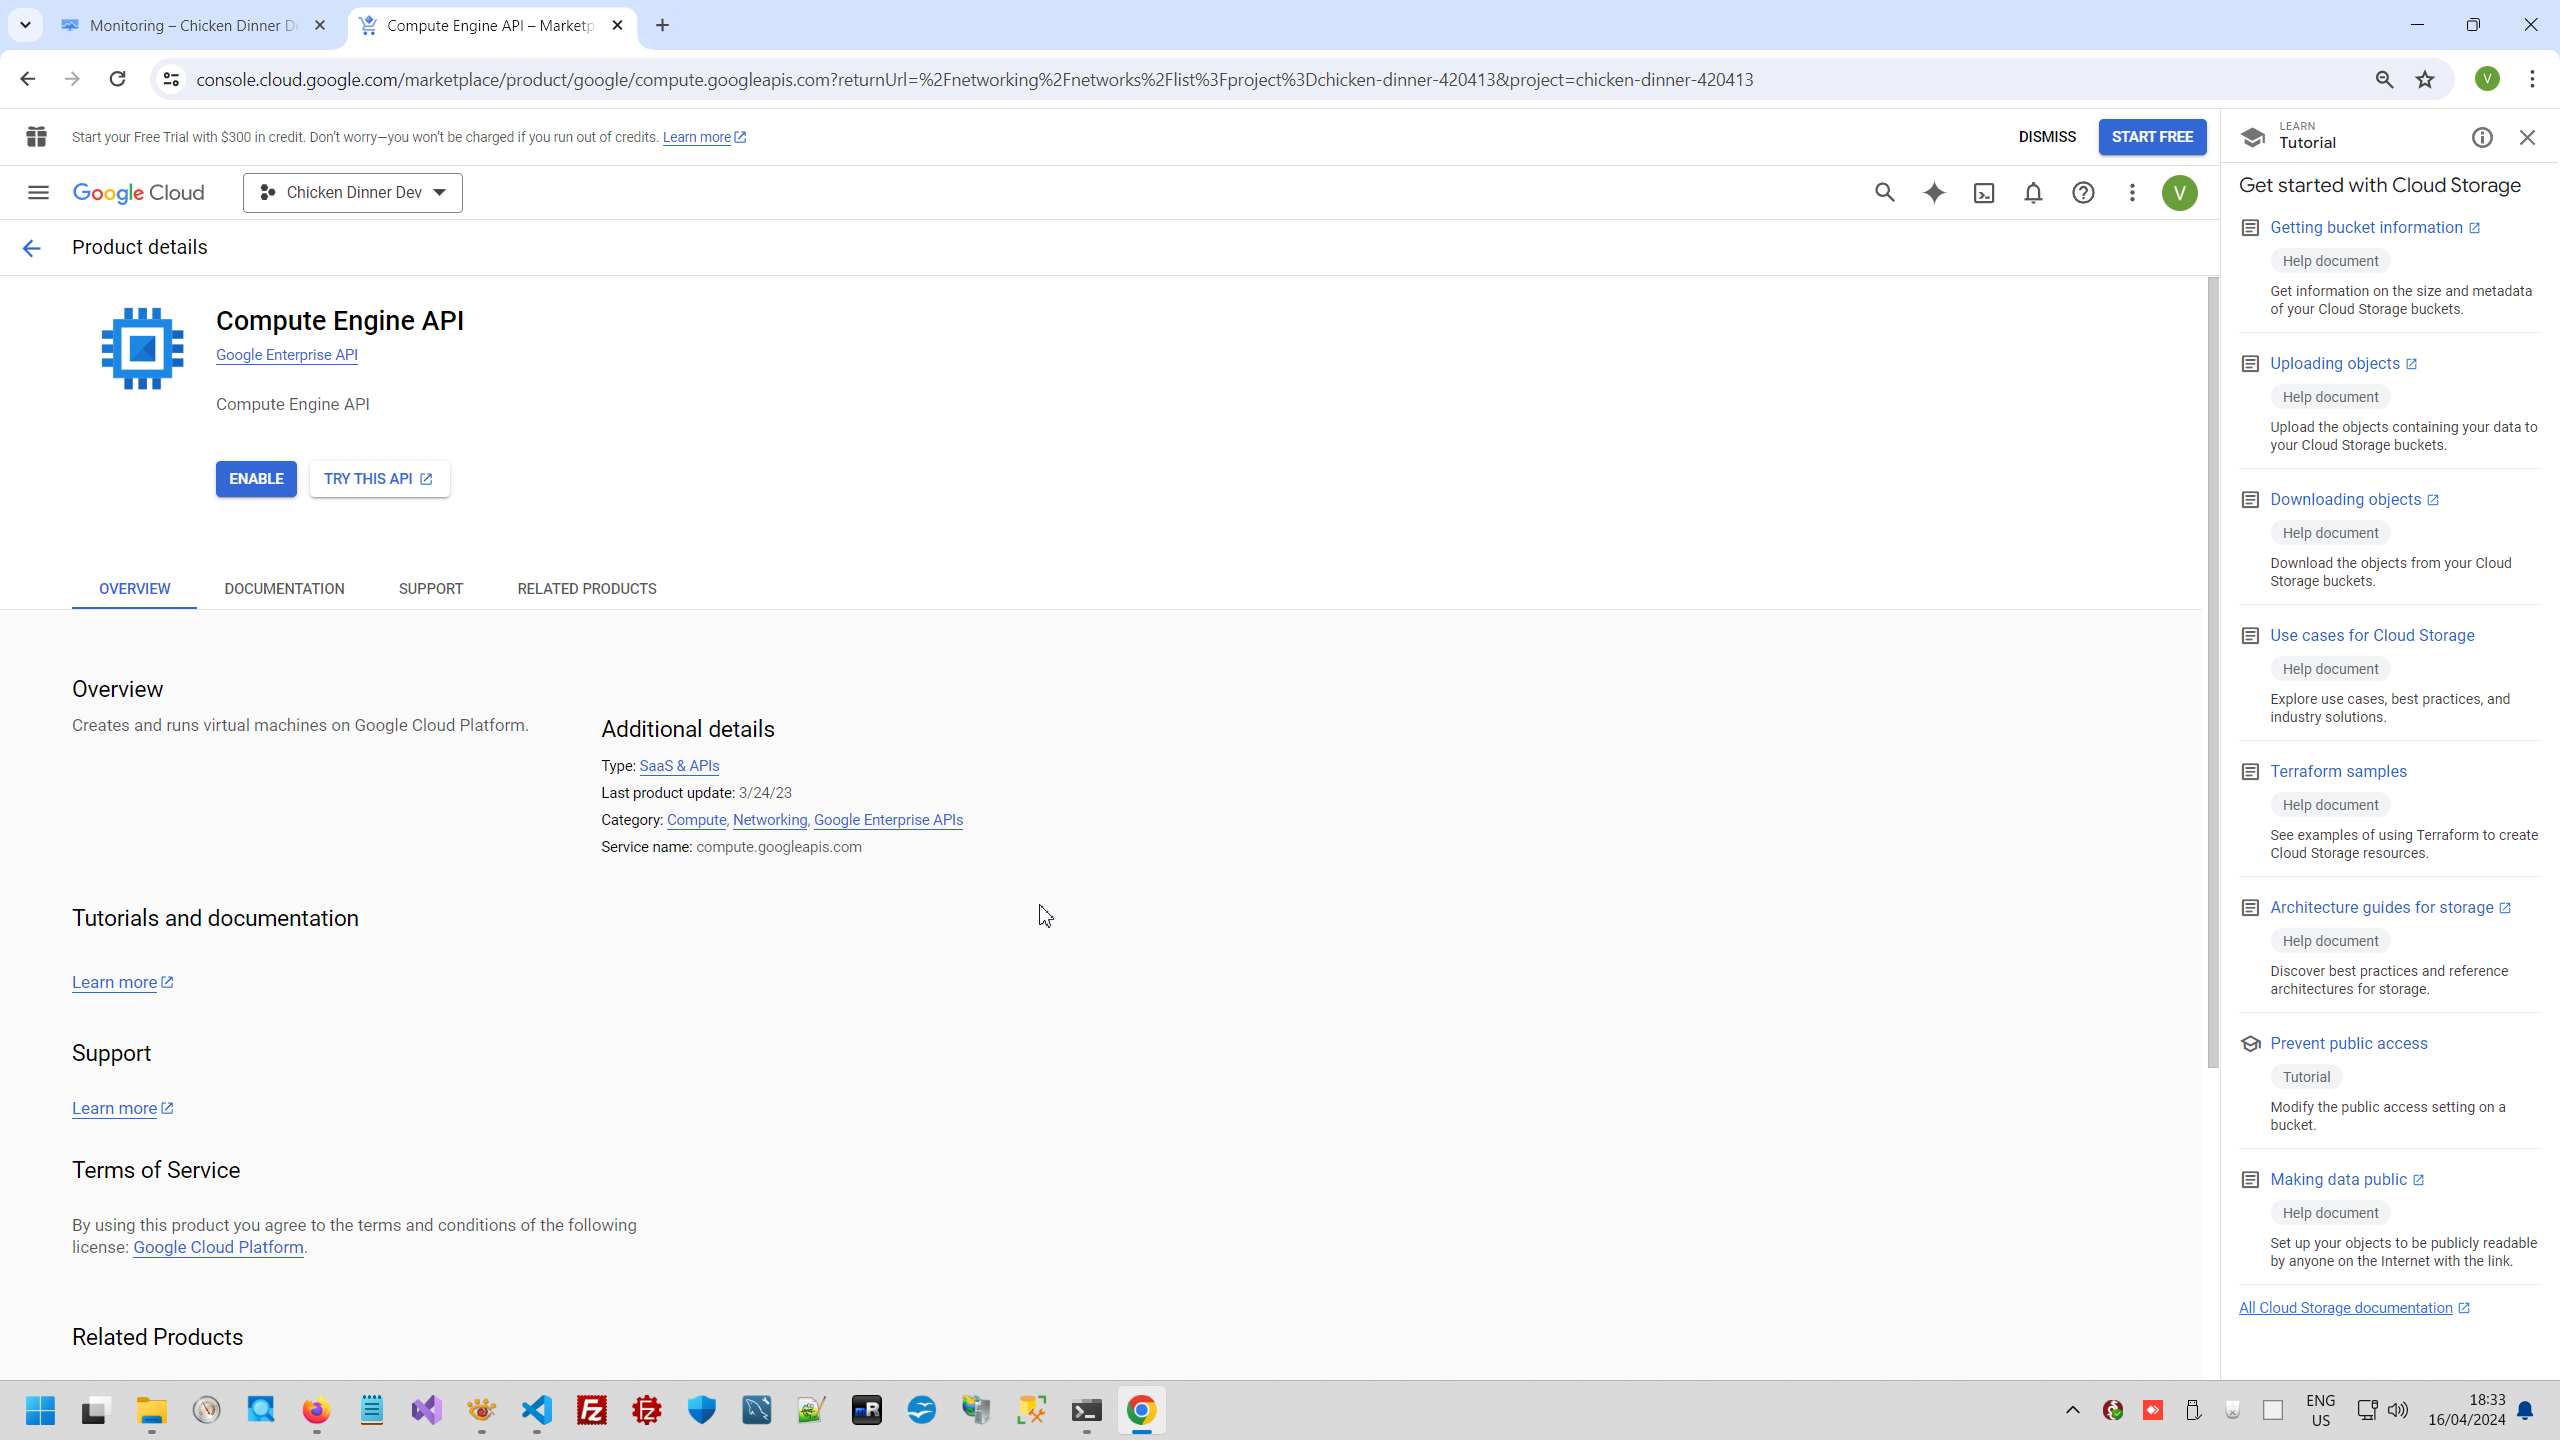
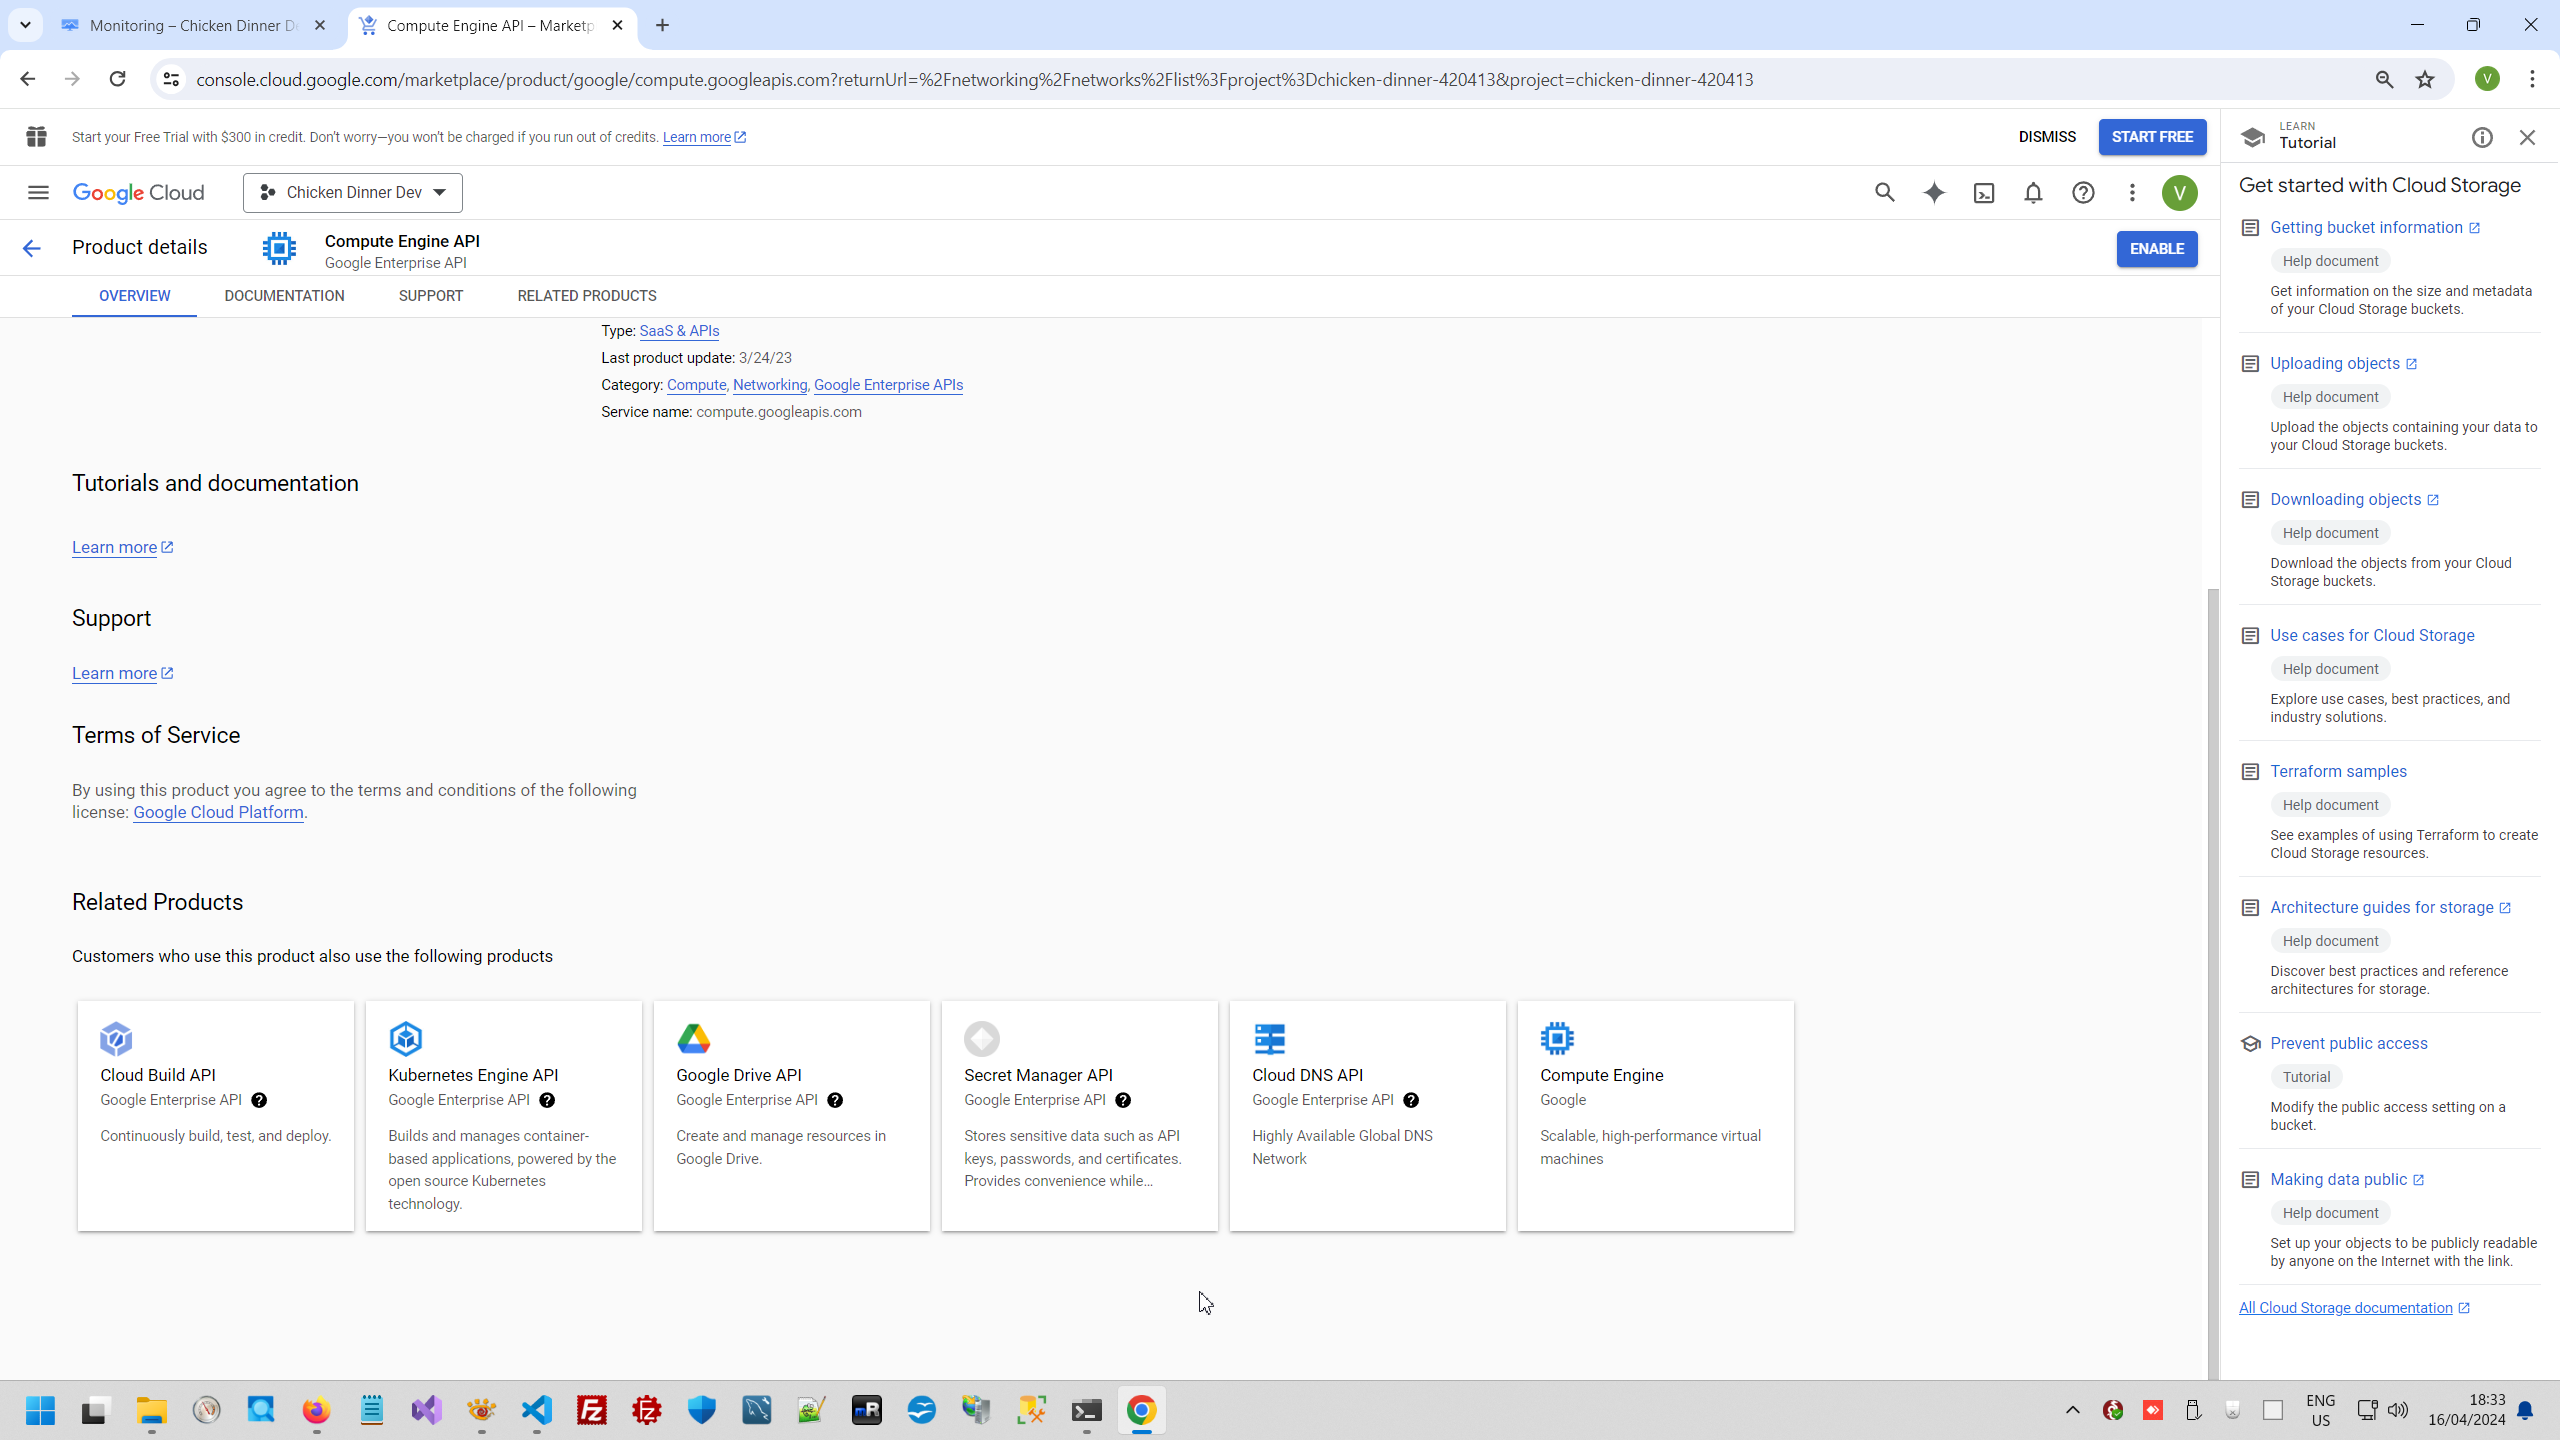
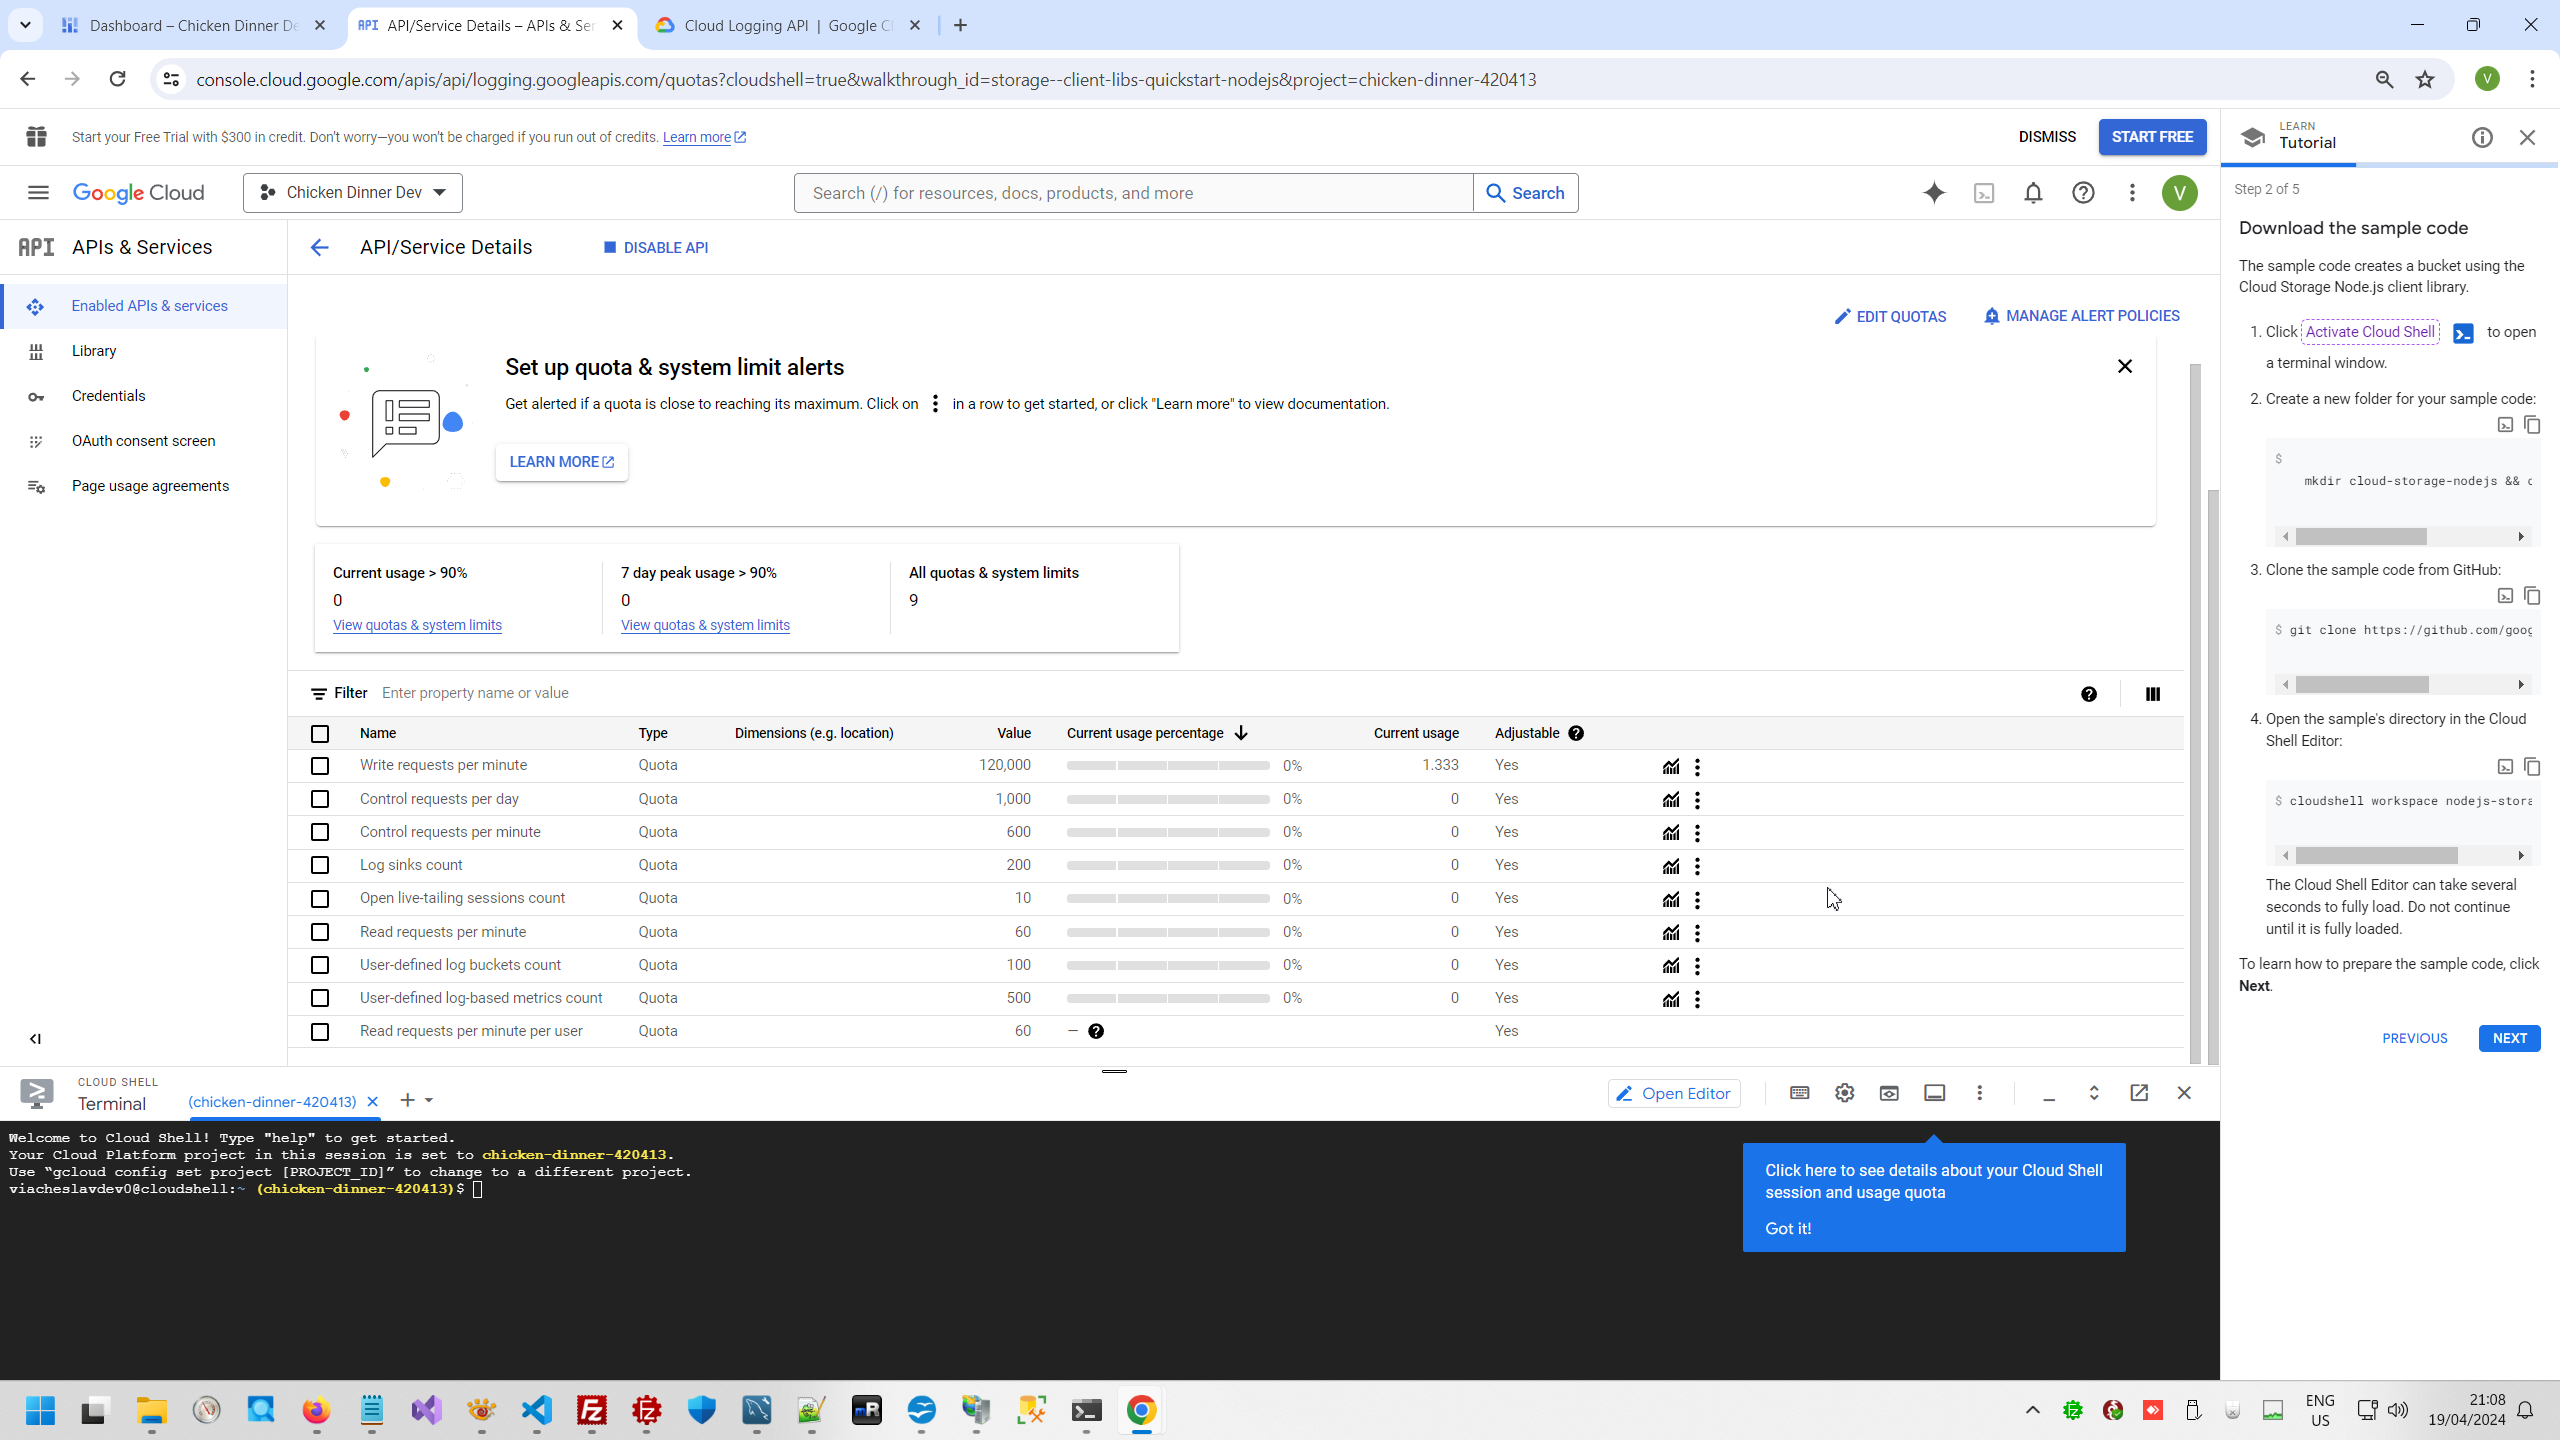
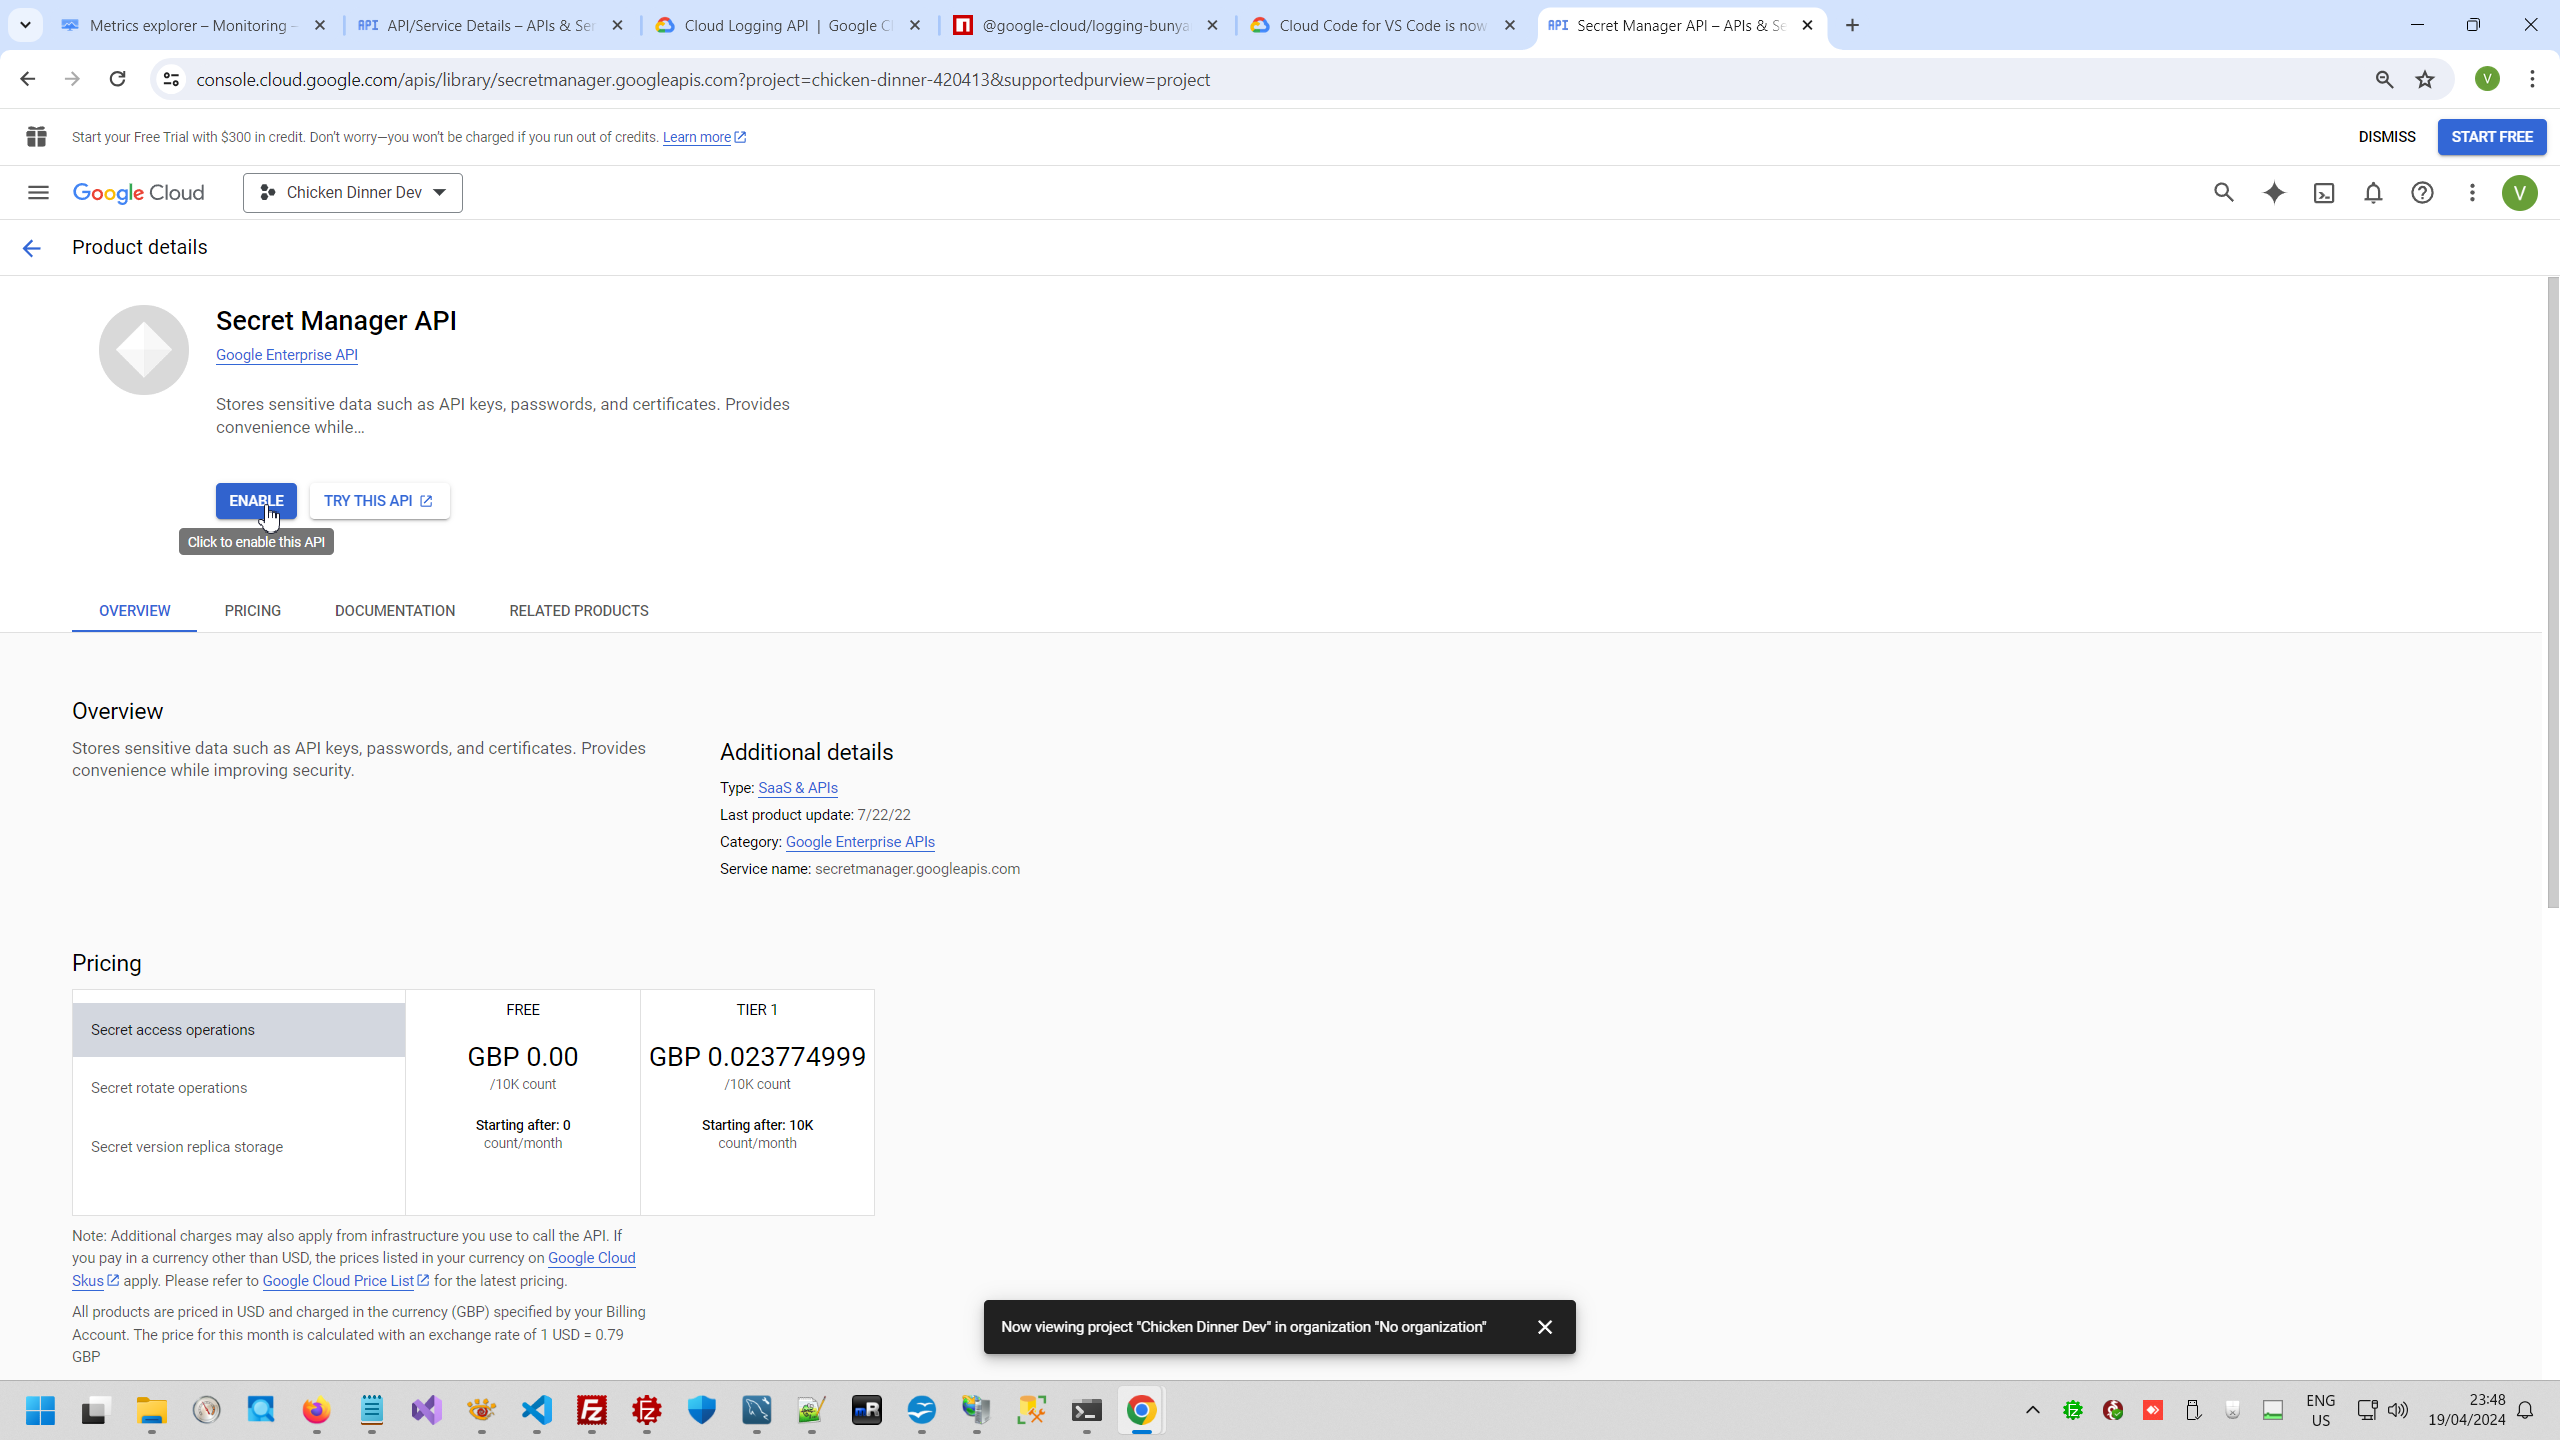
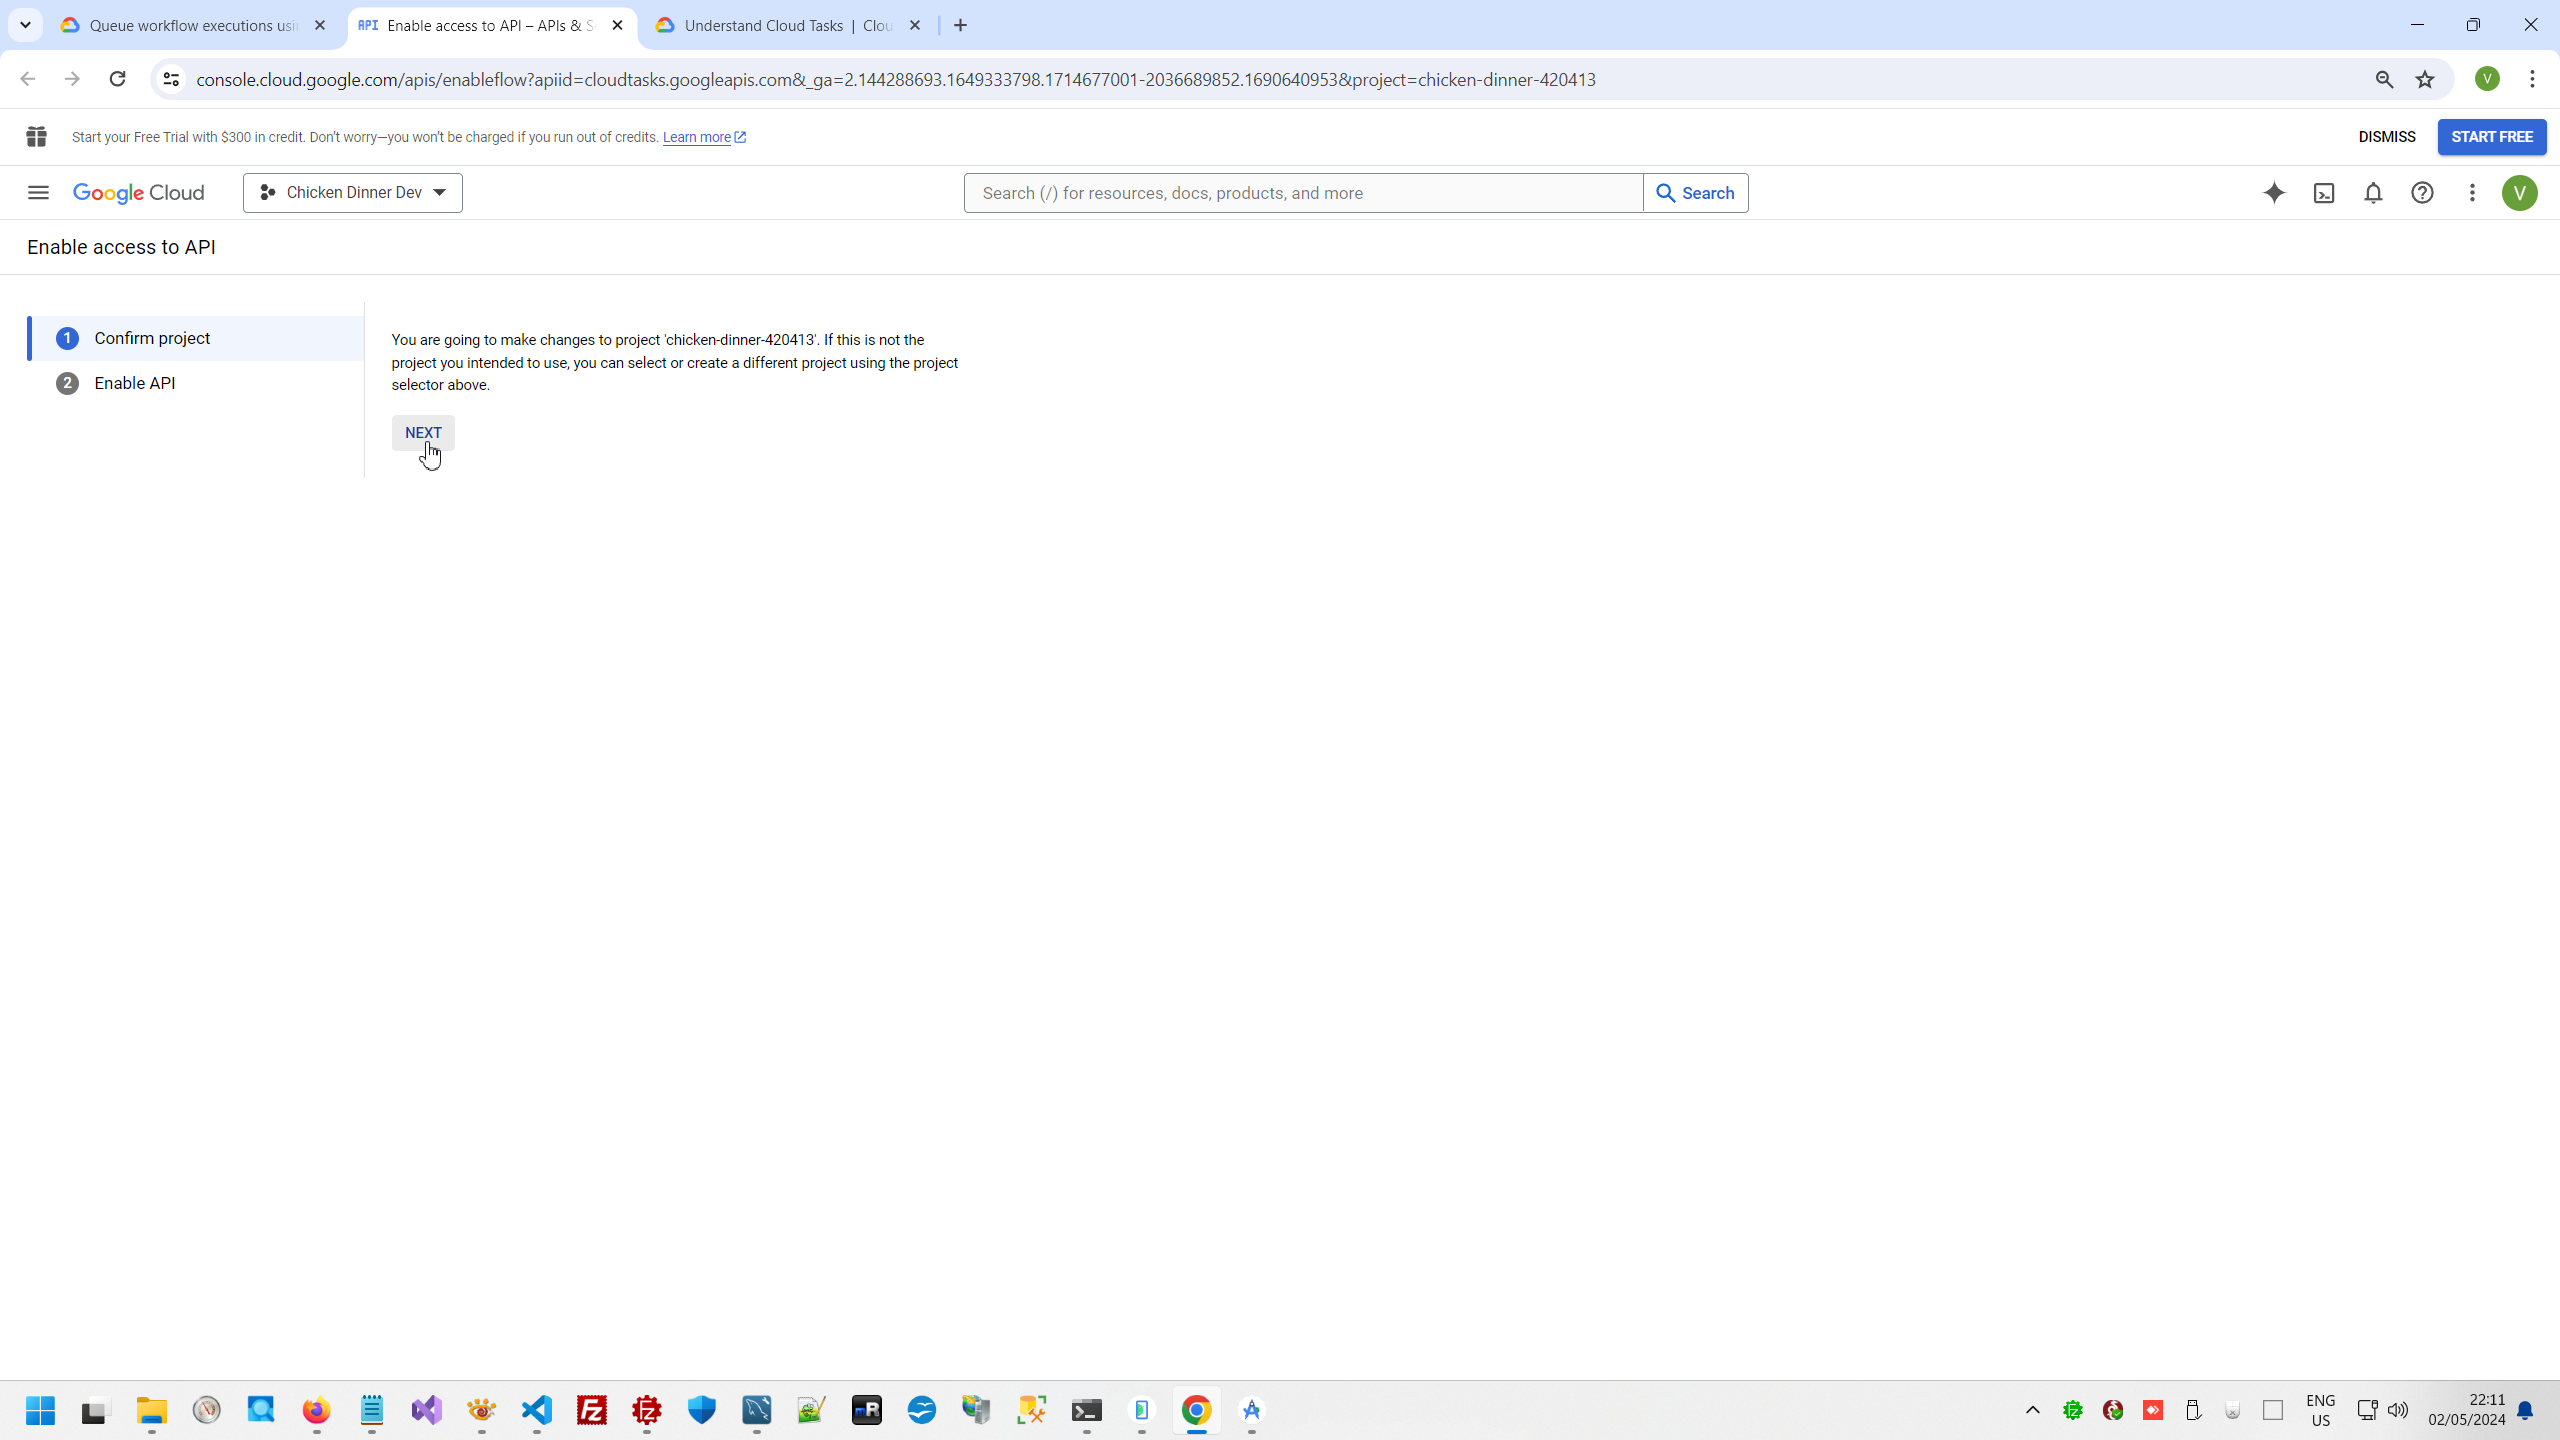
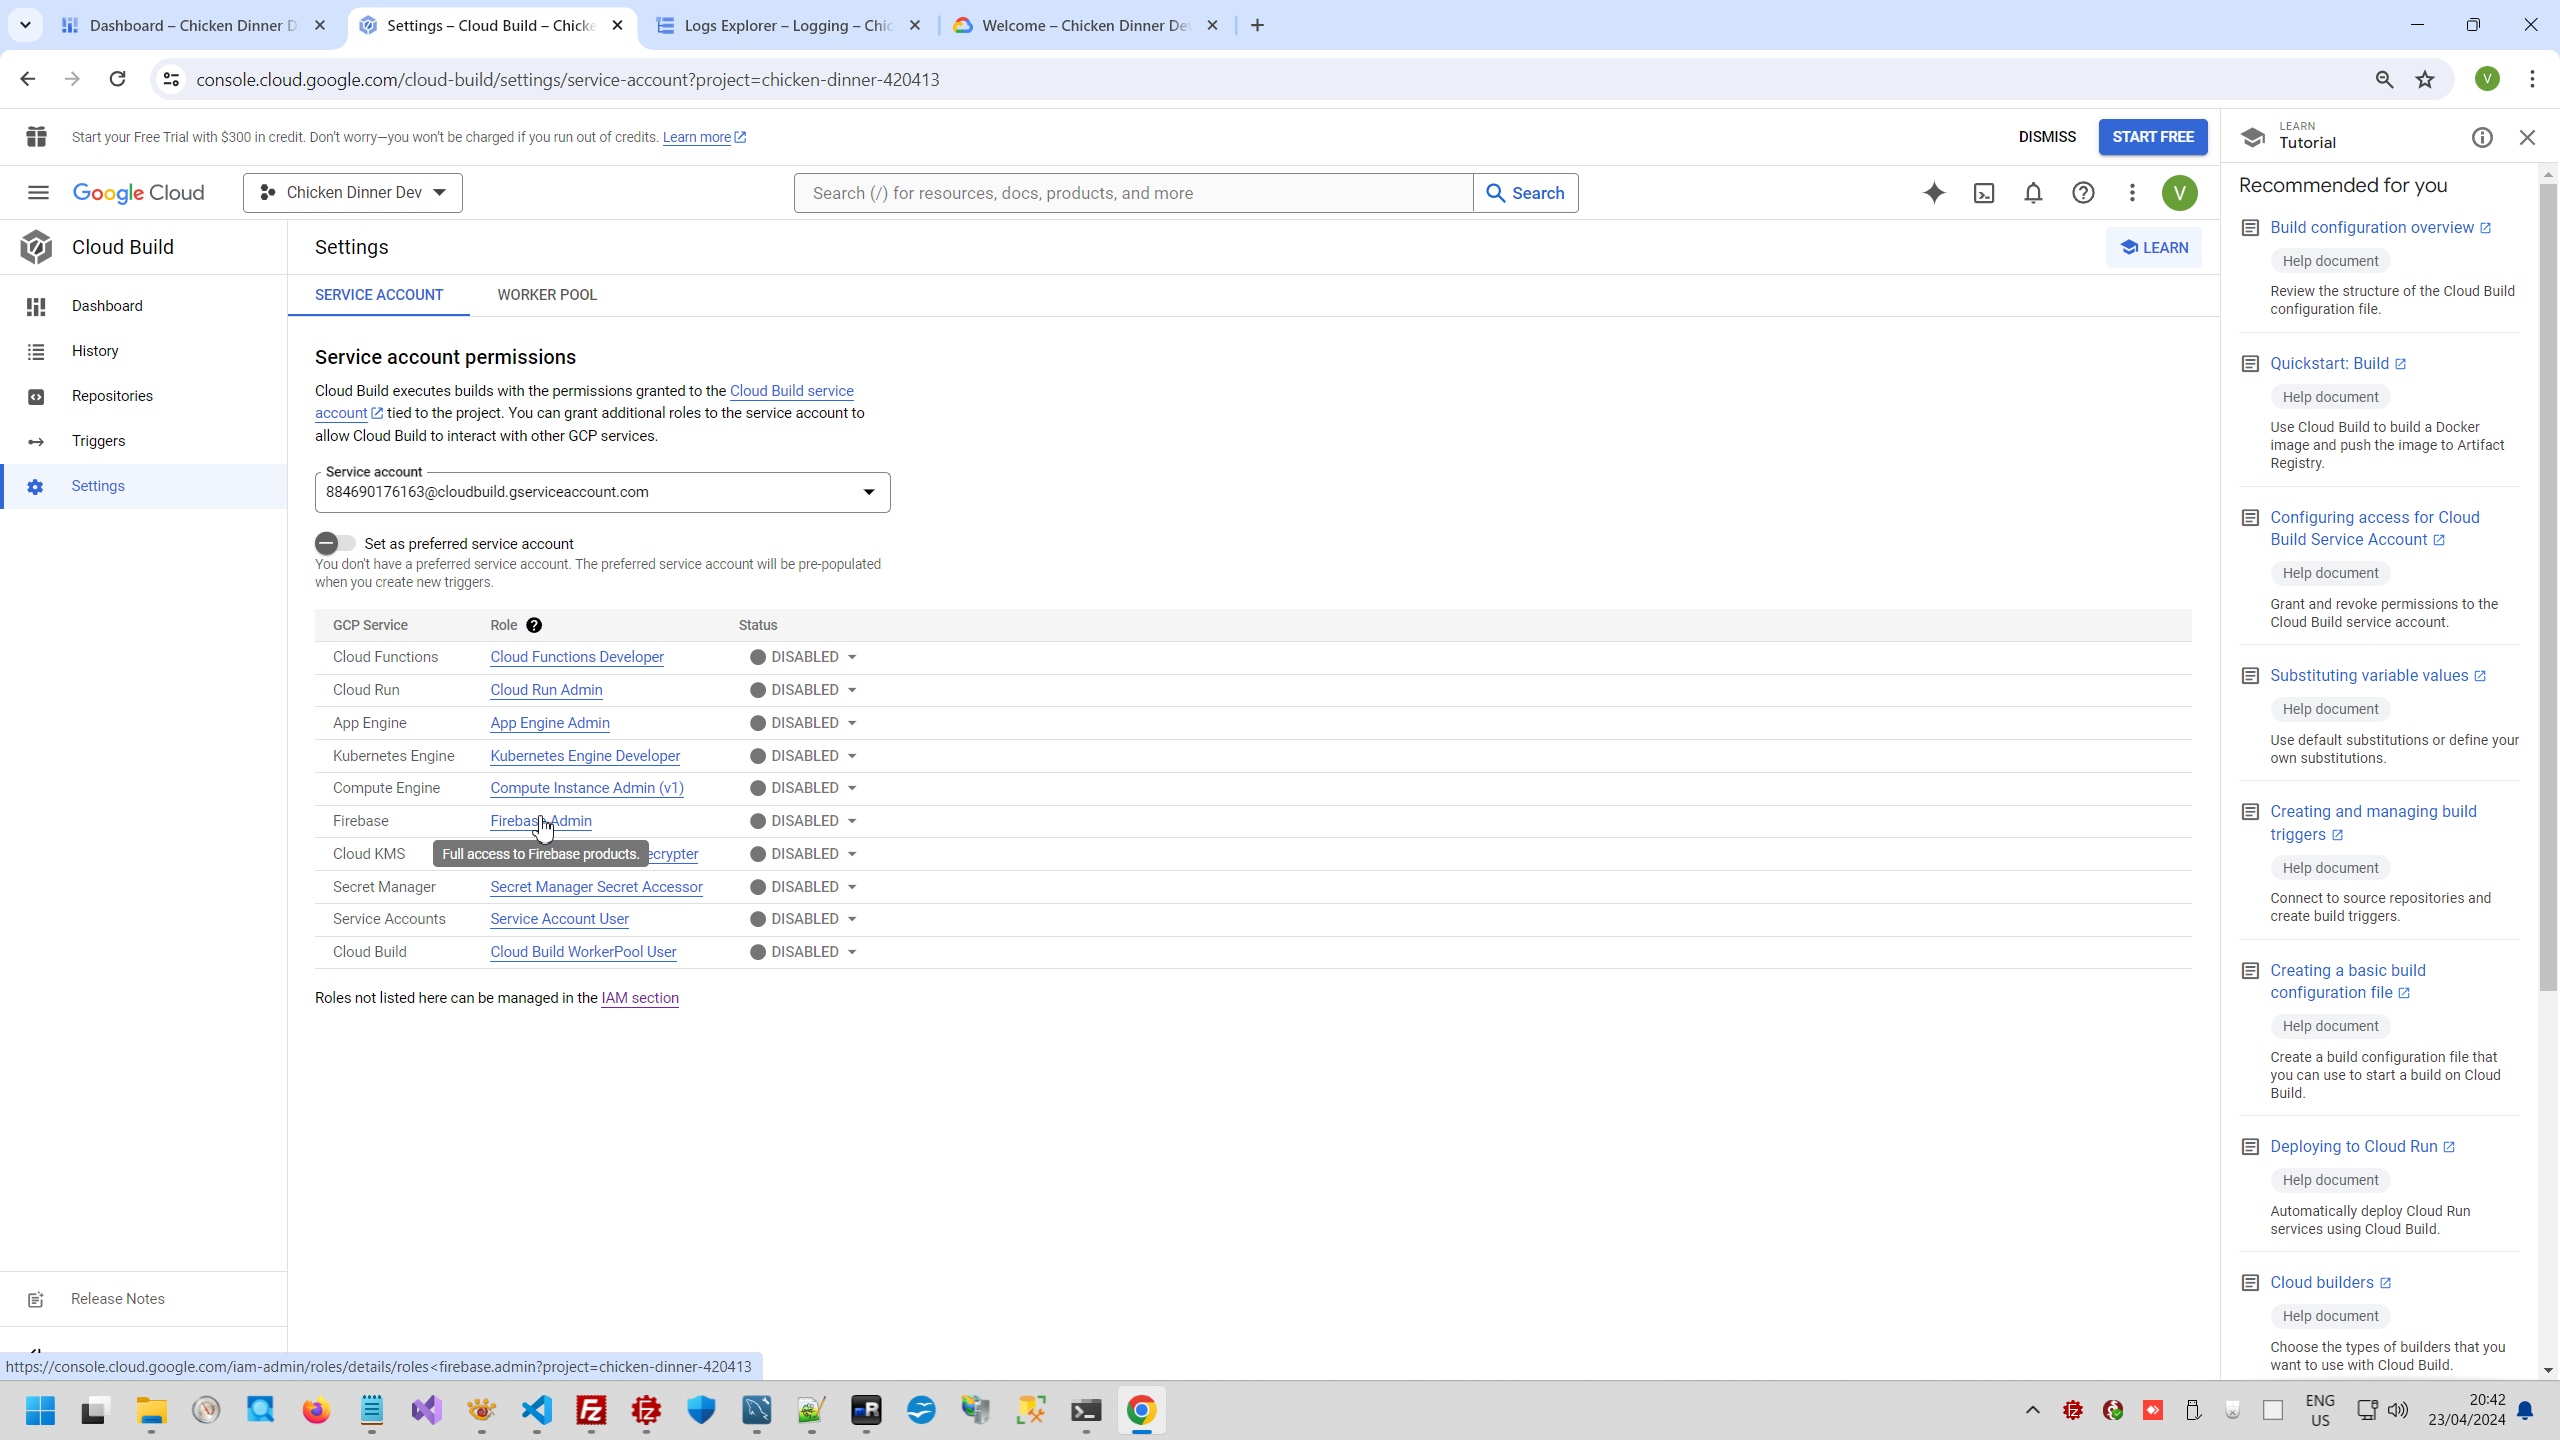
All API usually need to attach manually and usually any API has free quota without payment.
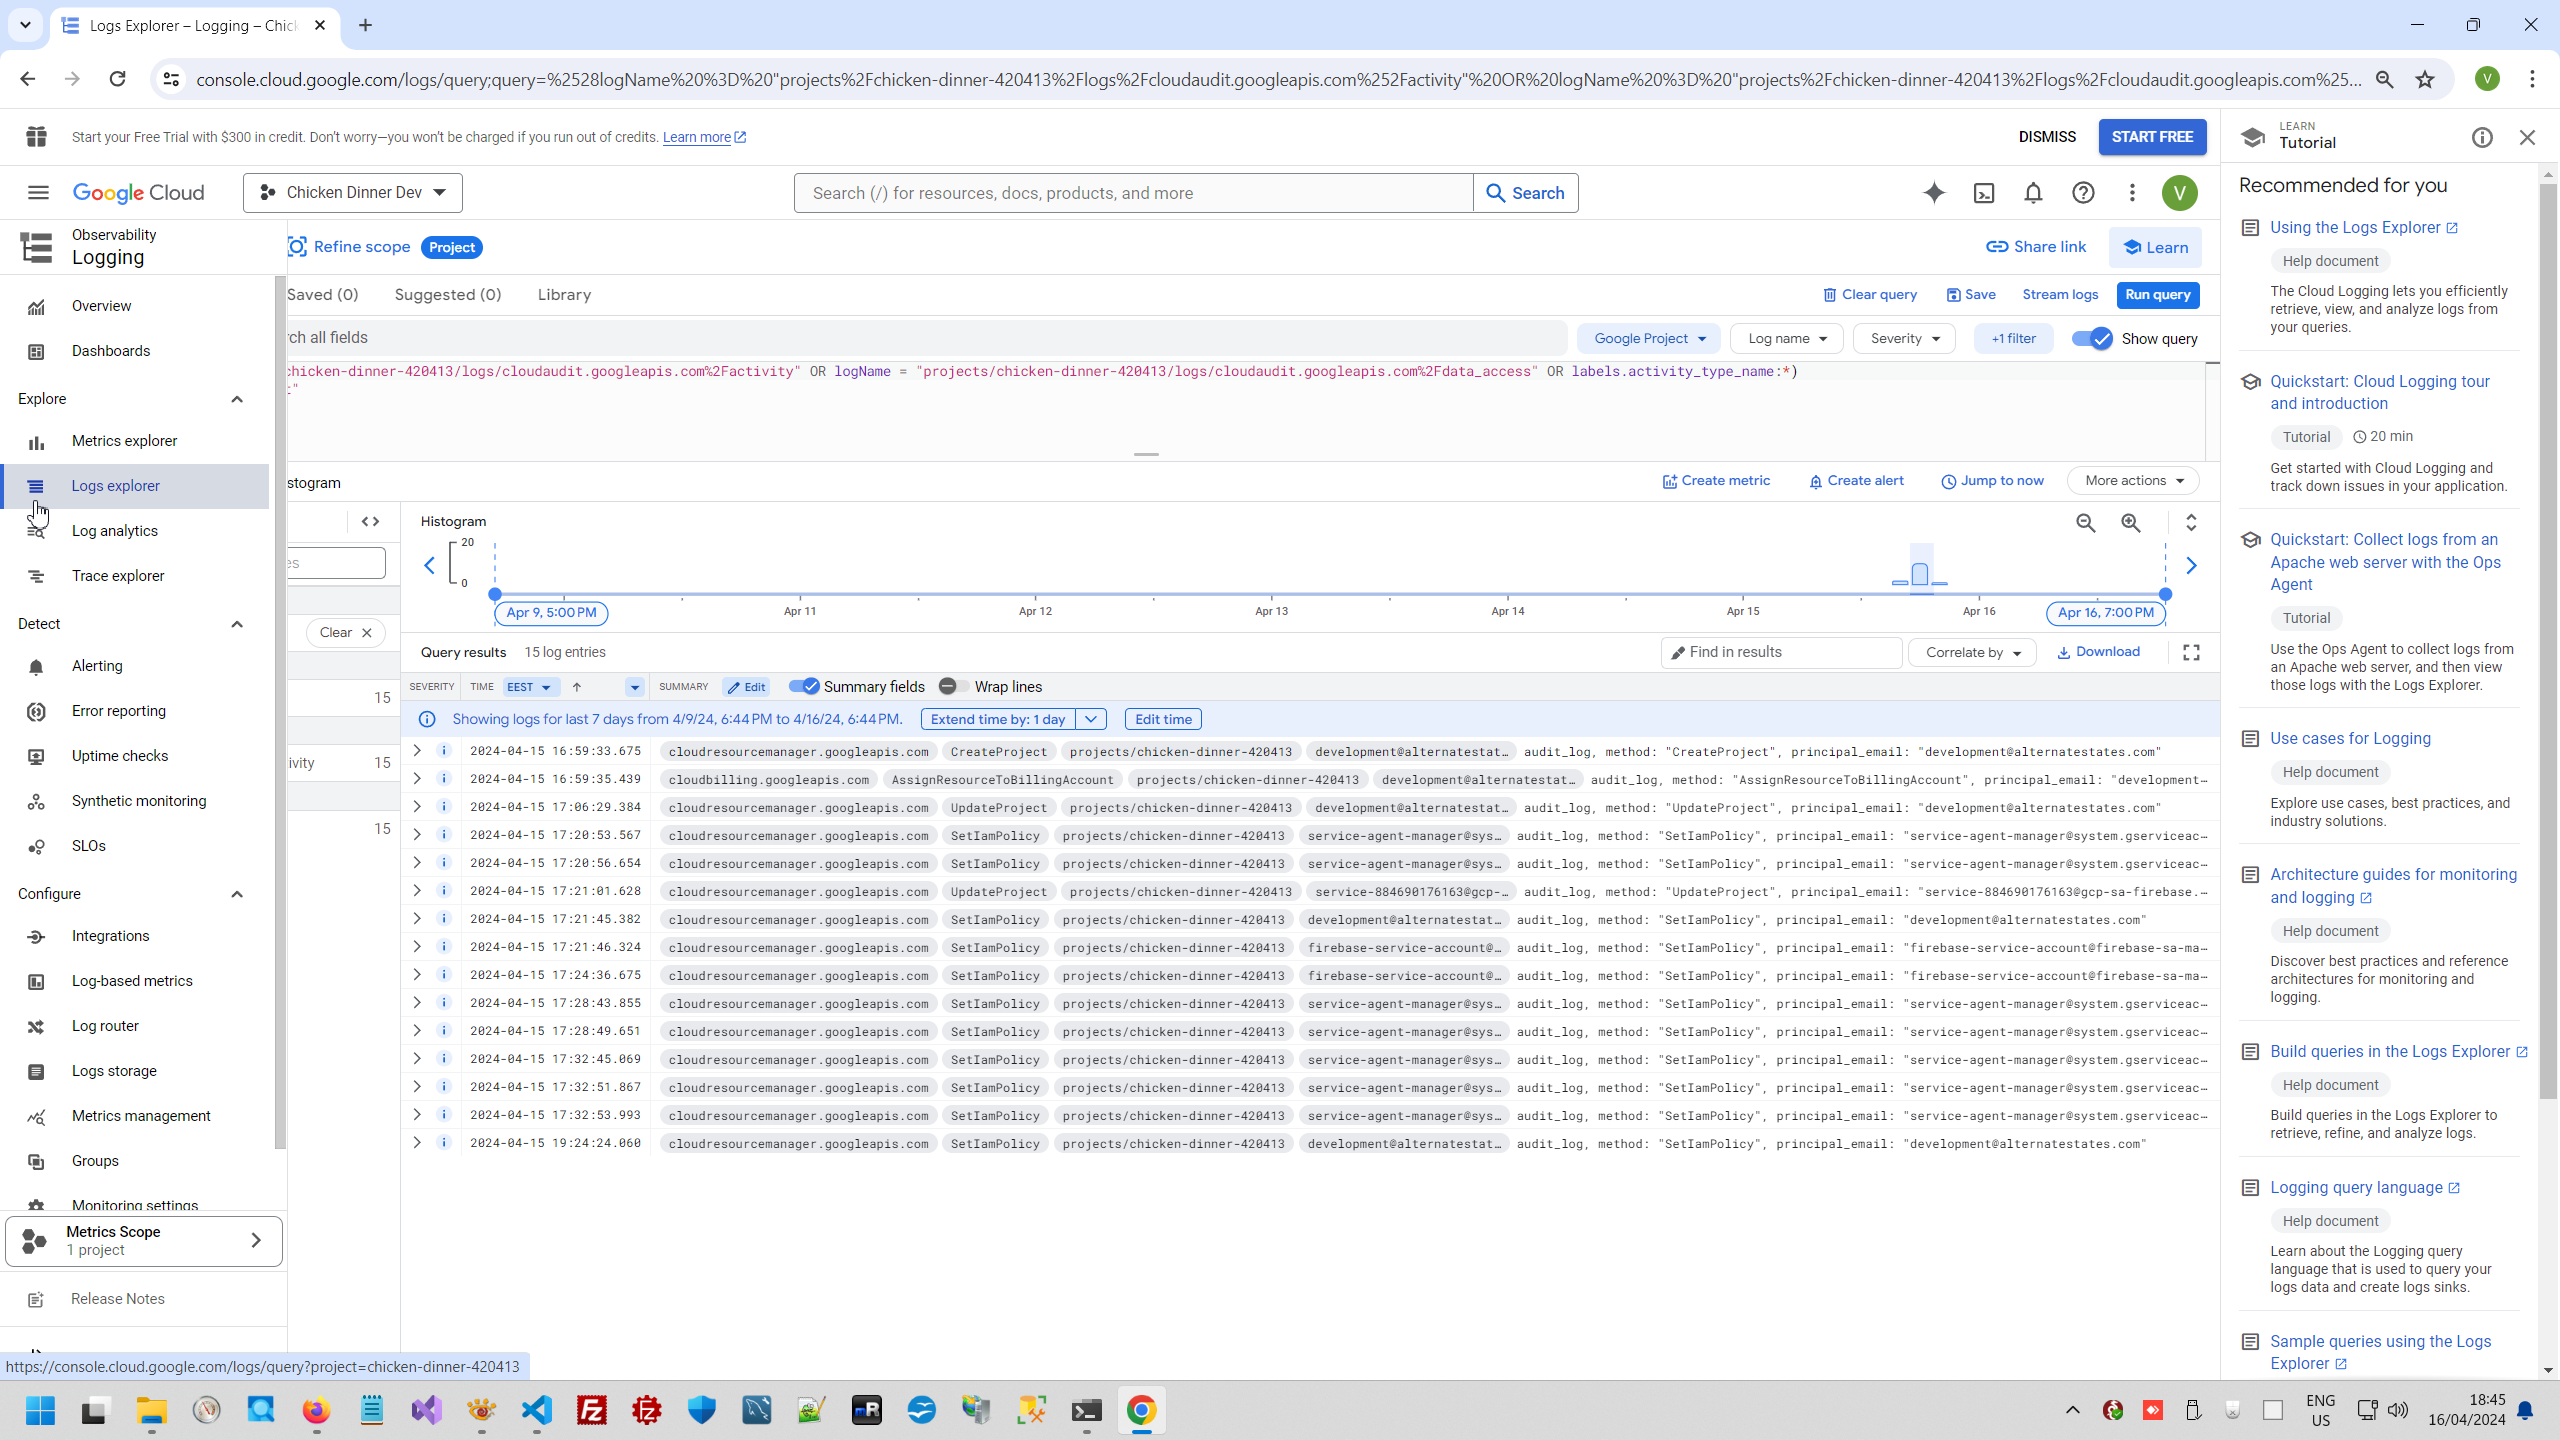
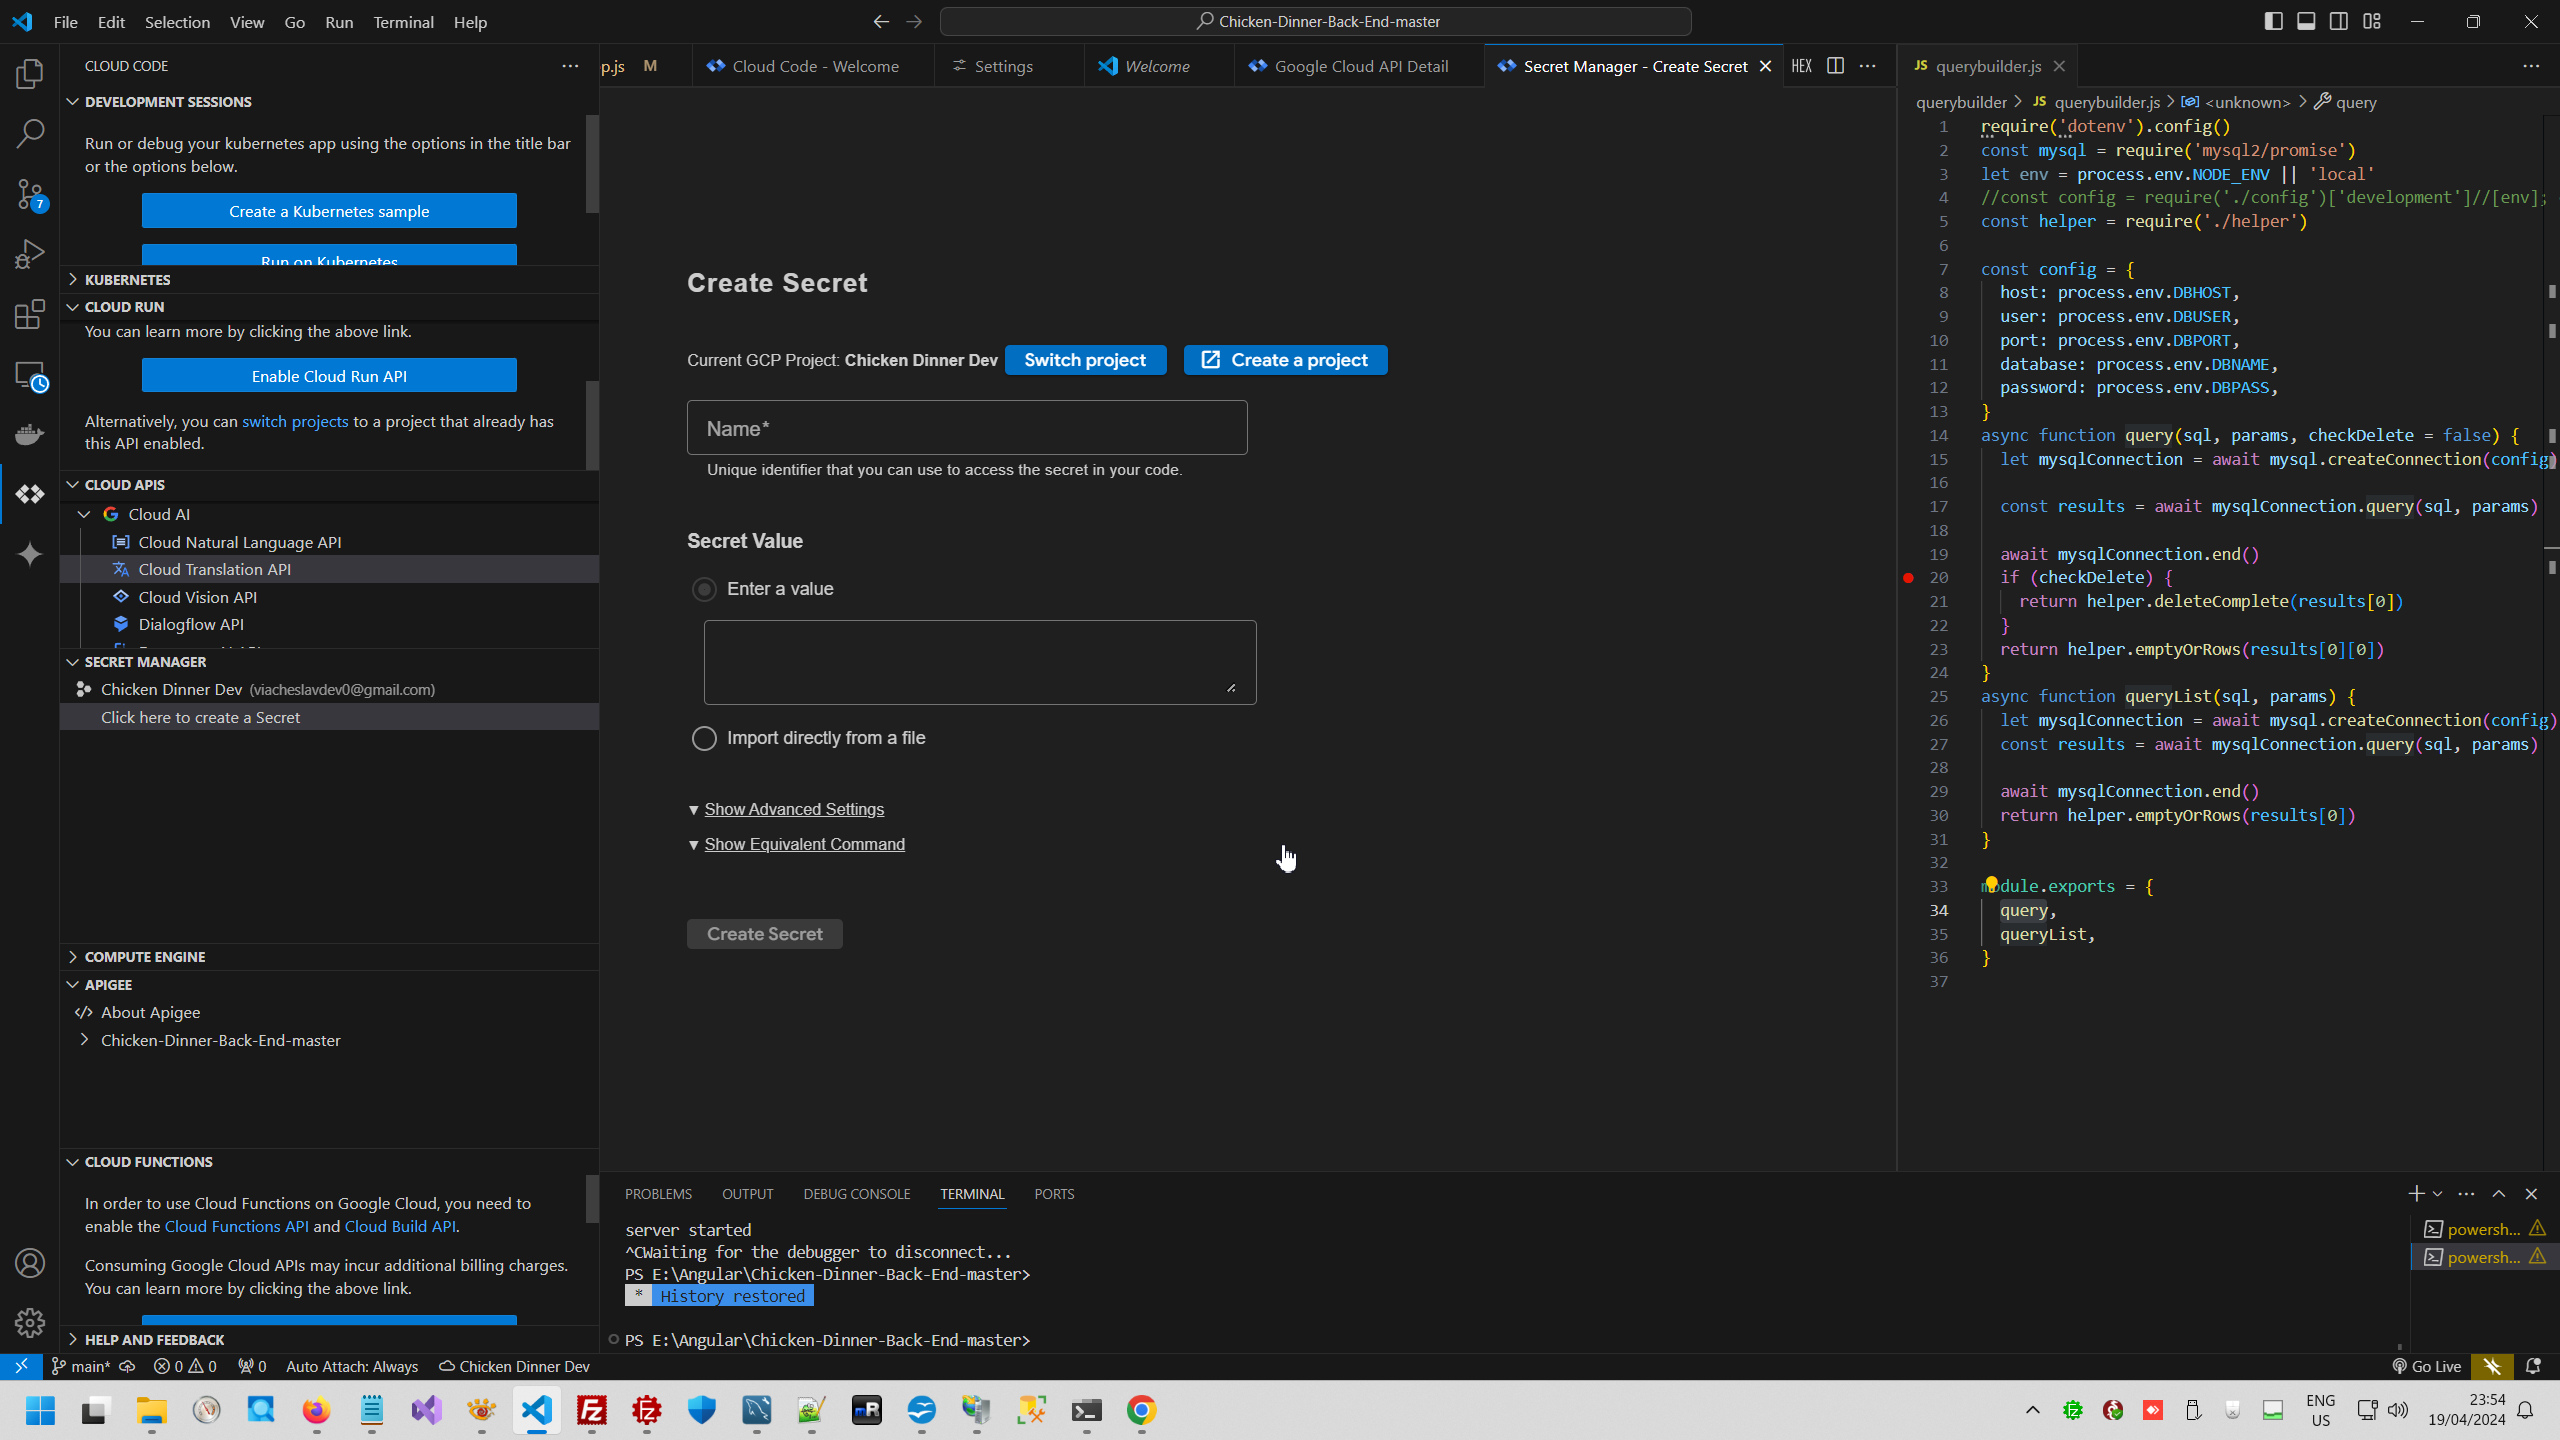
For example this is secret API to create various access key.
This is, for example this is AI Gemini project, AI API and AI studio.

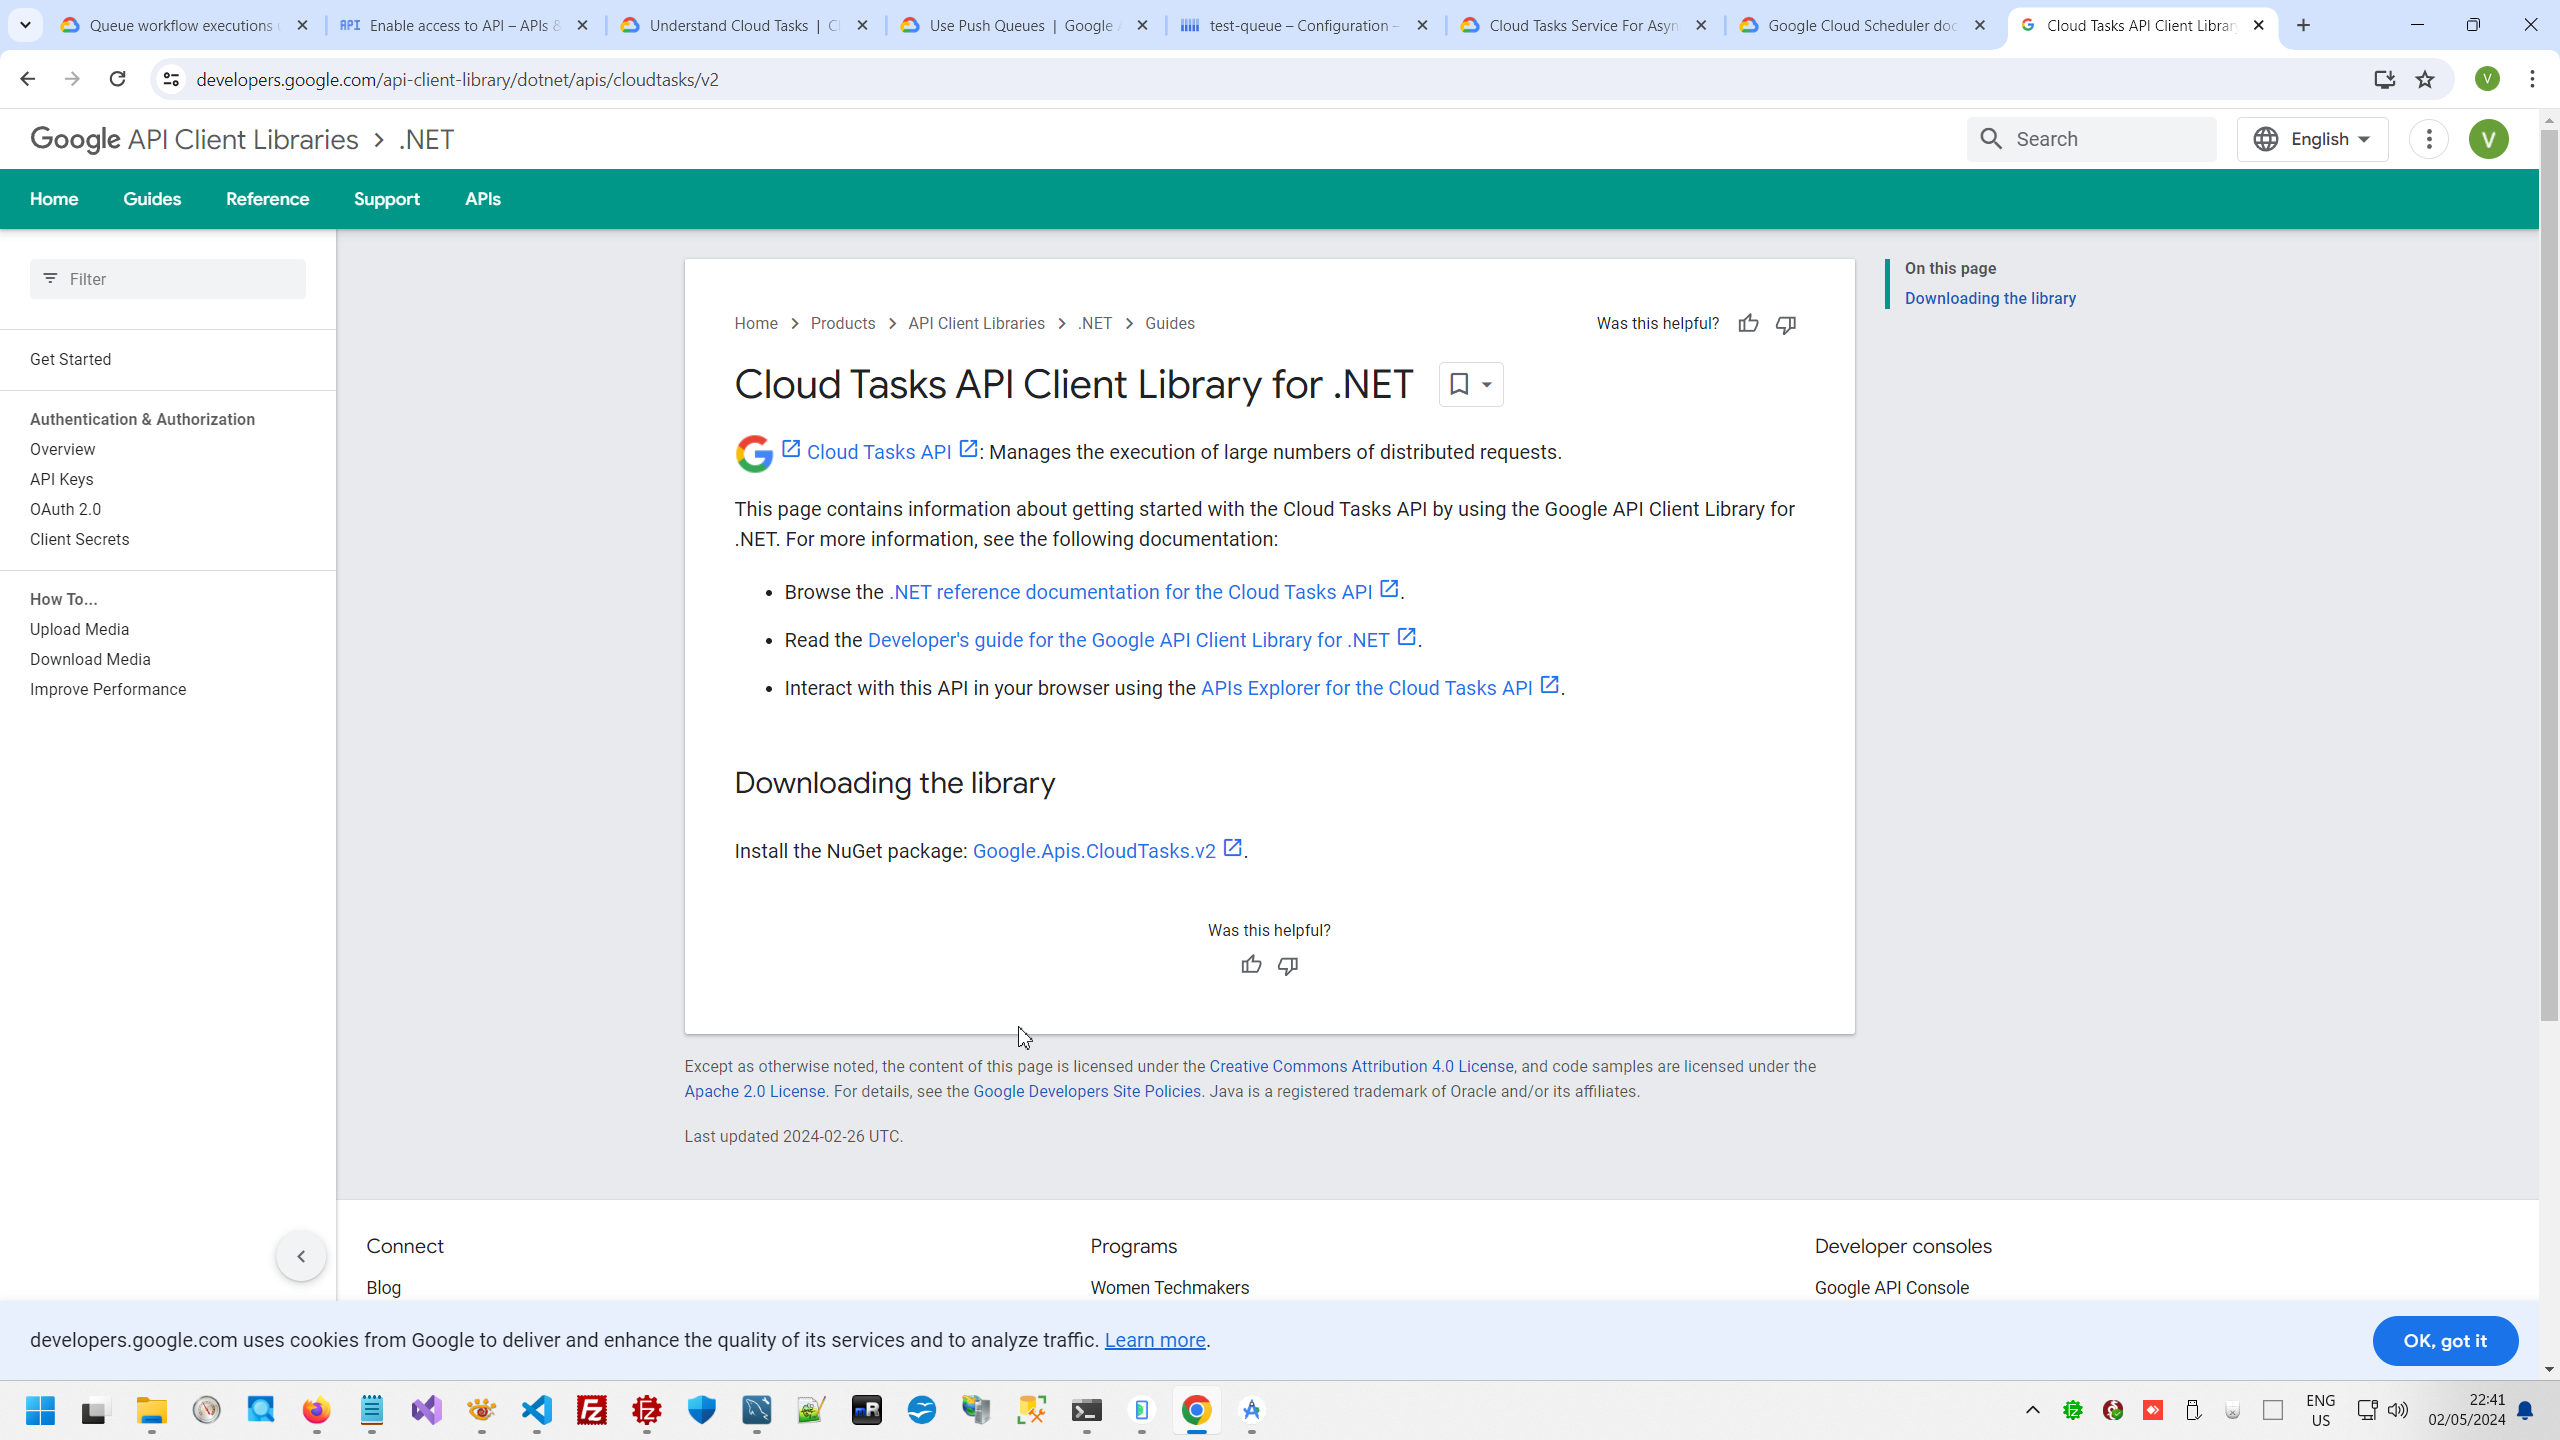
There are two types of Google tasks
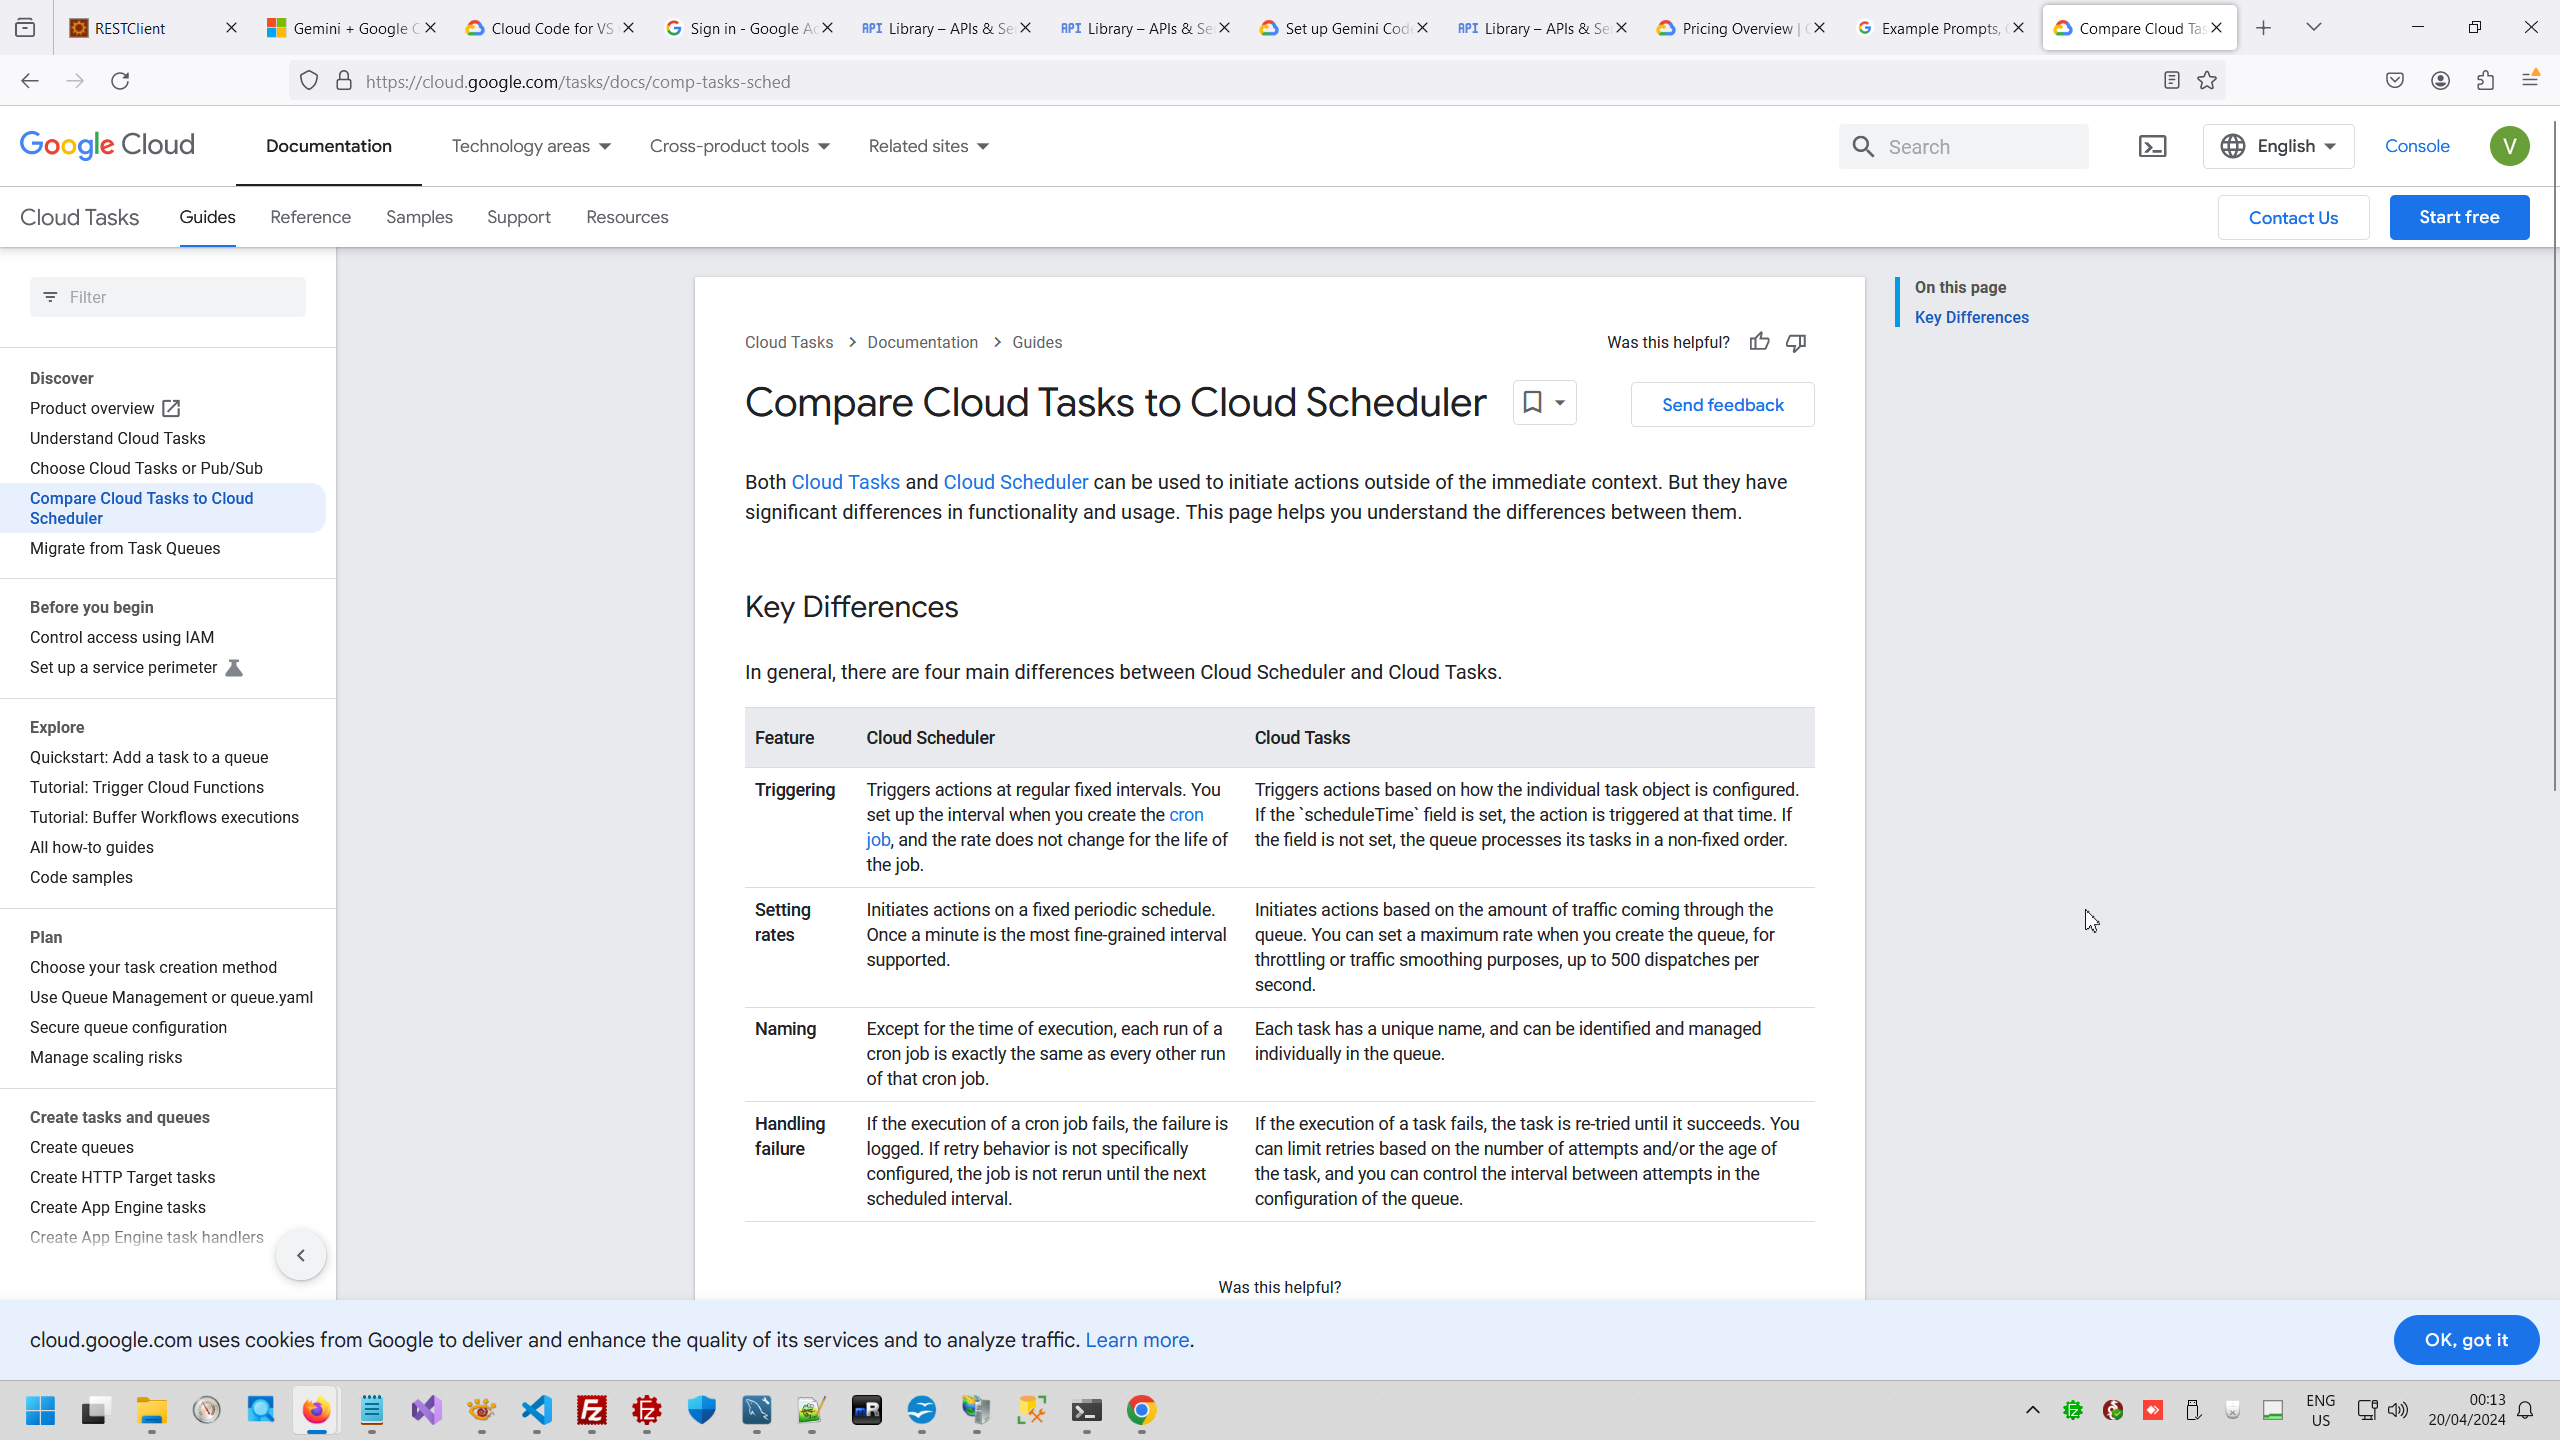
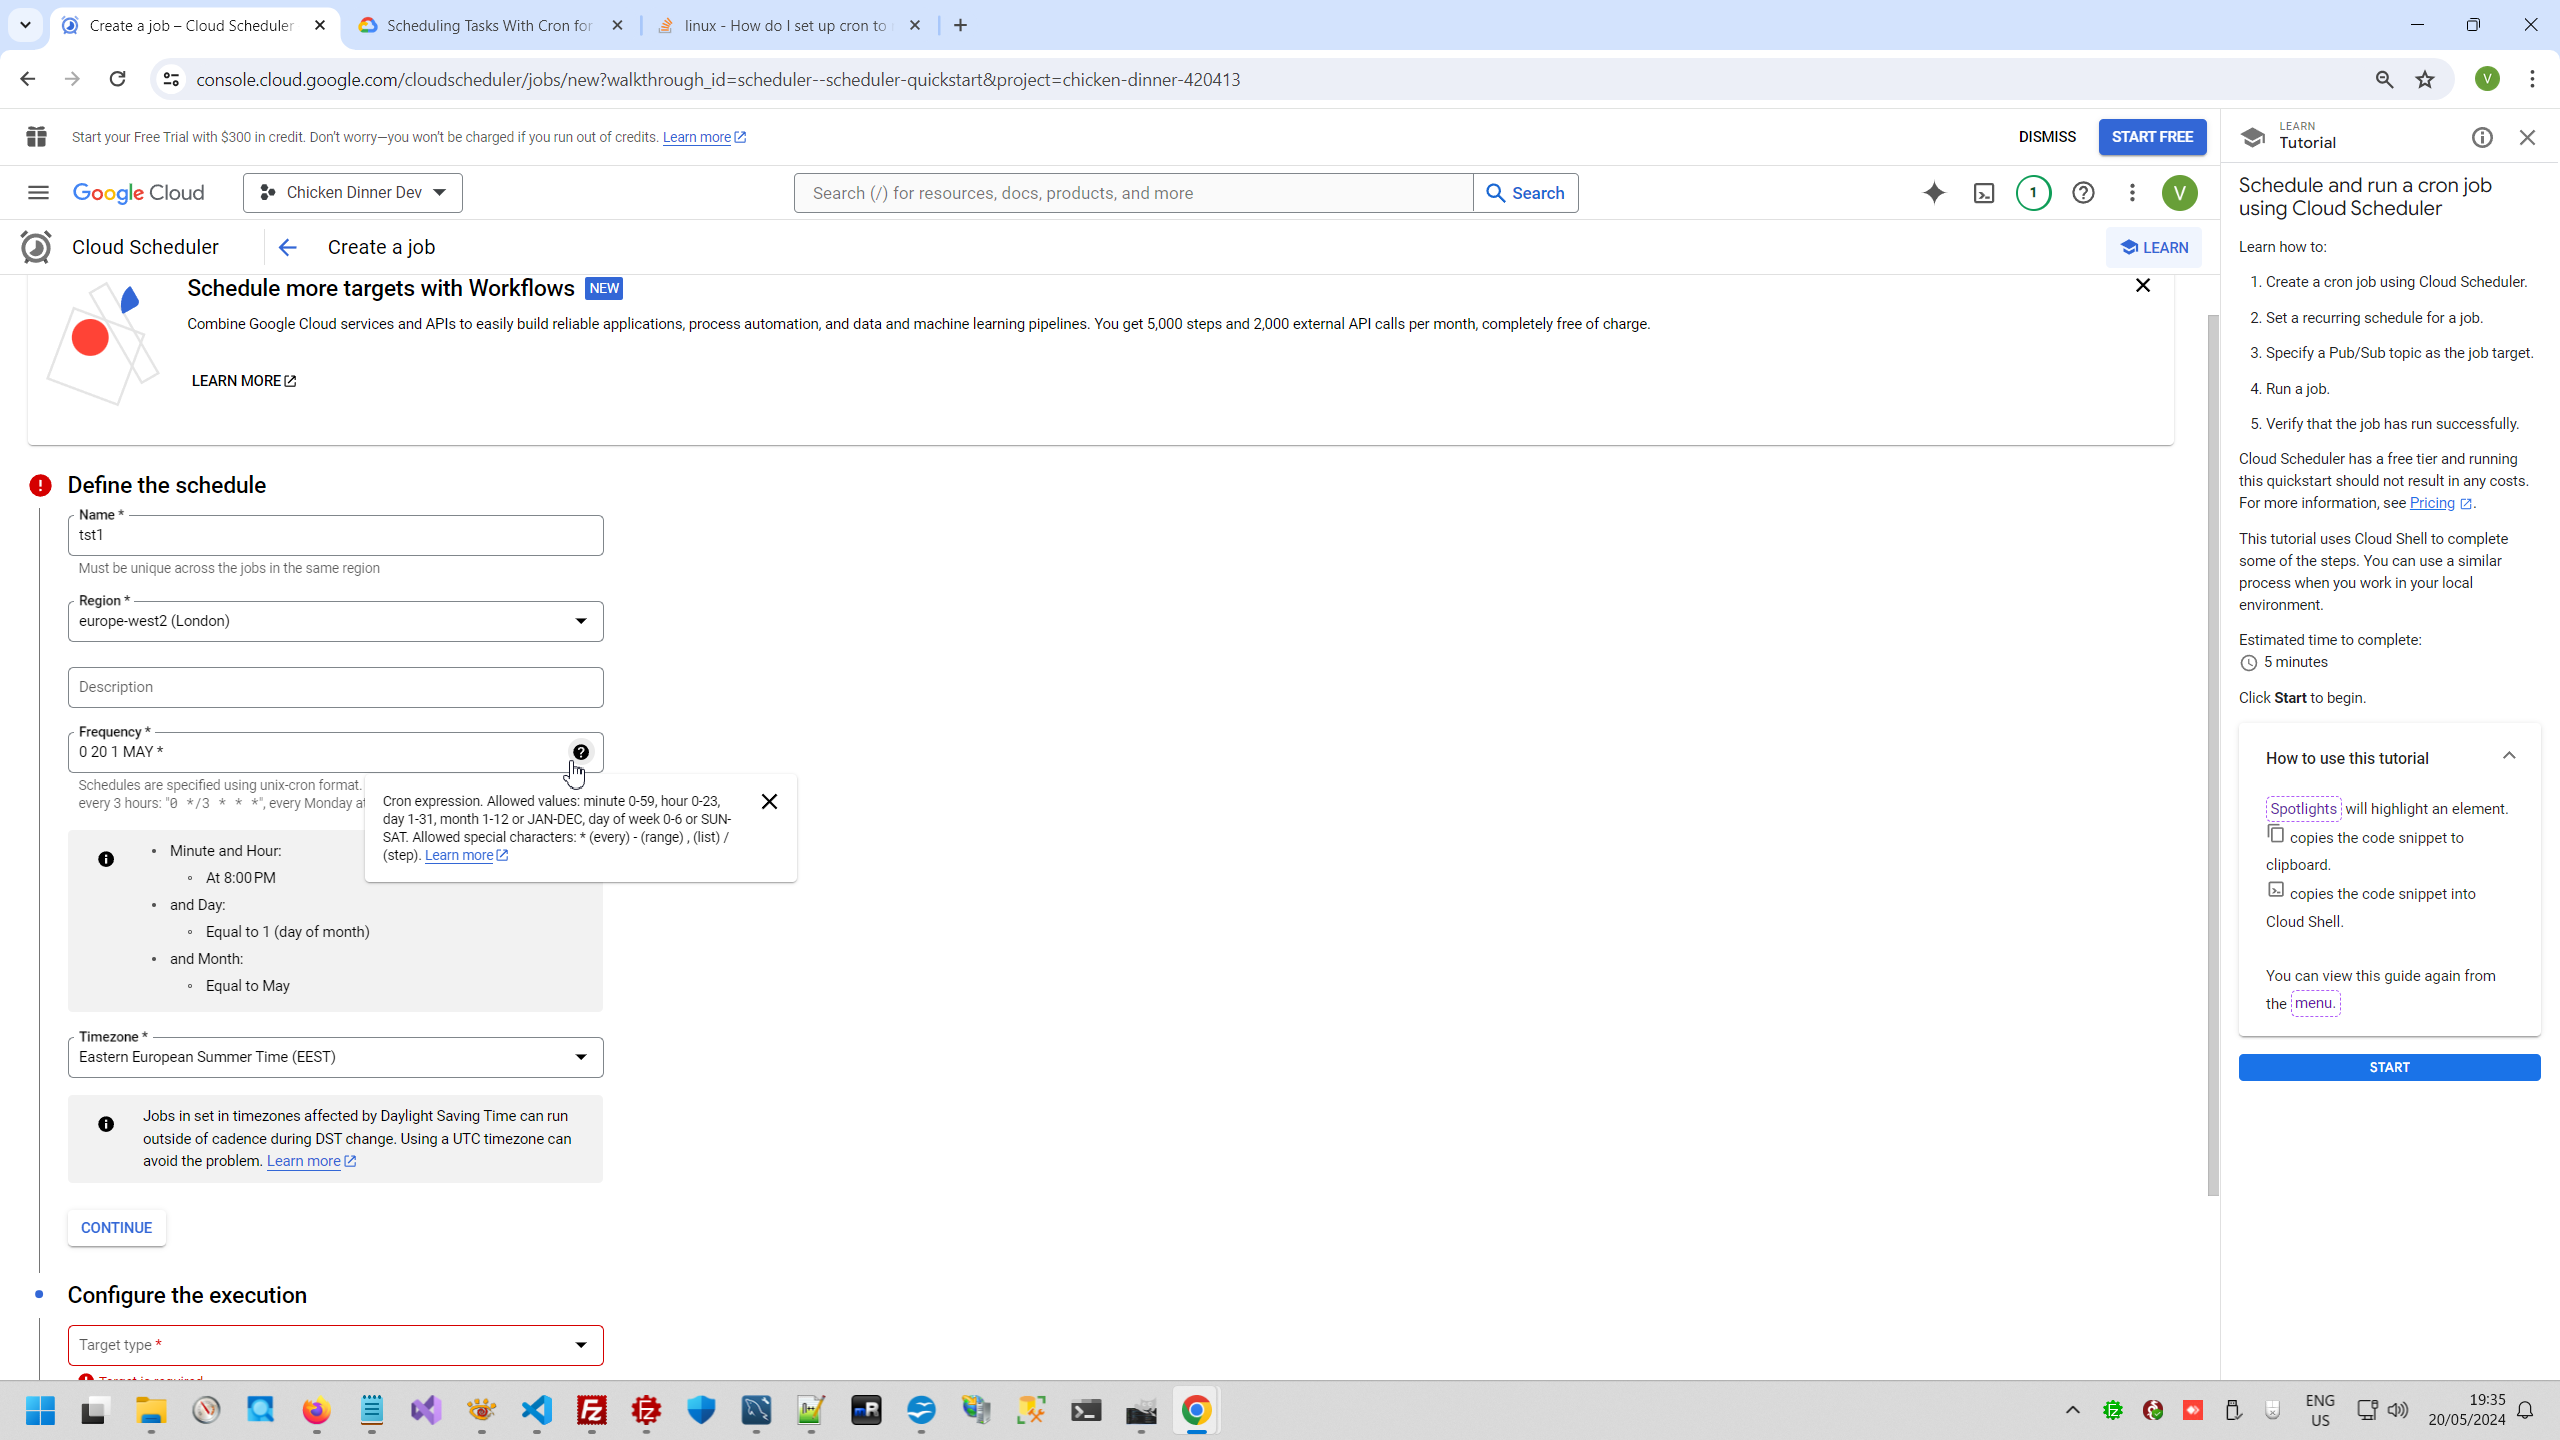
One is CRON task.
And second looks like RaabitMQ or other Message Broker Up and running RabbitMQ
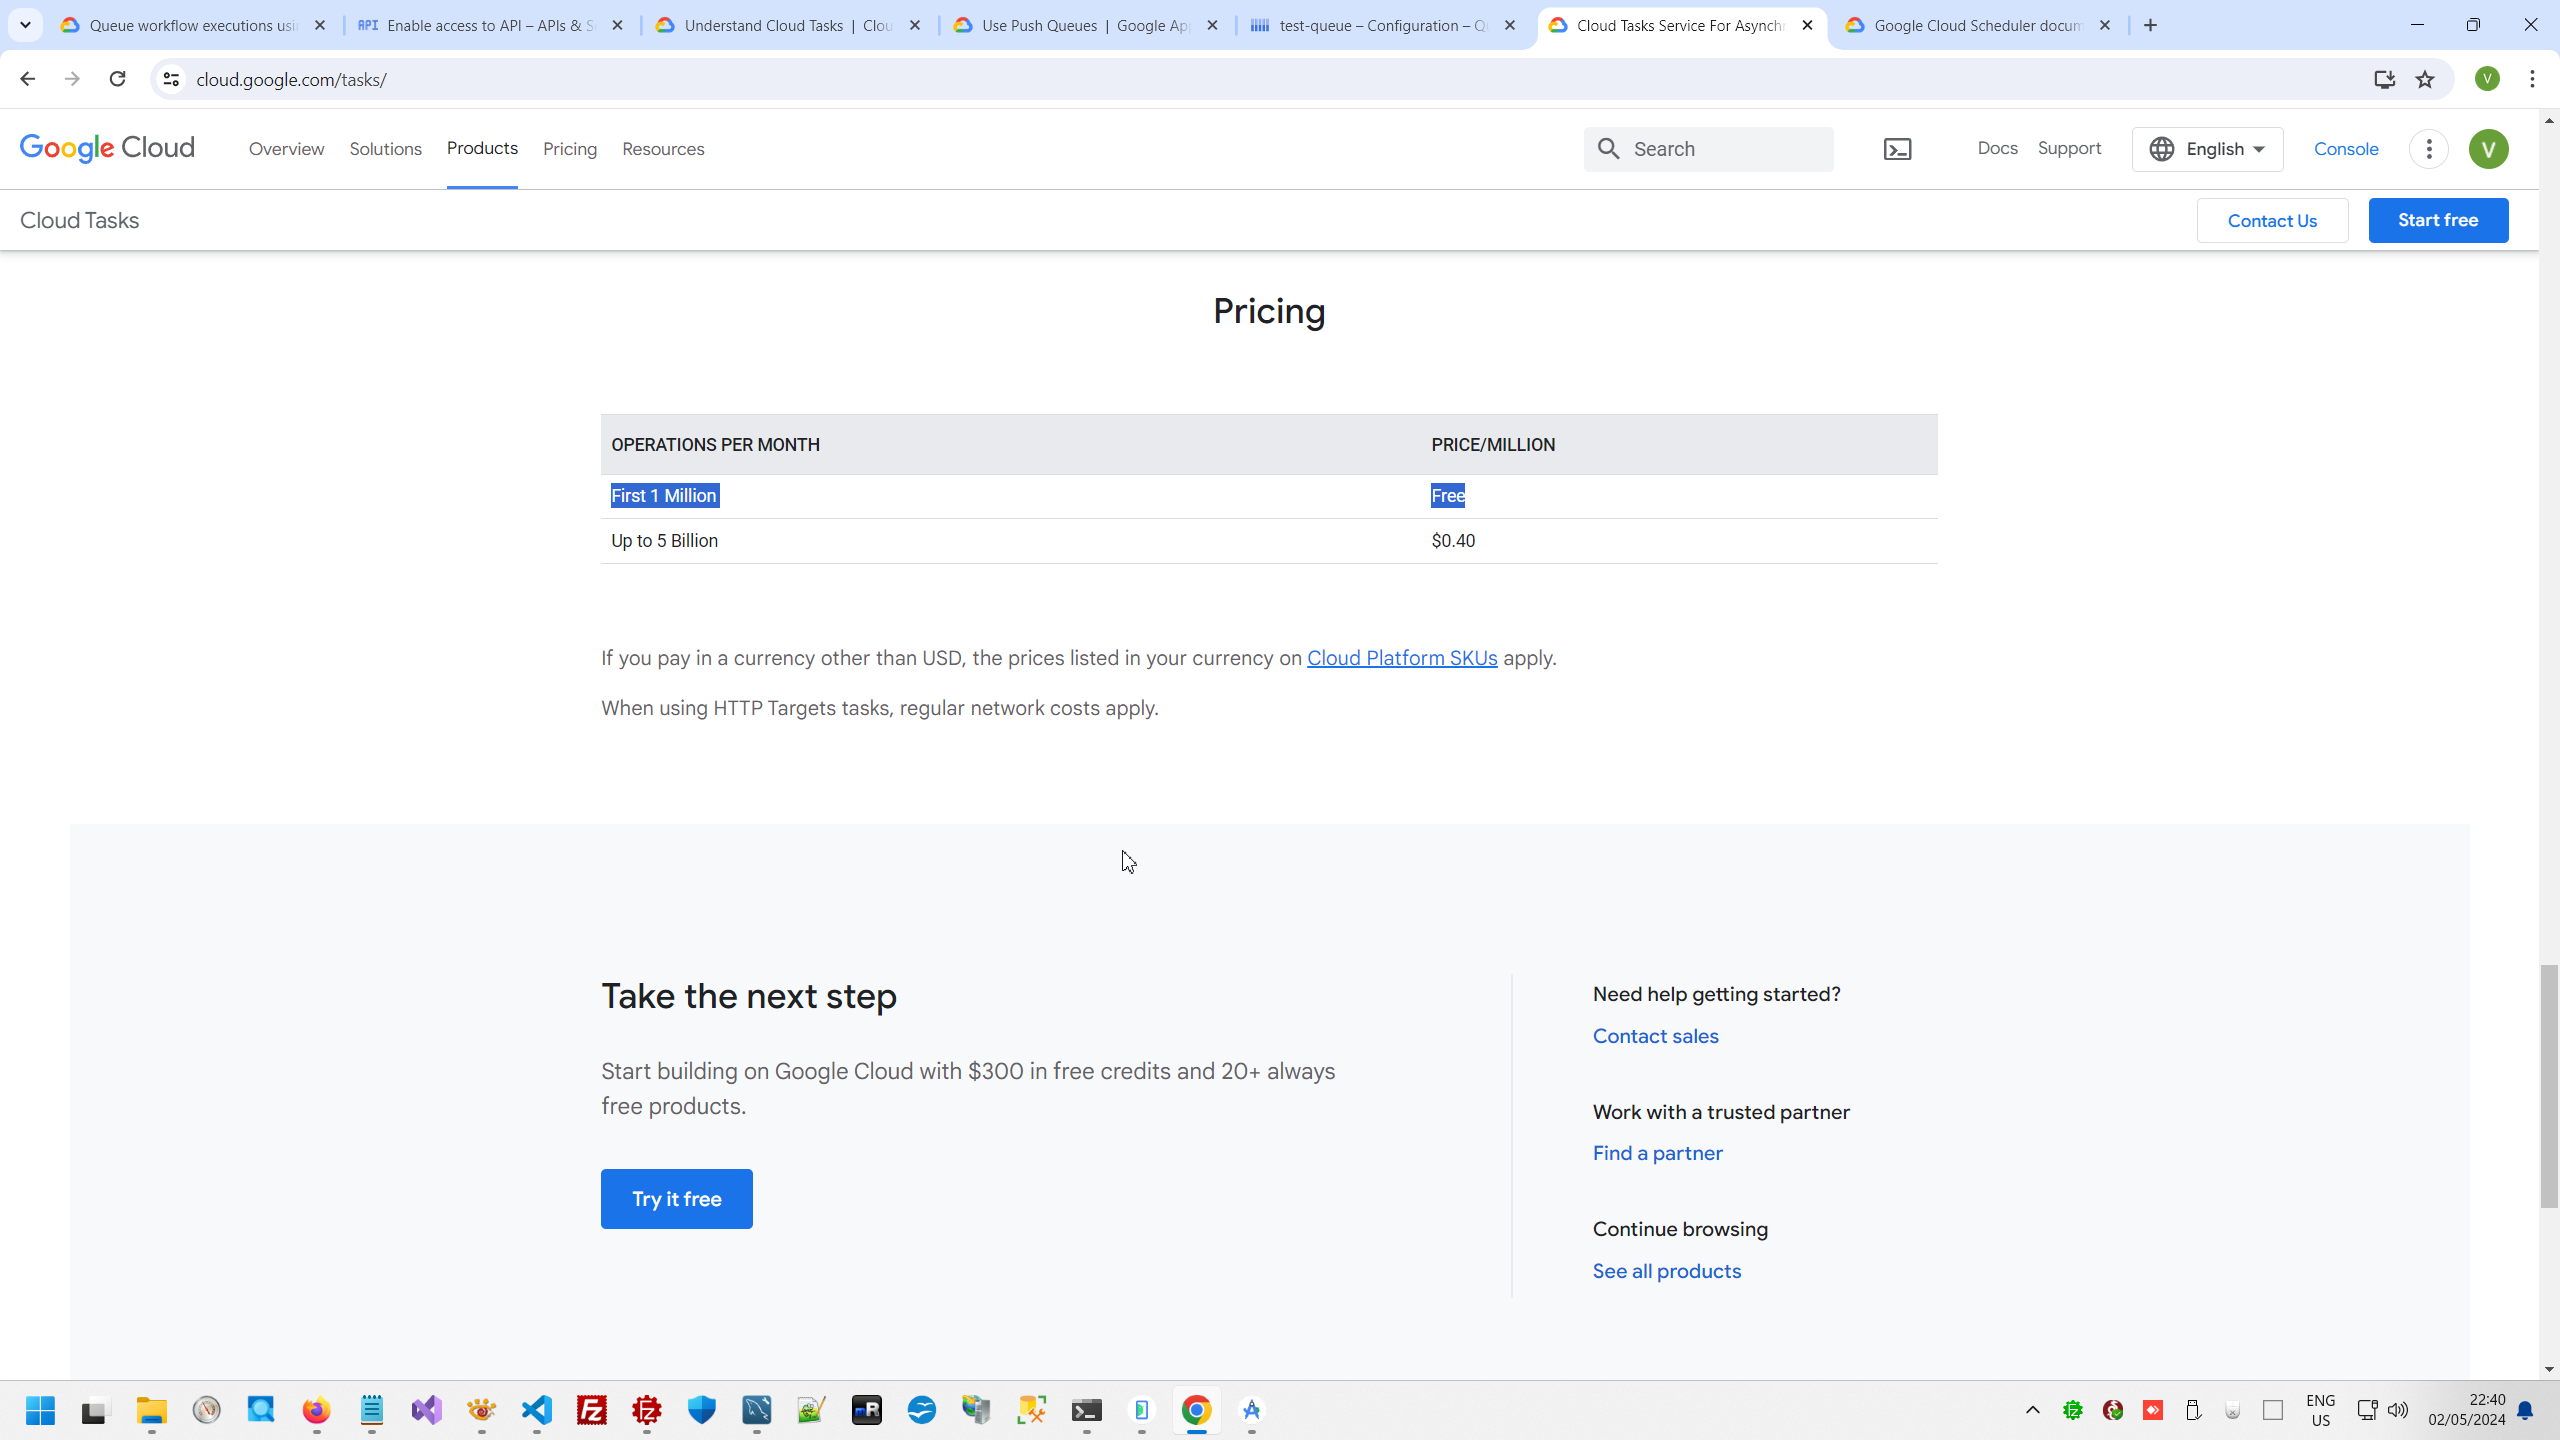
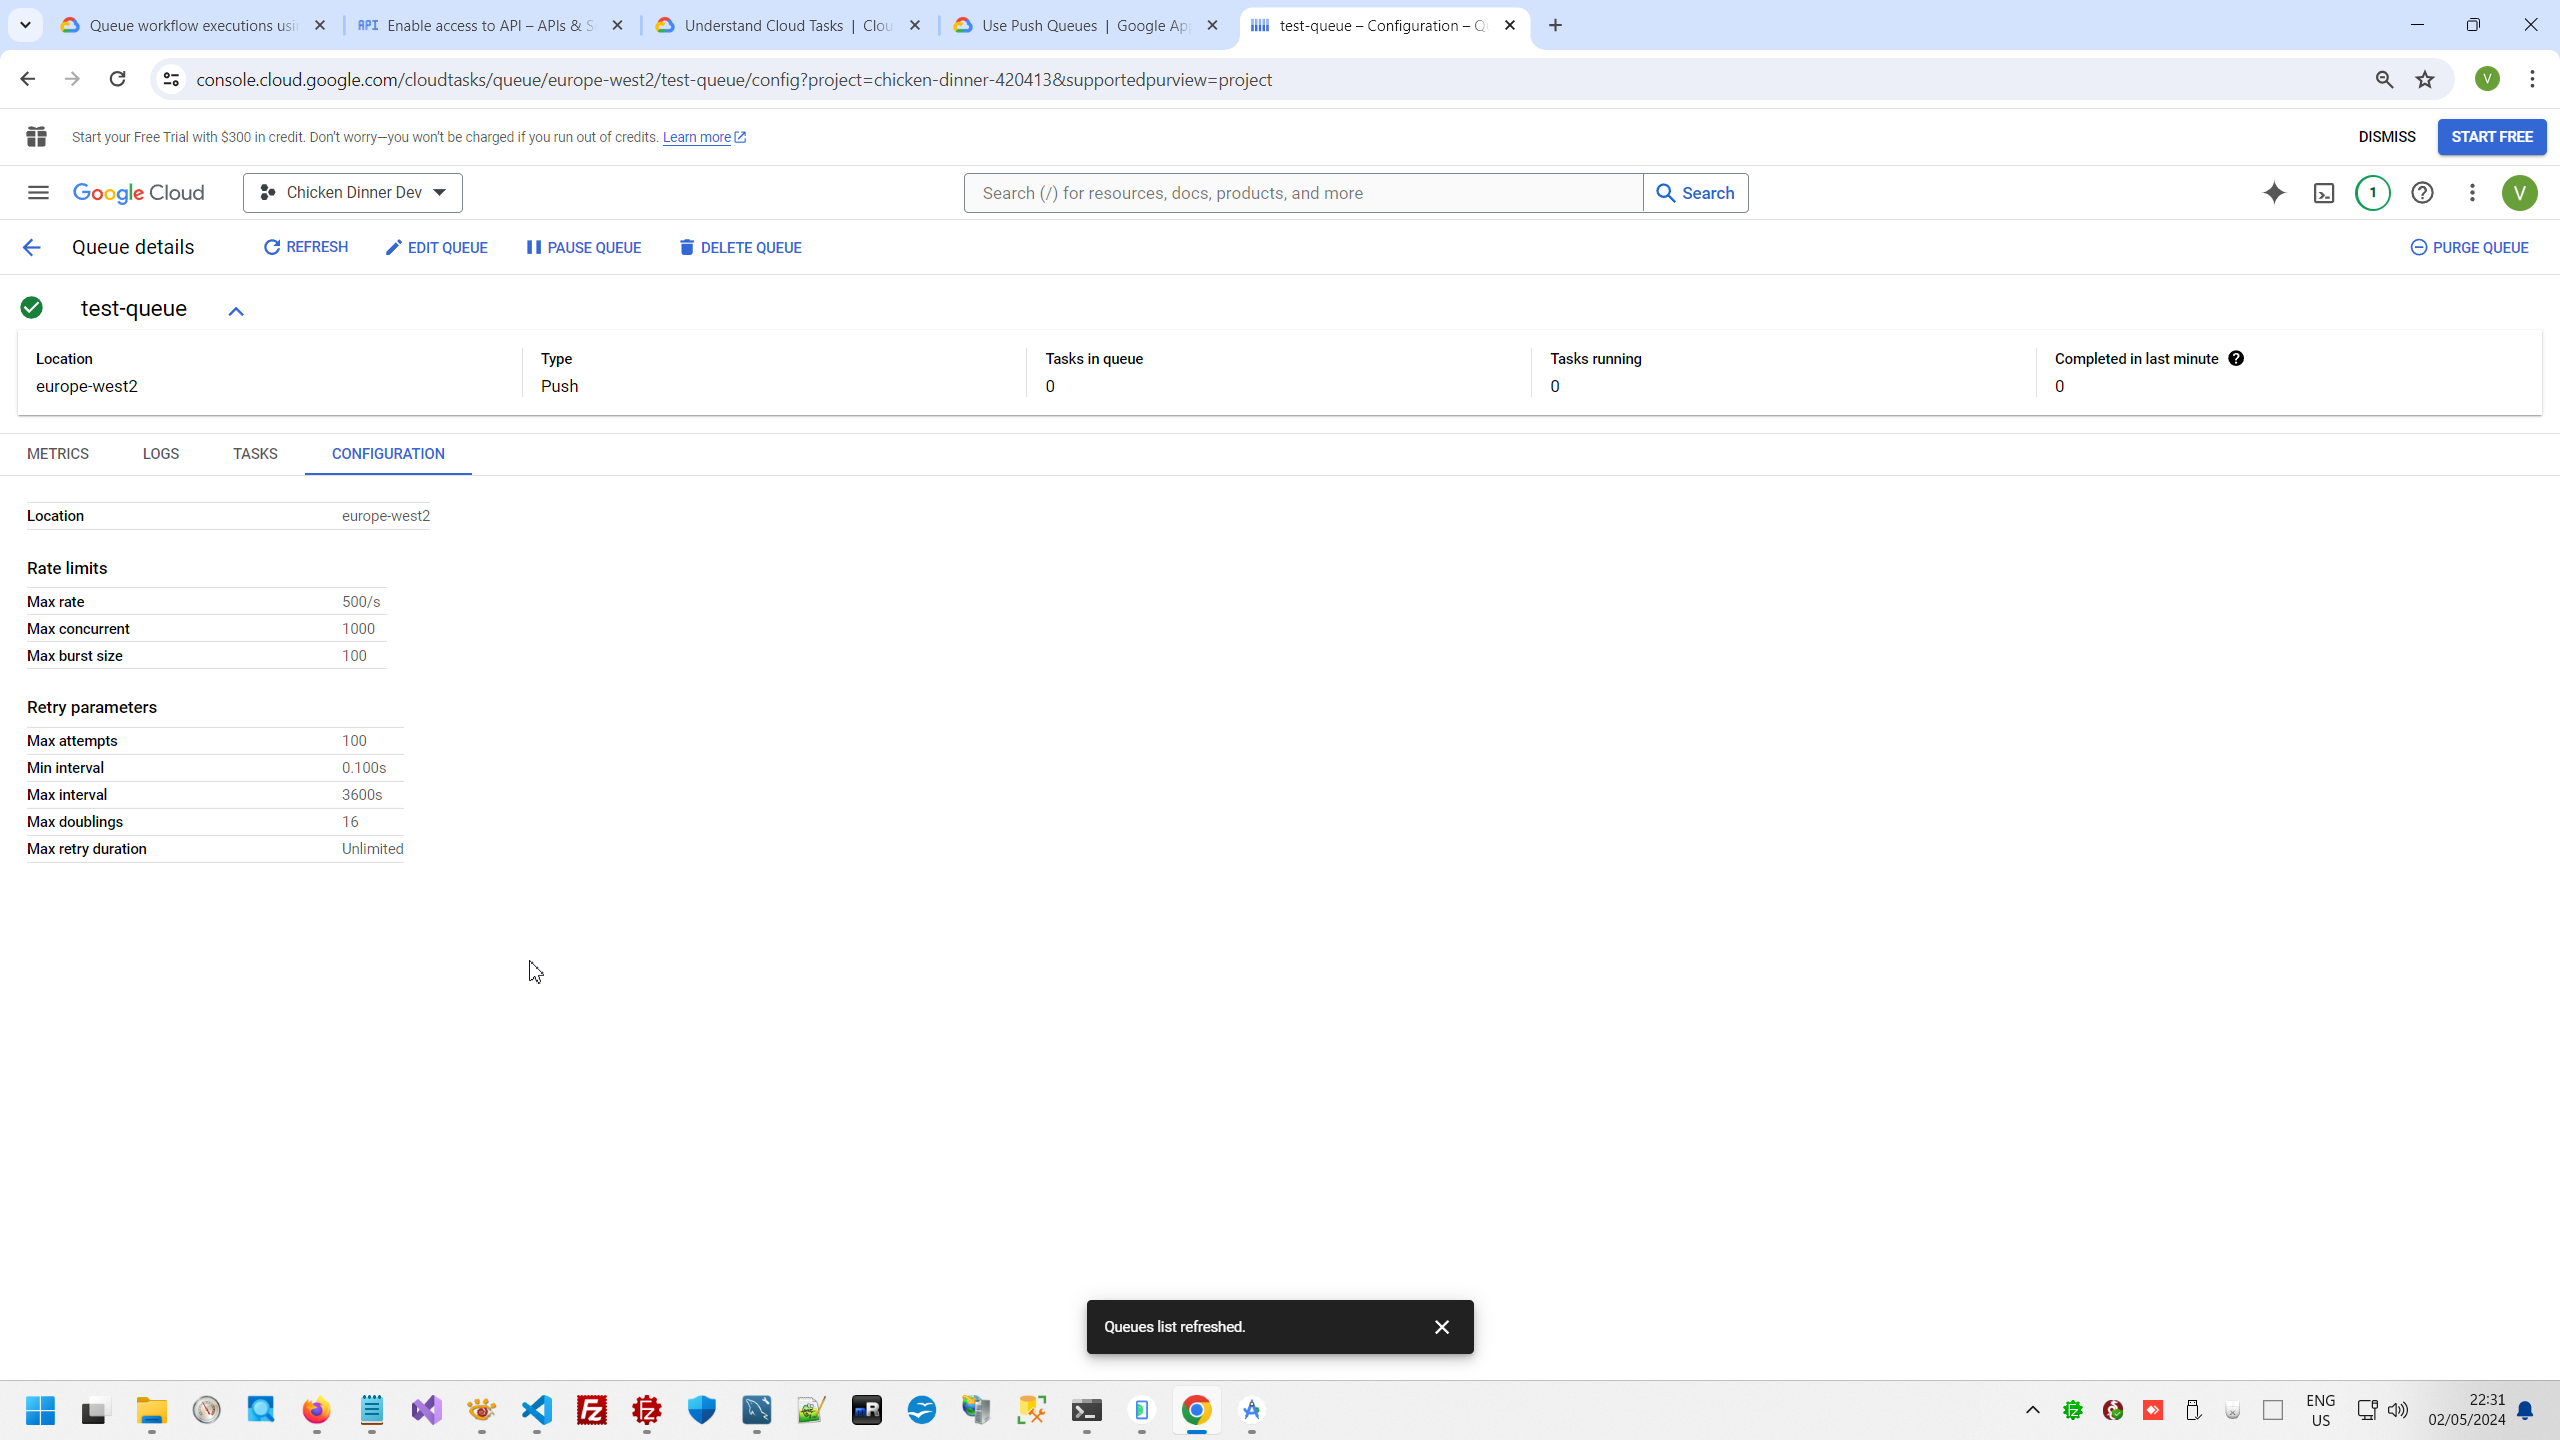
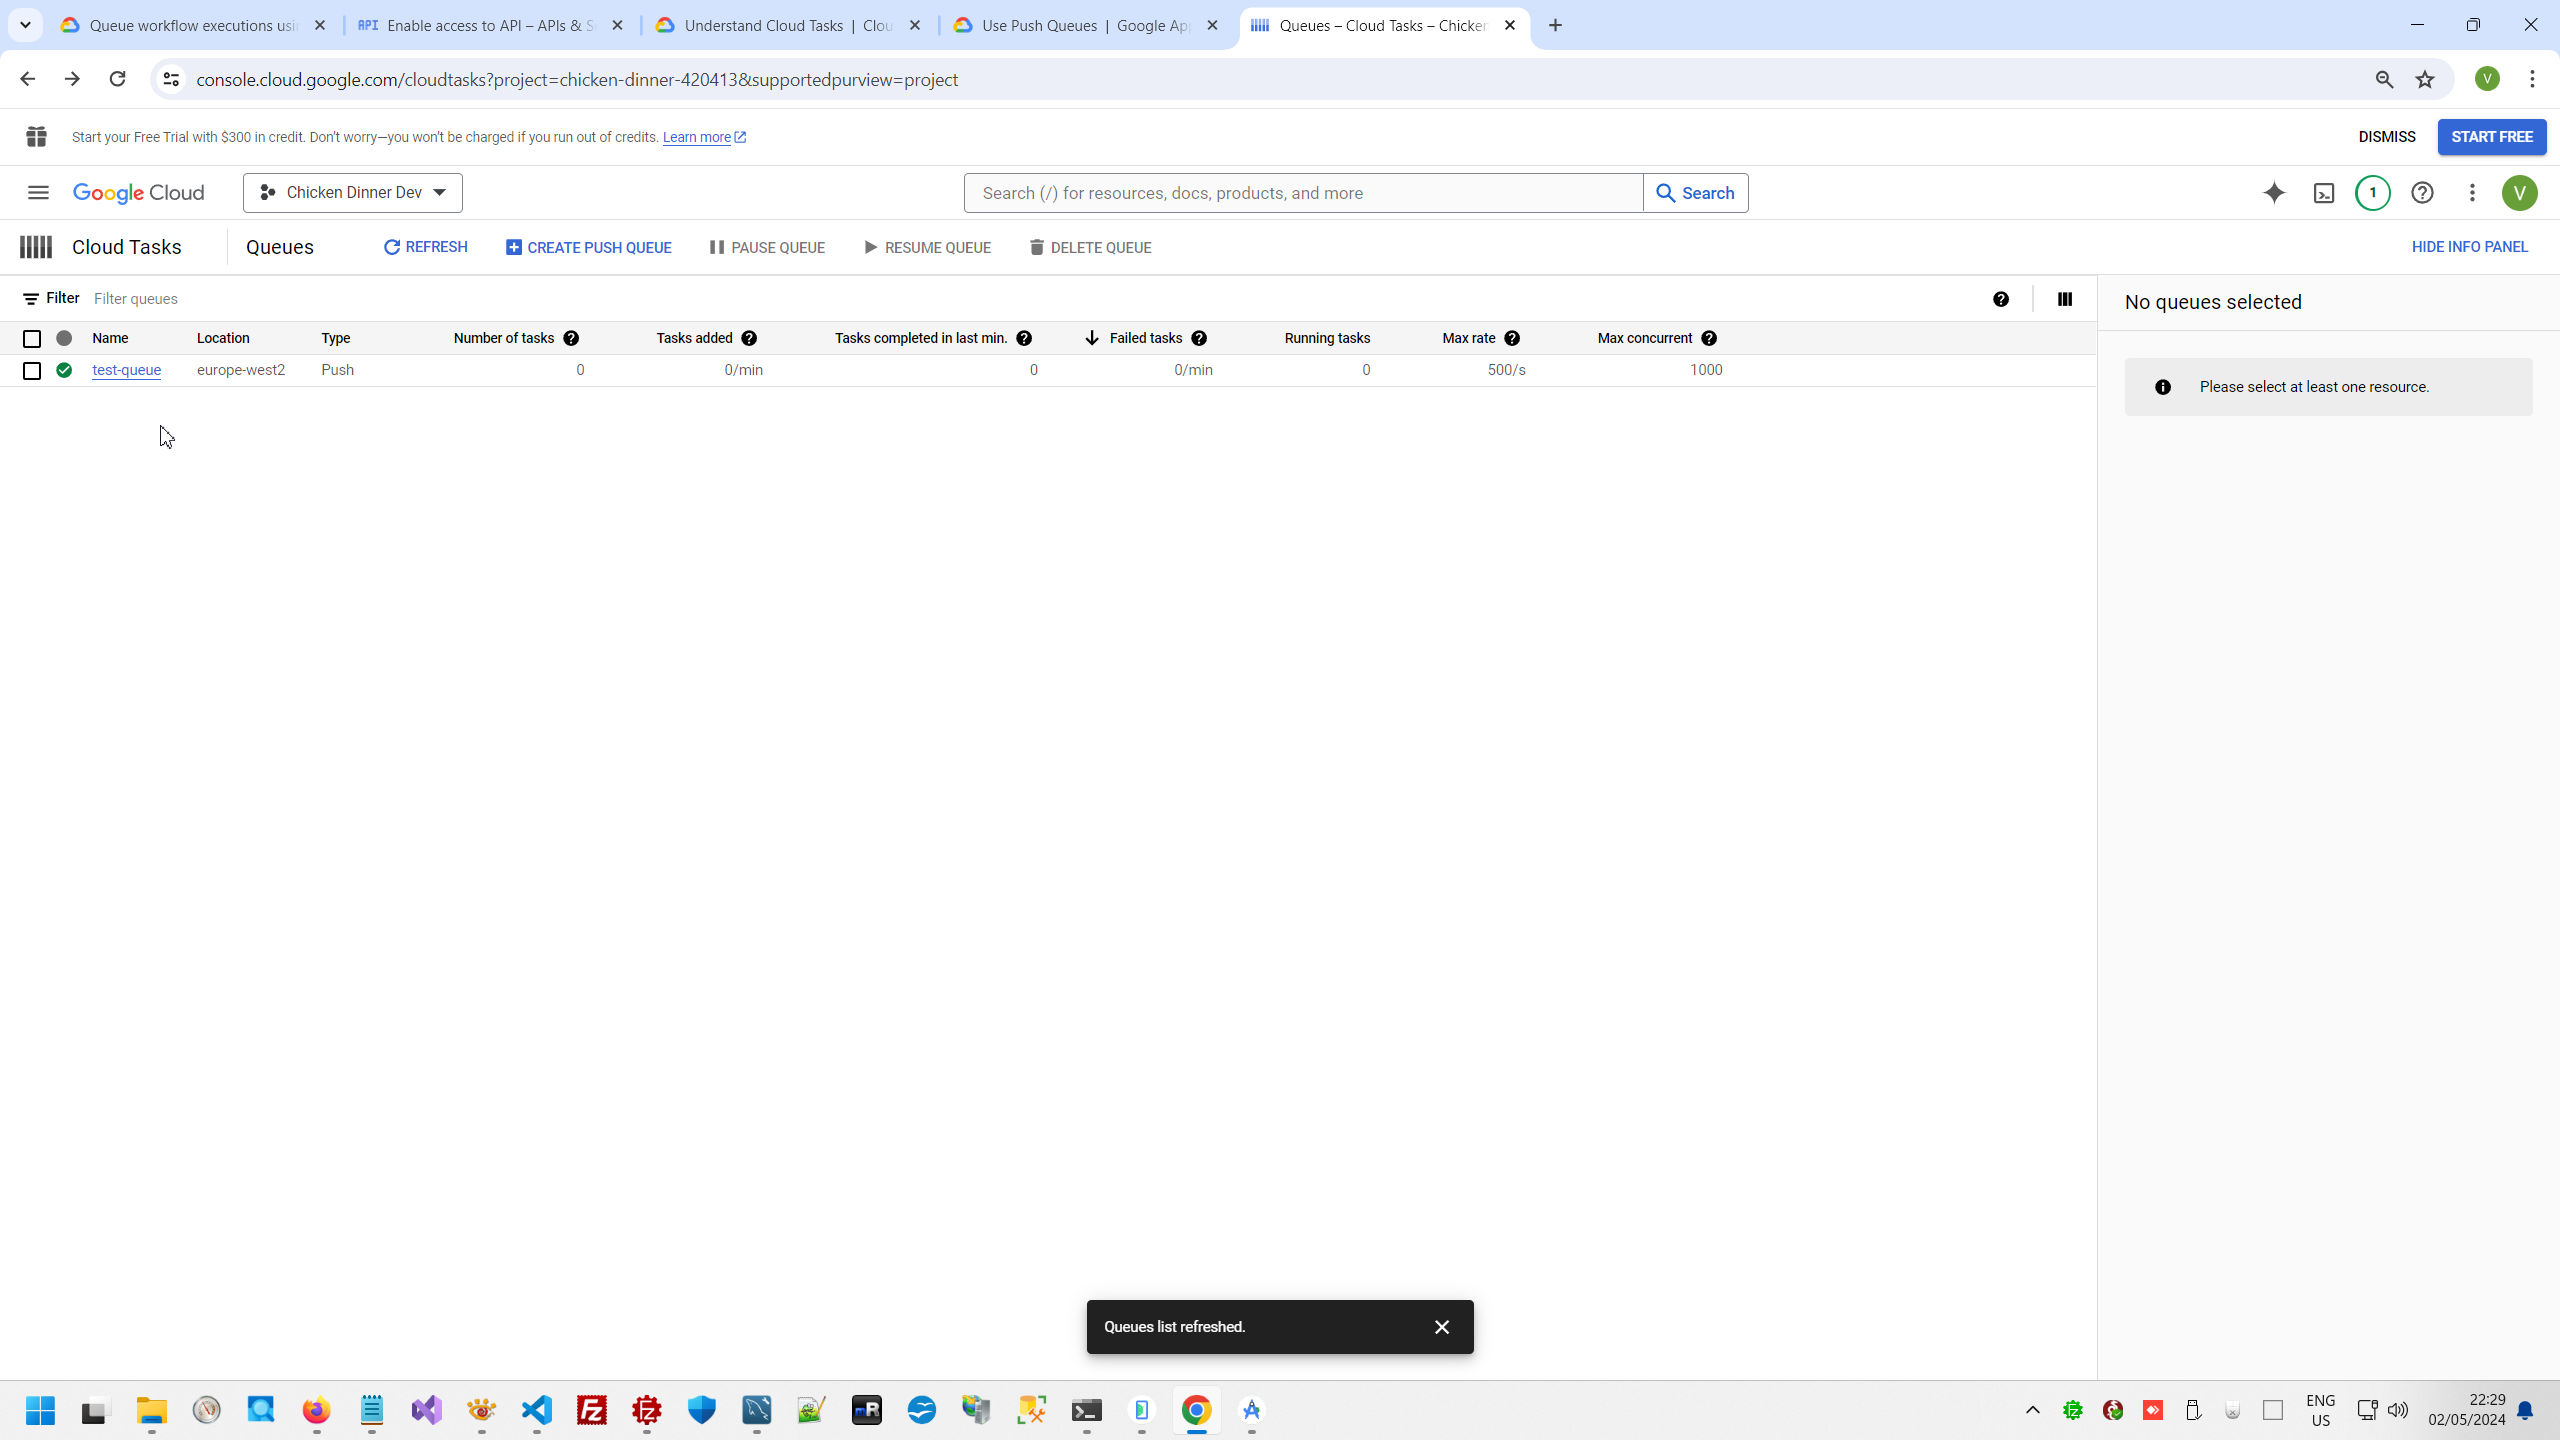

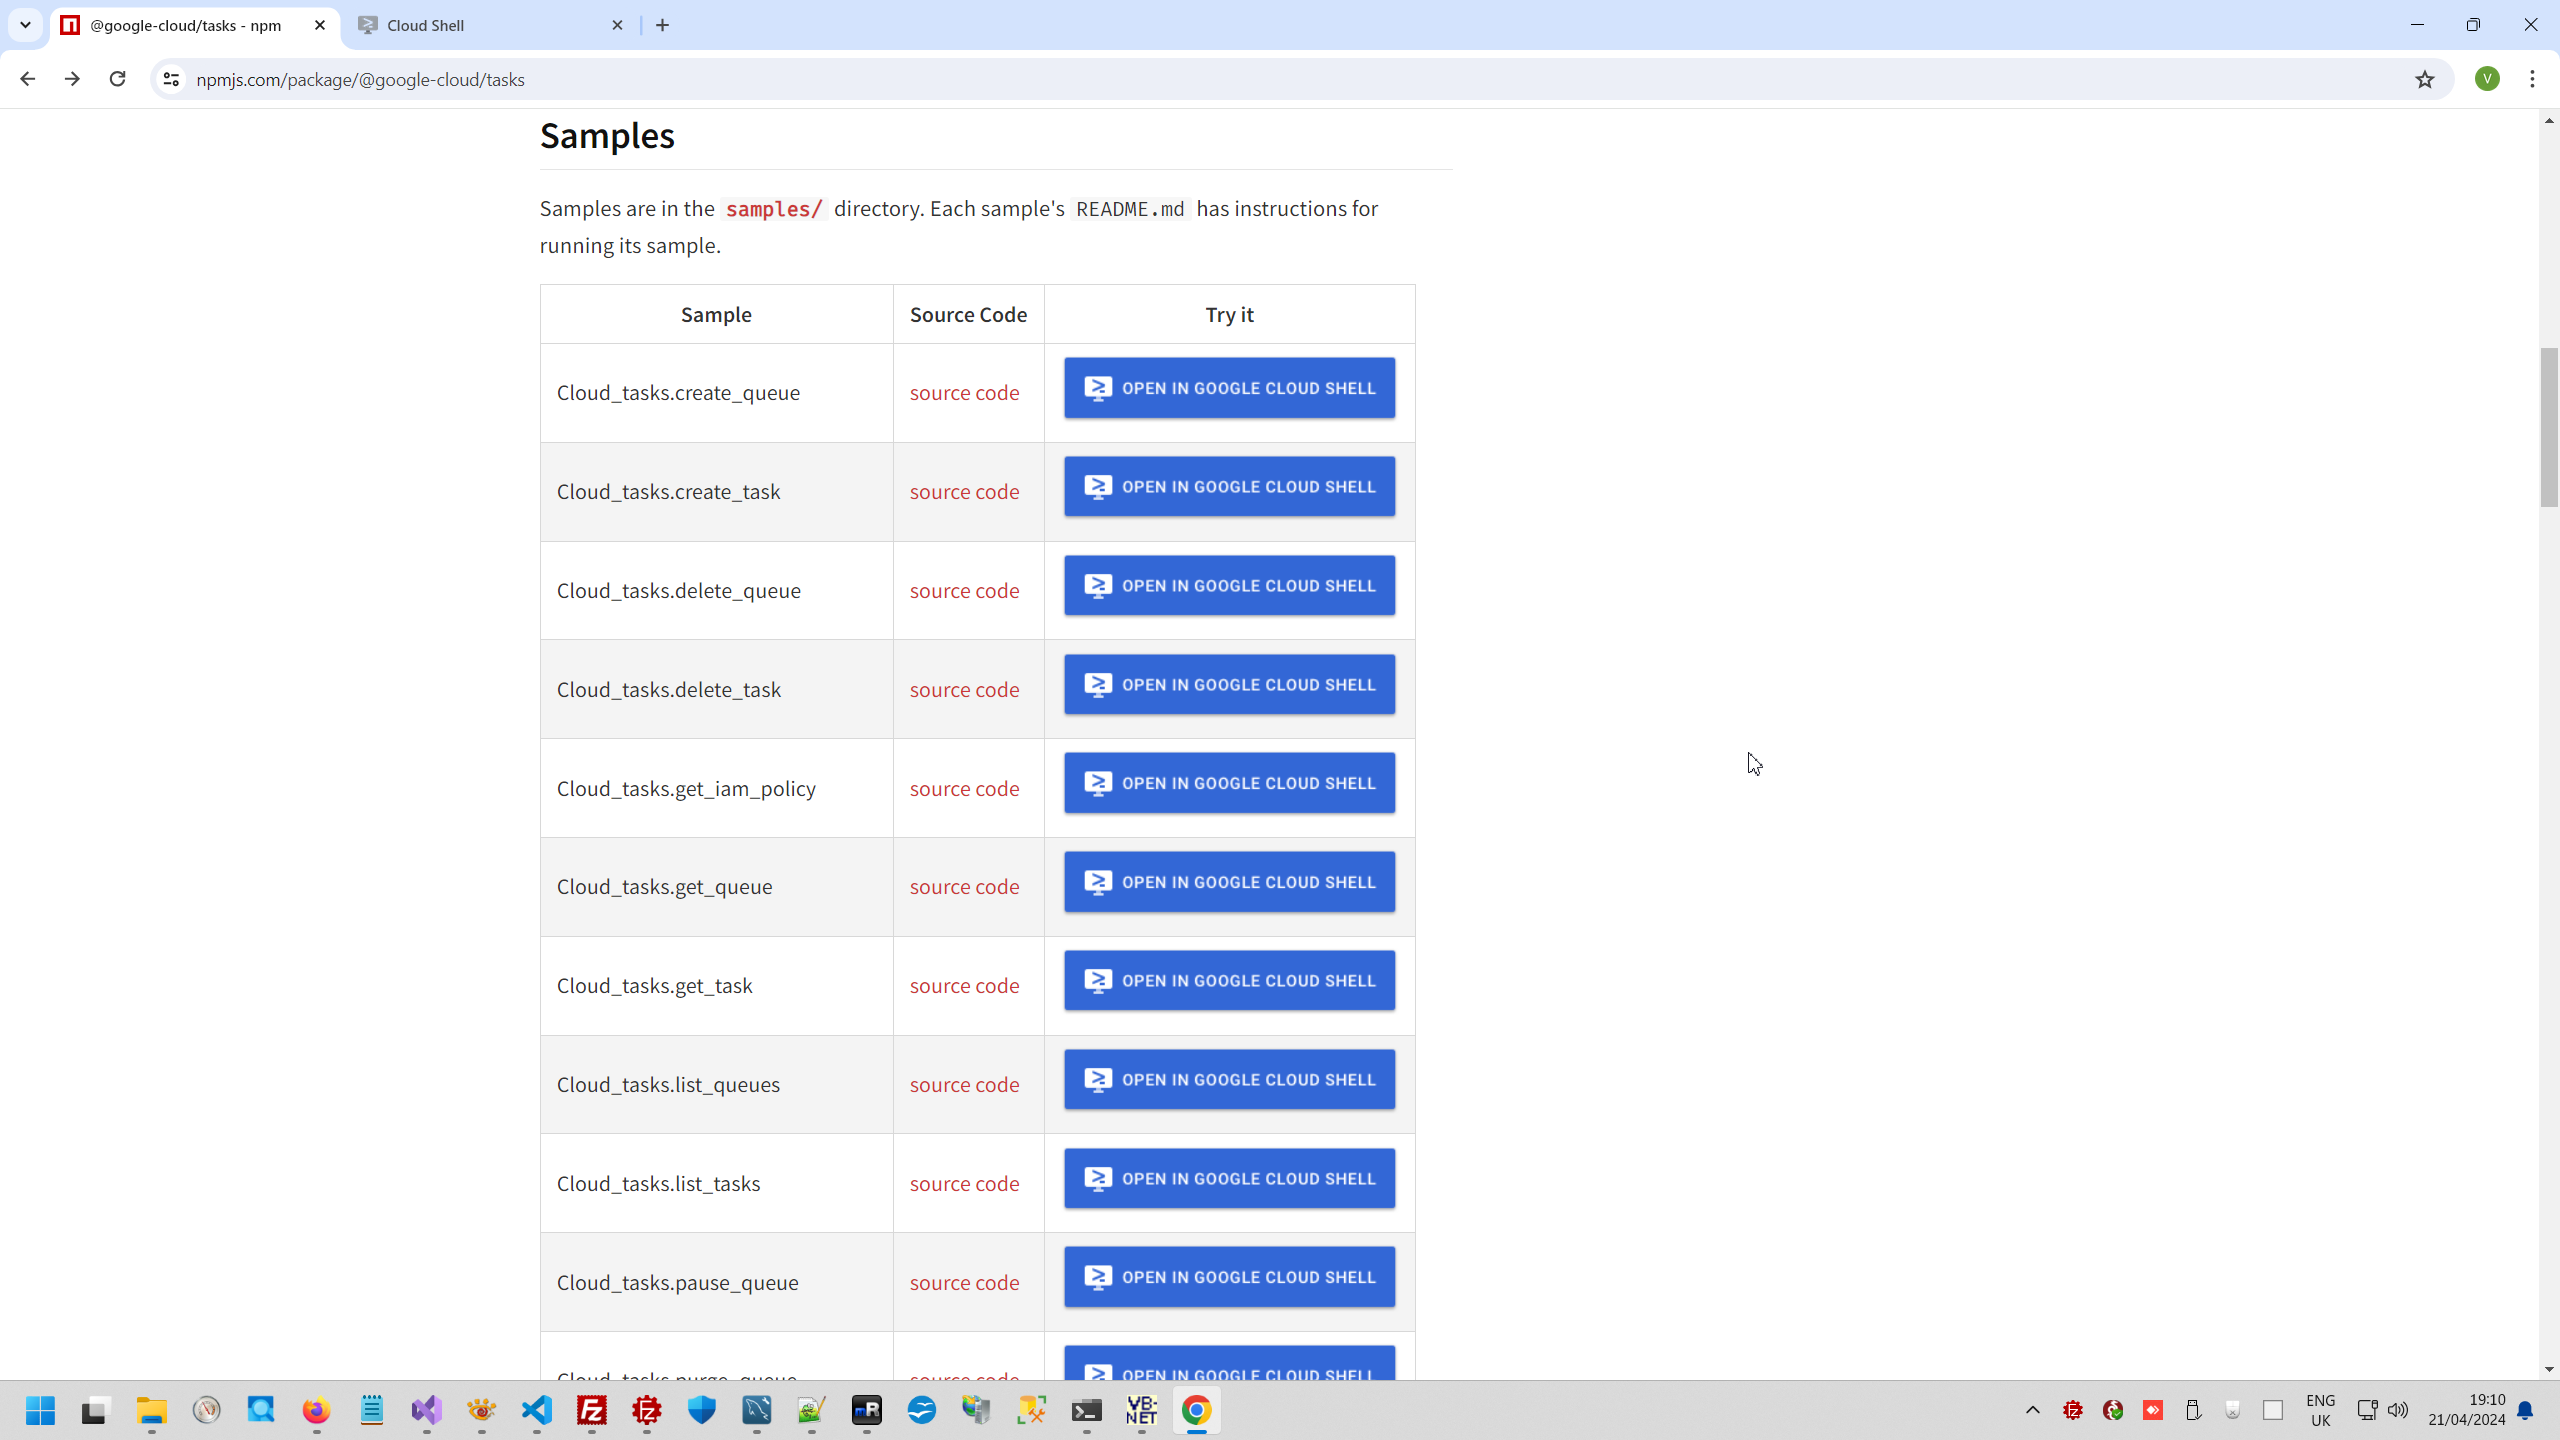
As any other API need to allow use this API manually.

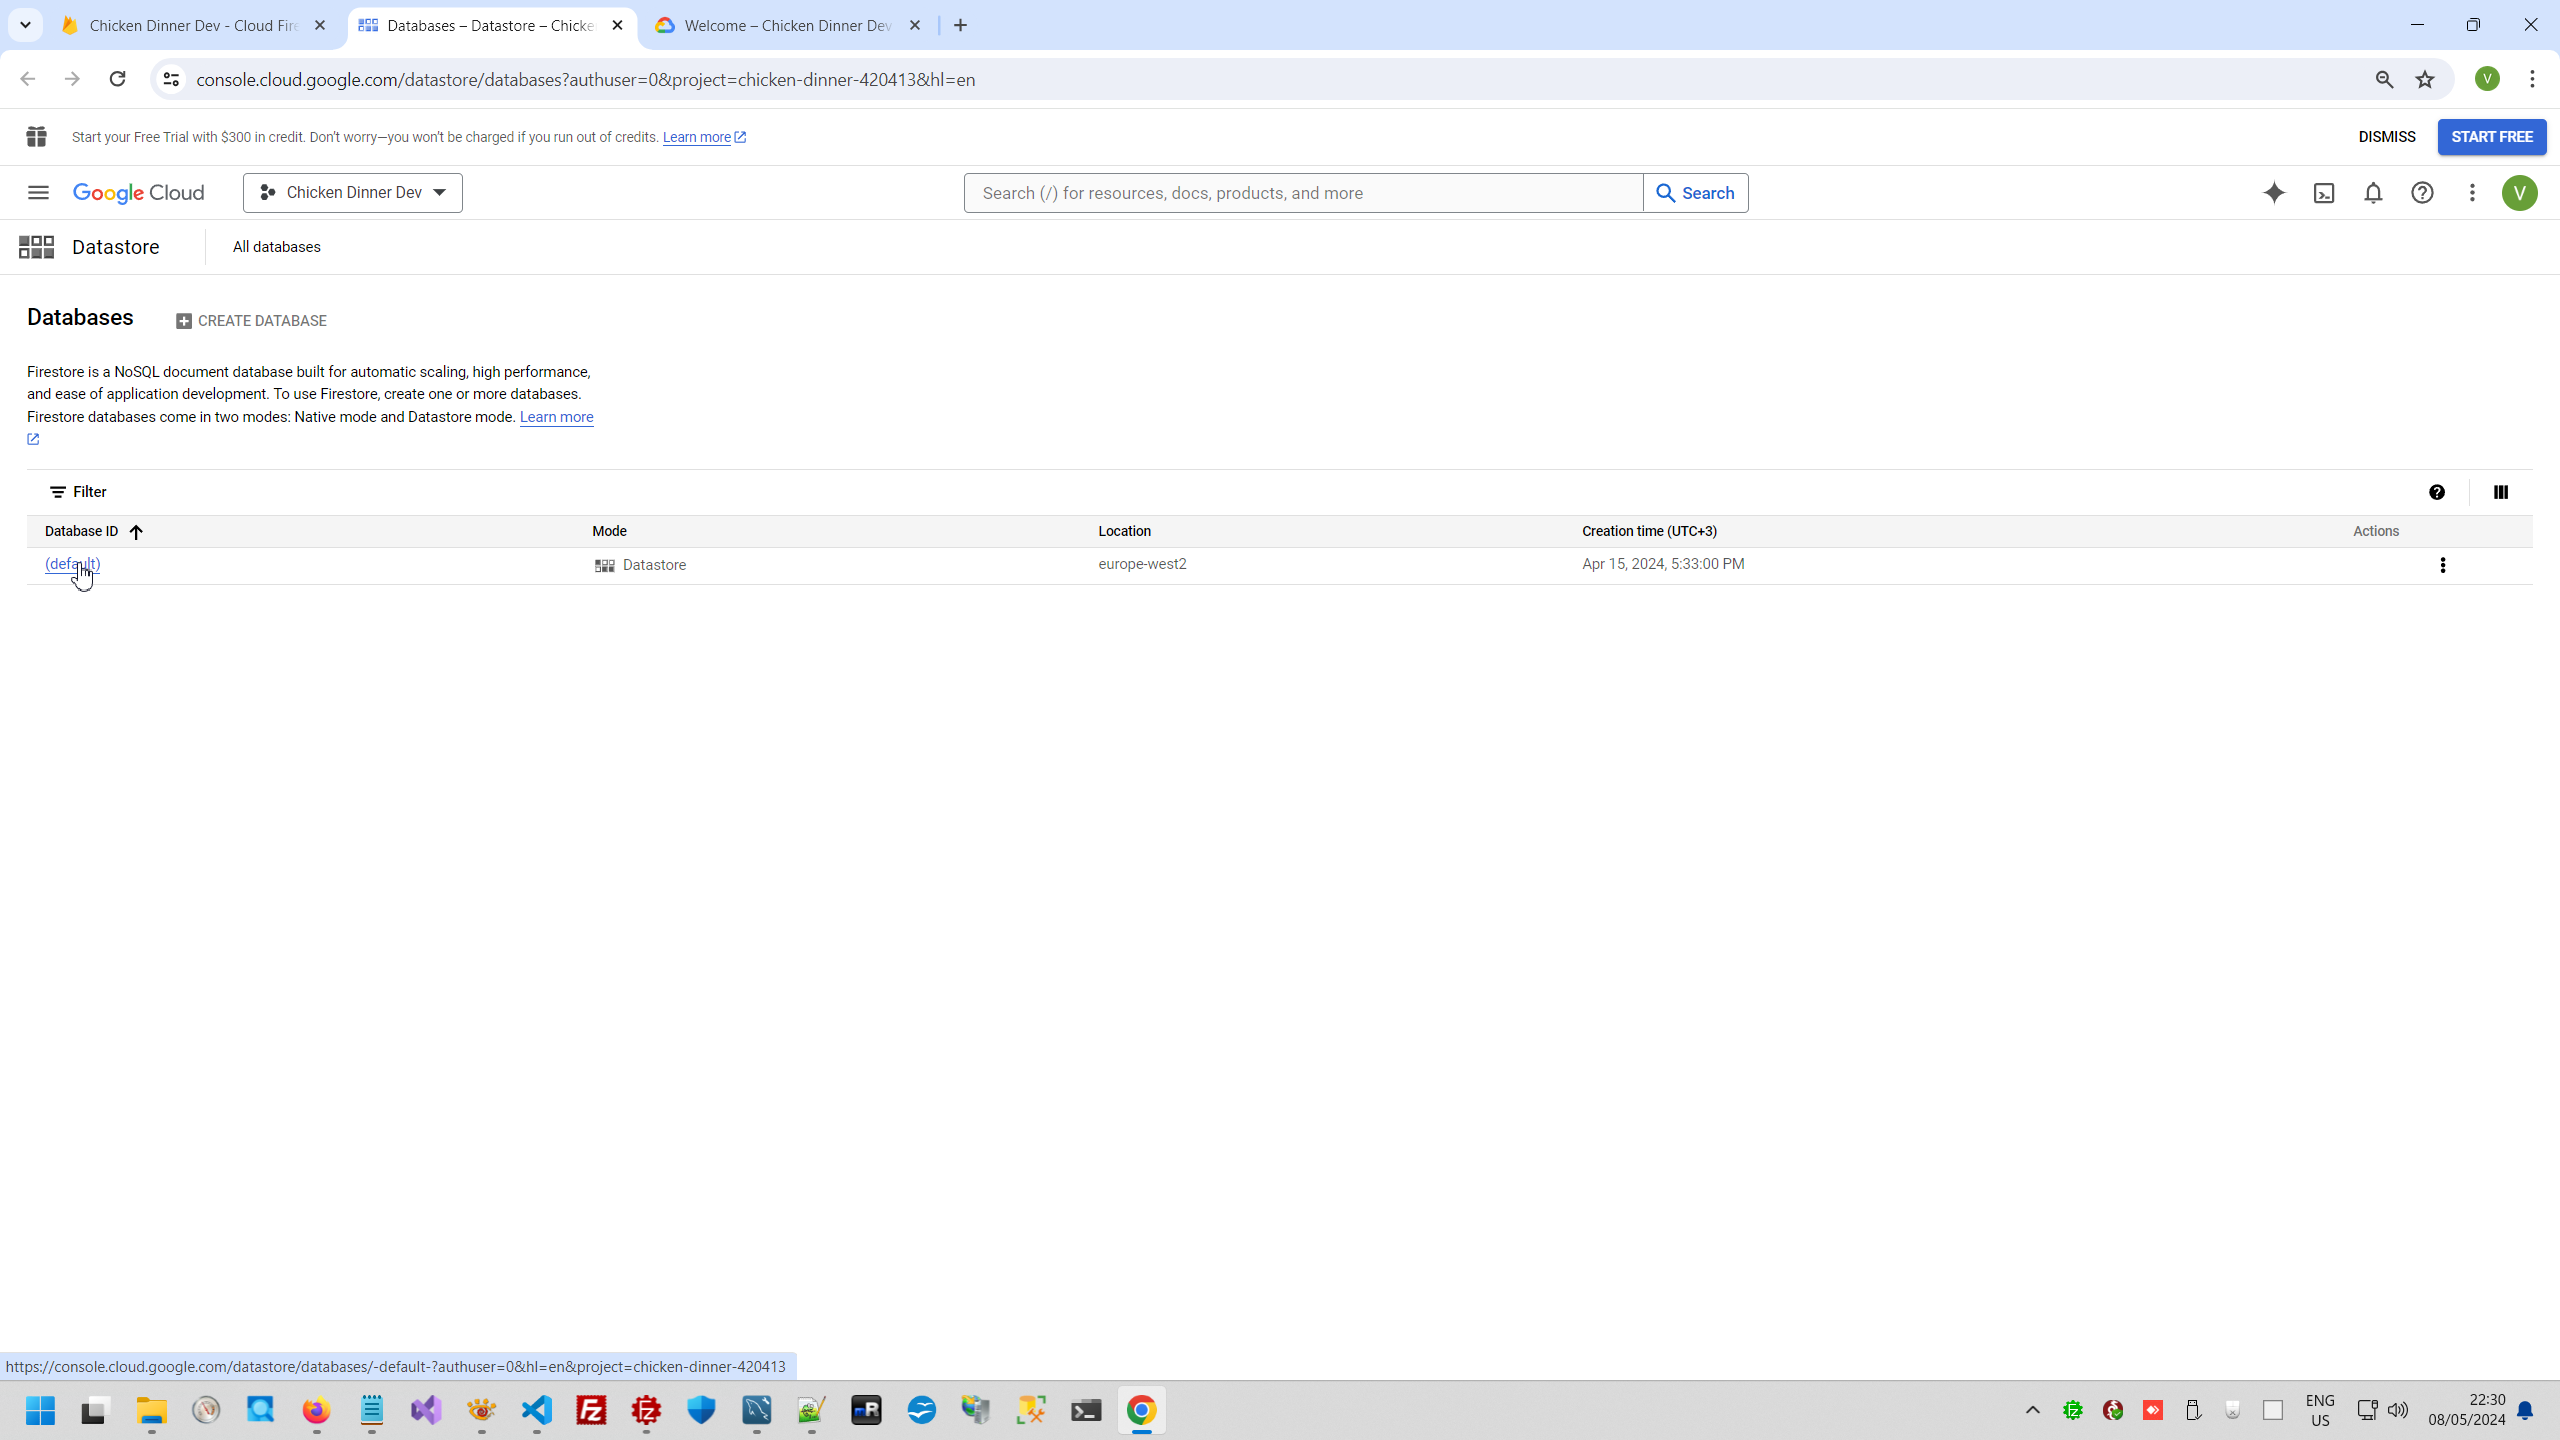
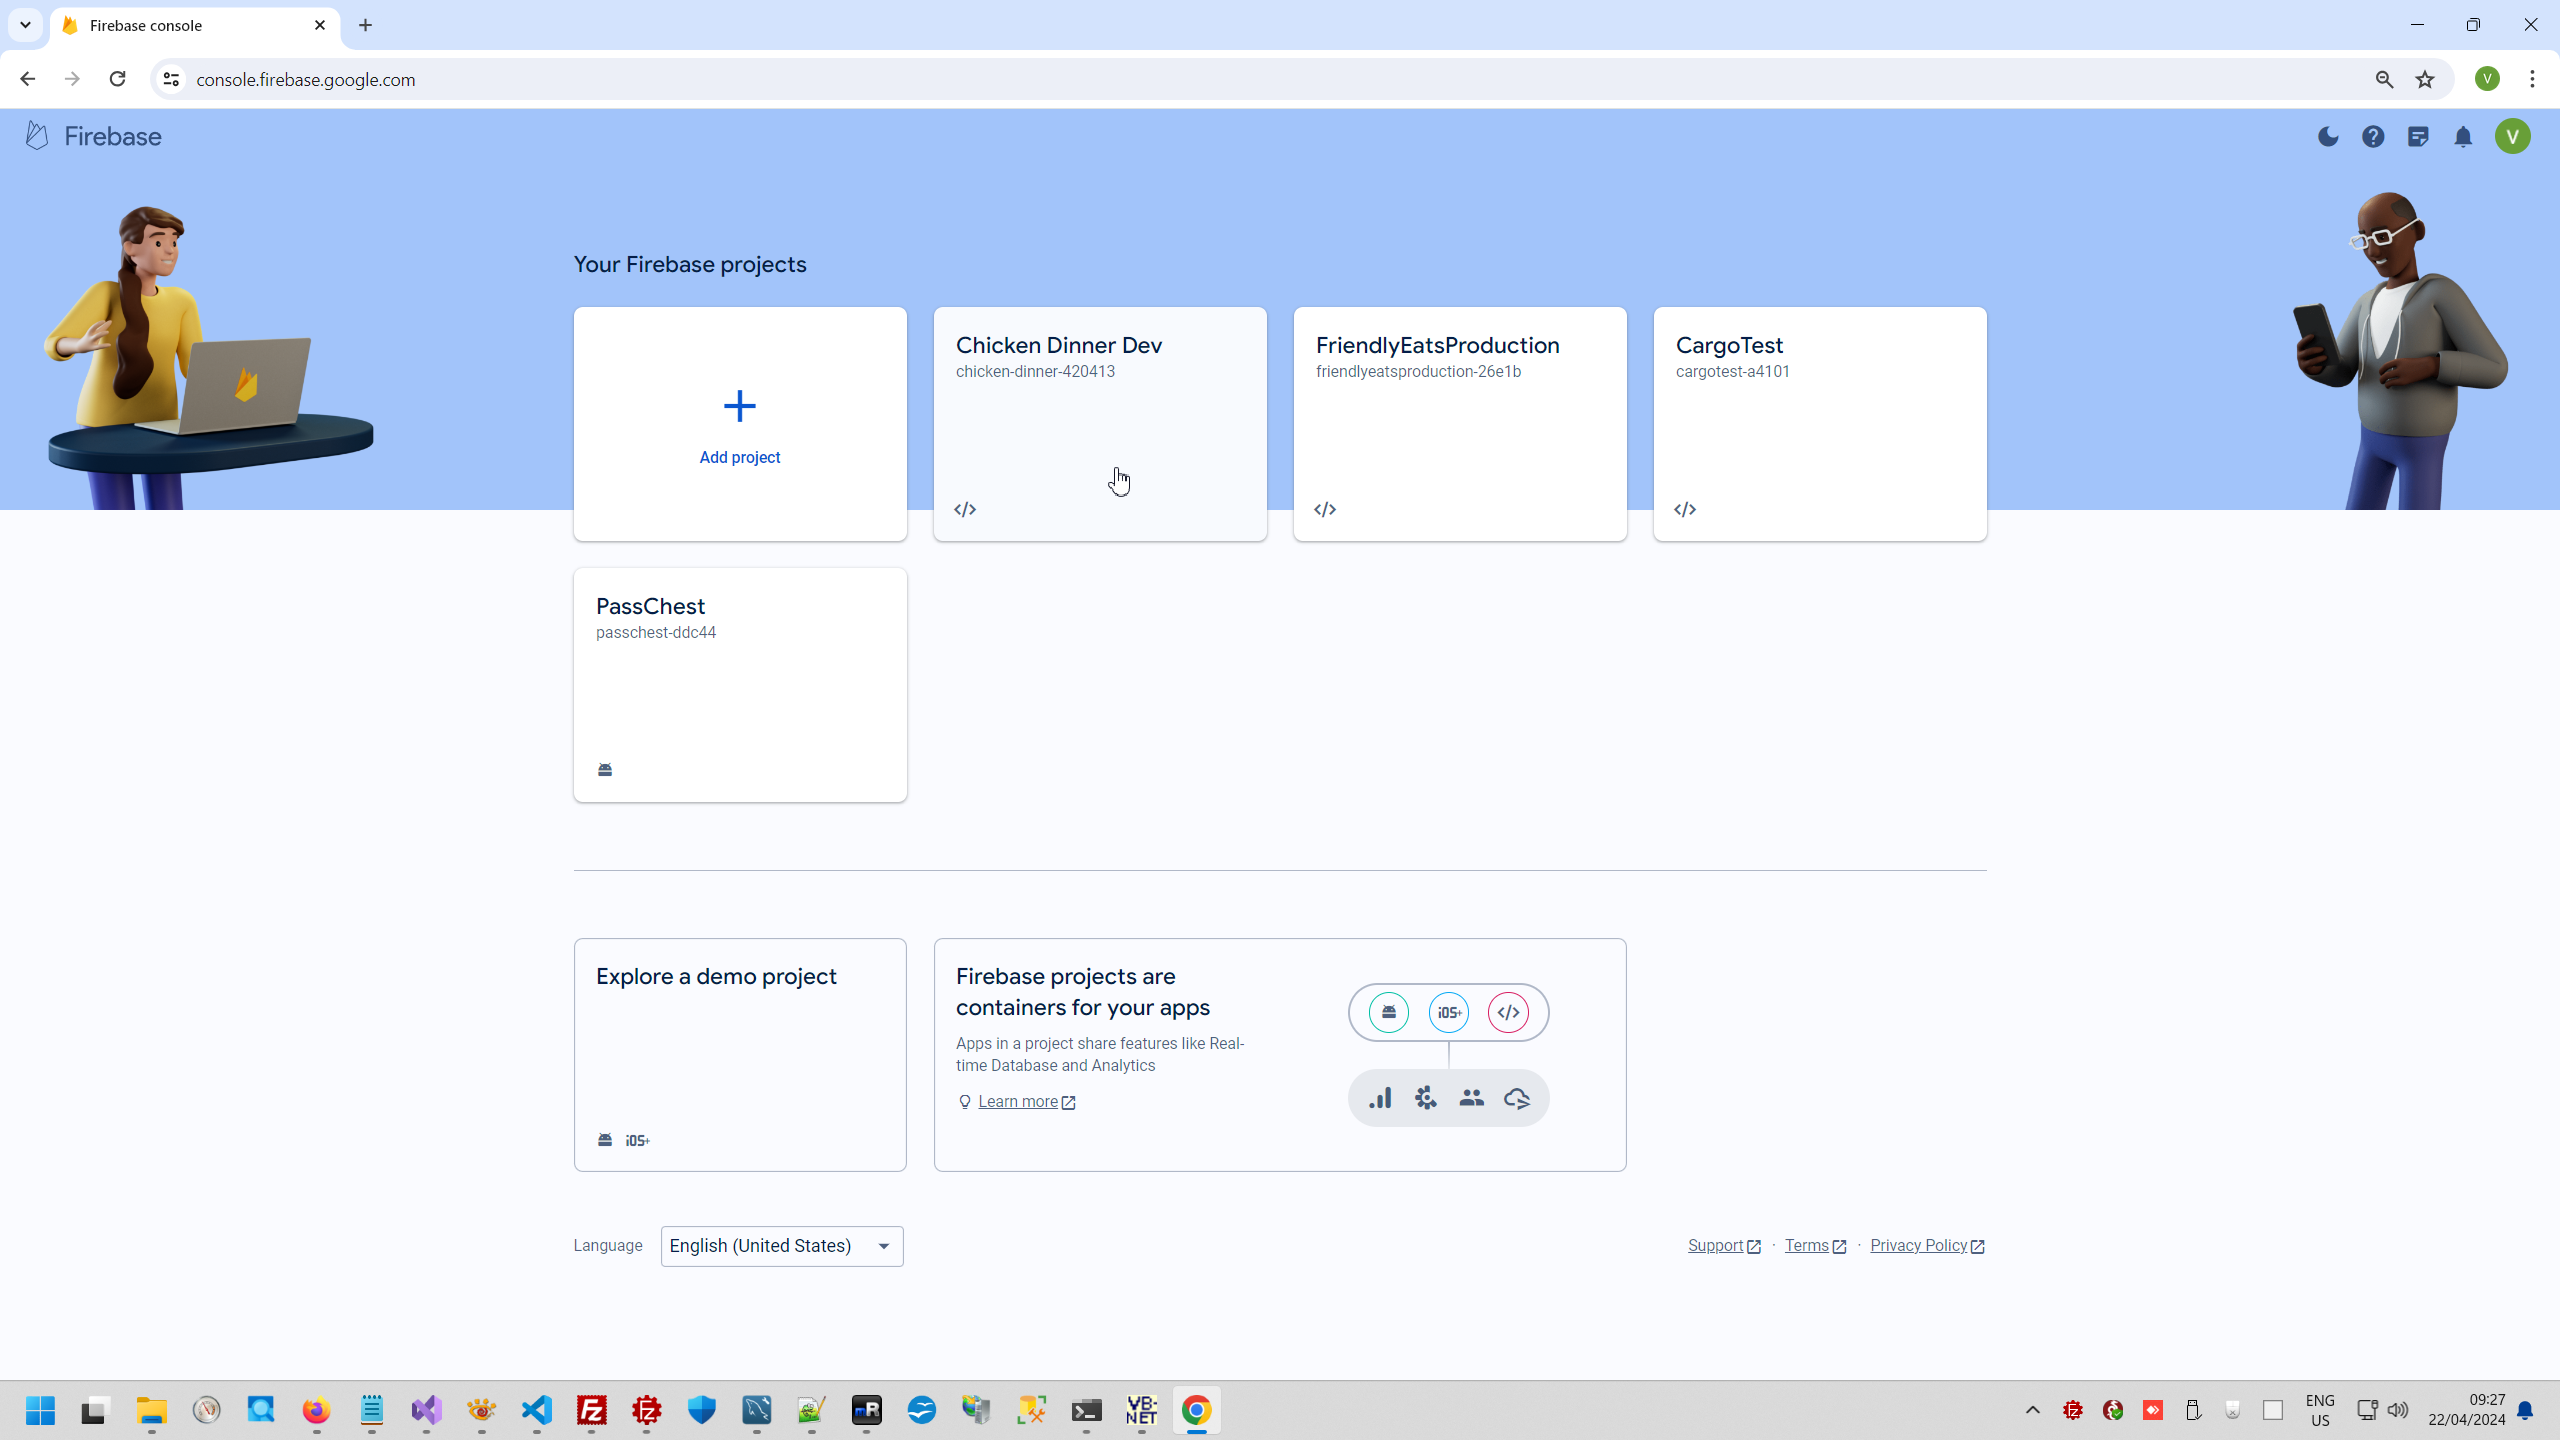
Firebase also is parts of Google Cloud API, but Backet can manage Google Cloud OR Firebase.
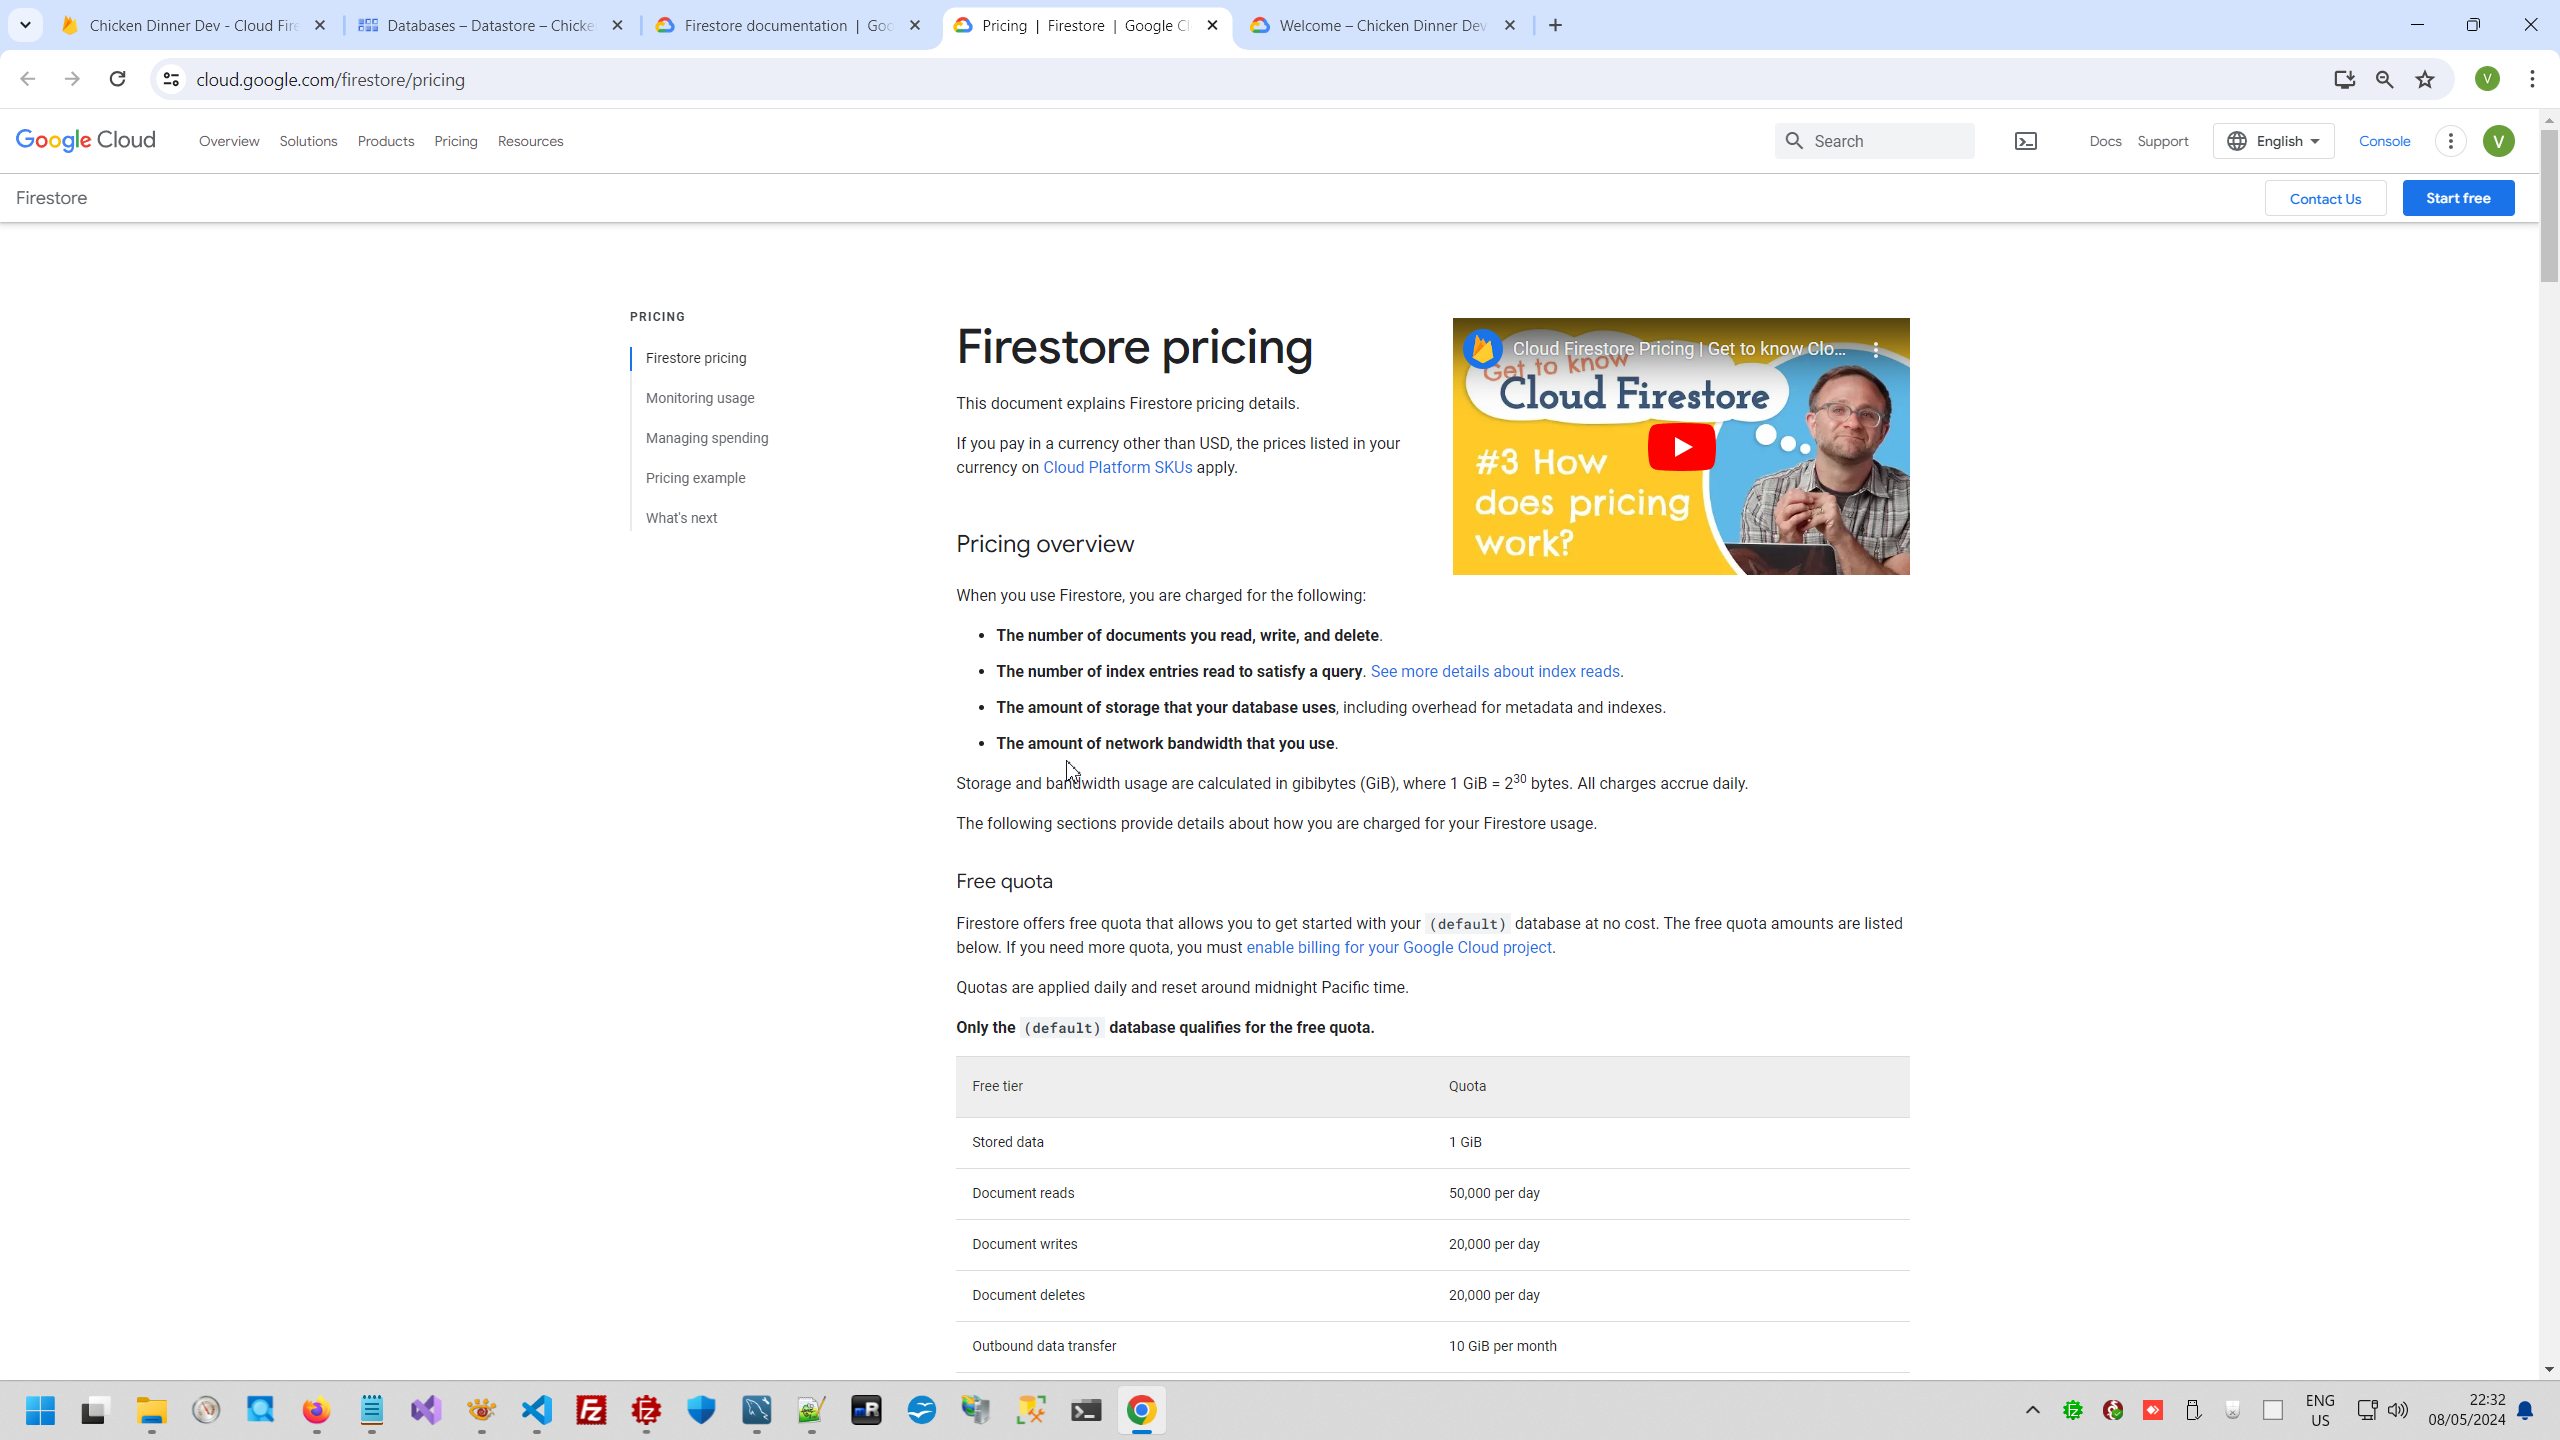
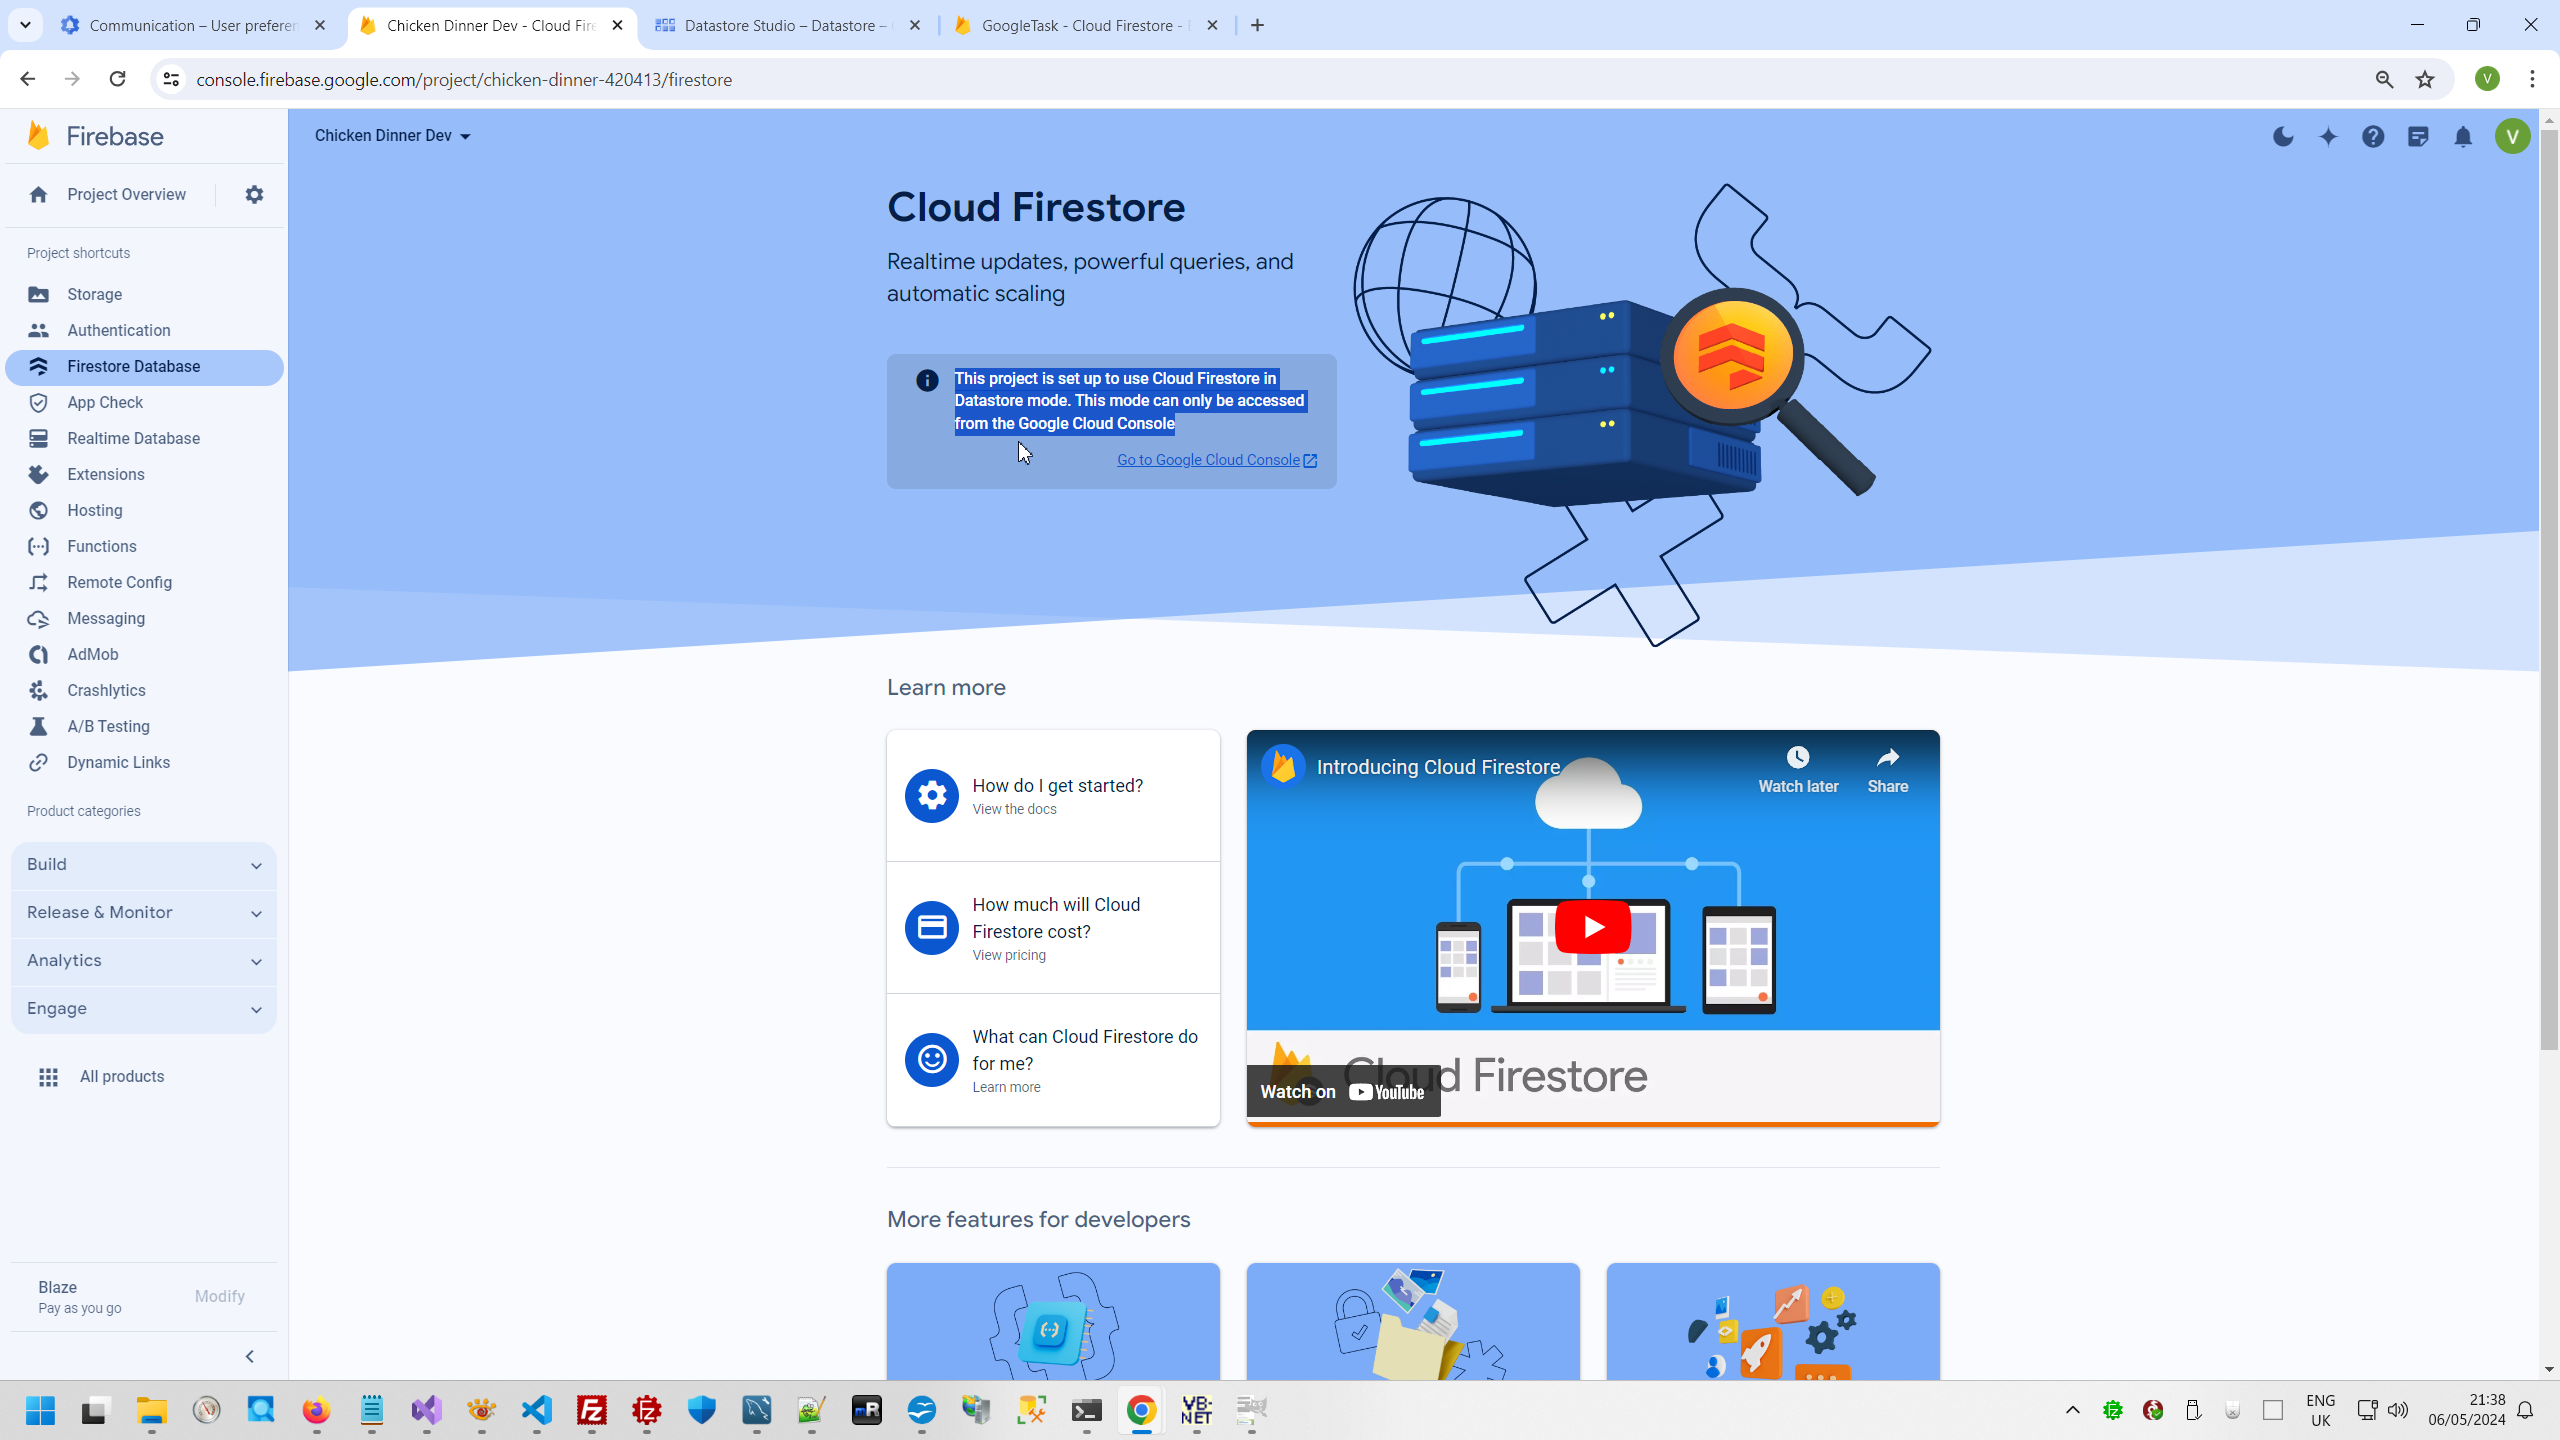
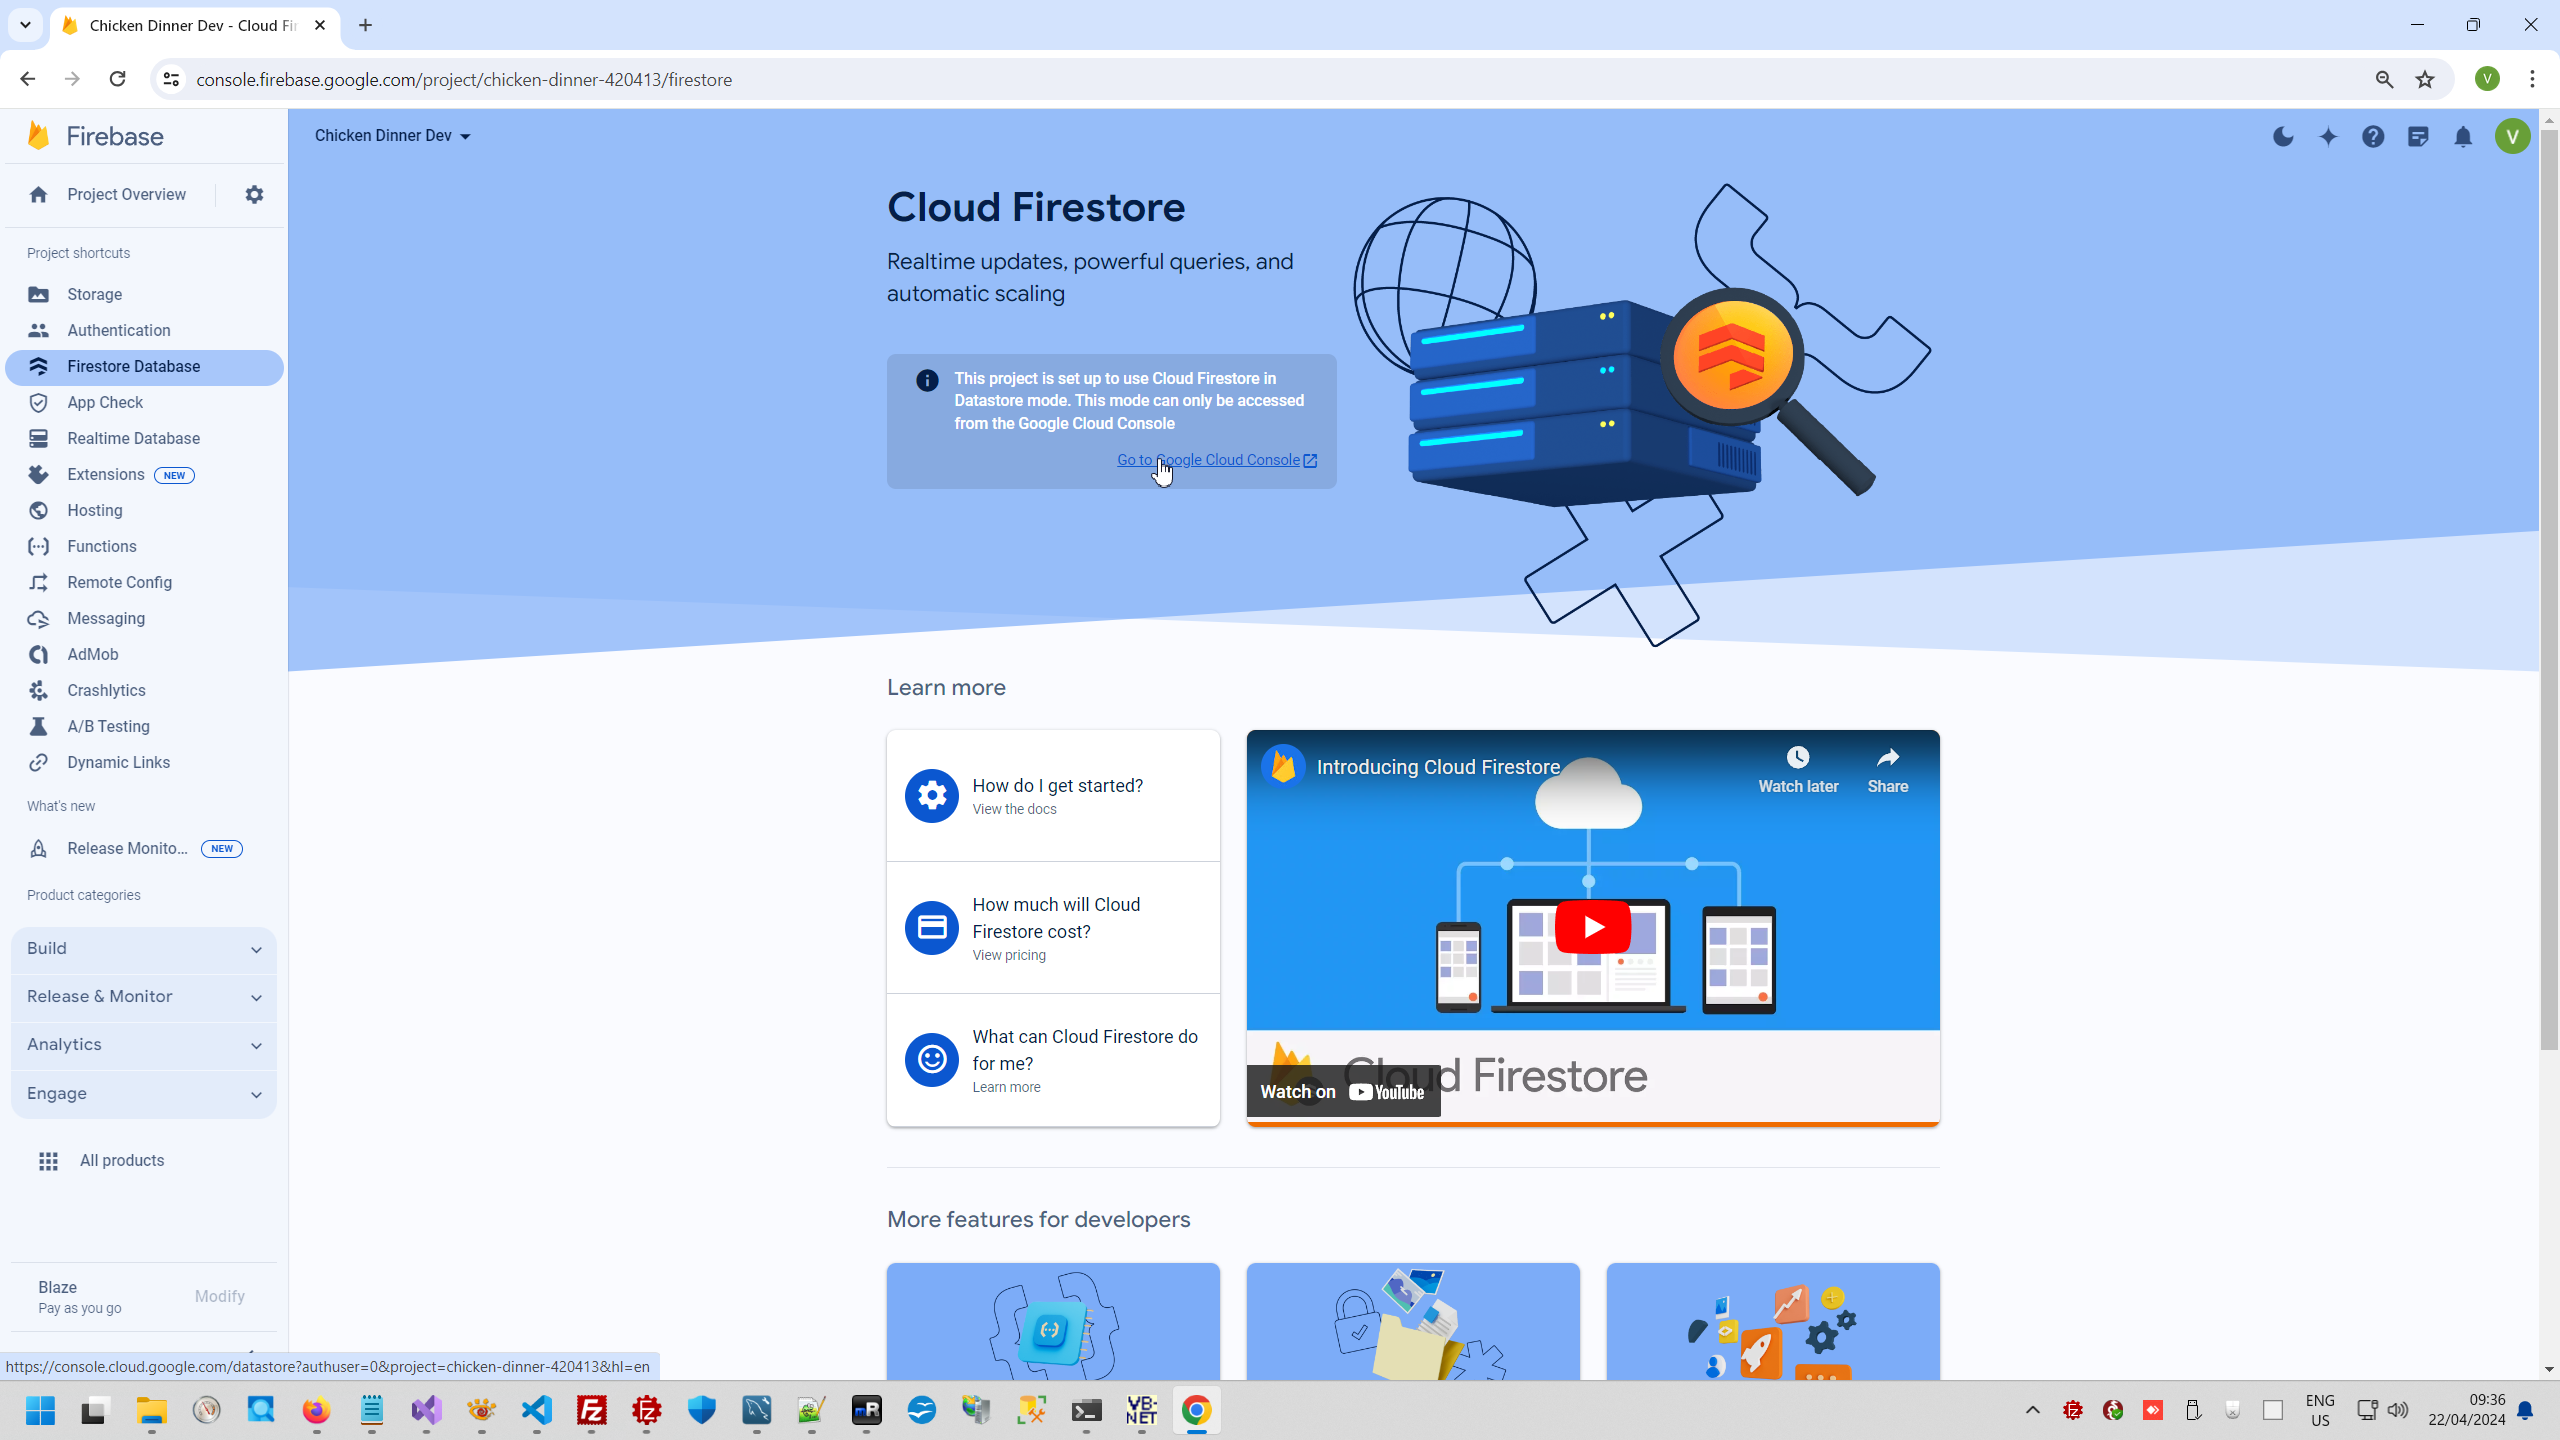
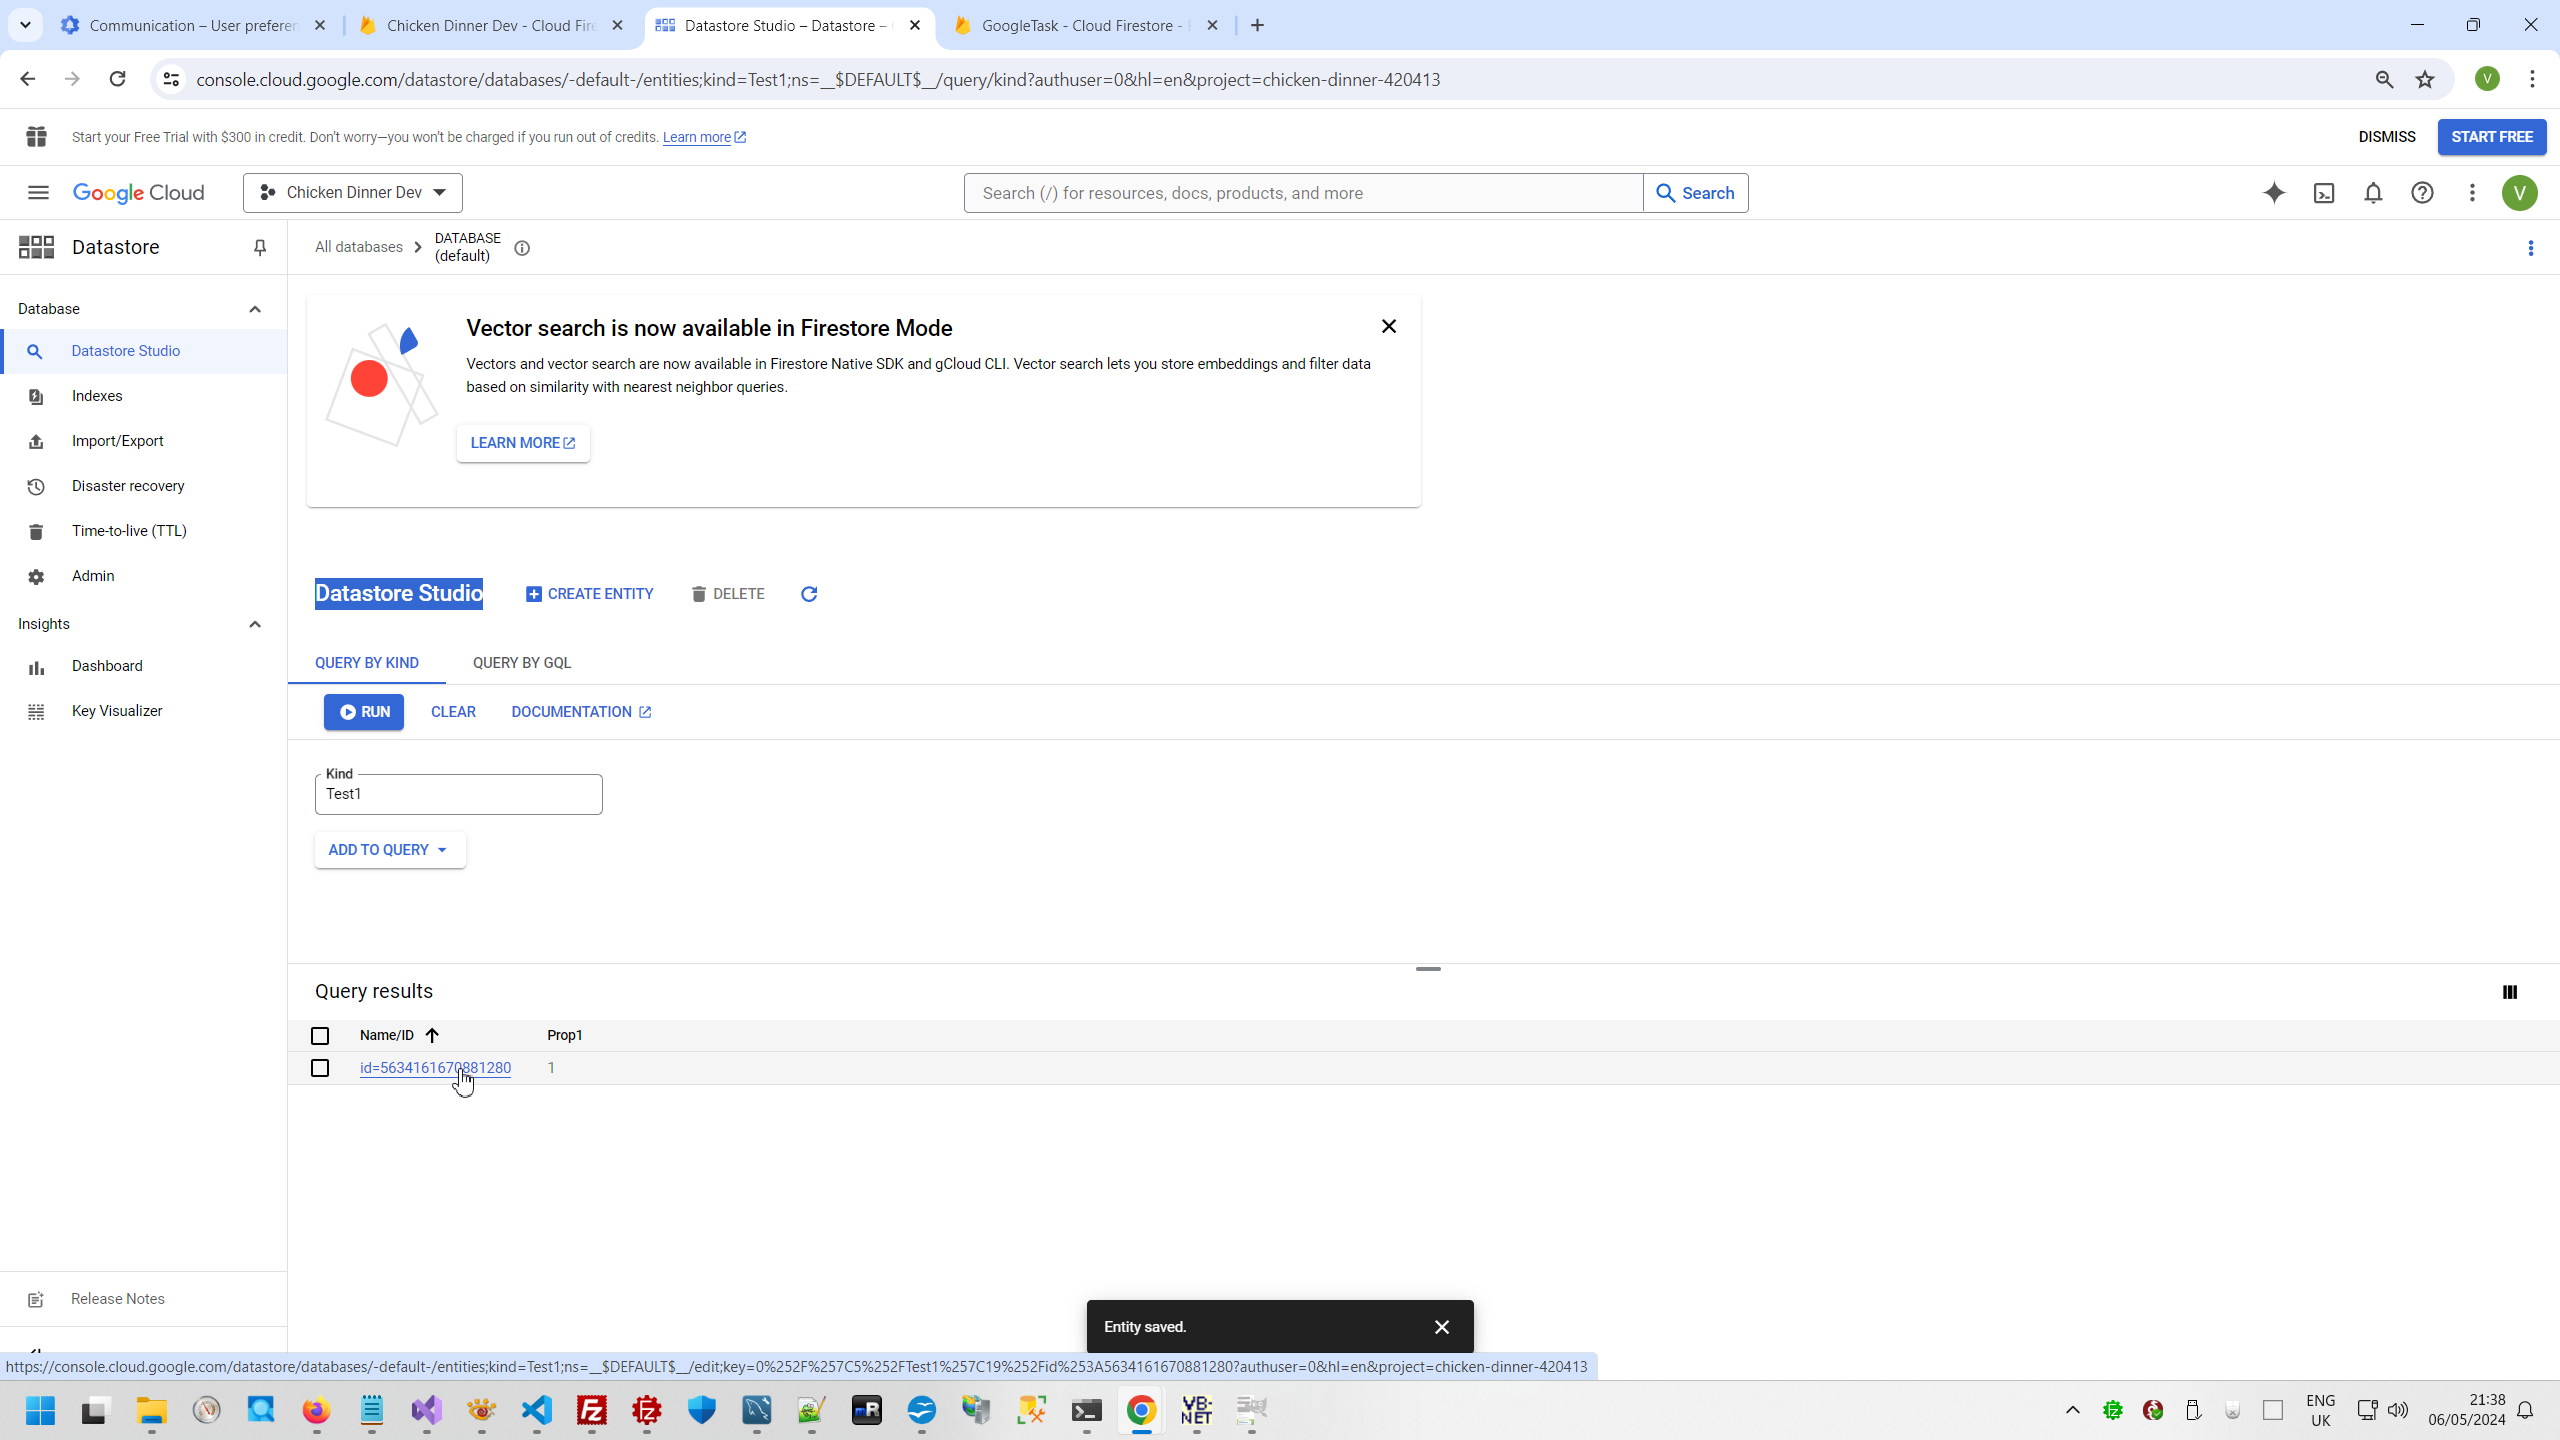
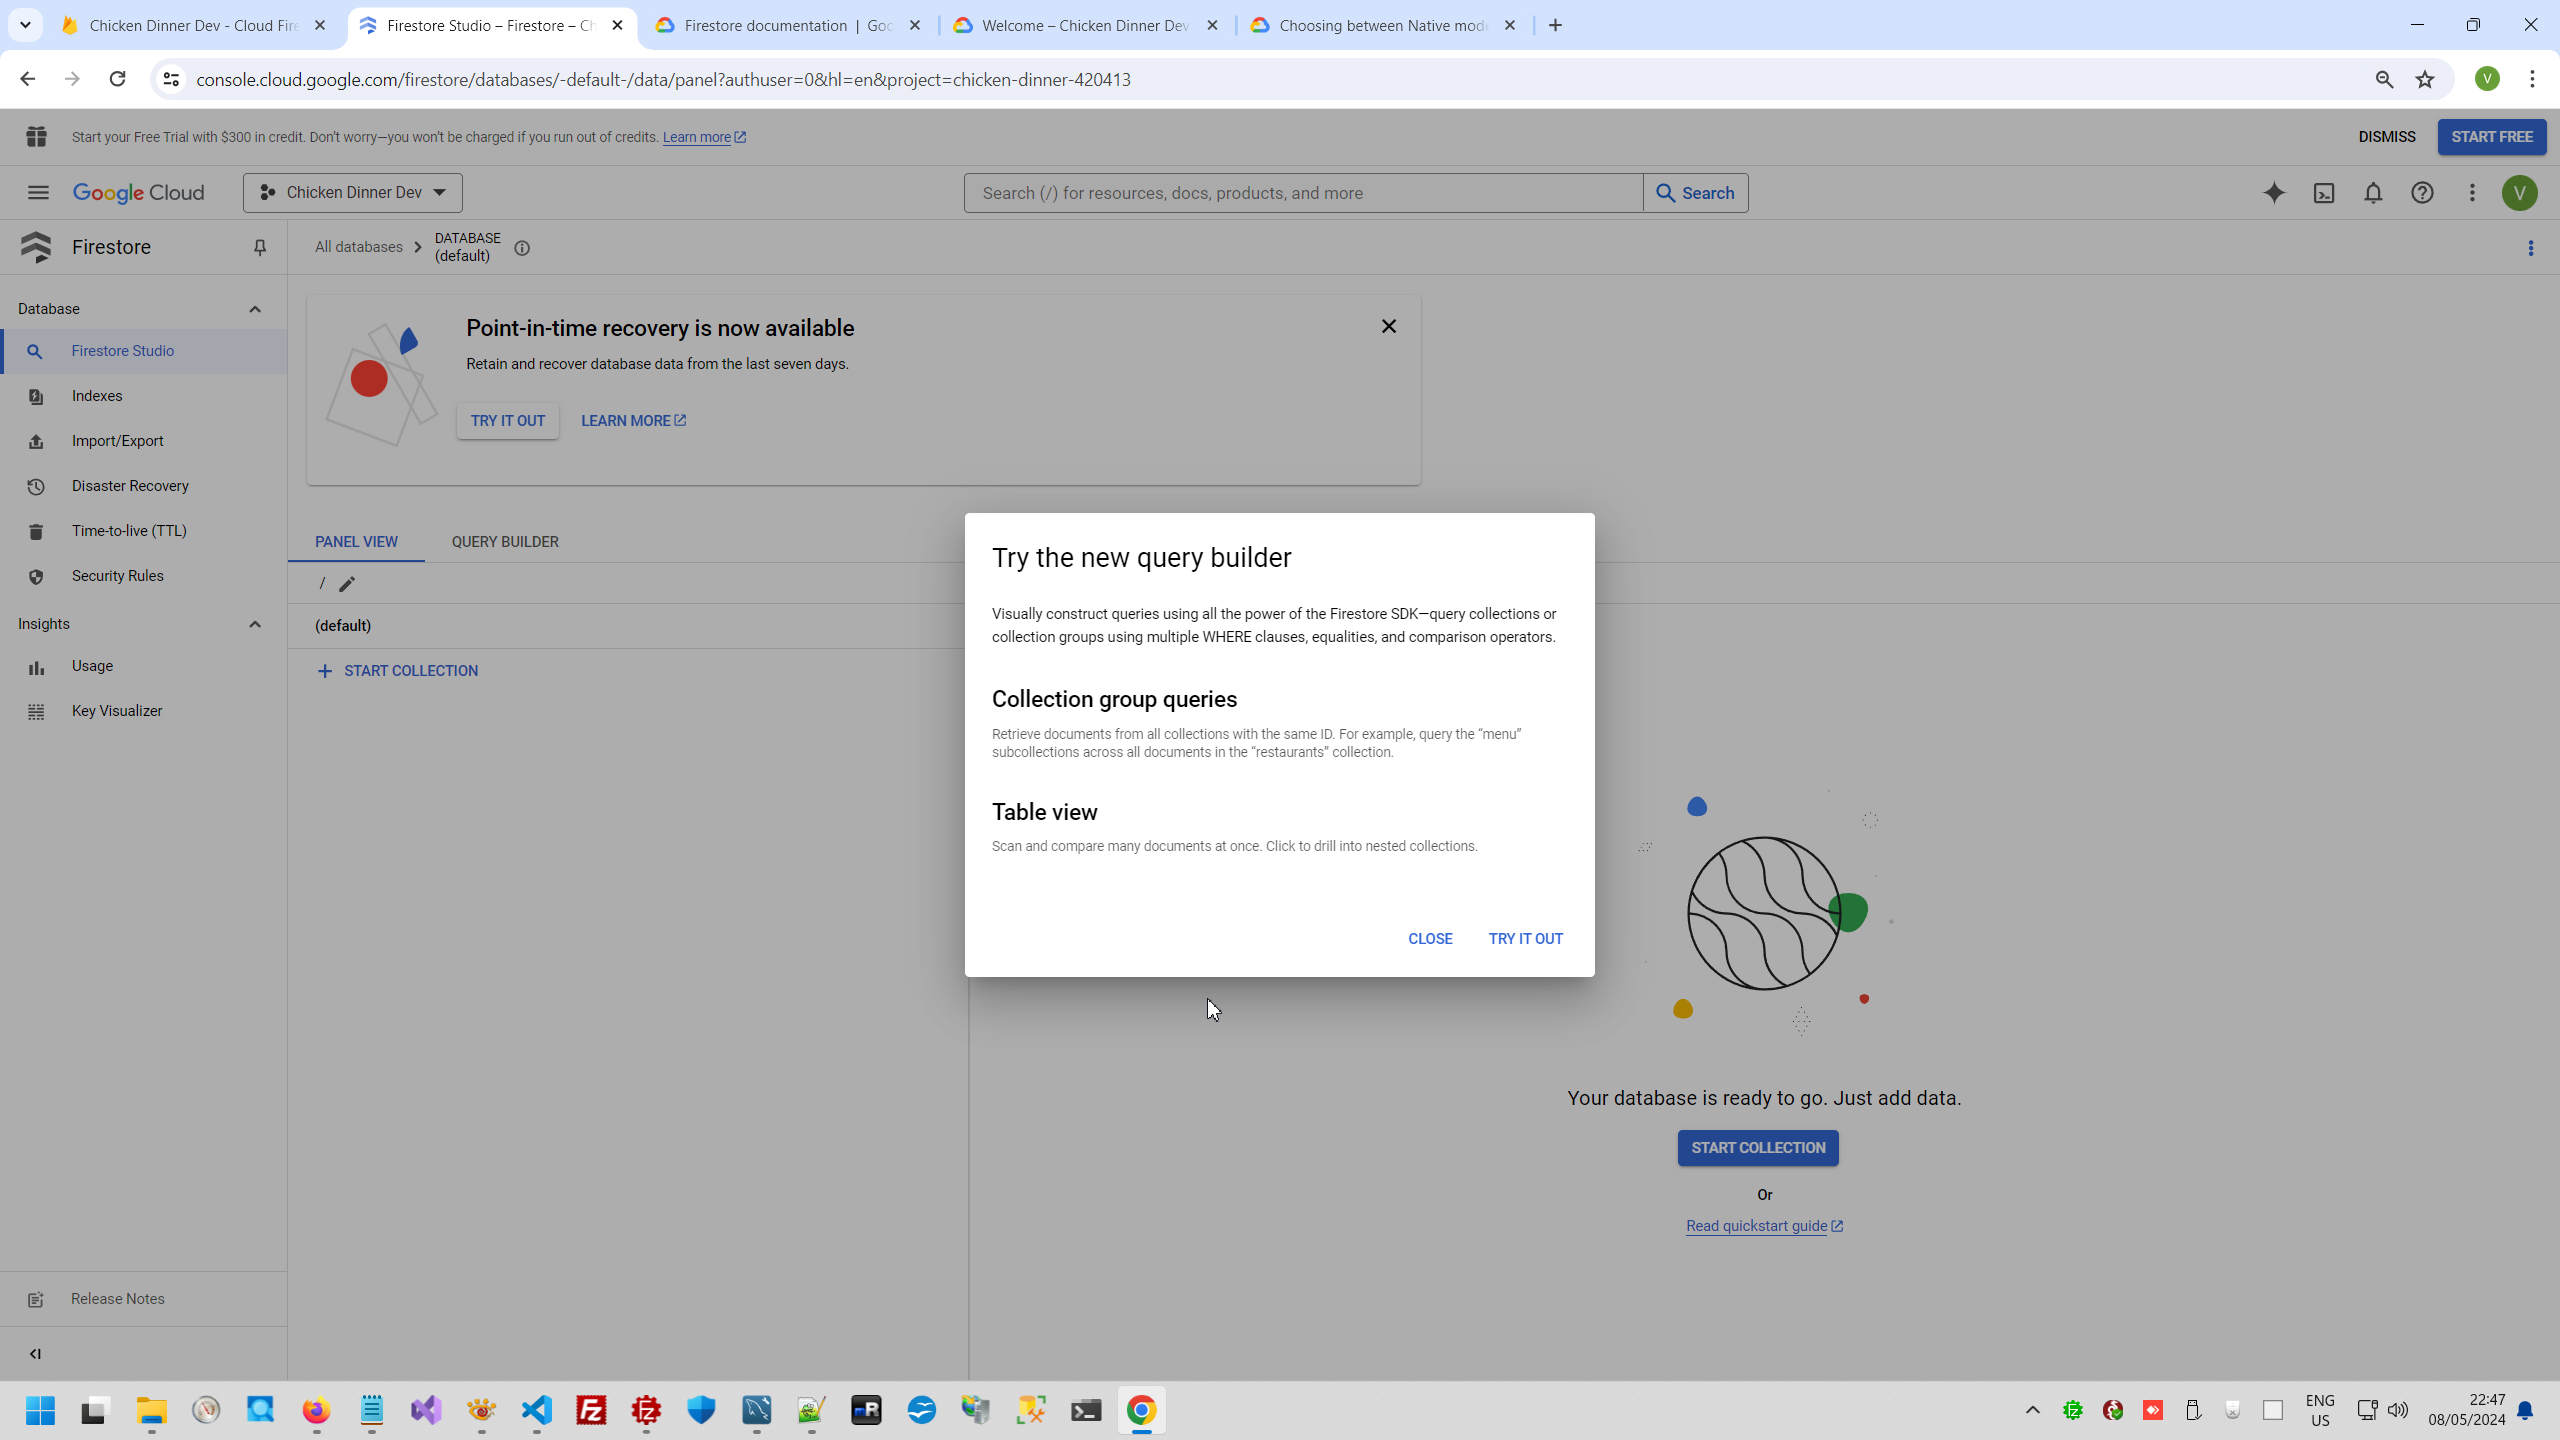
And Firebase can working as in free mode with NoSQL DB or in Datastore mode with Datastore studio and Firestore DB.
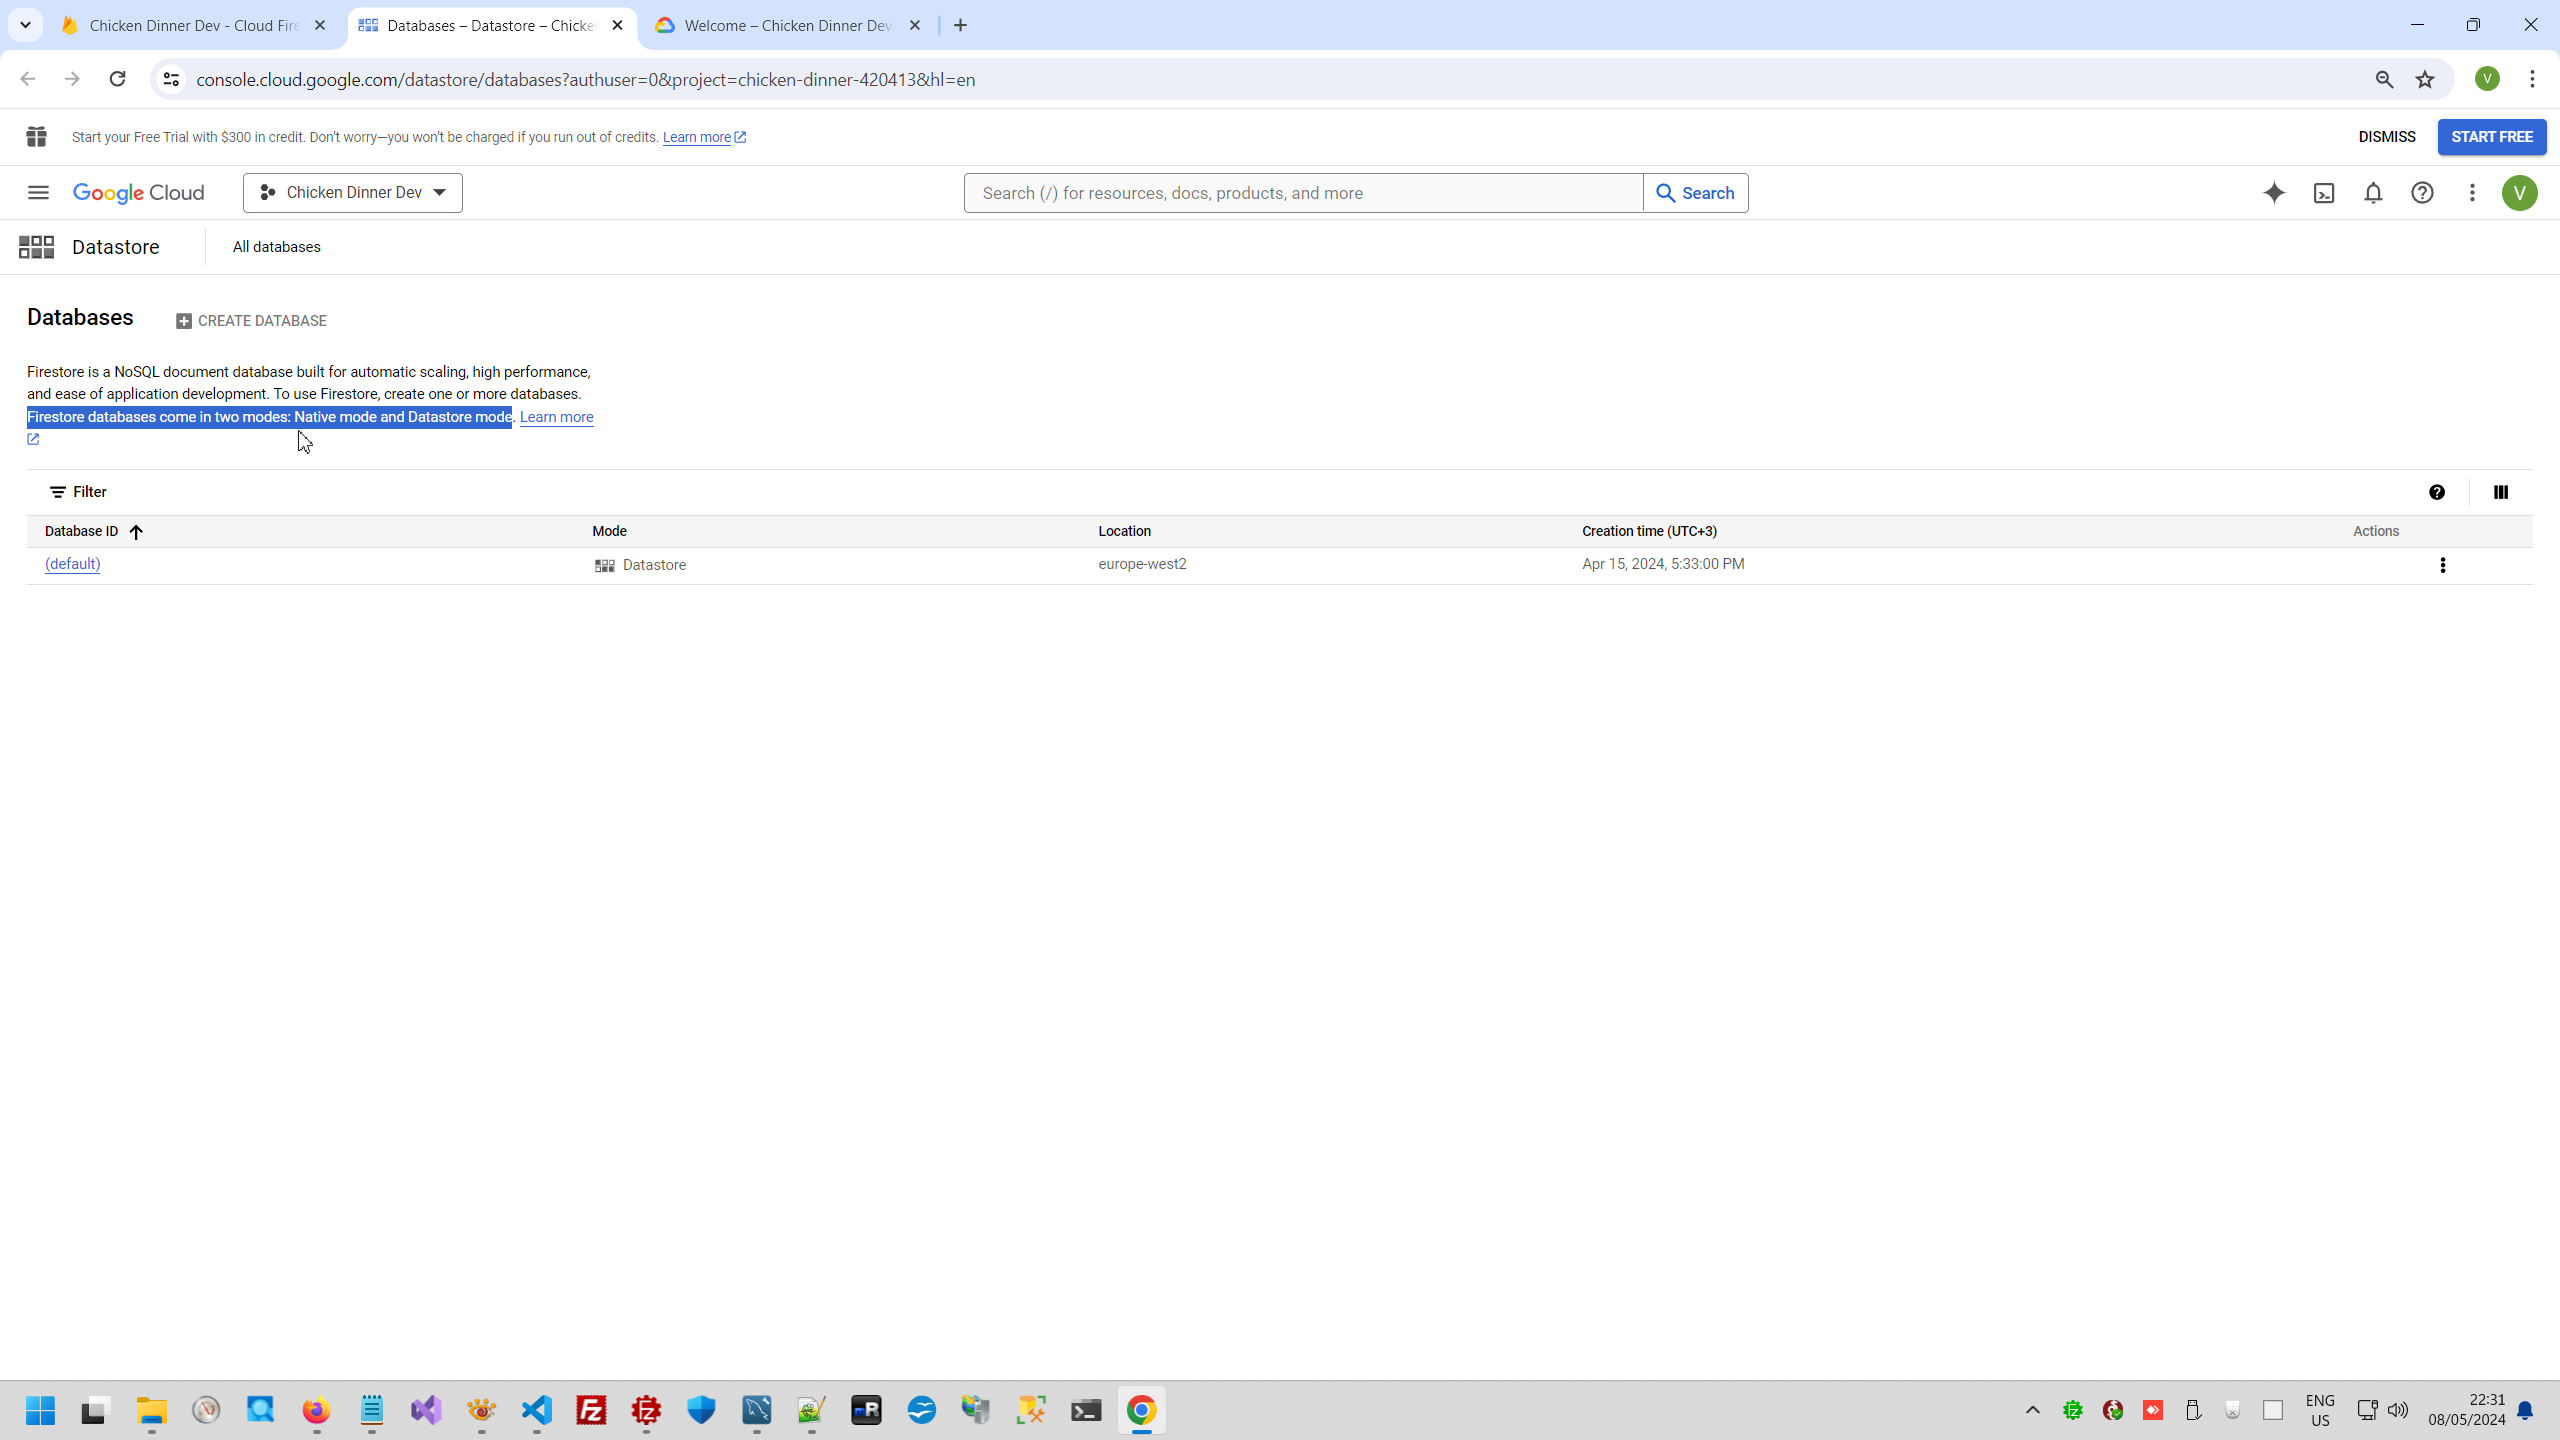

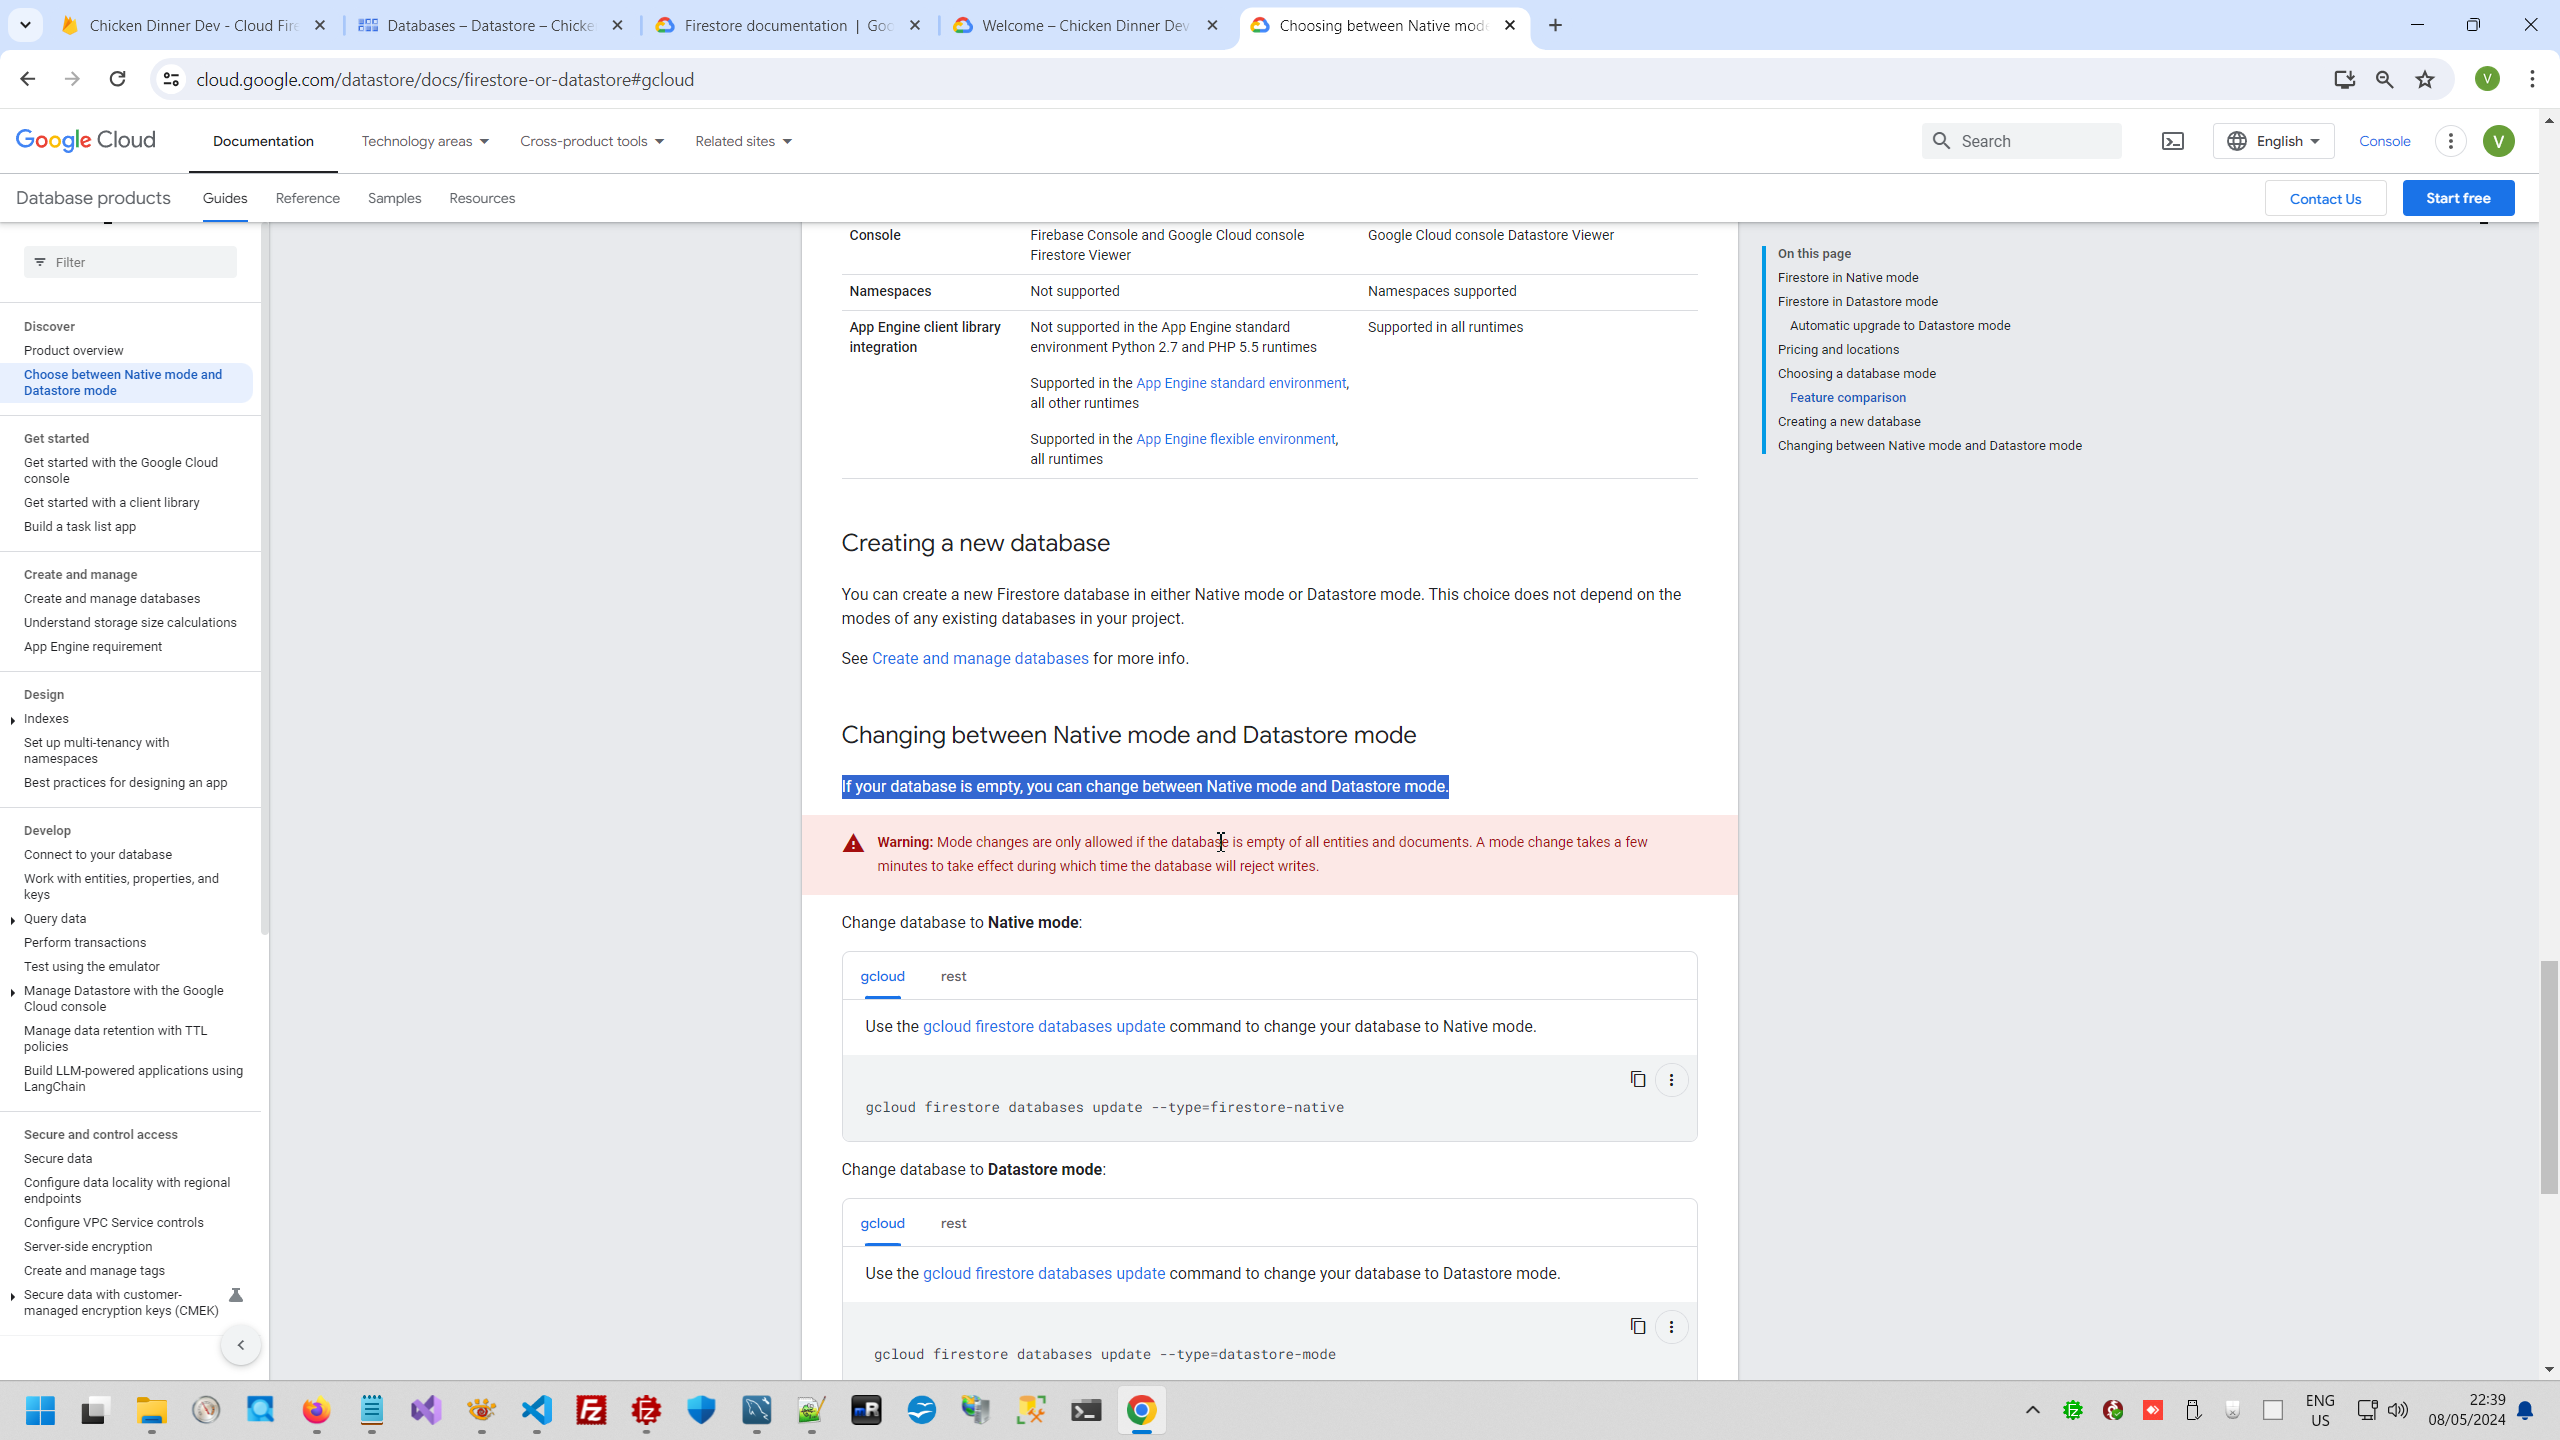
You can switch at any time between one and second mode.
This is native No SQL mode.
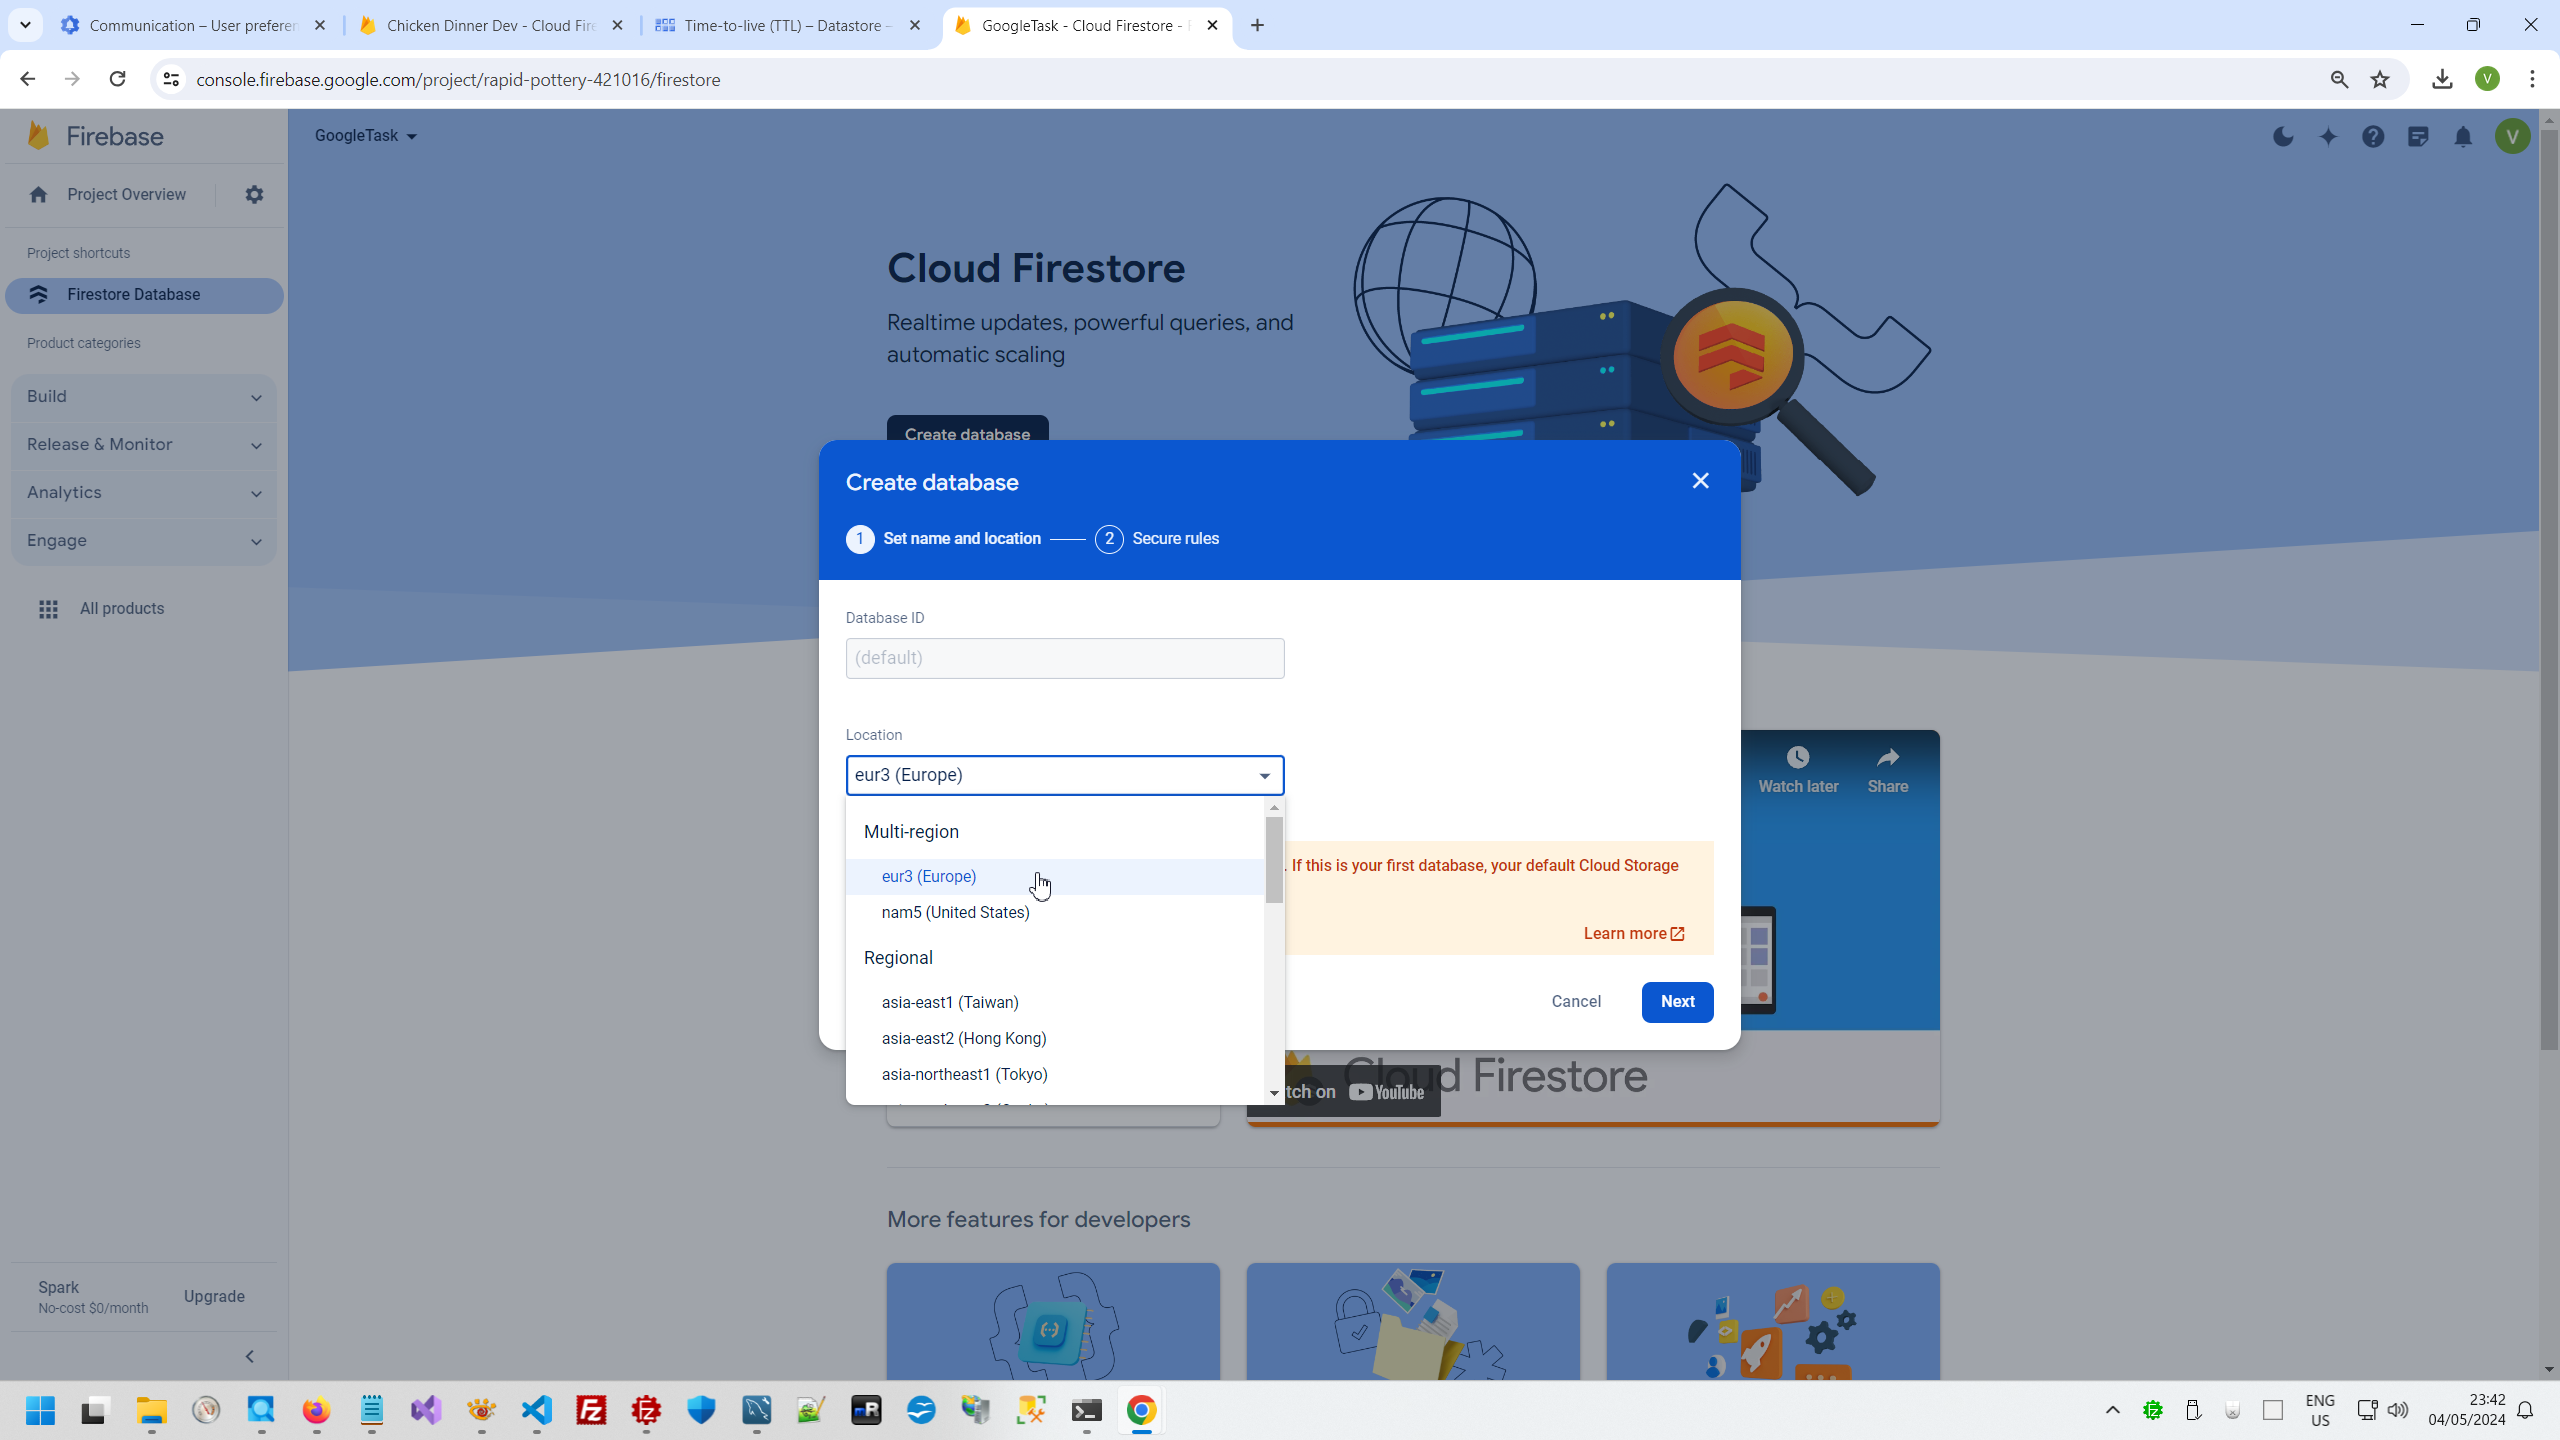
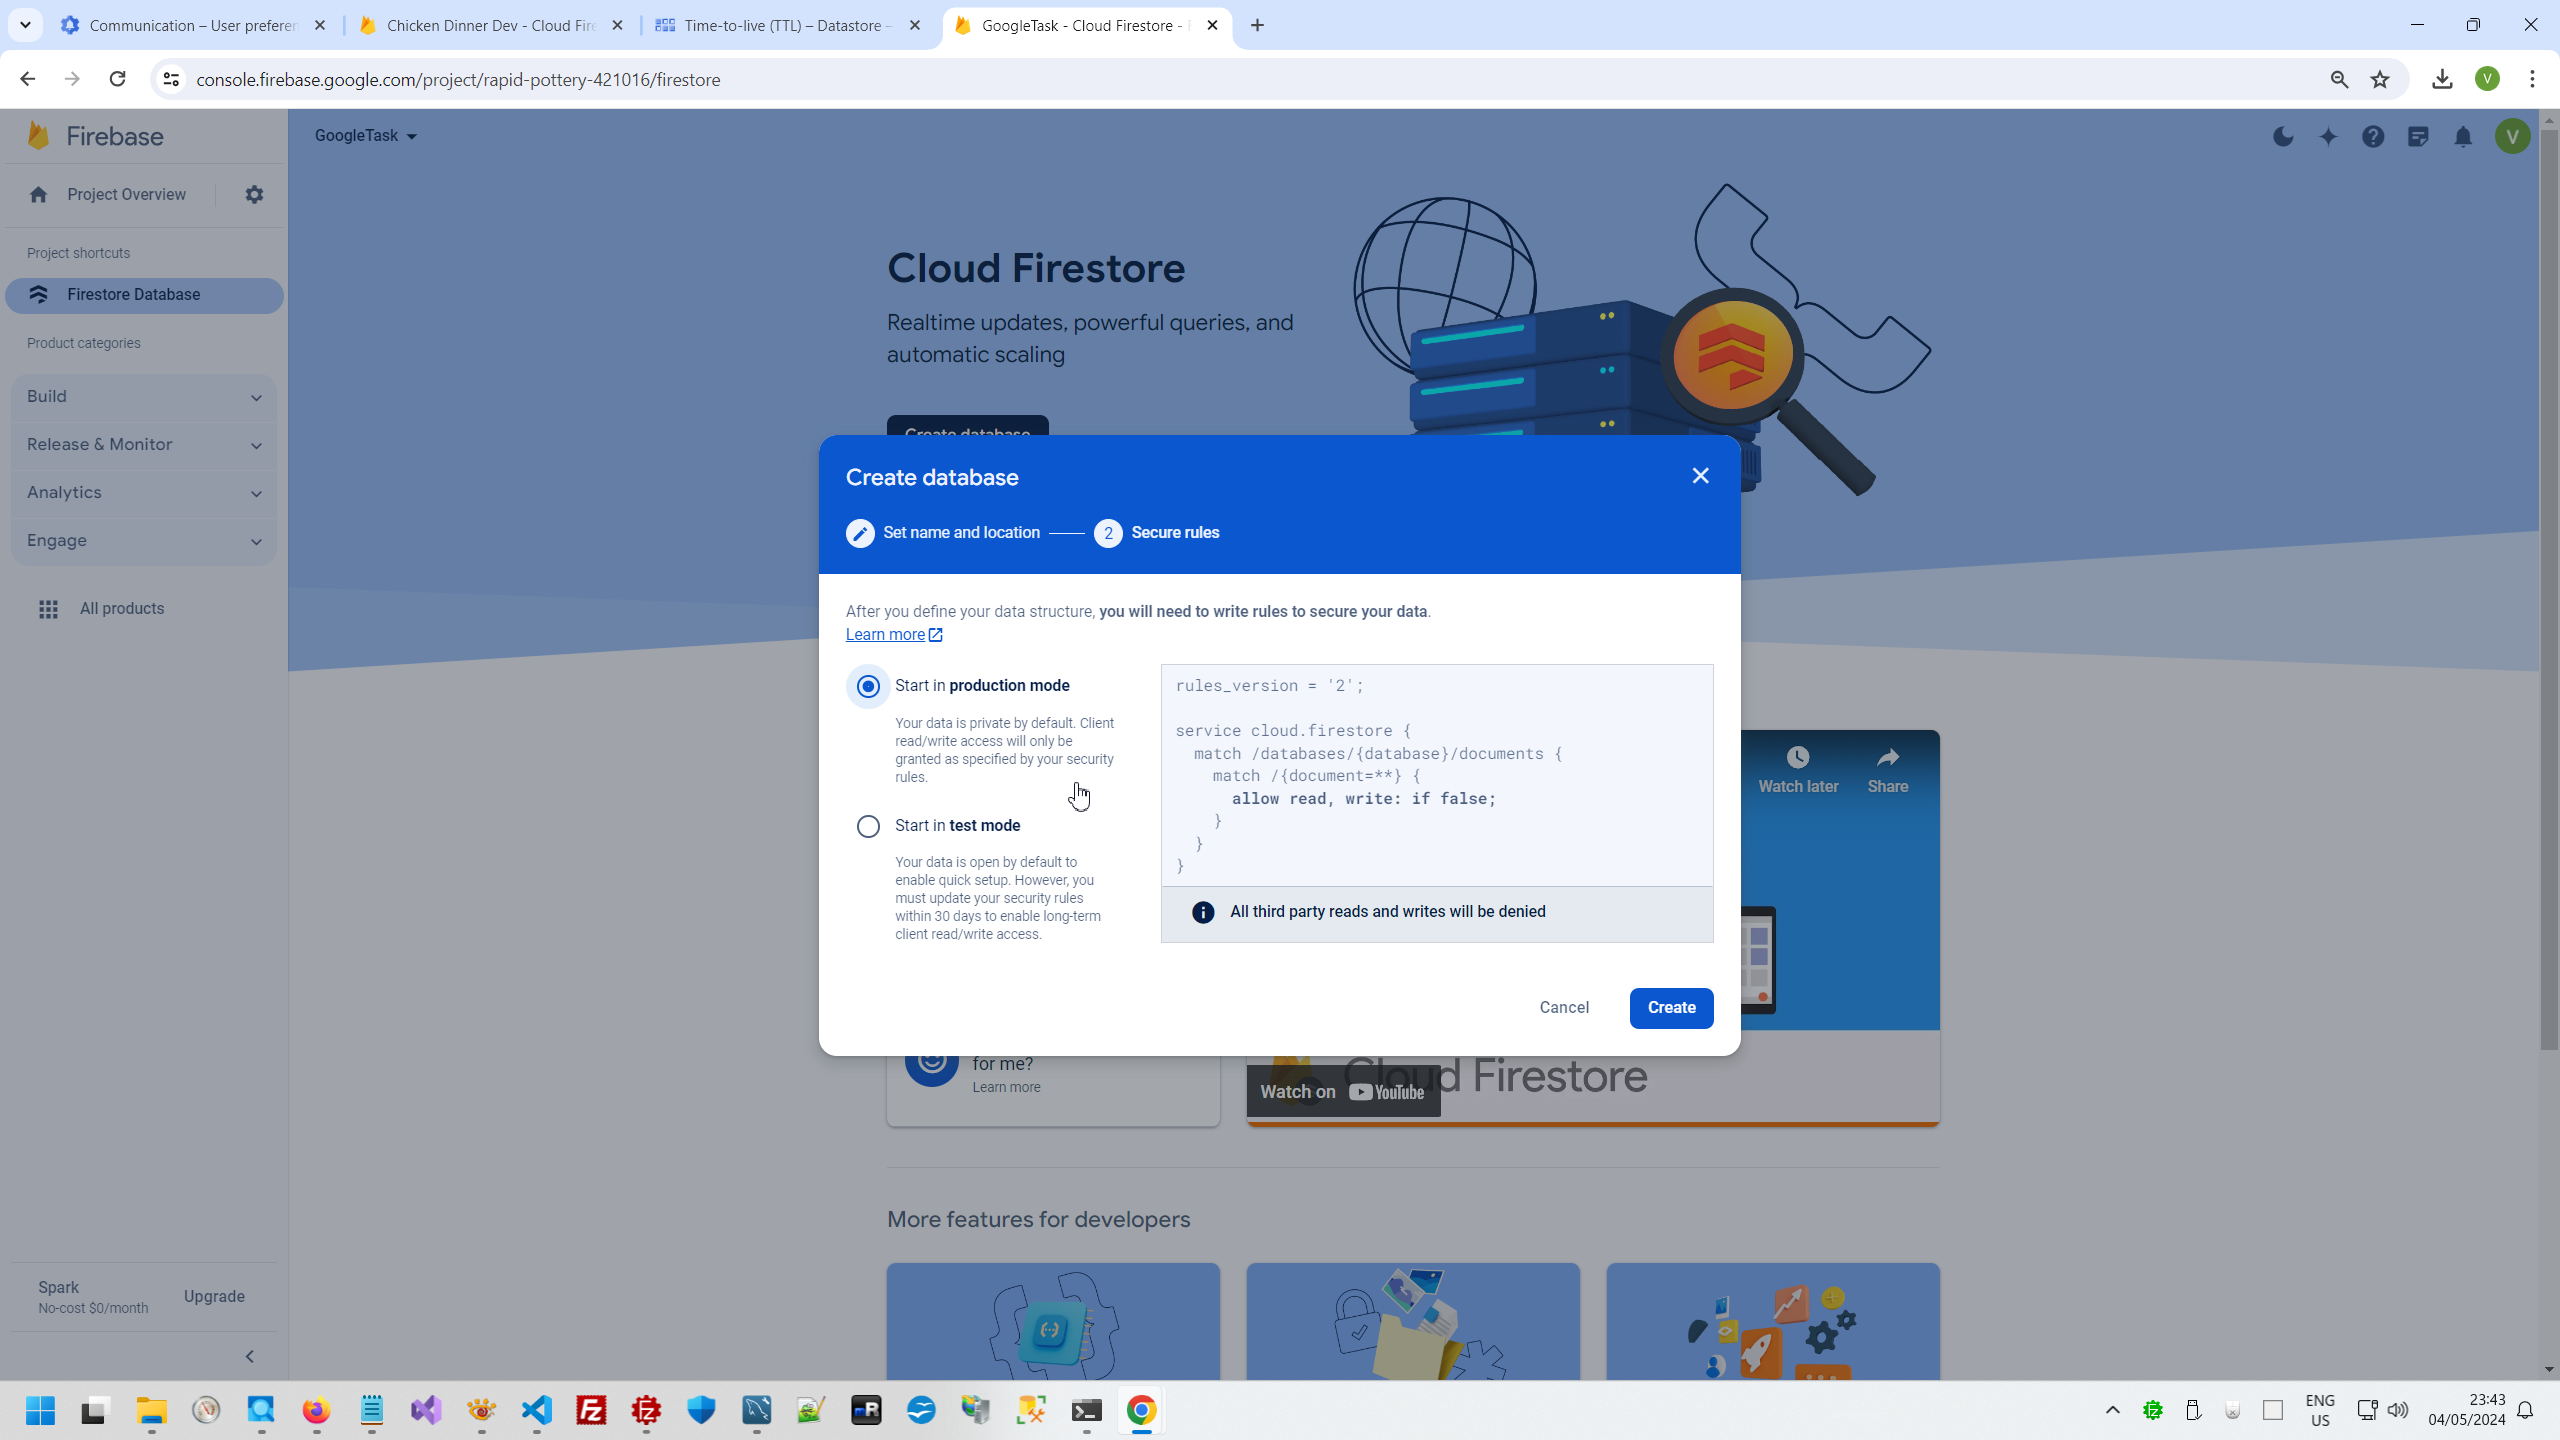
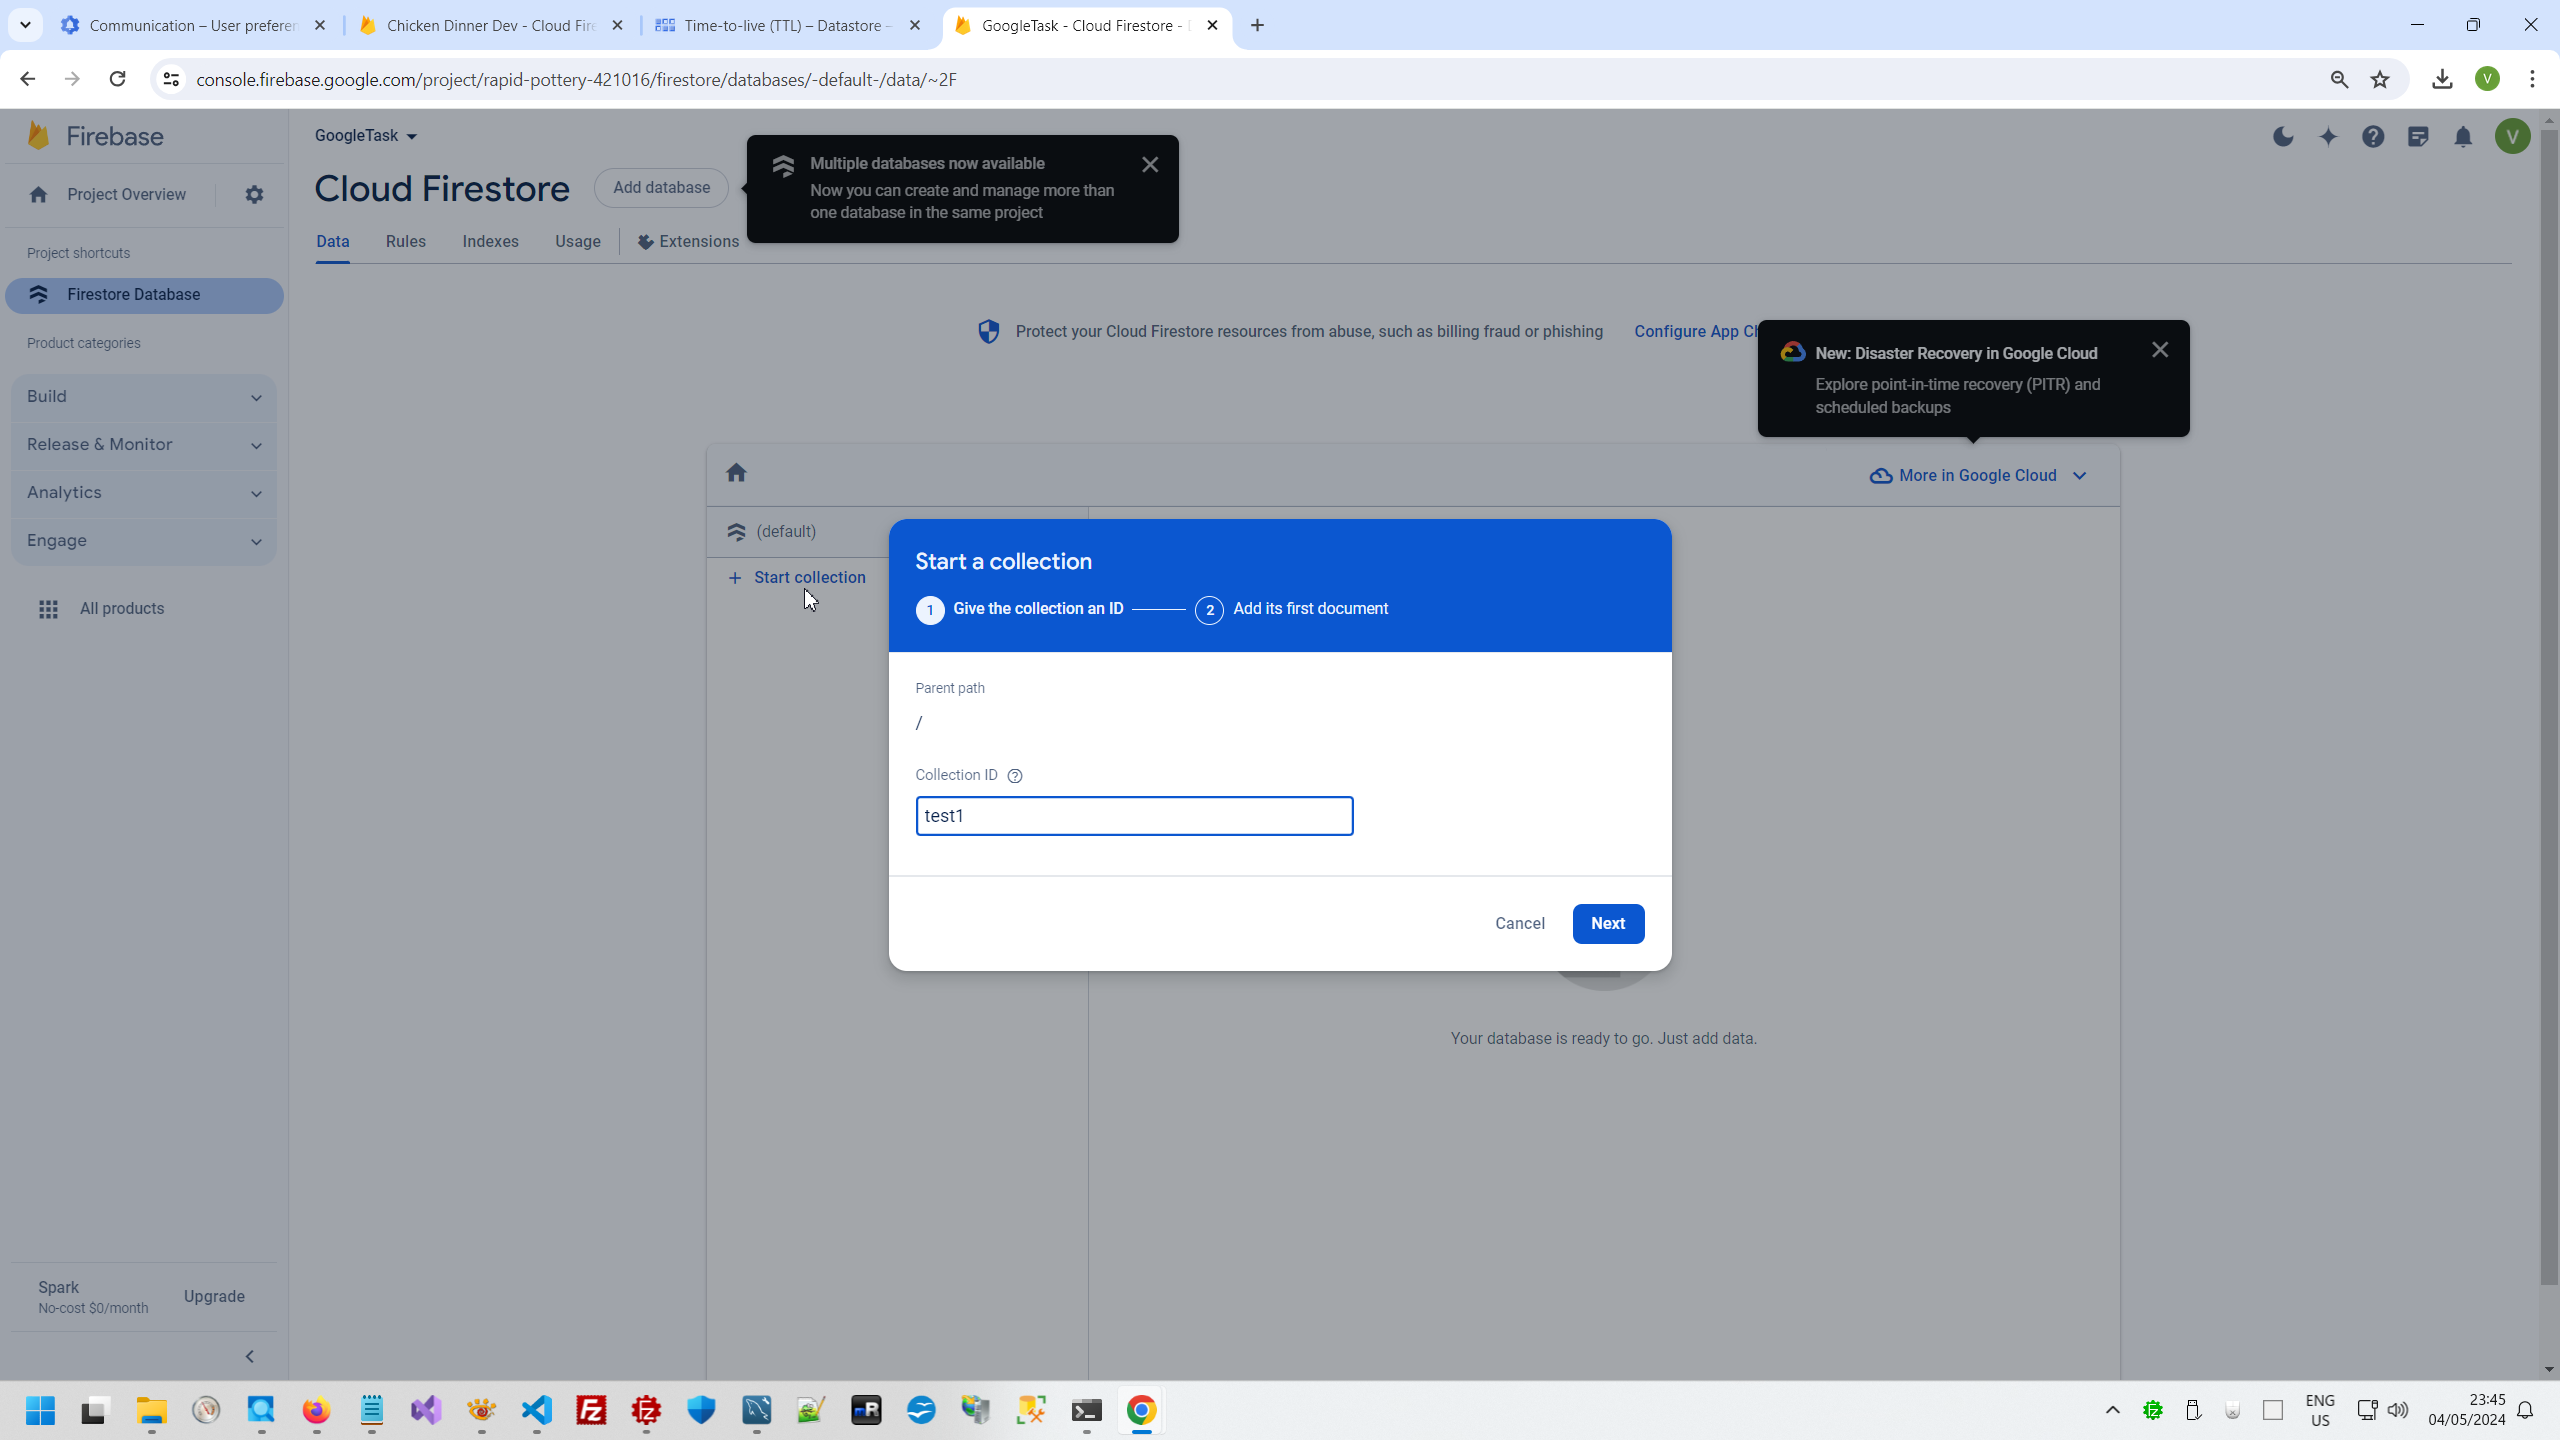
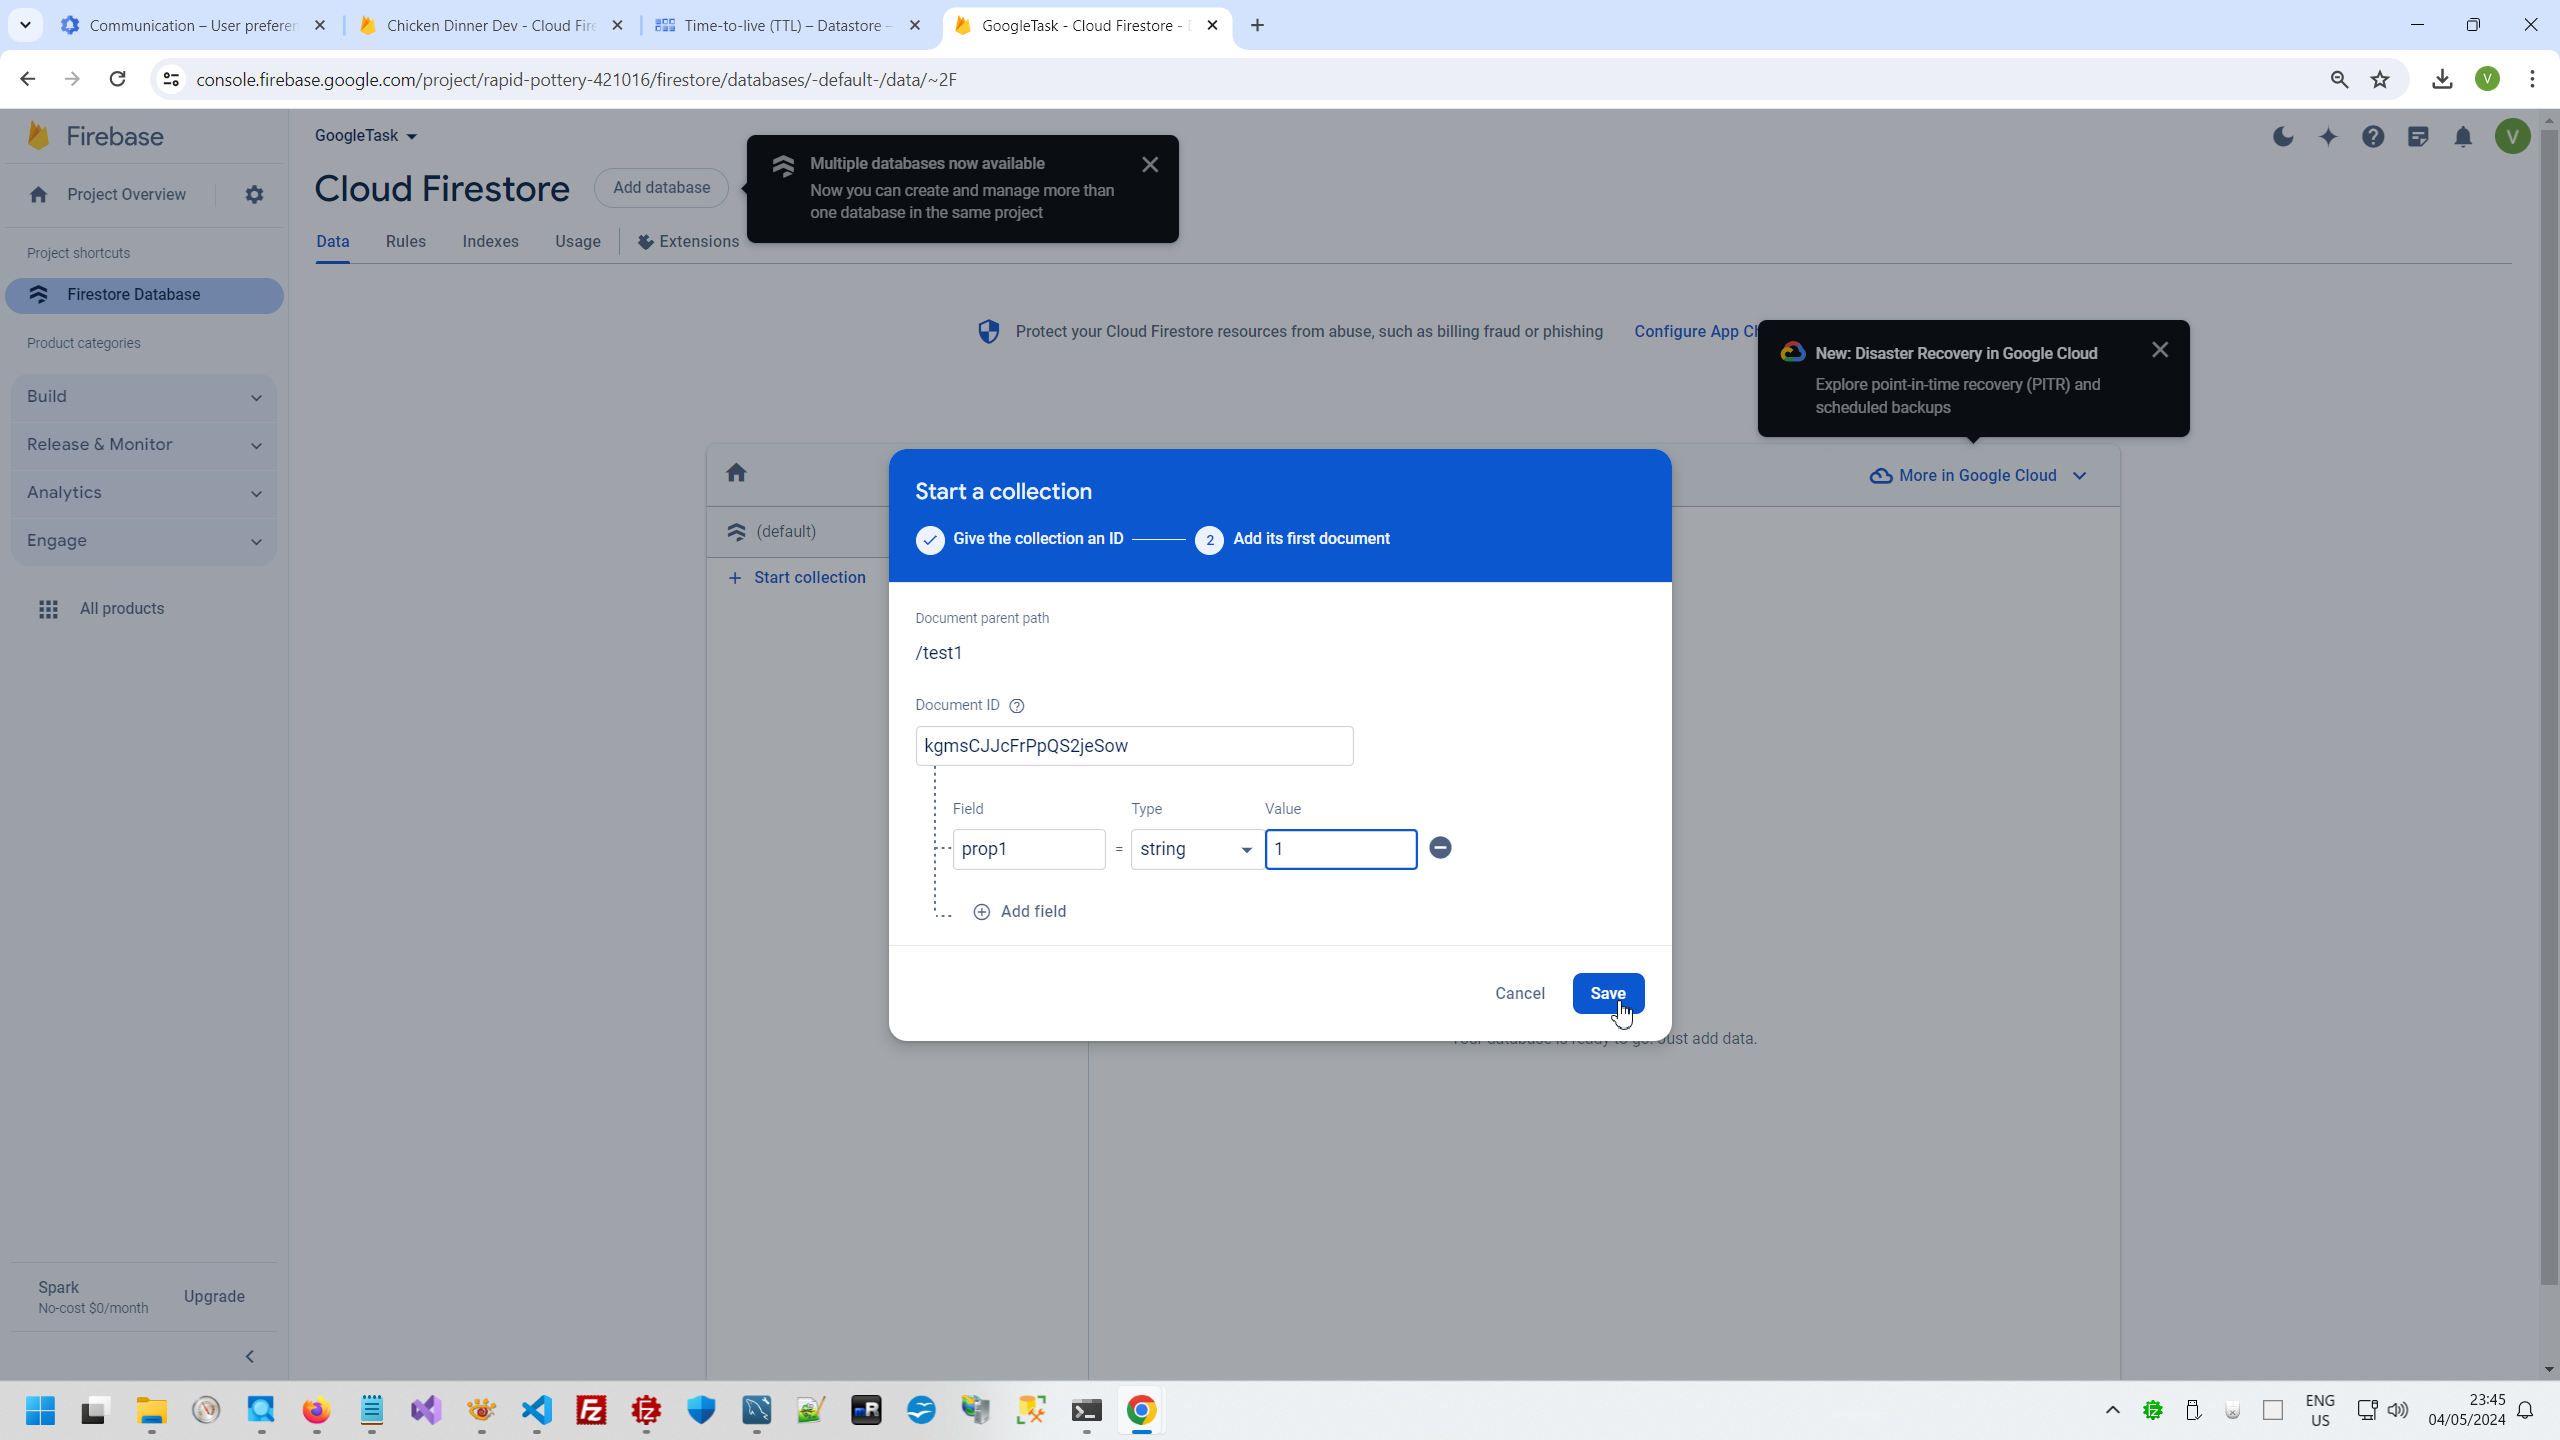
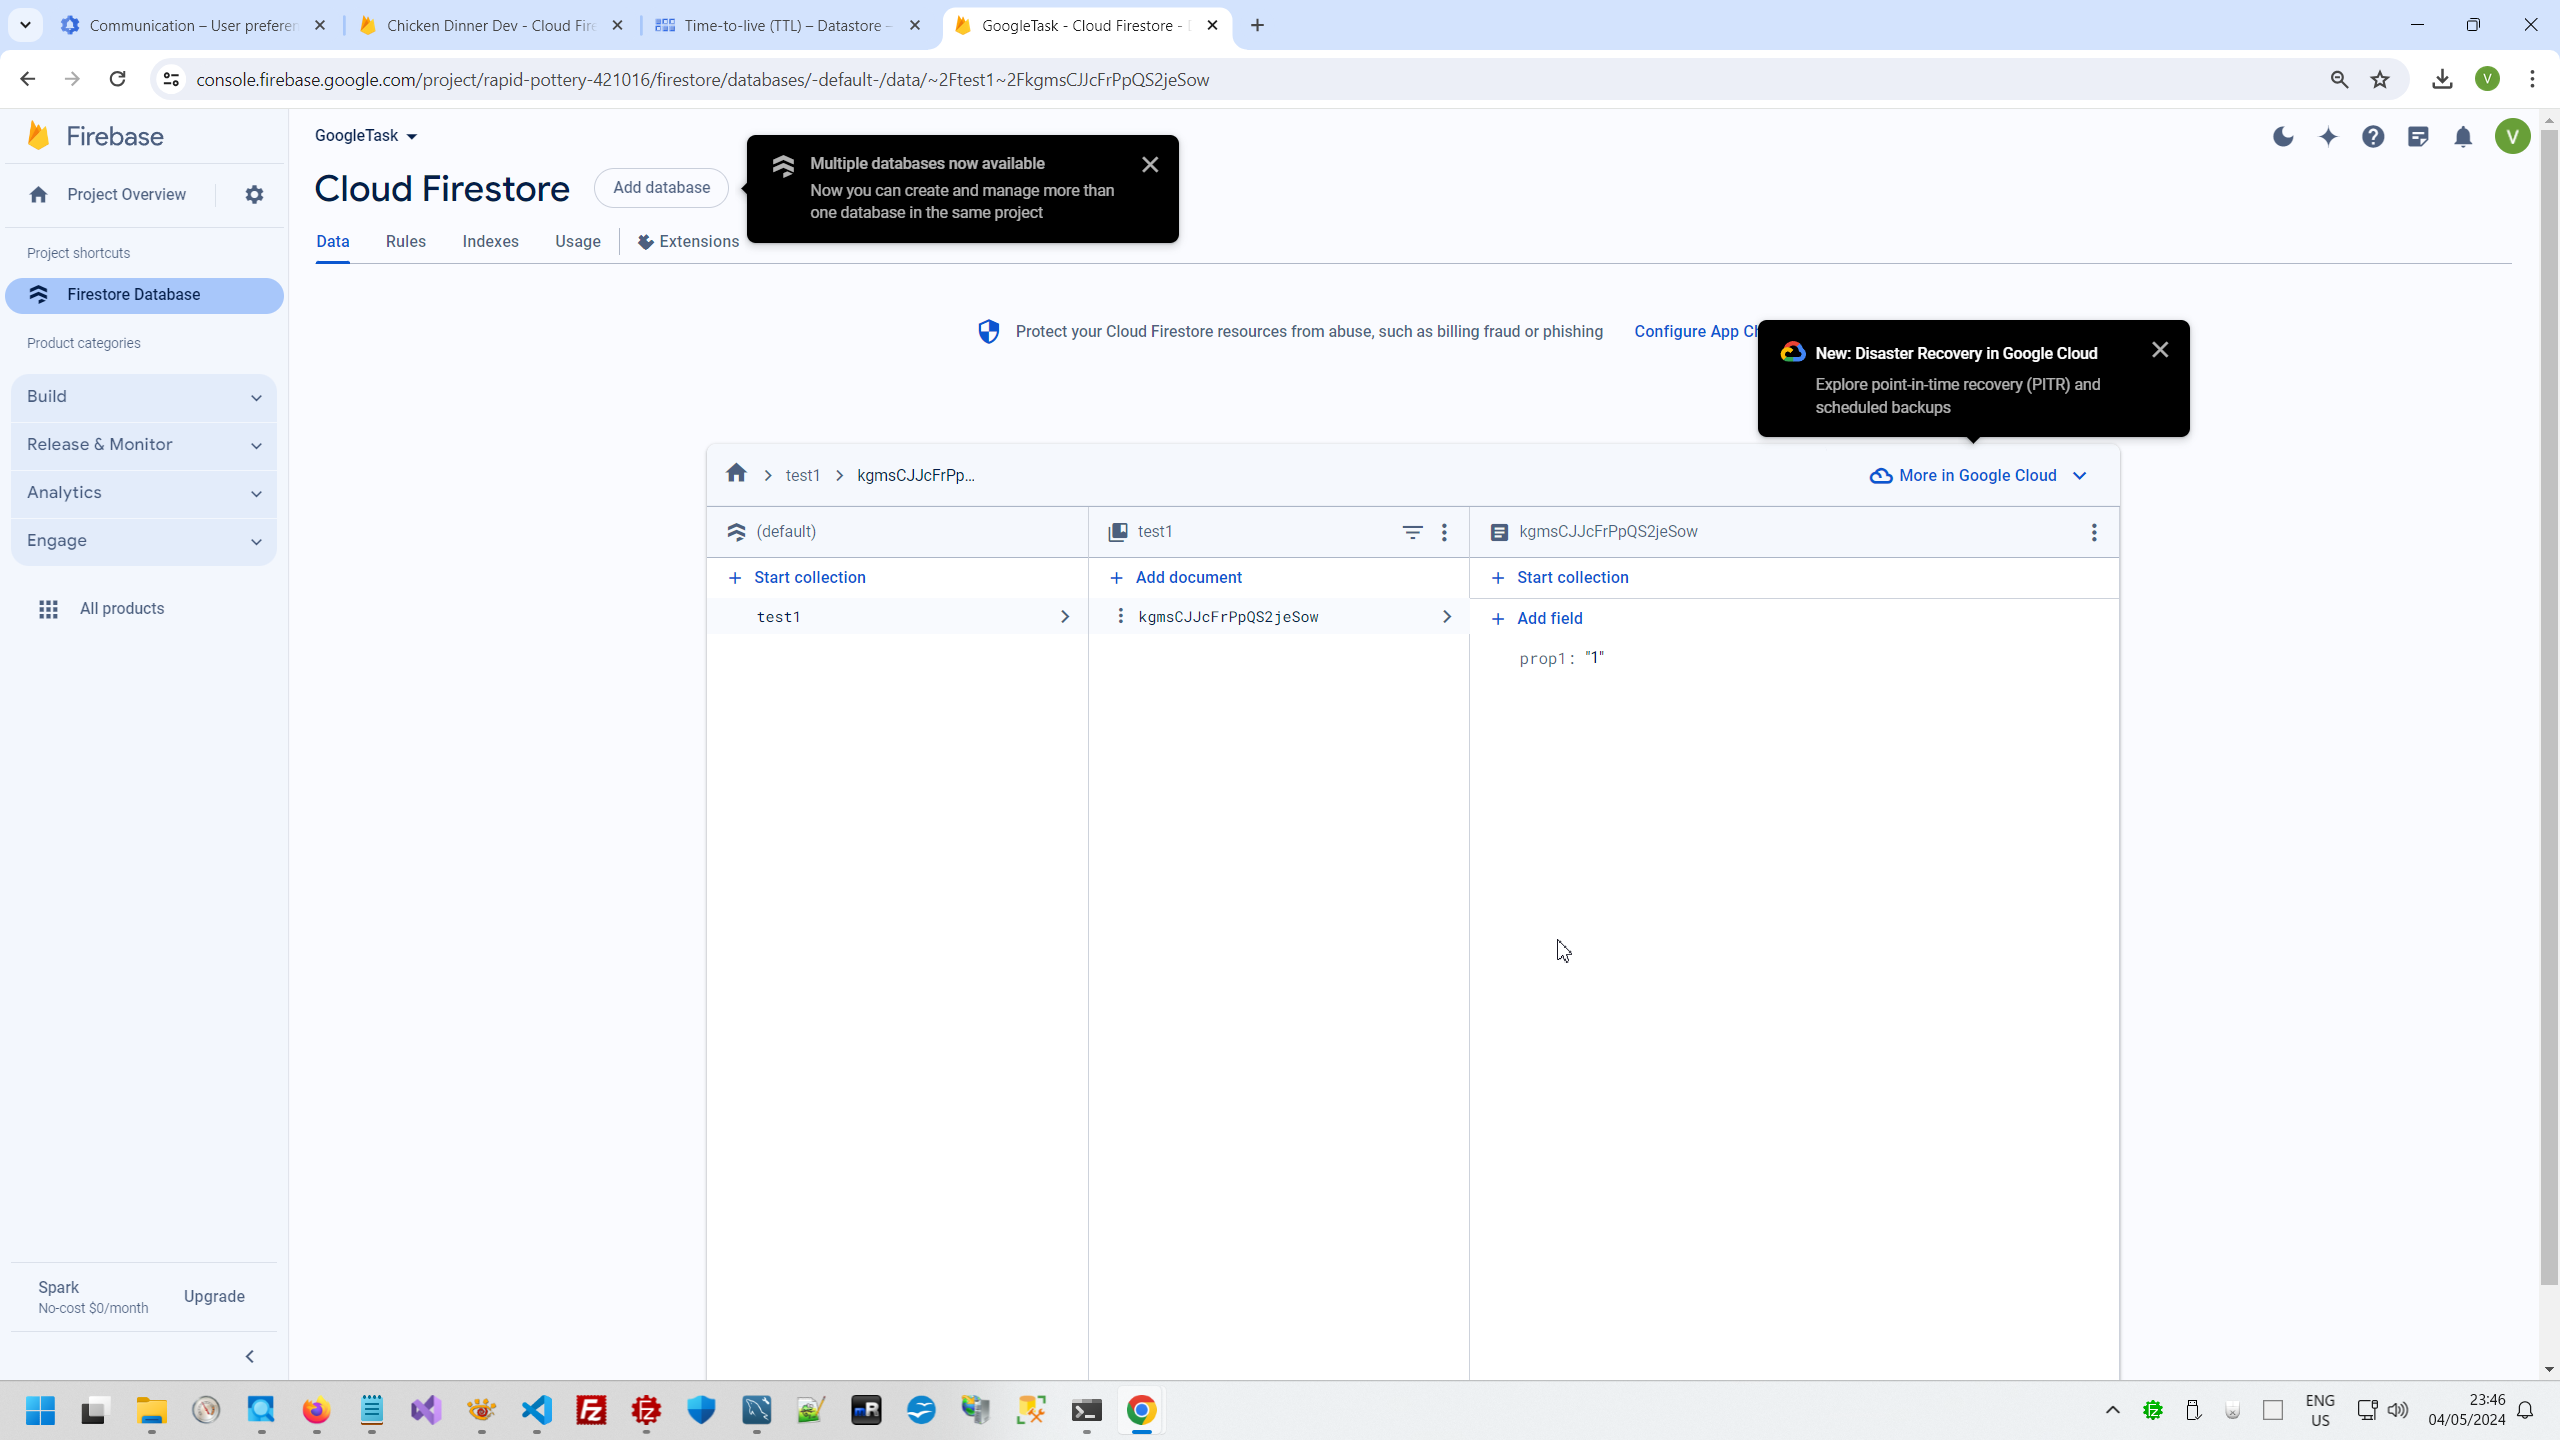
And this is Datastore mode.
Left Firebase menu has the same logic as Google Cloud - you can adapt menu and move most interesting menu topic to the top level.

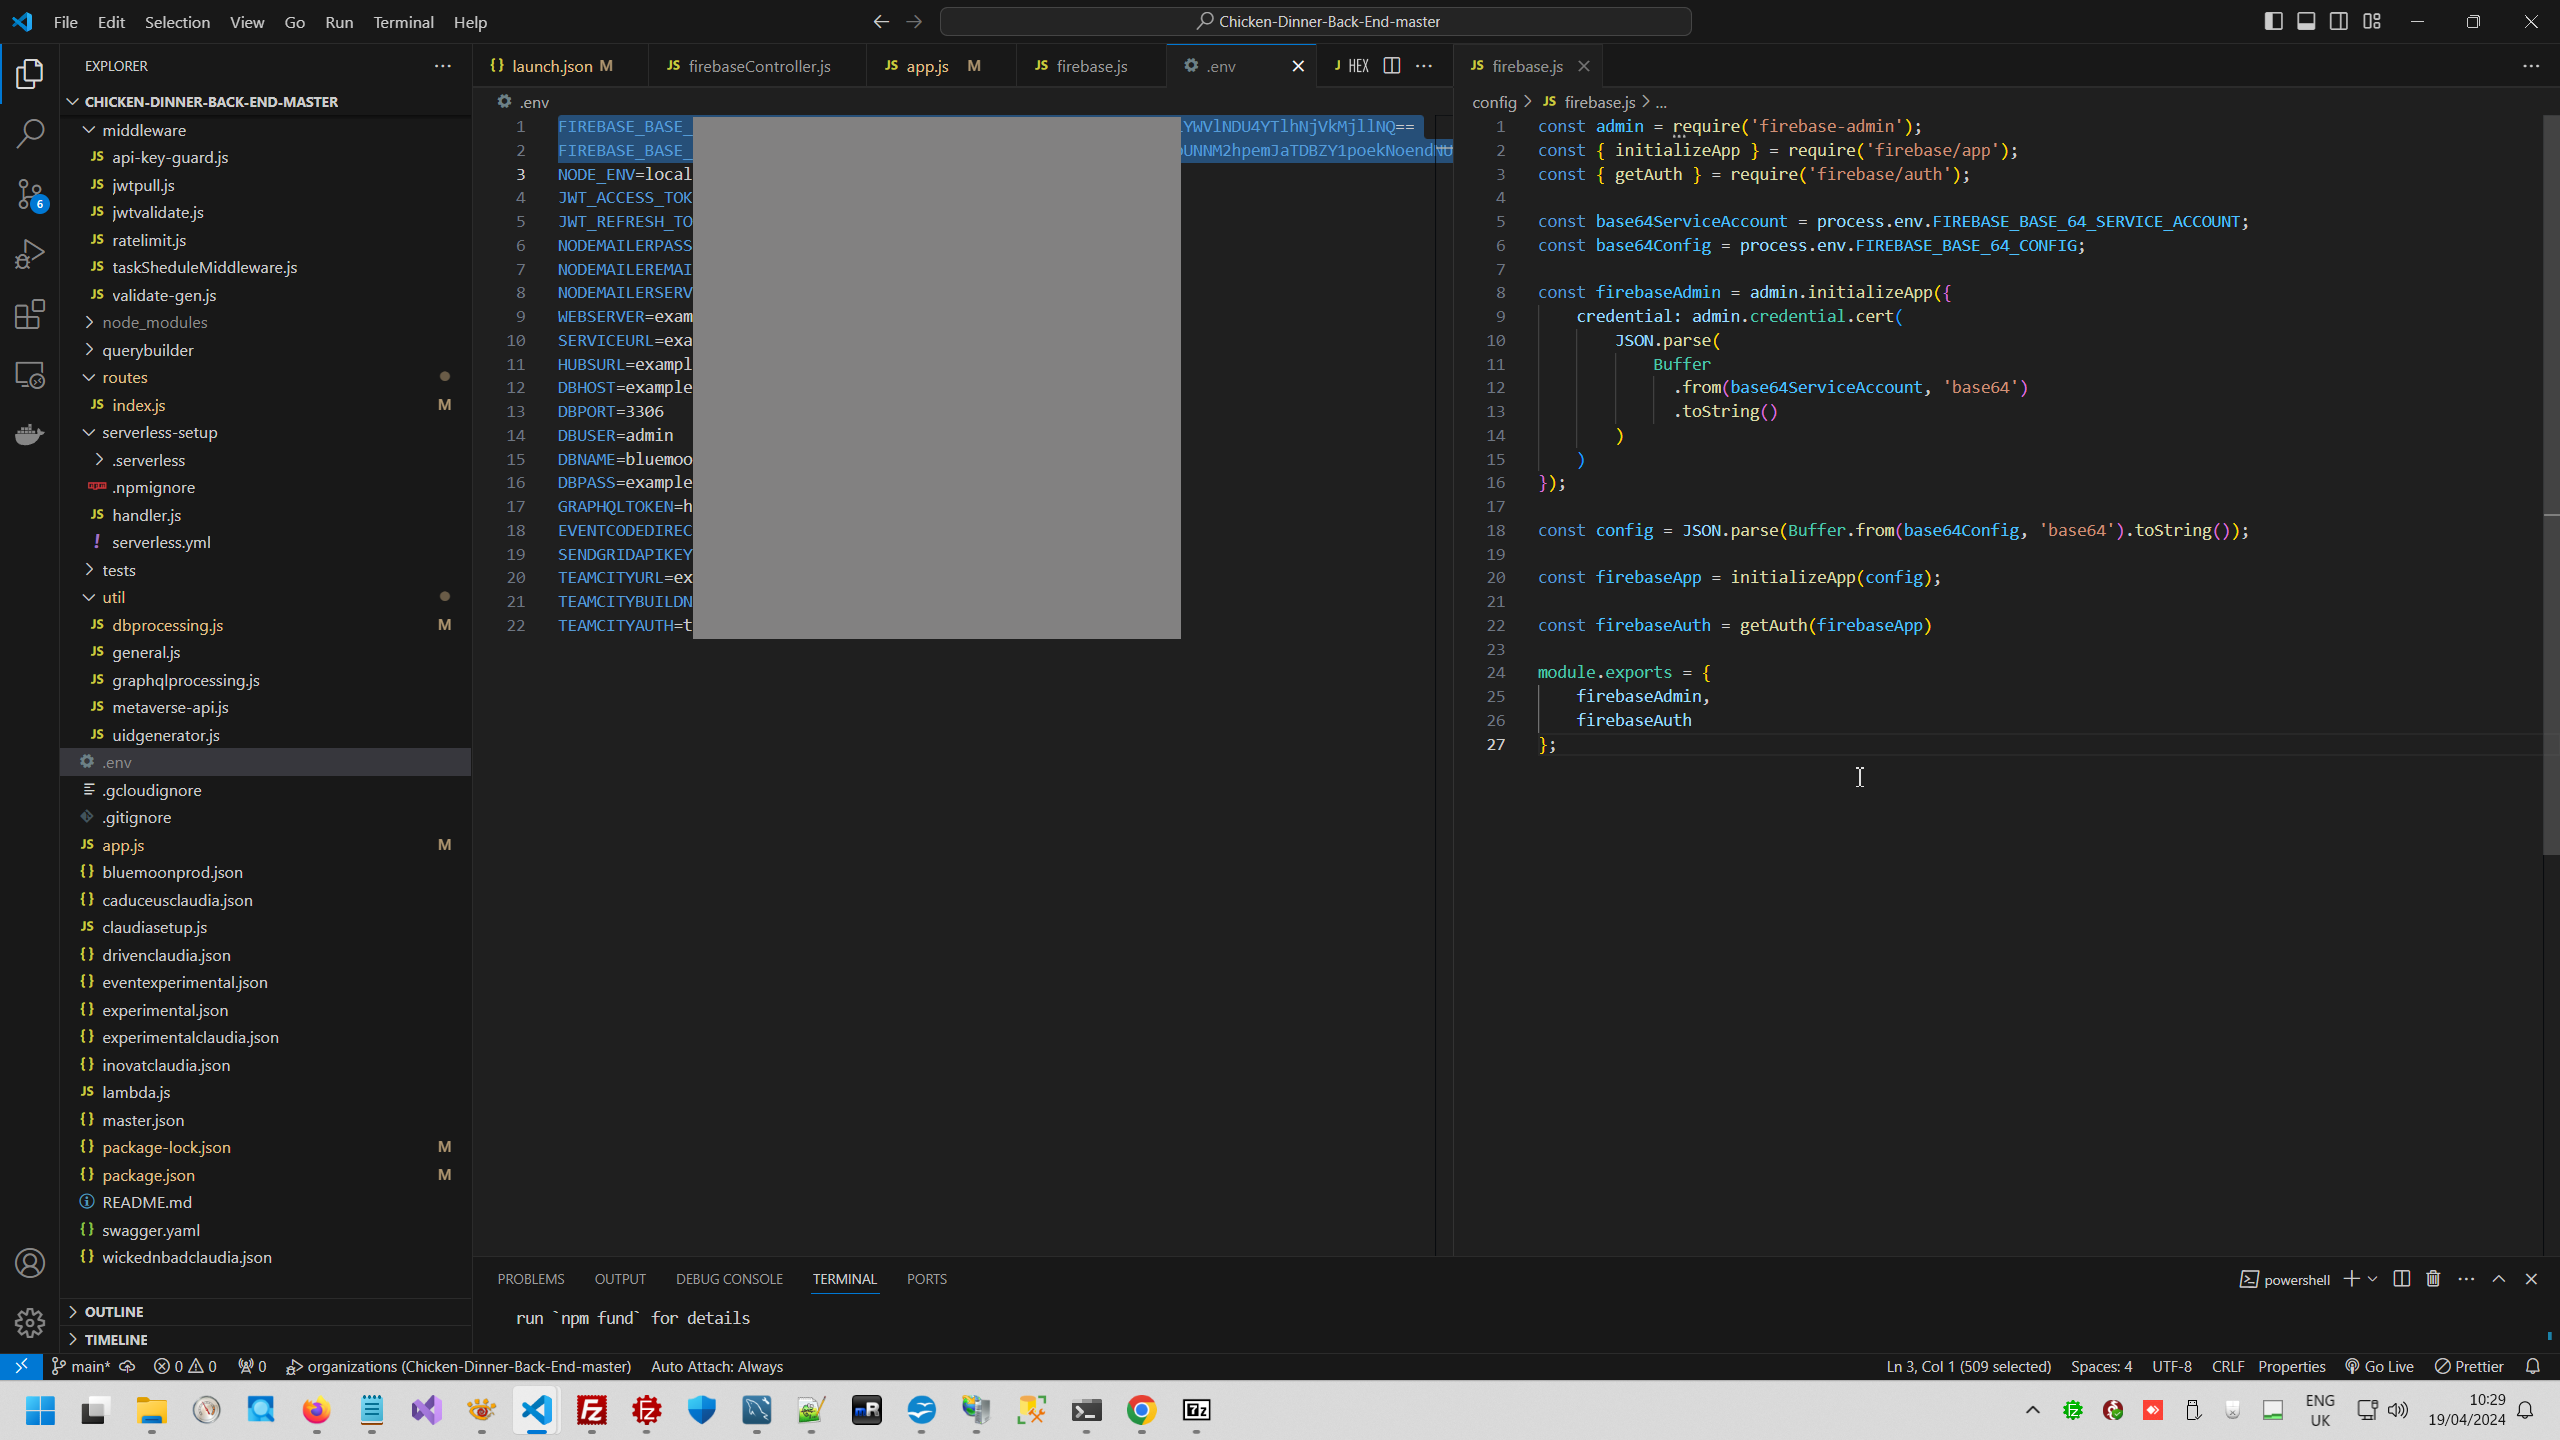
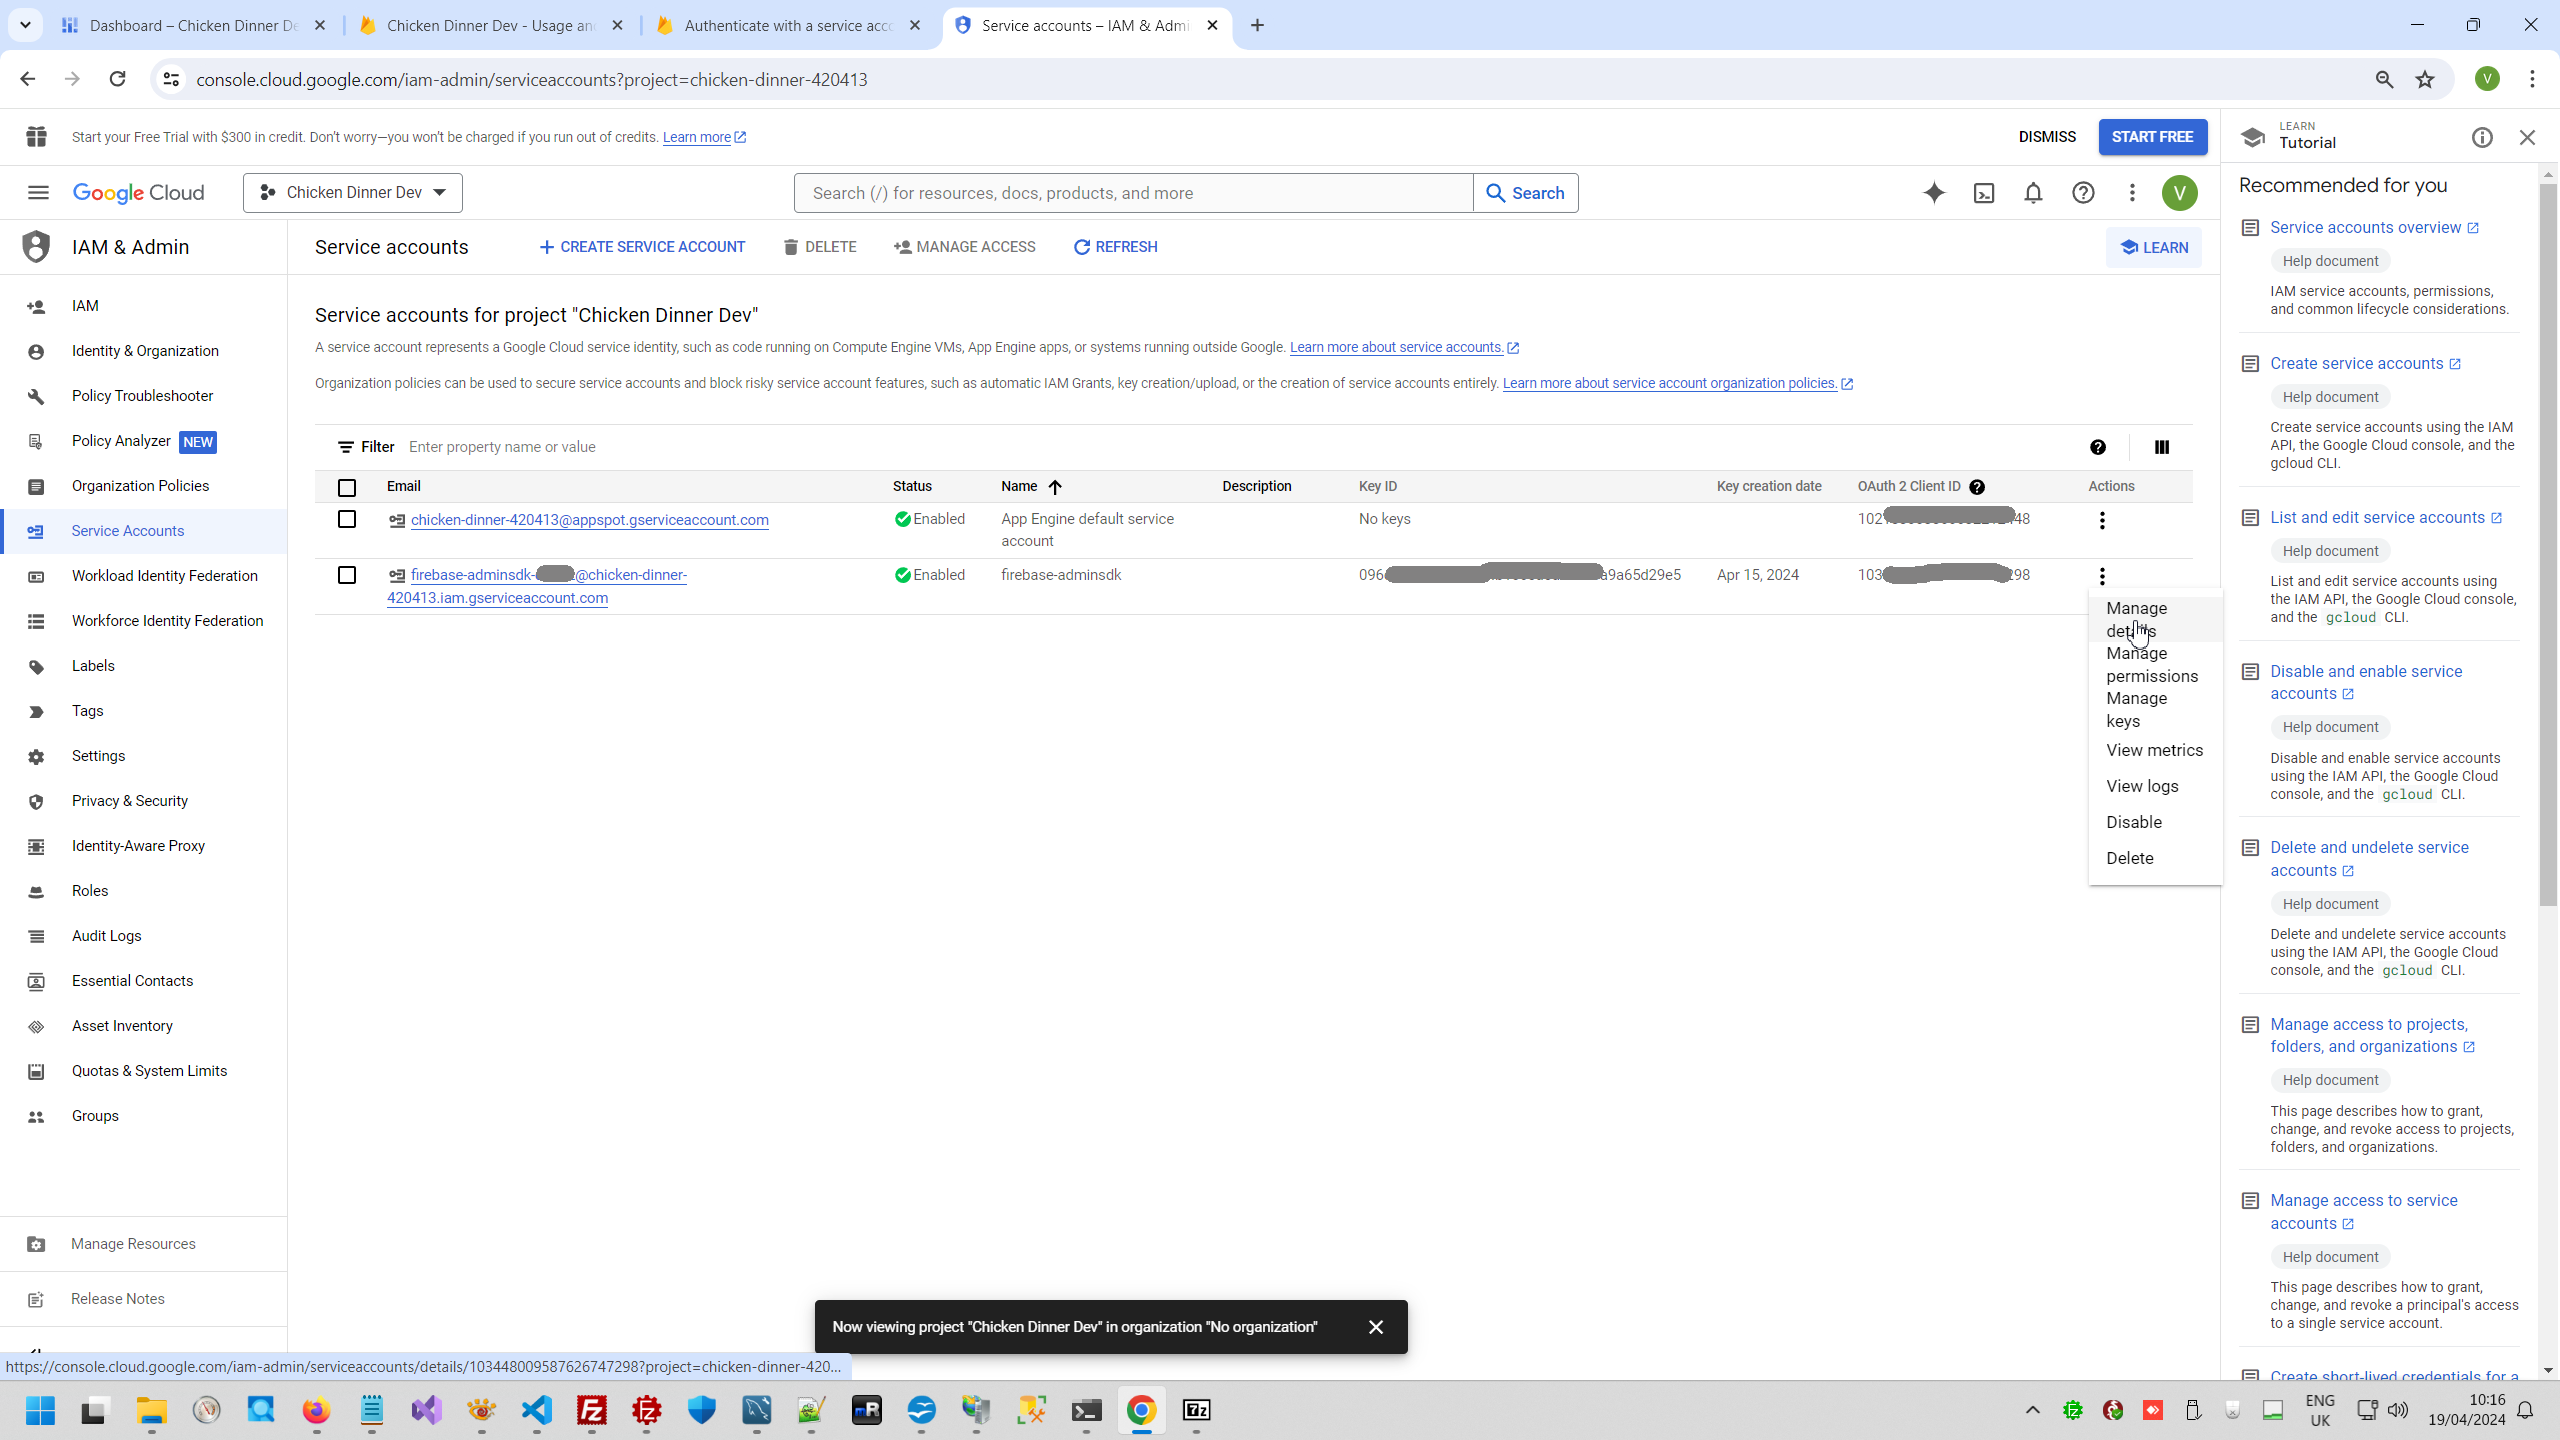
As usually, you need to download Firebase Config.
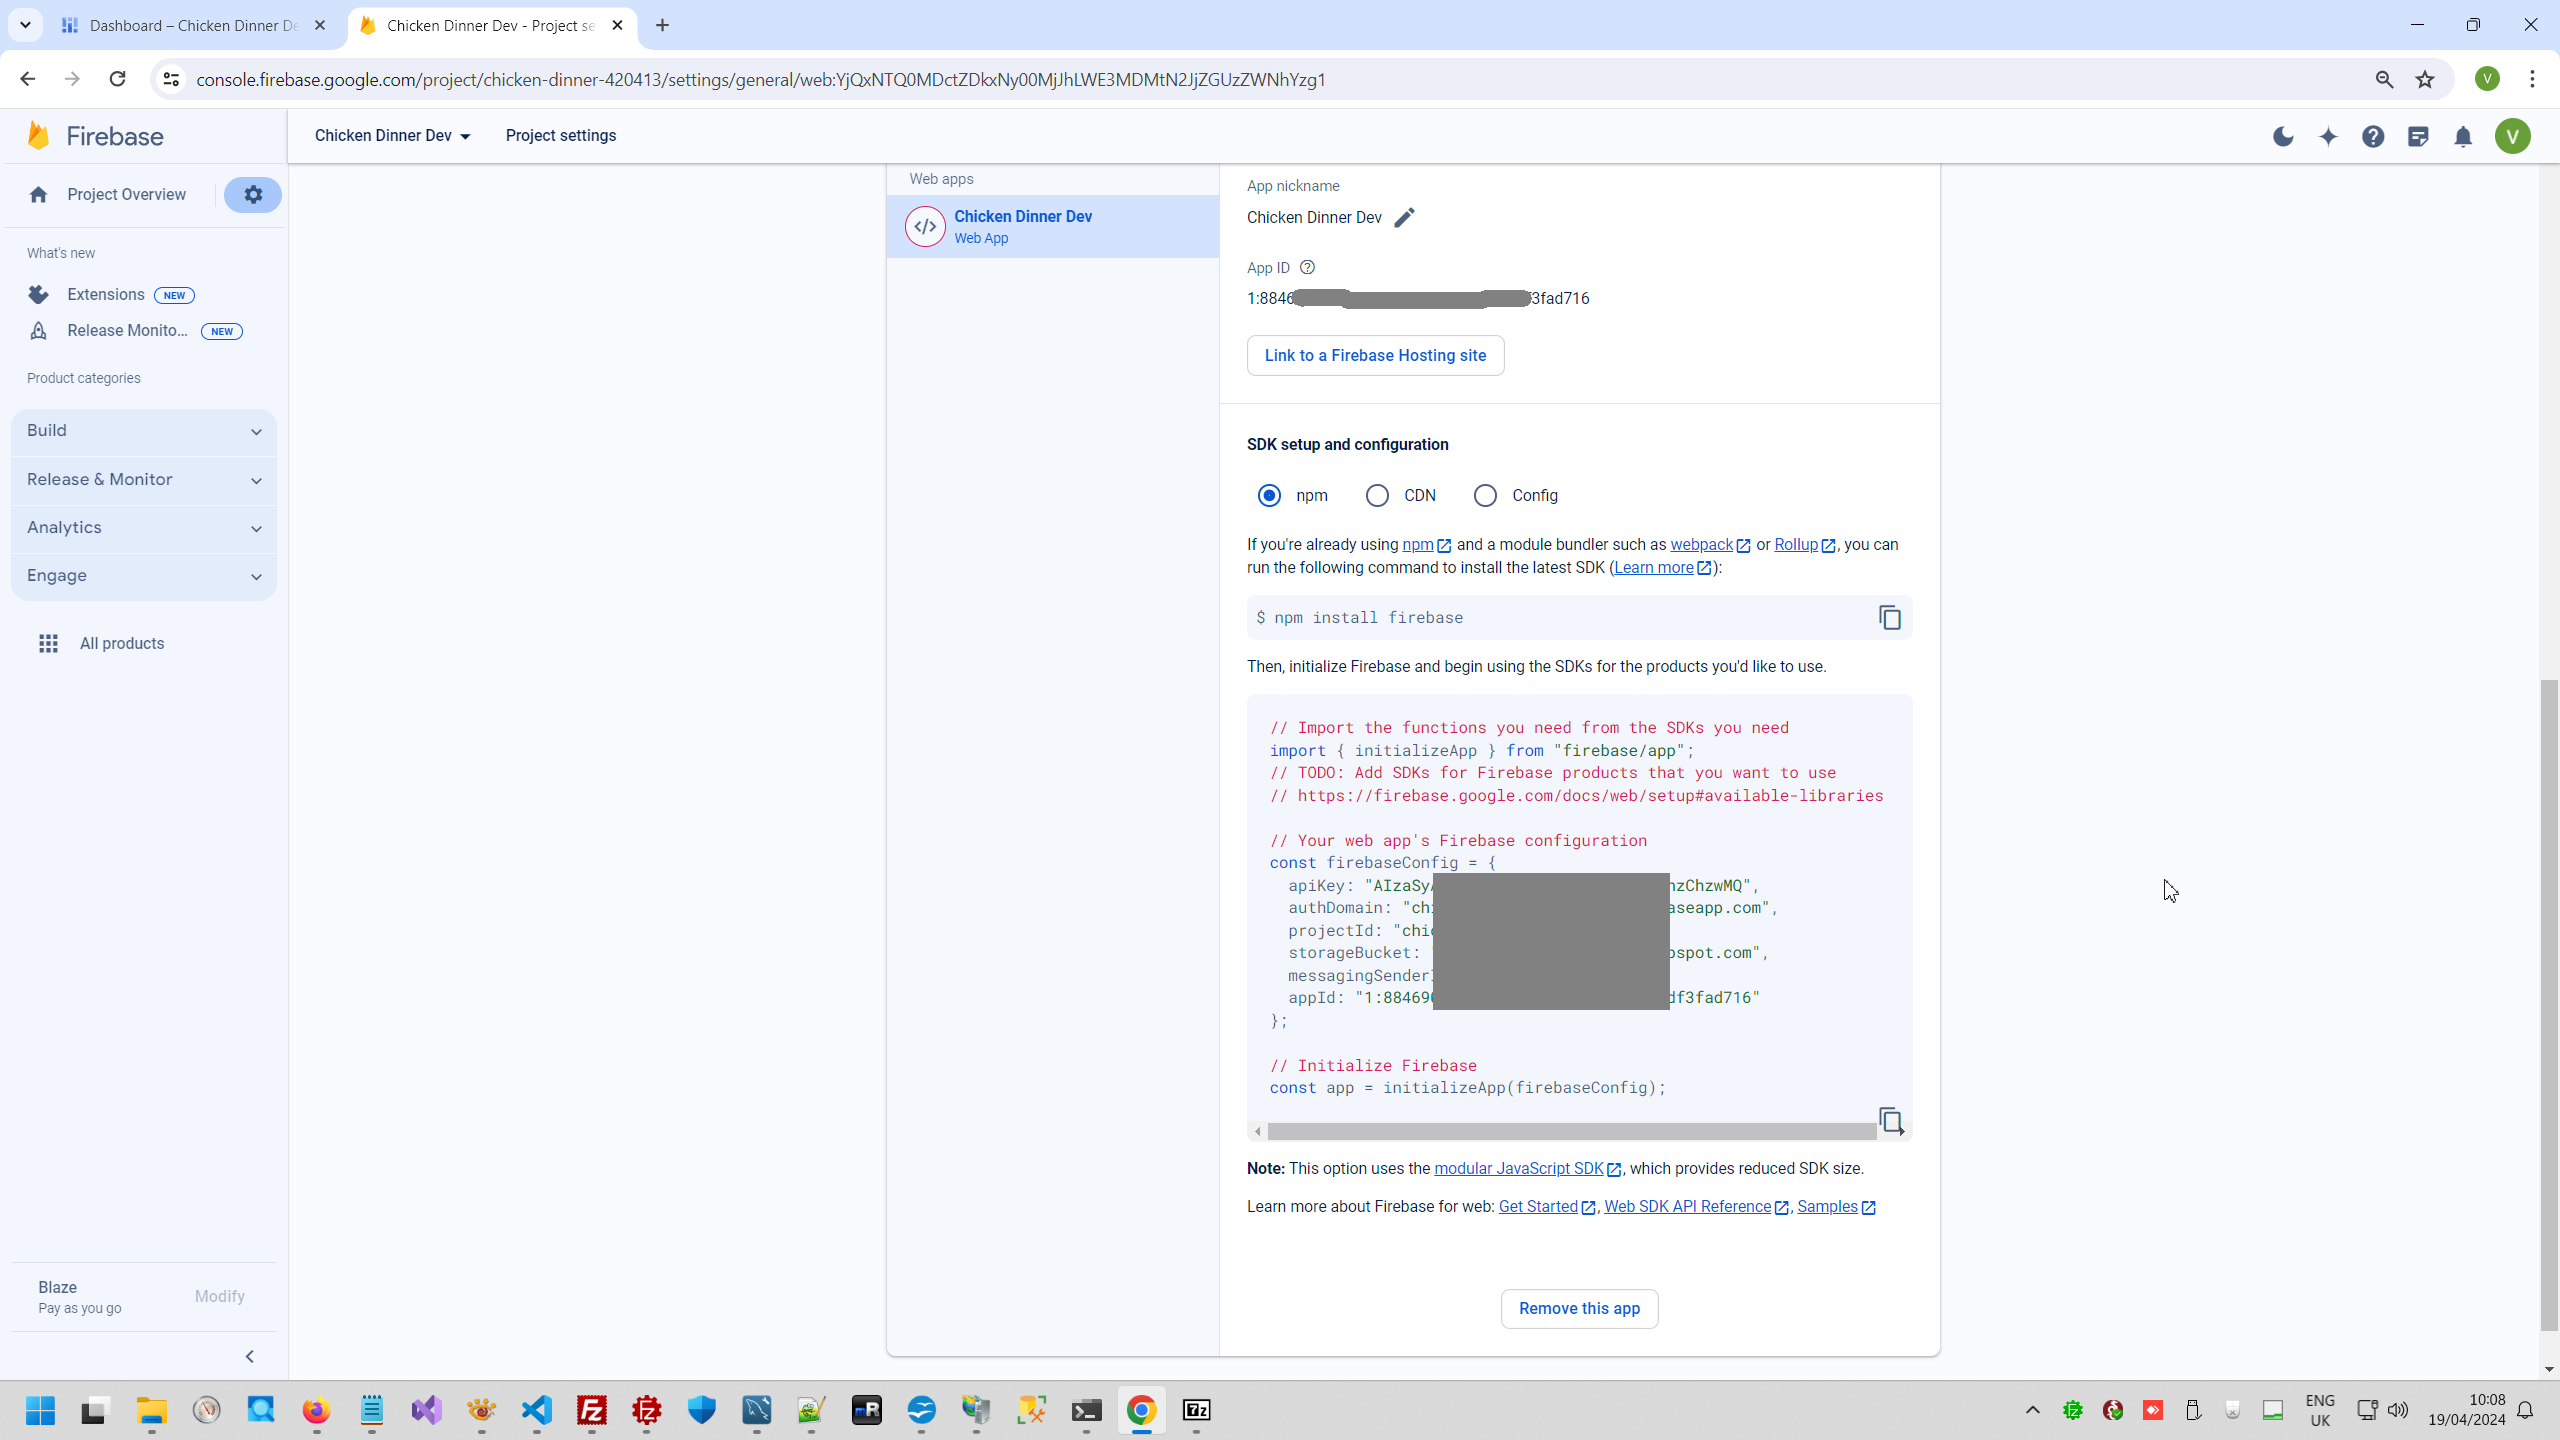
Encode it and read it in order to initialize Firebase.
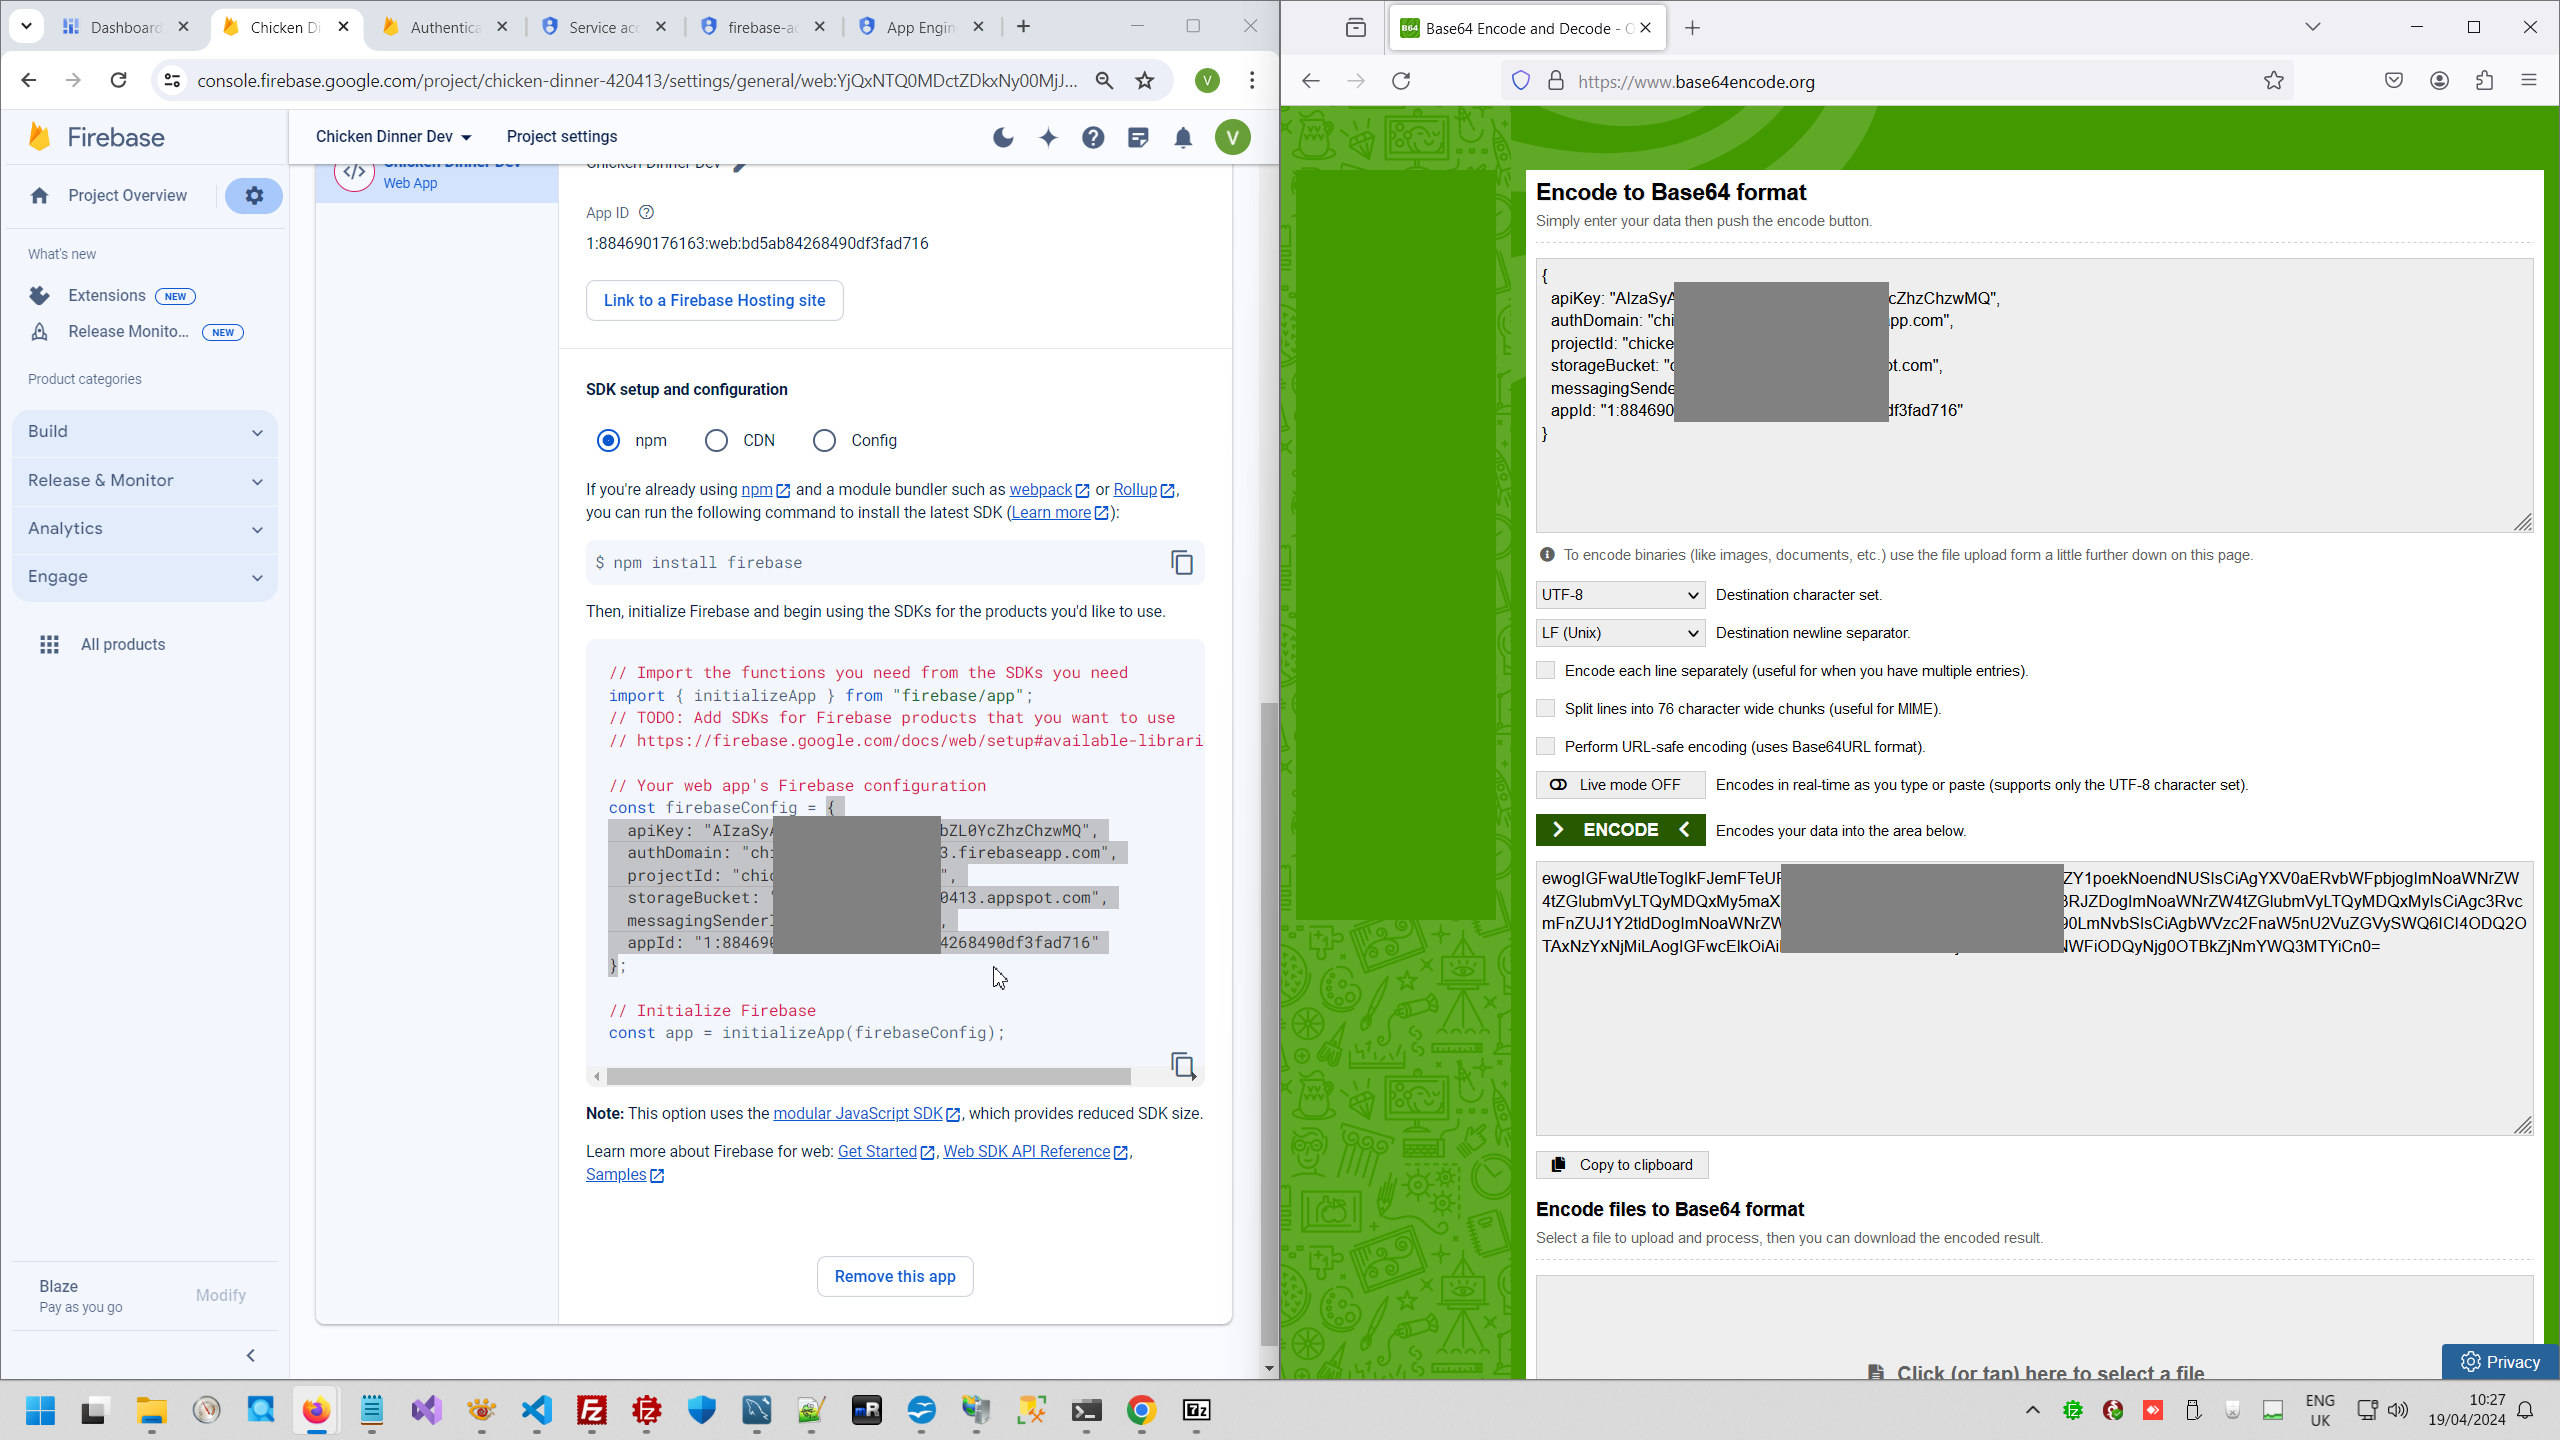
You can also create new key, if you forgot you secret key, because Google Cloud not store it.
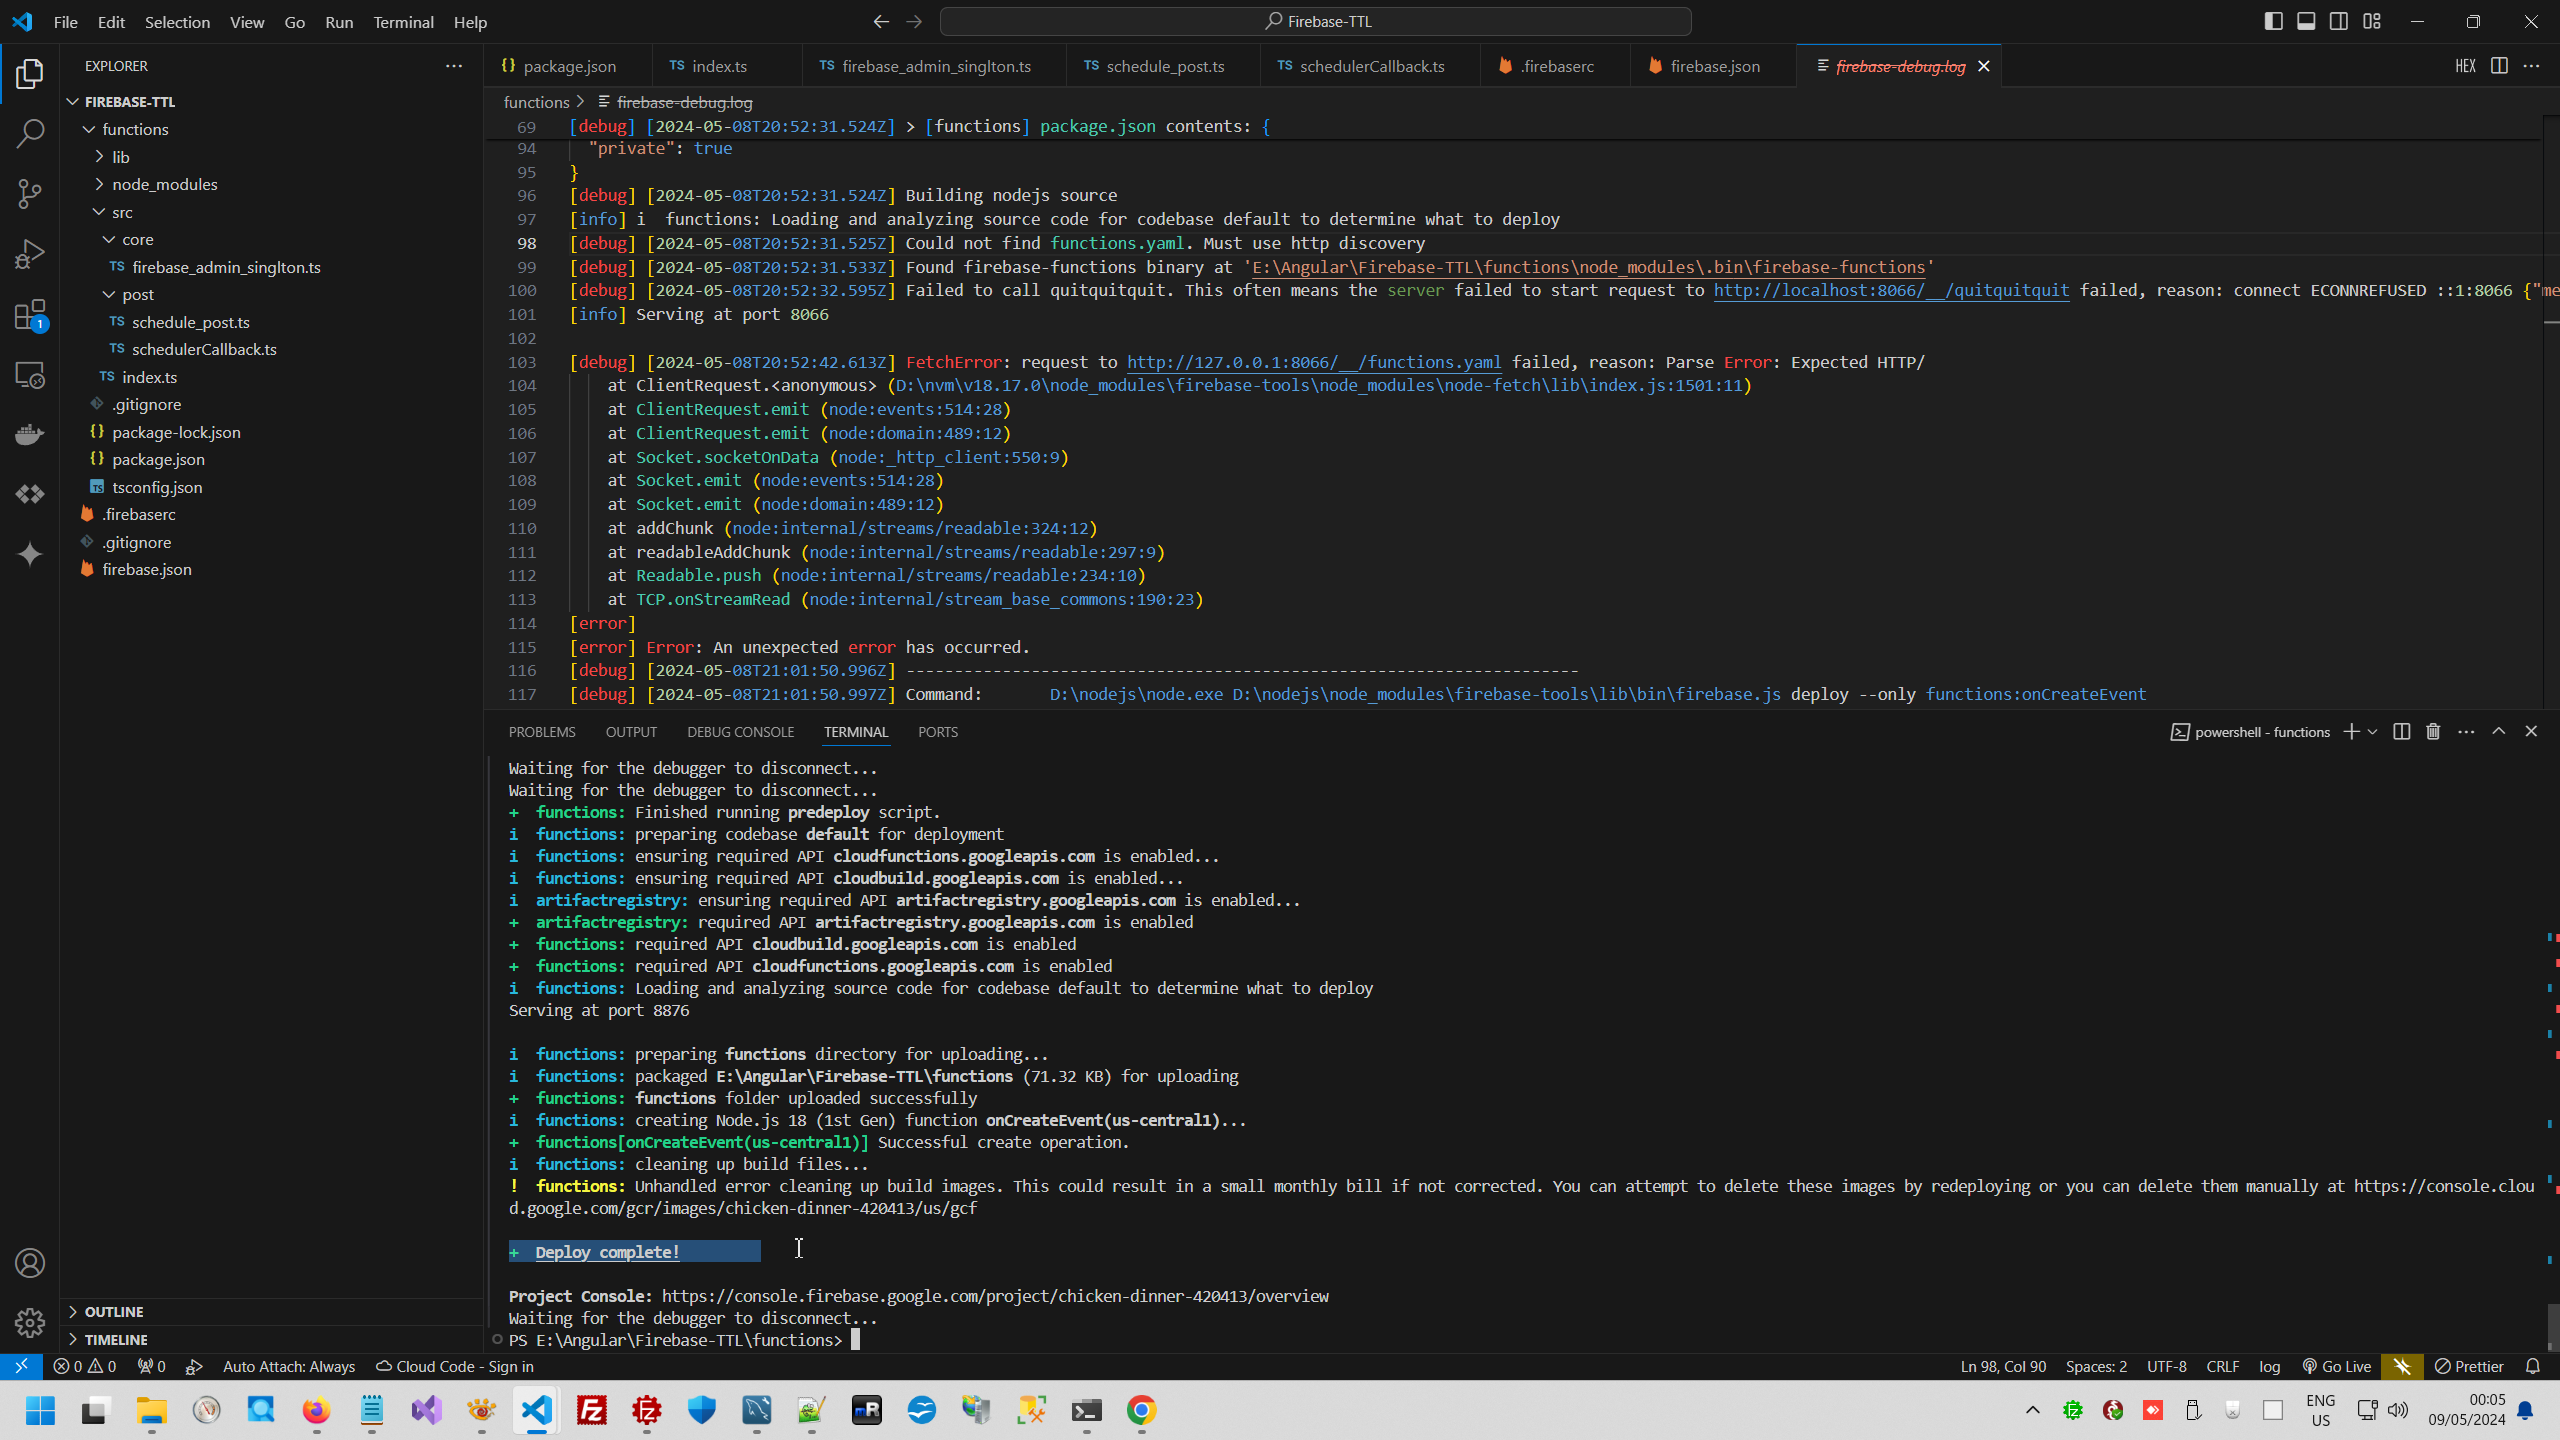
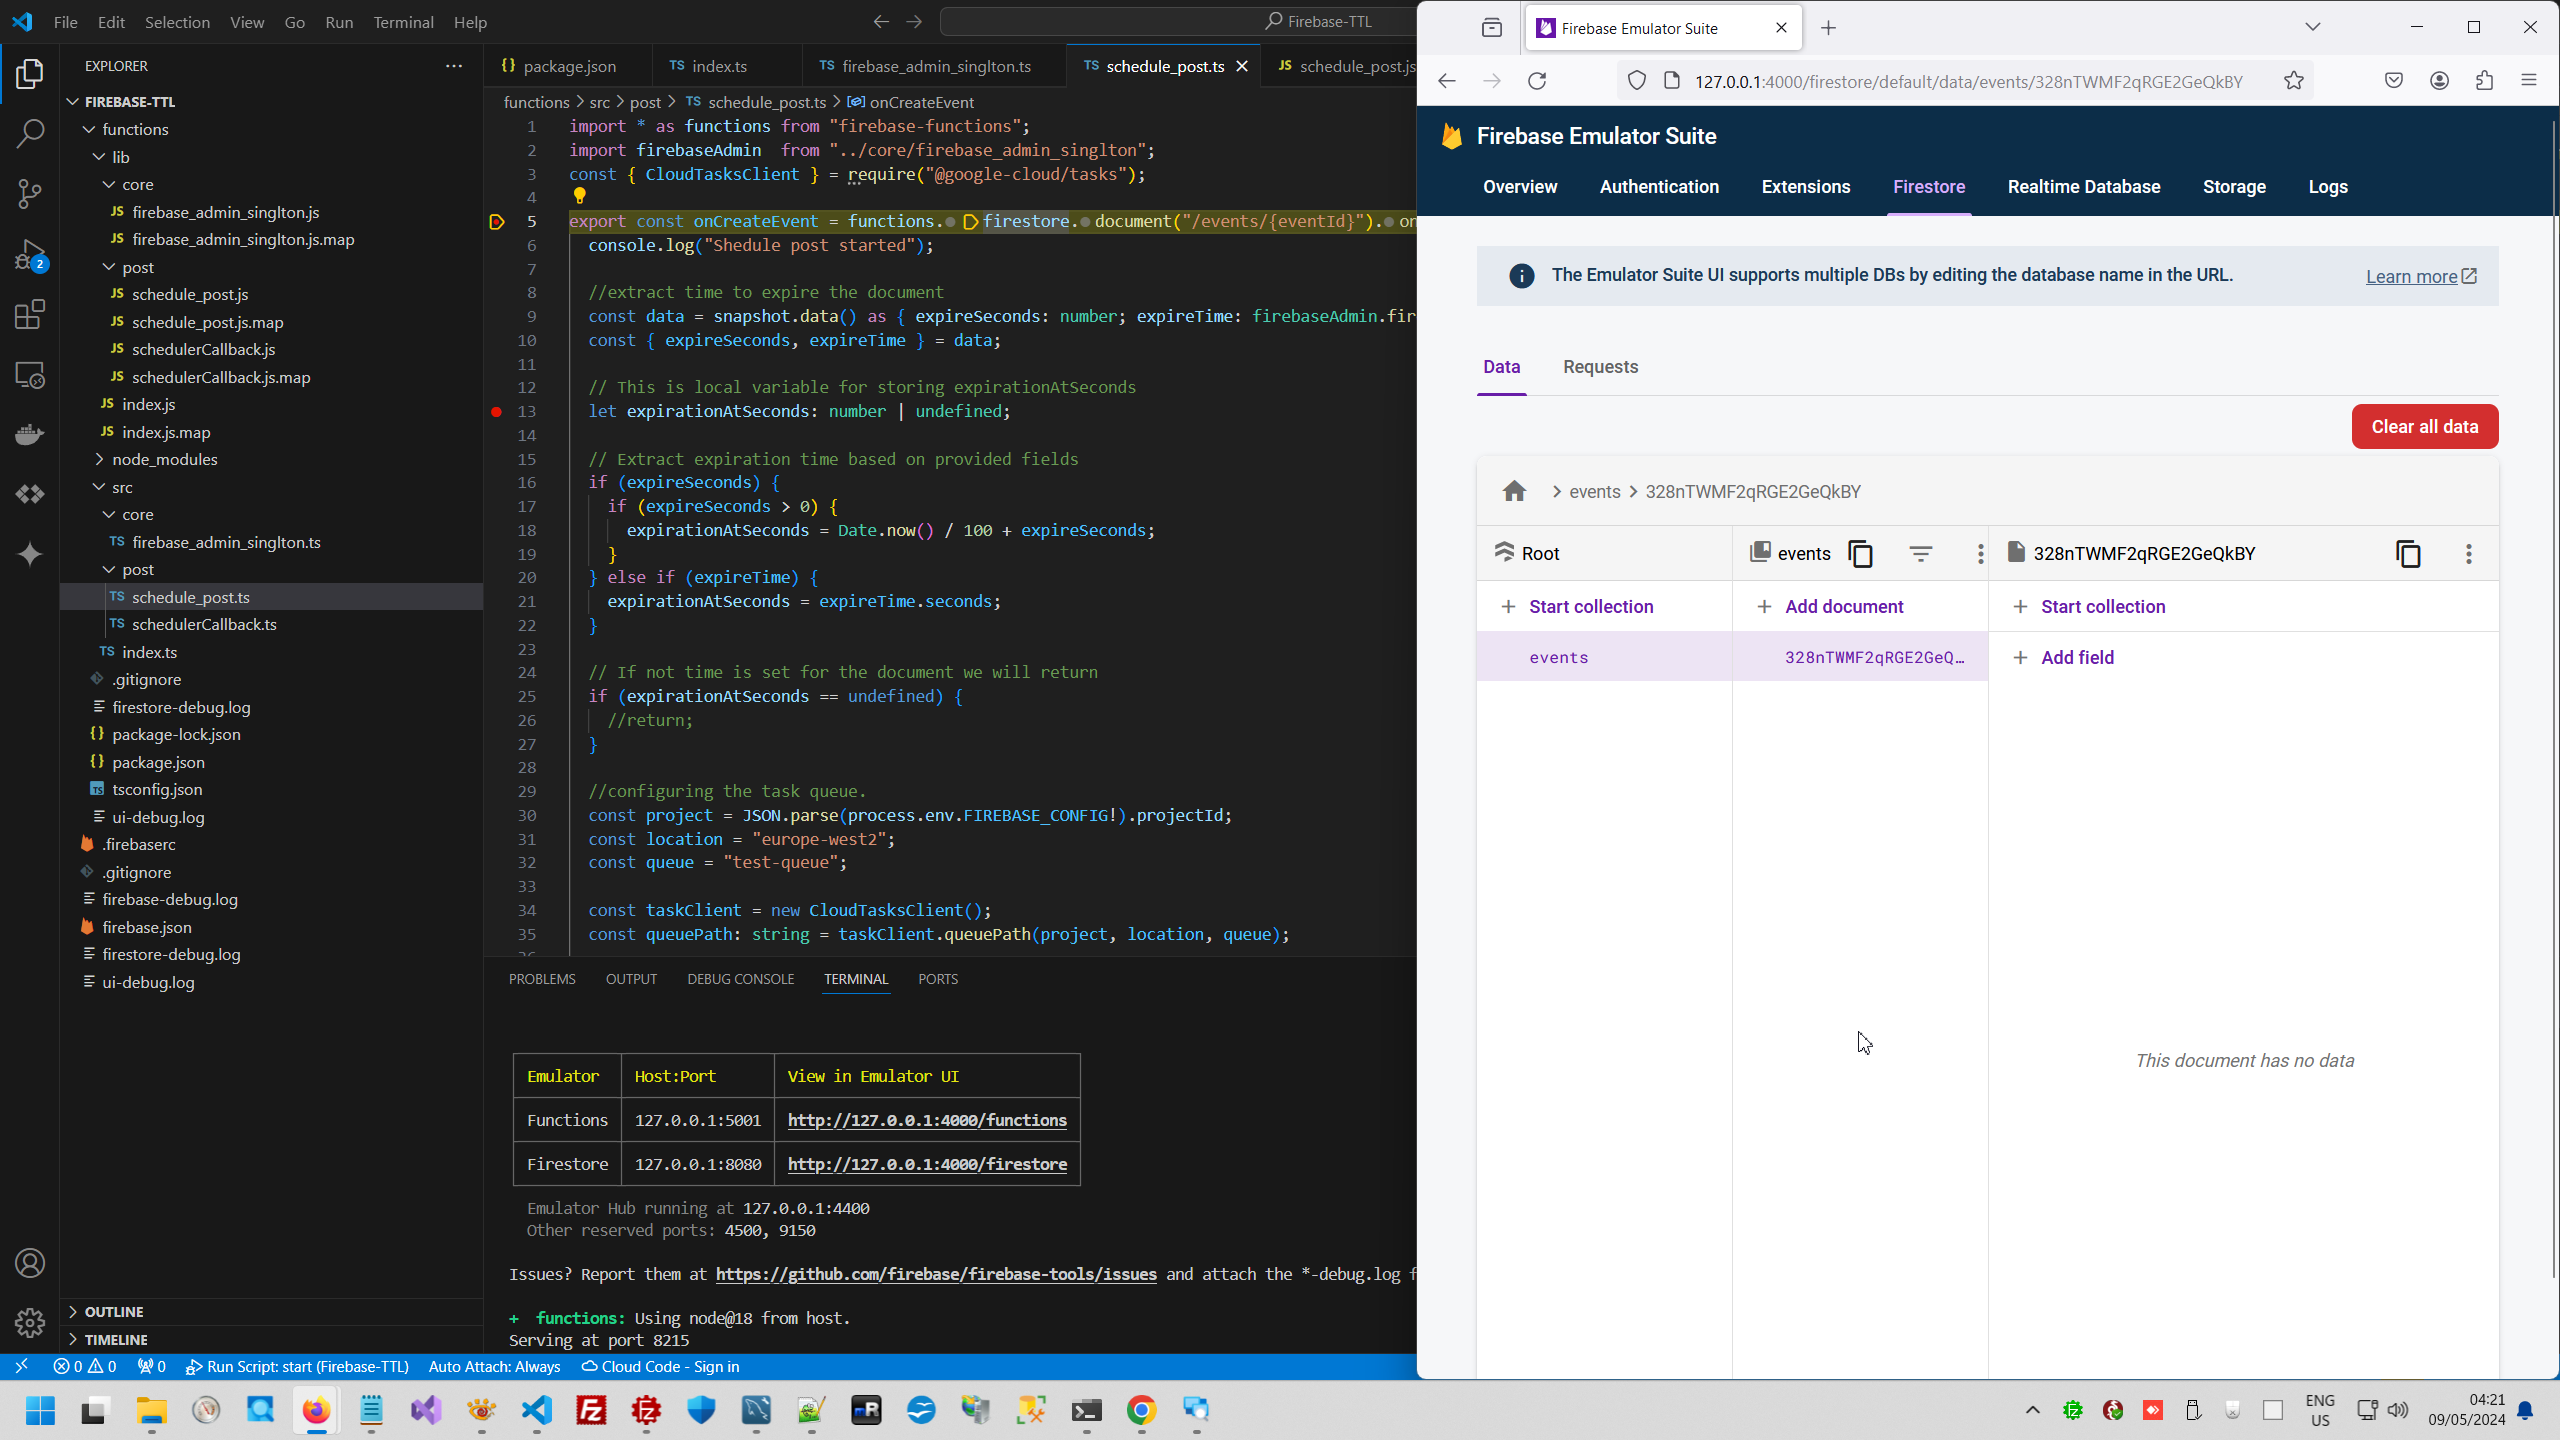
Than you need to install Firebase-tools, Local emulator, auth-library and select project.
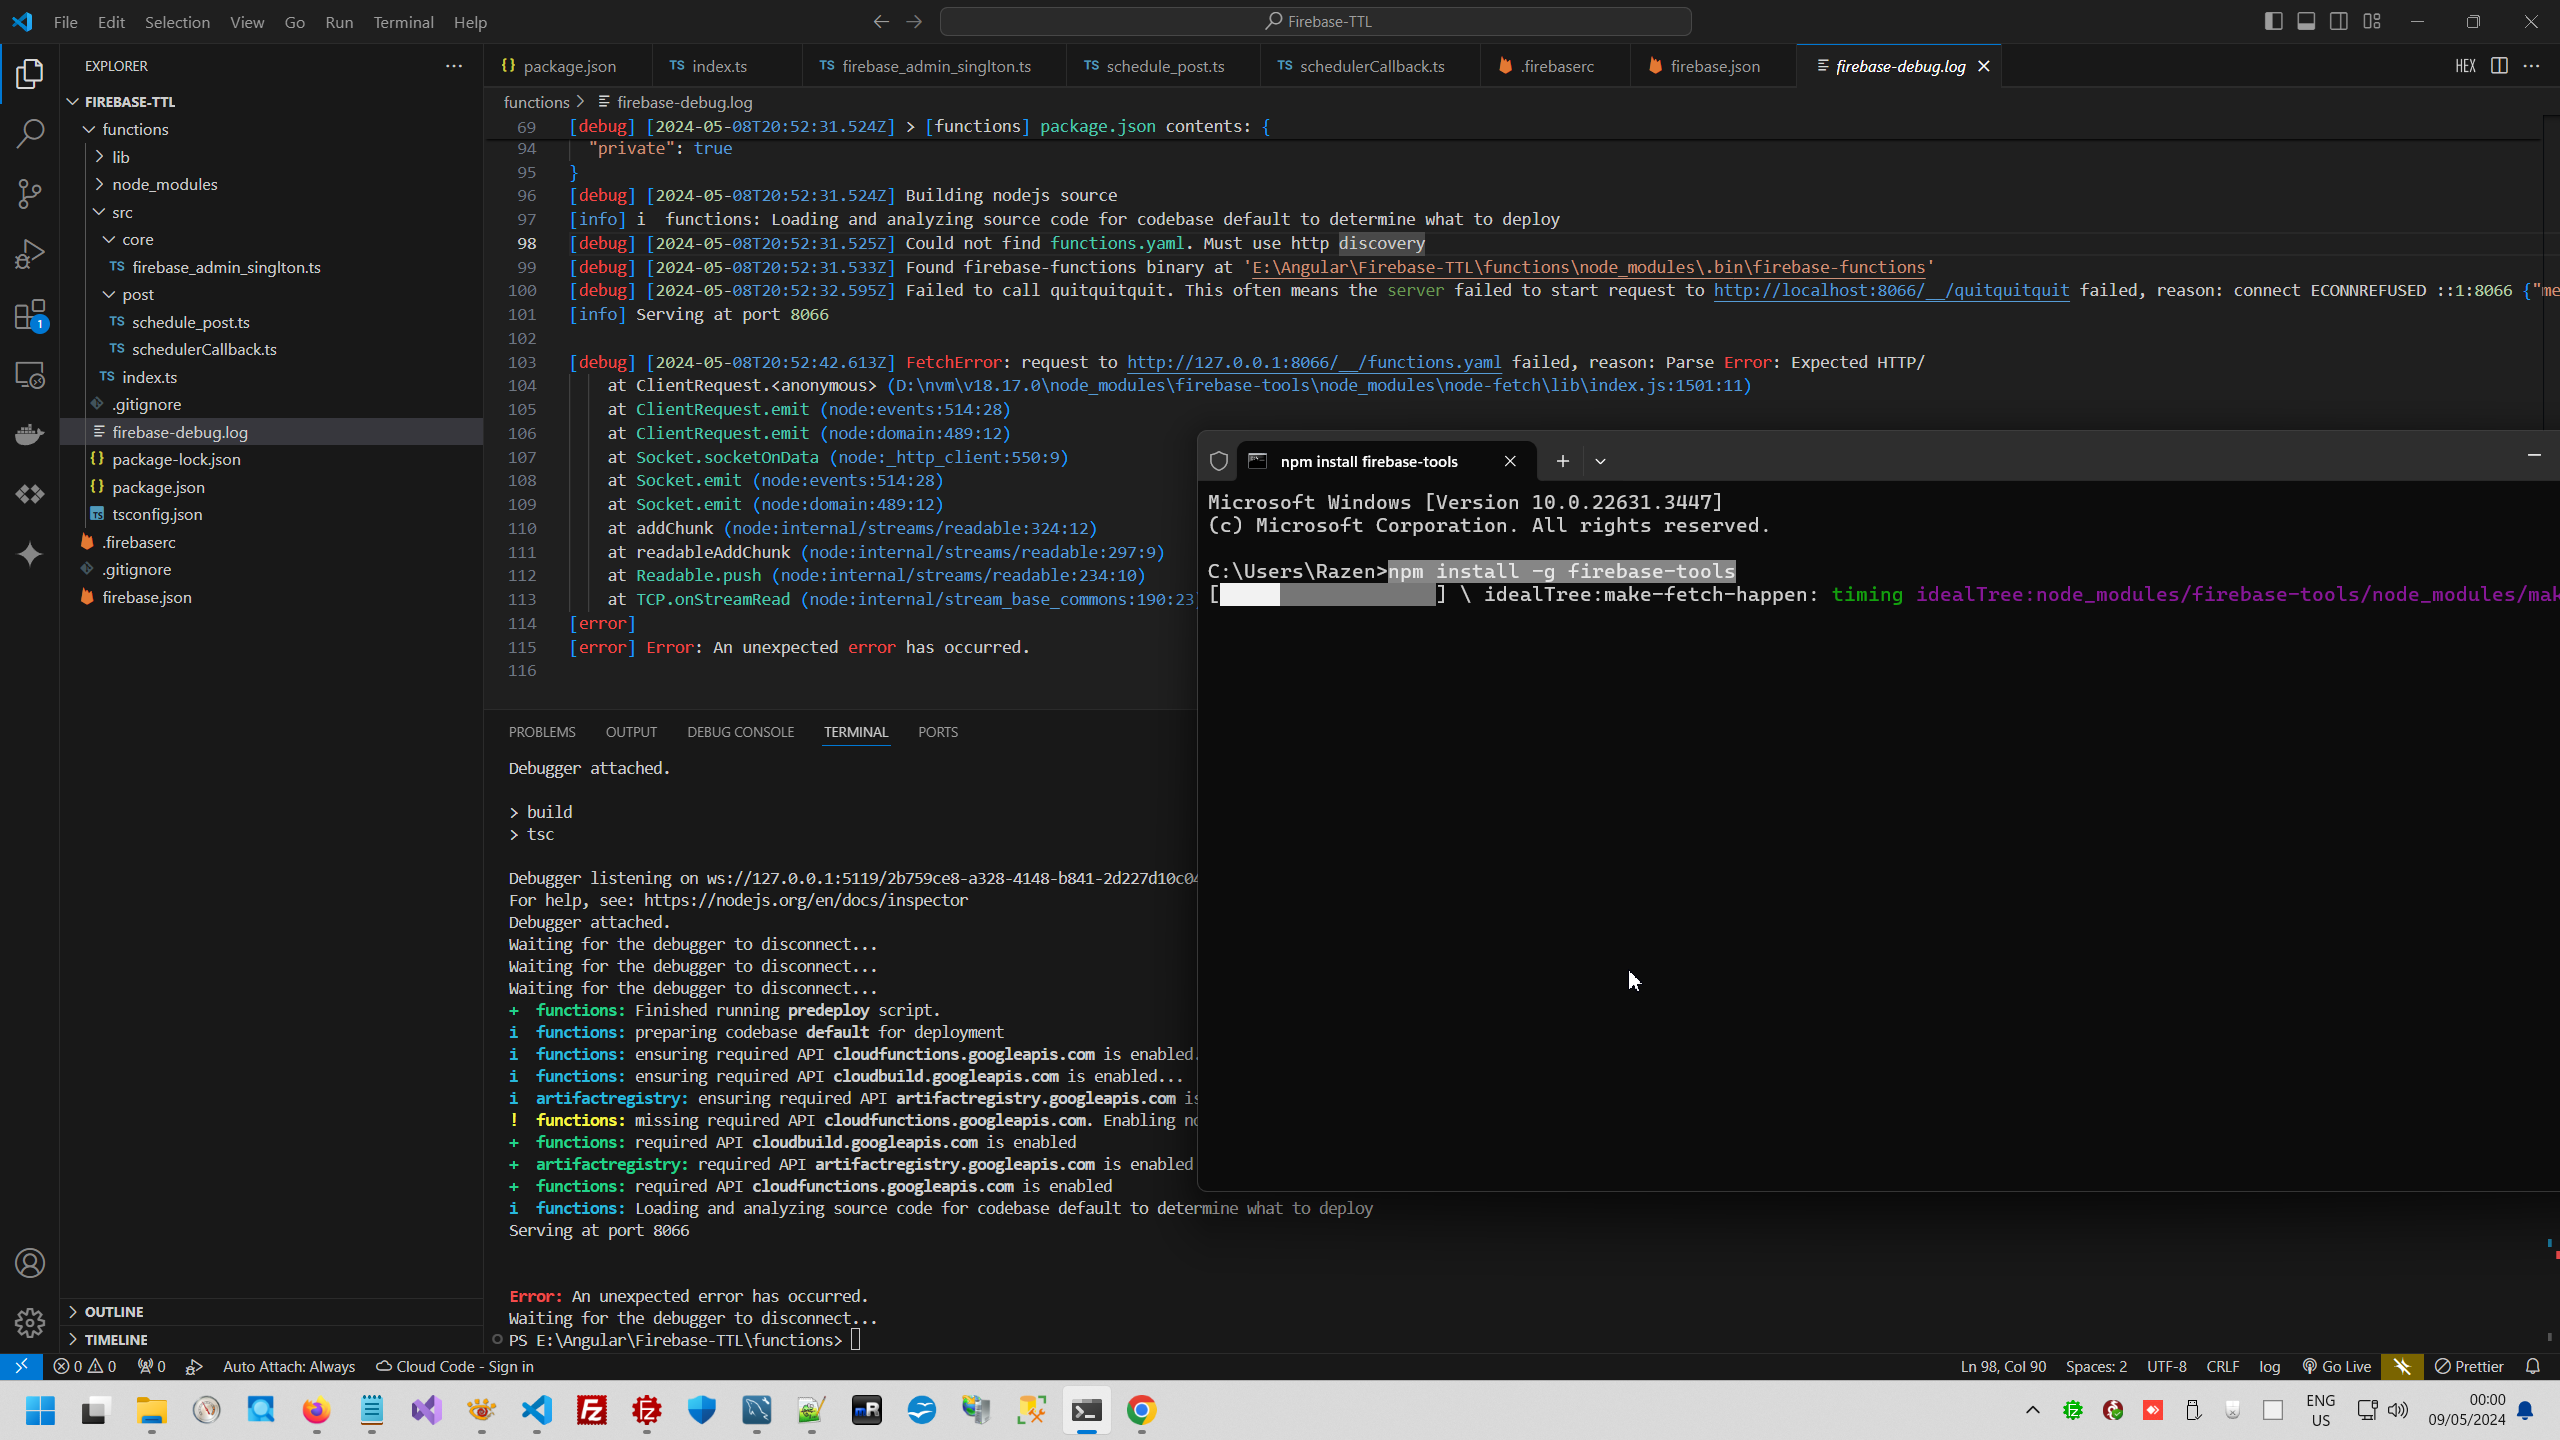
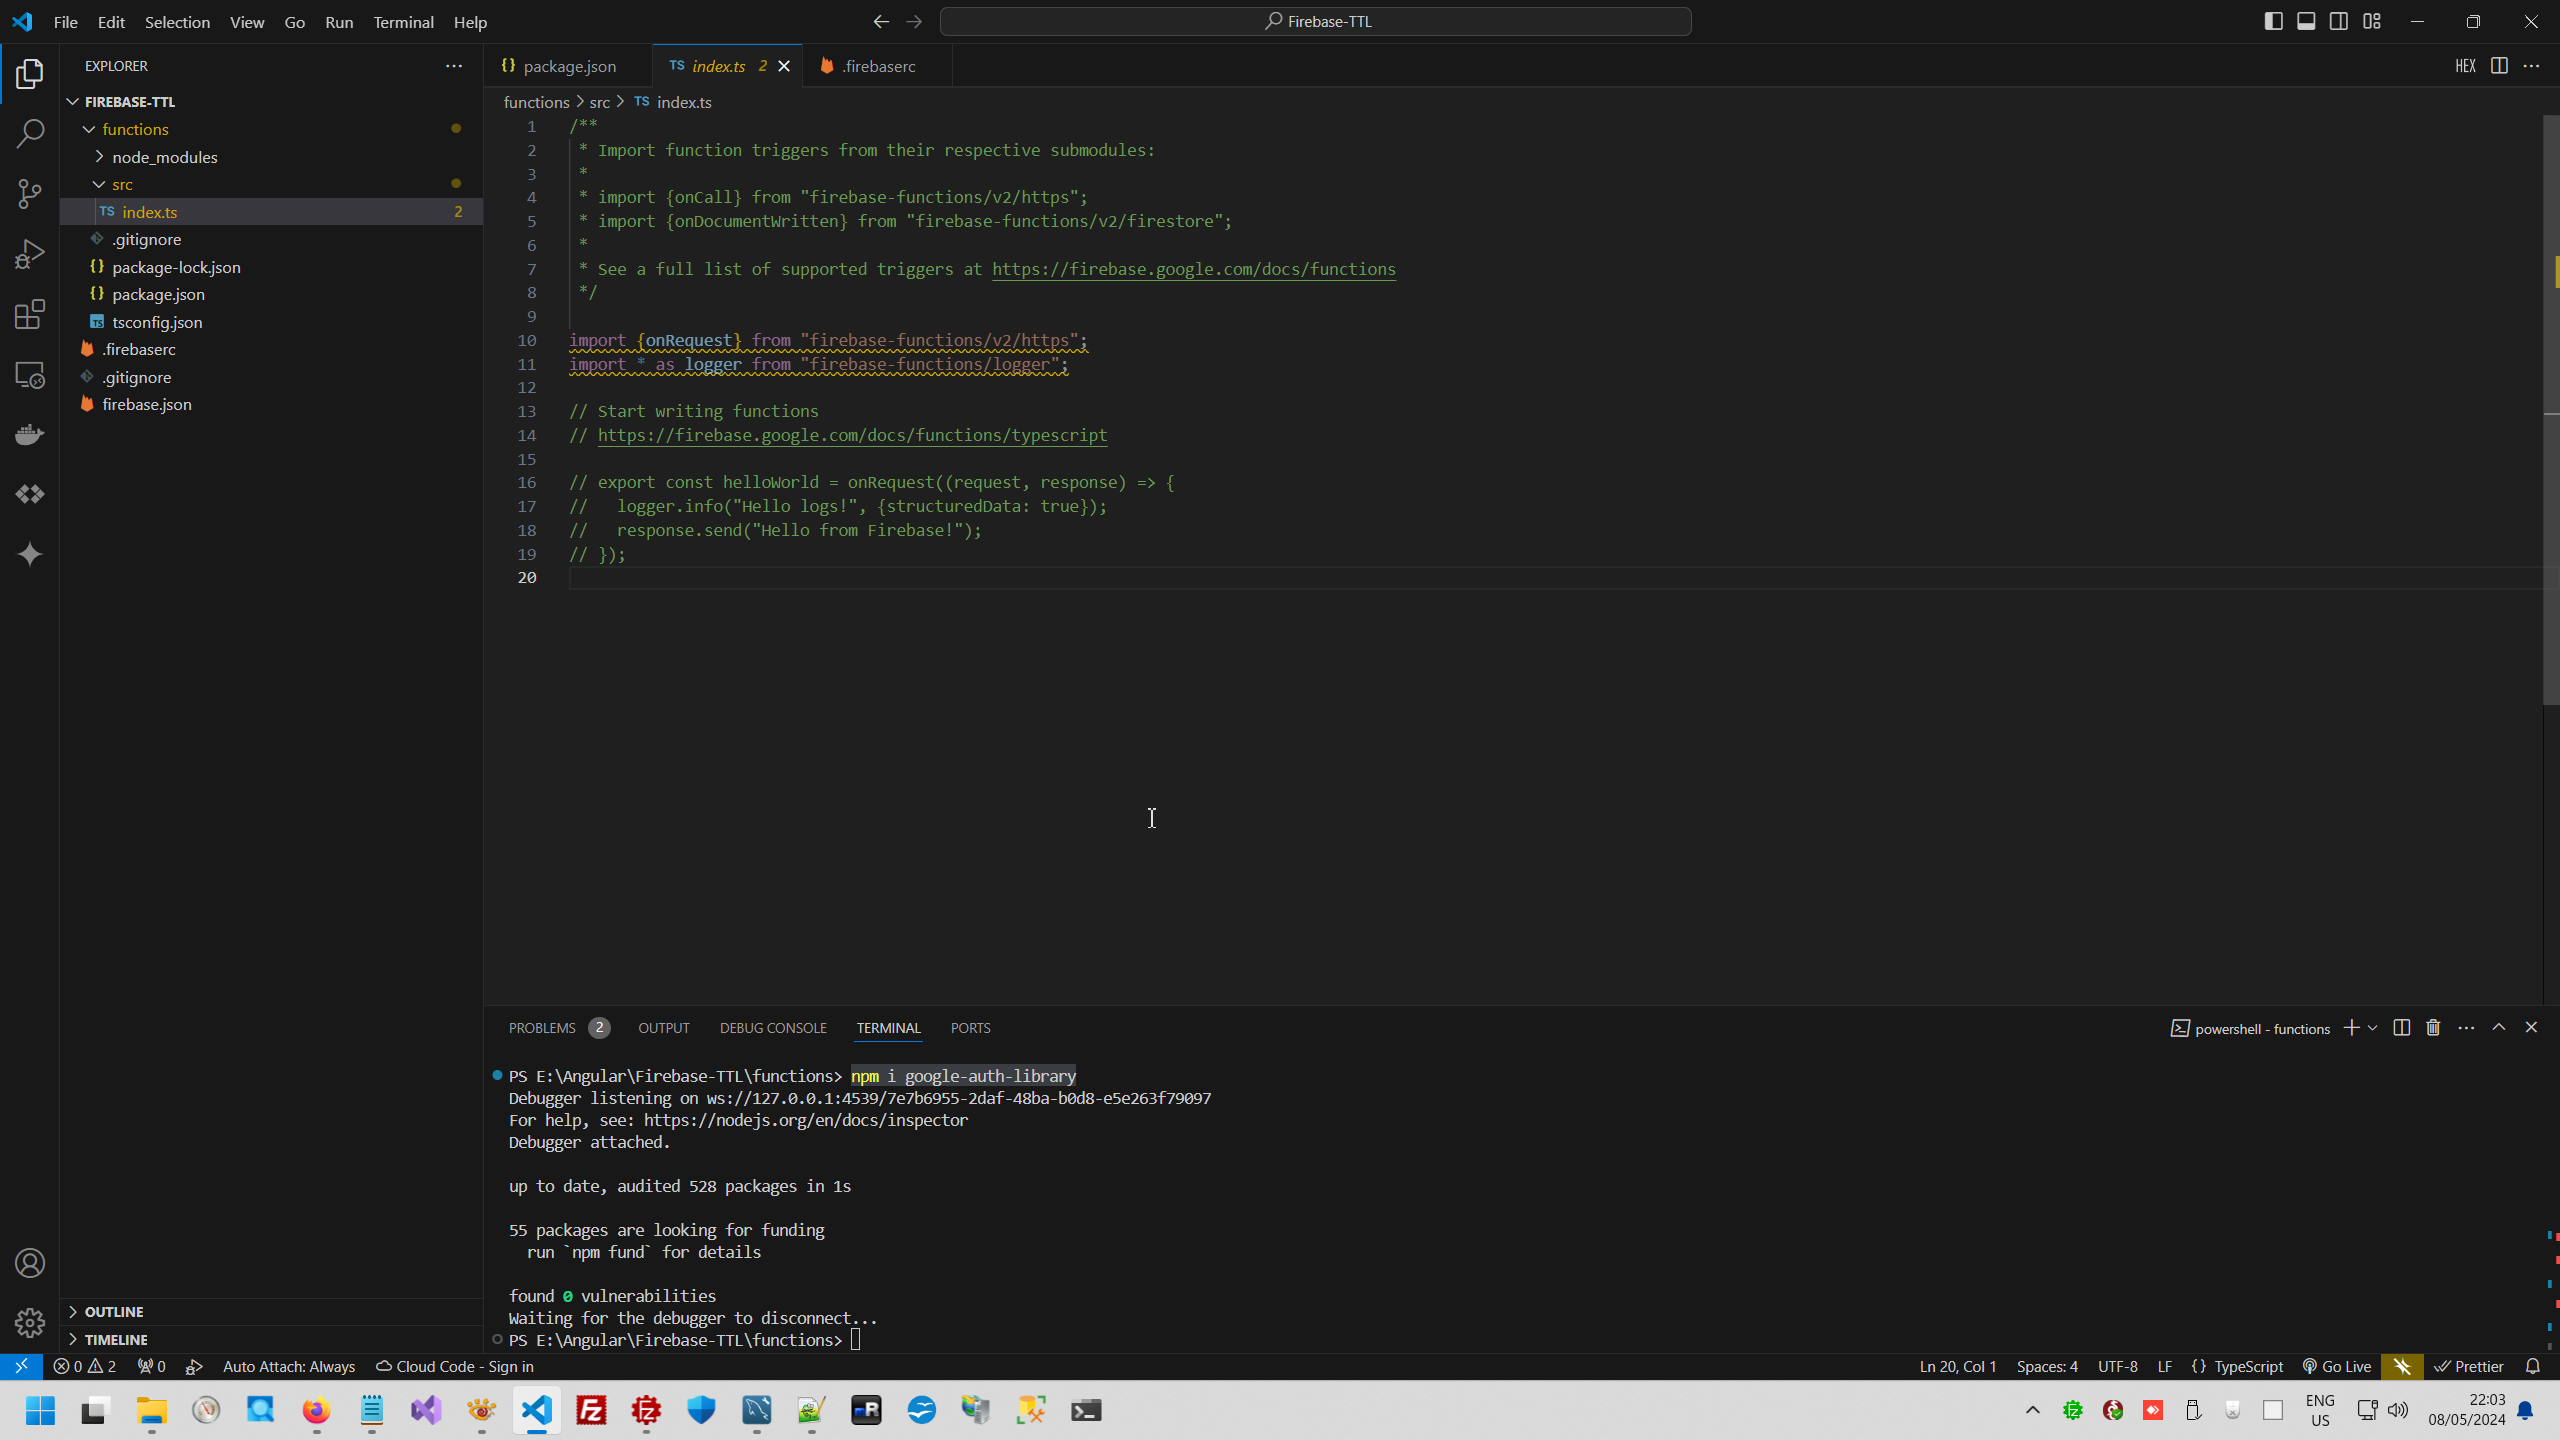
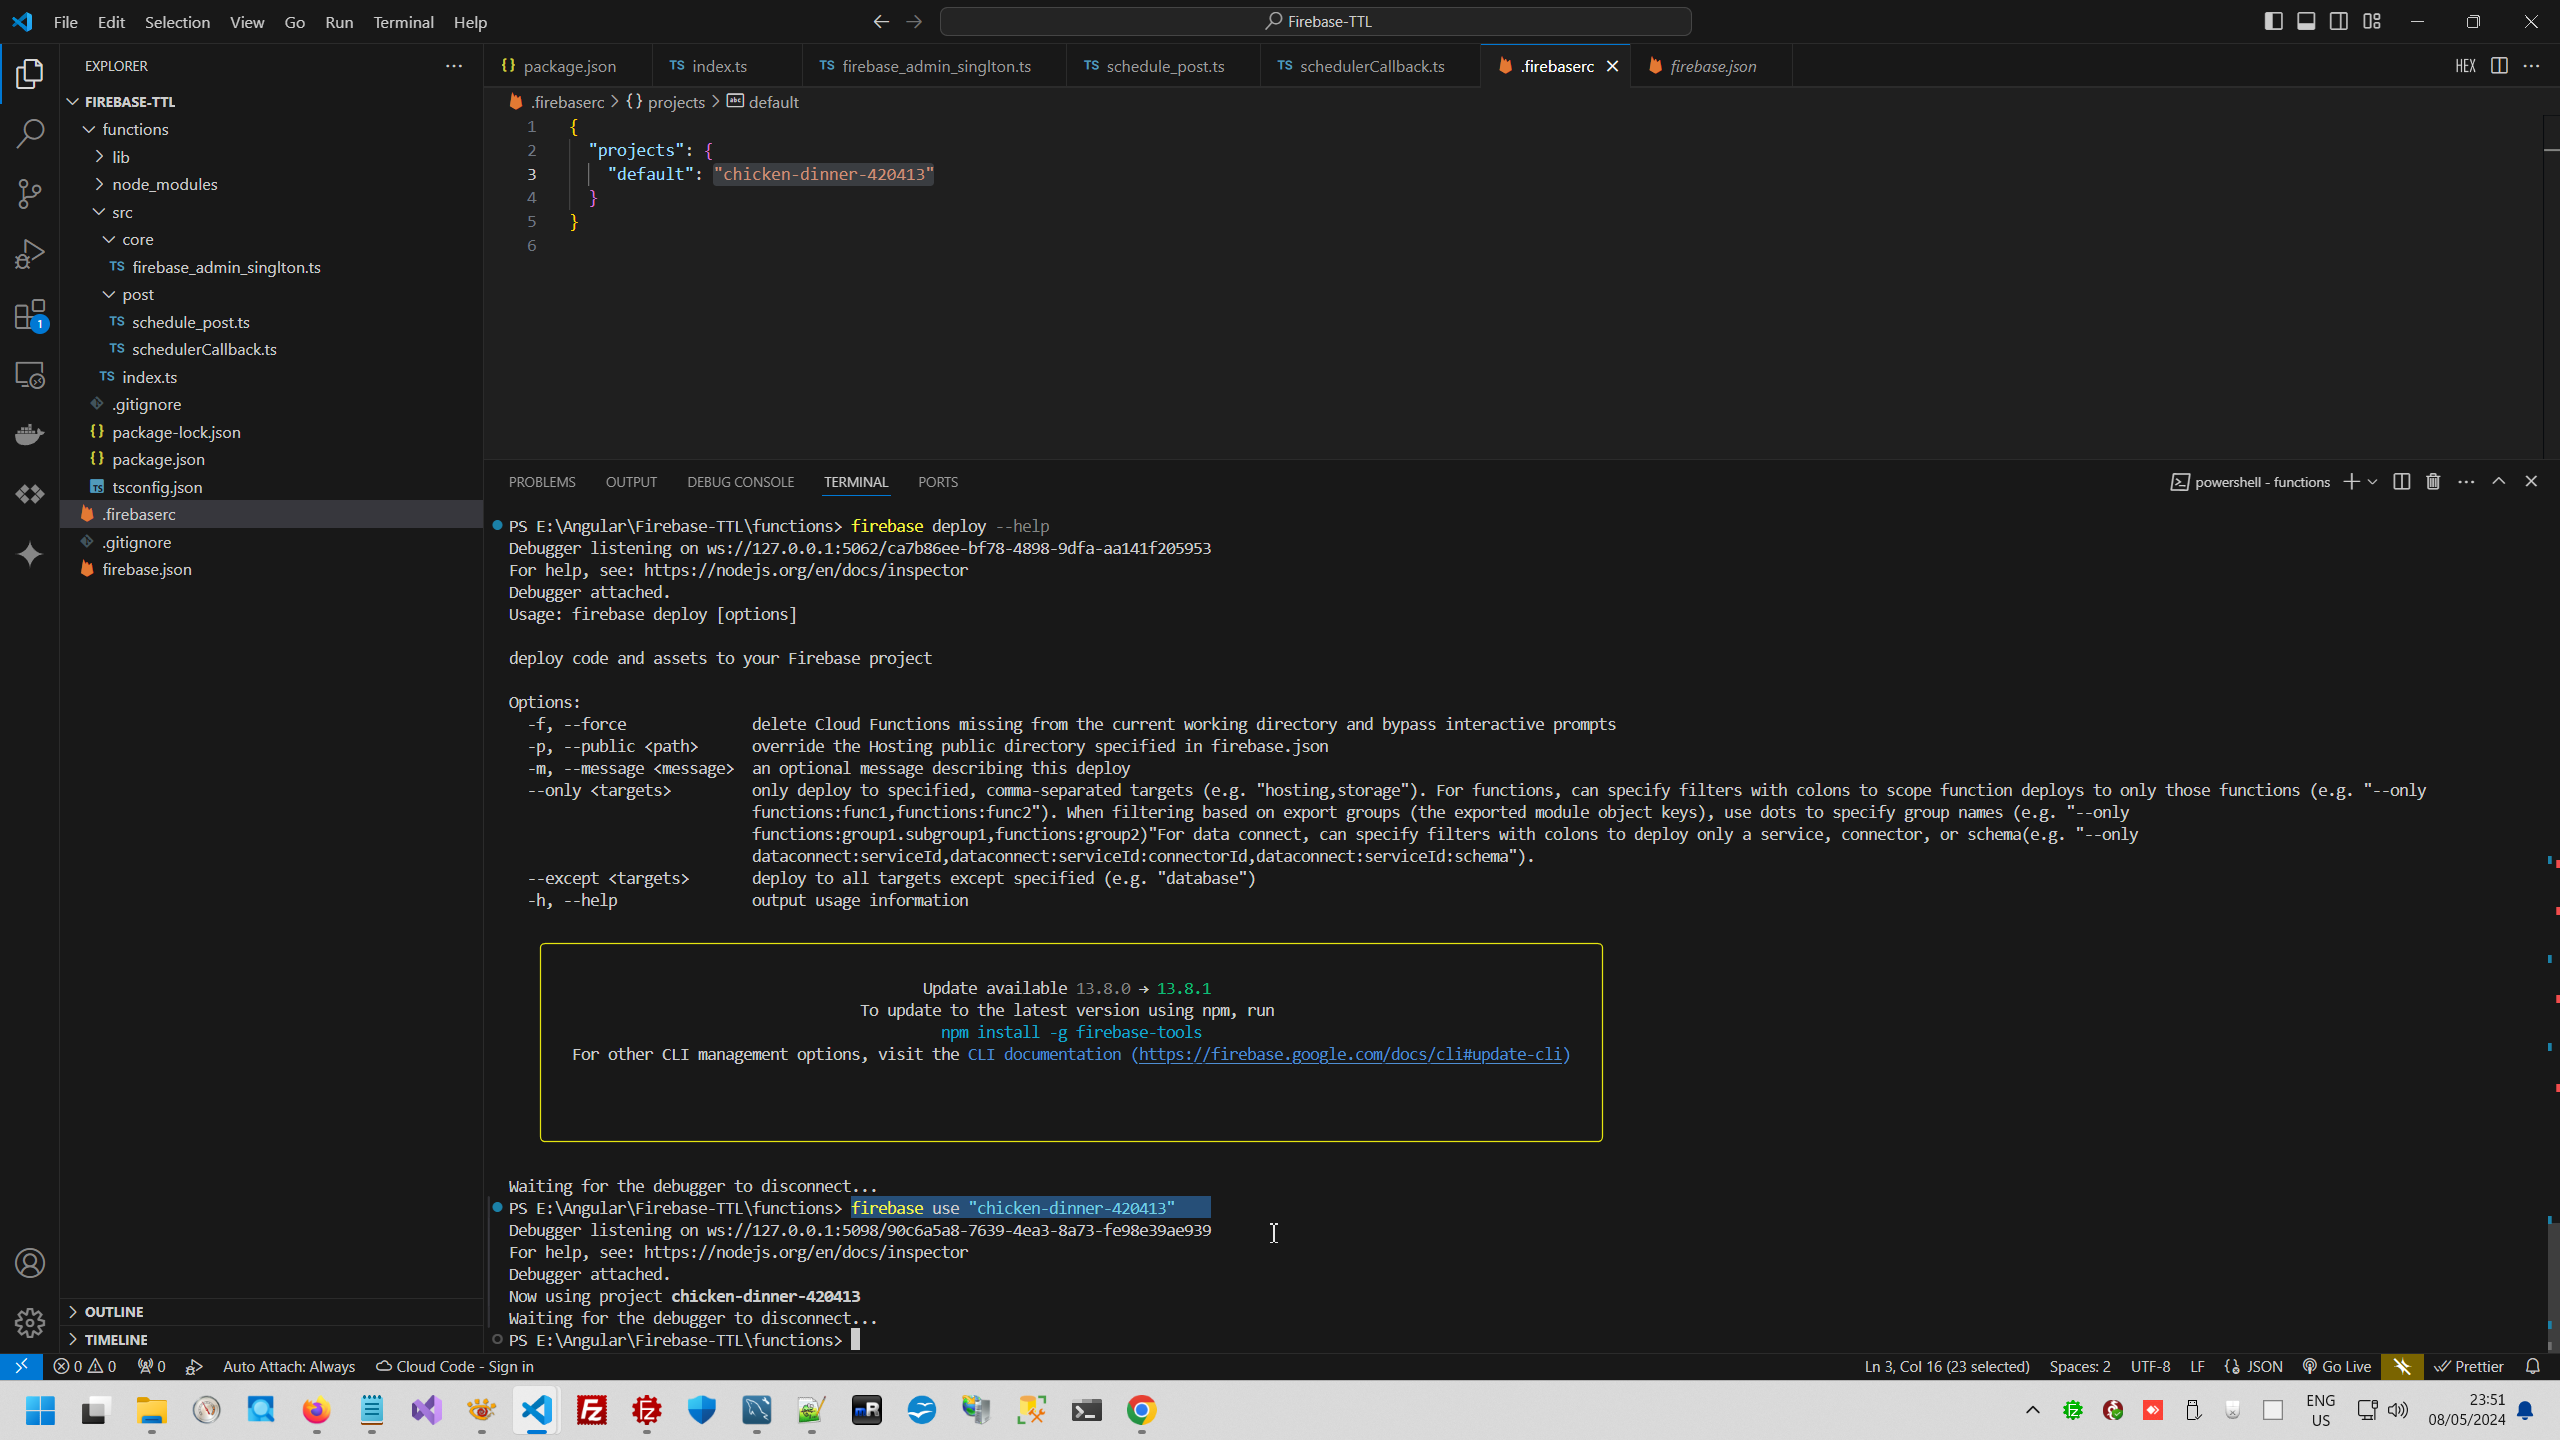
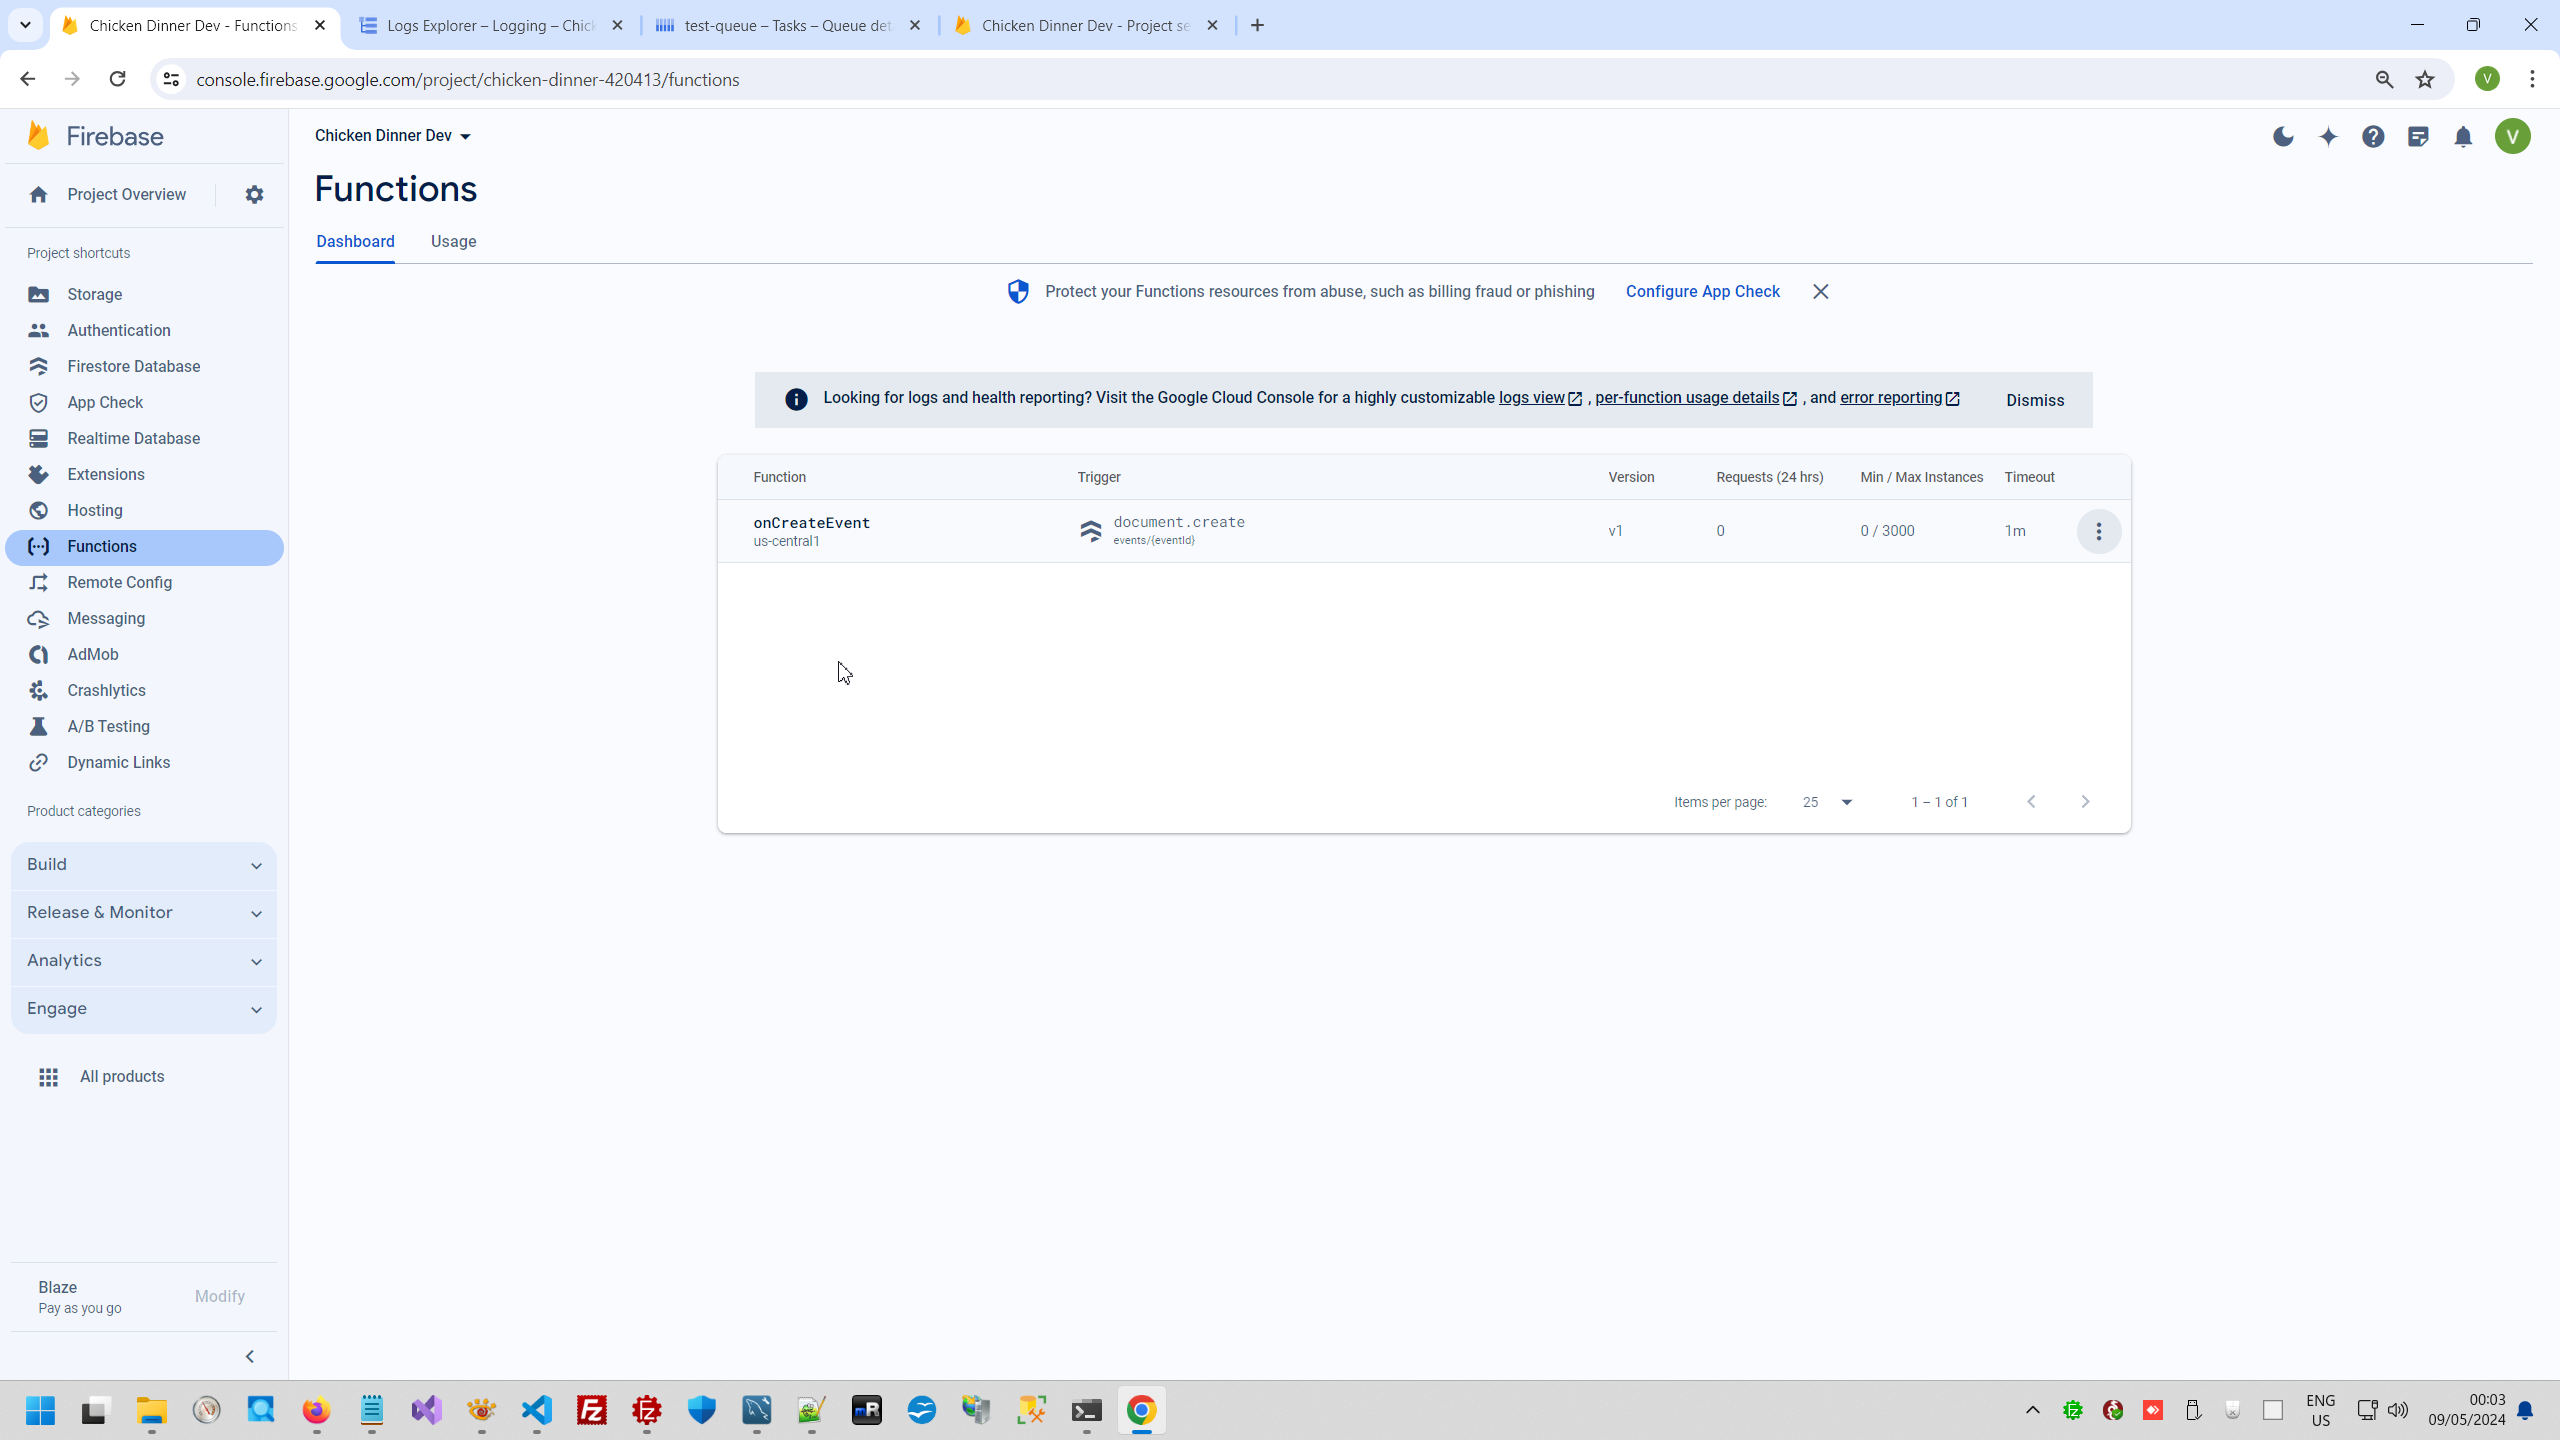
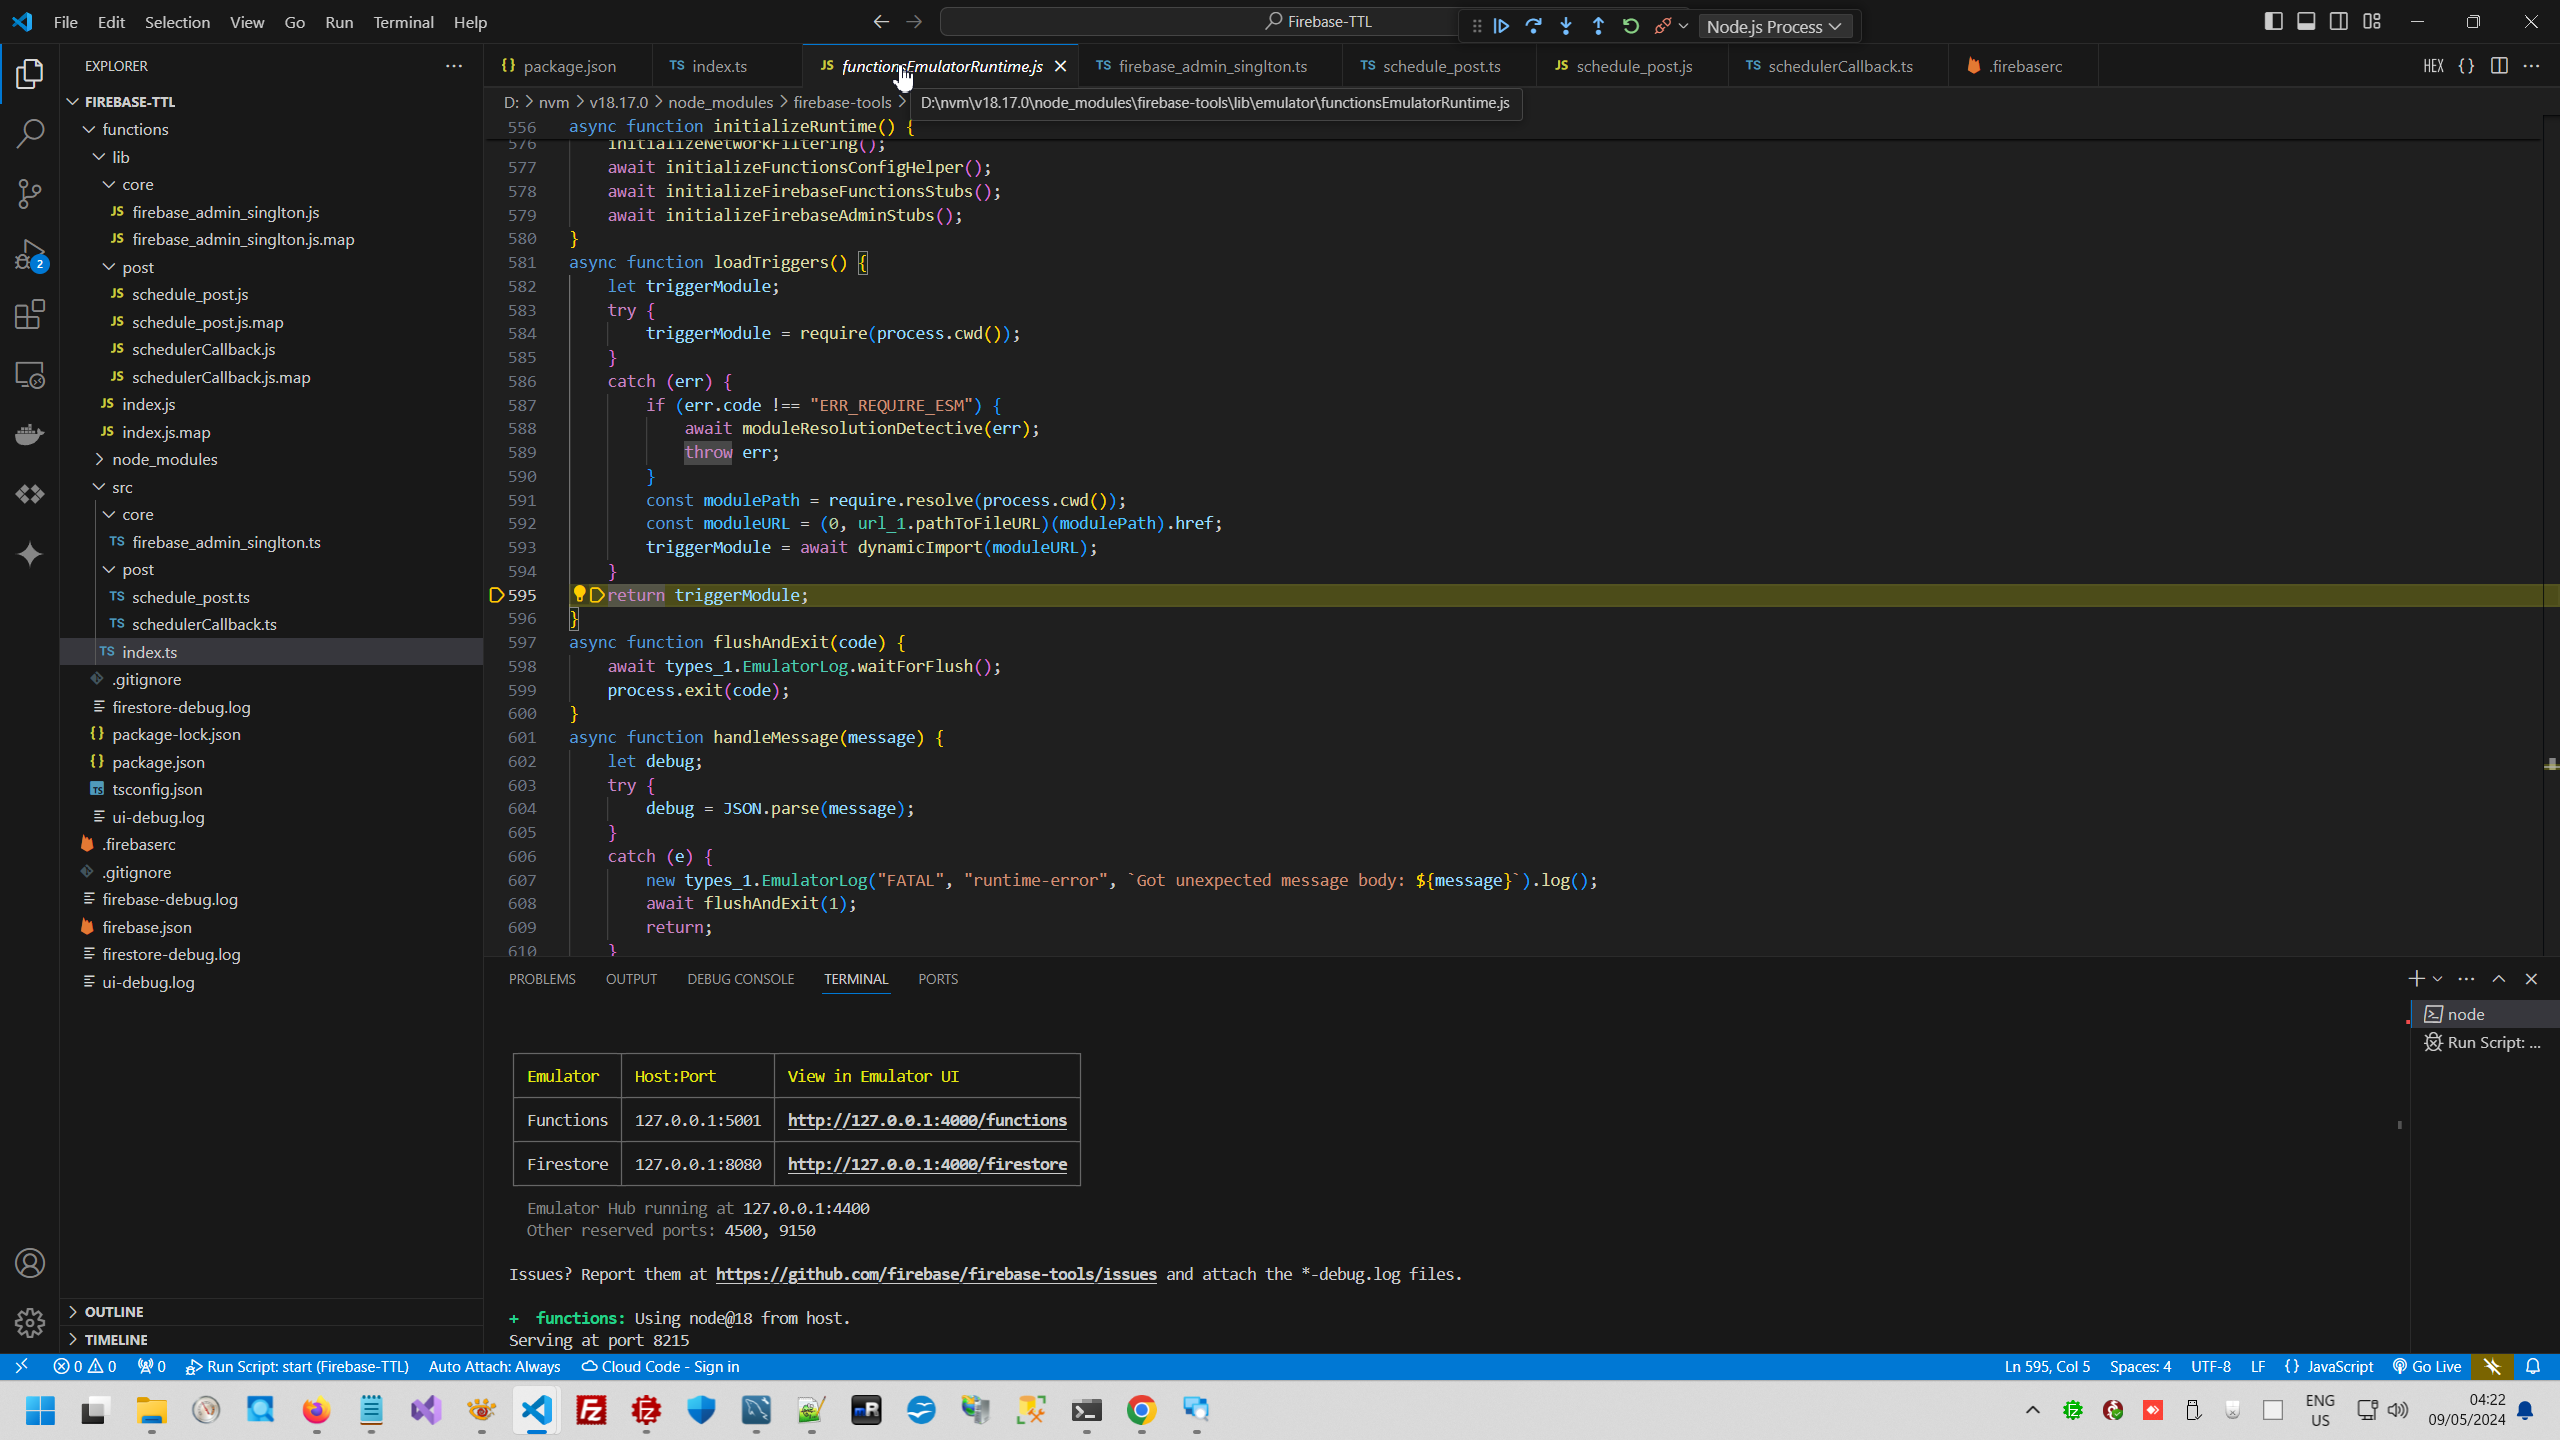
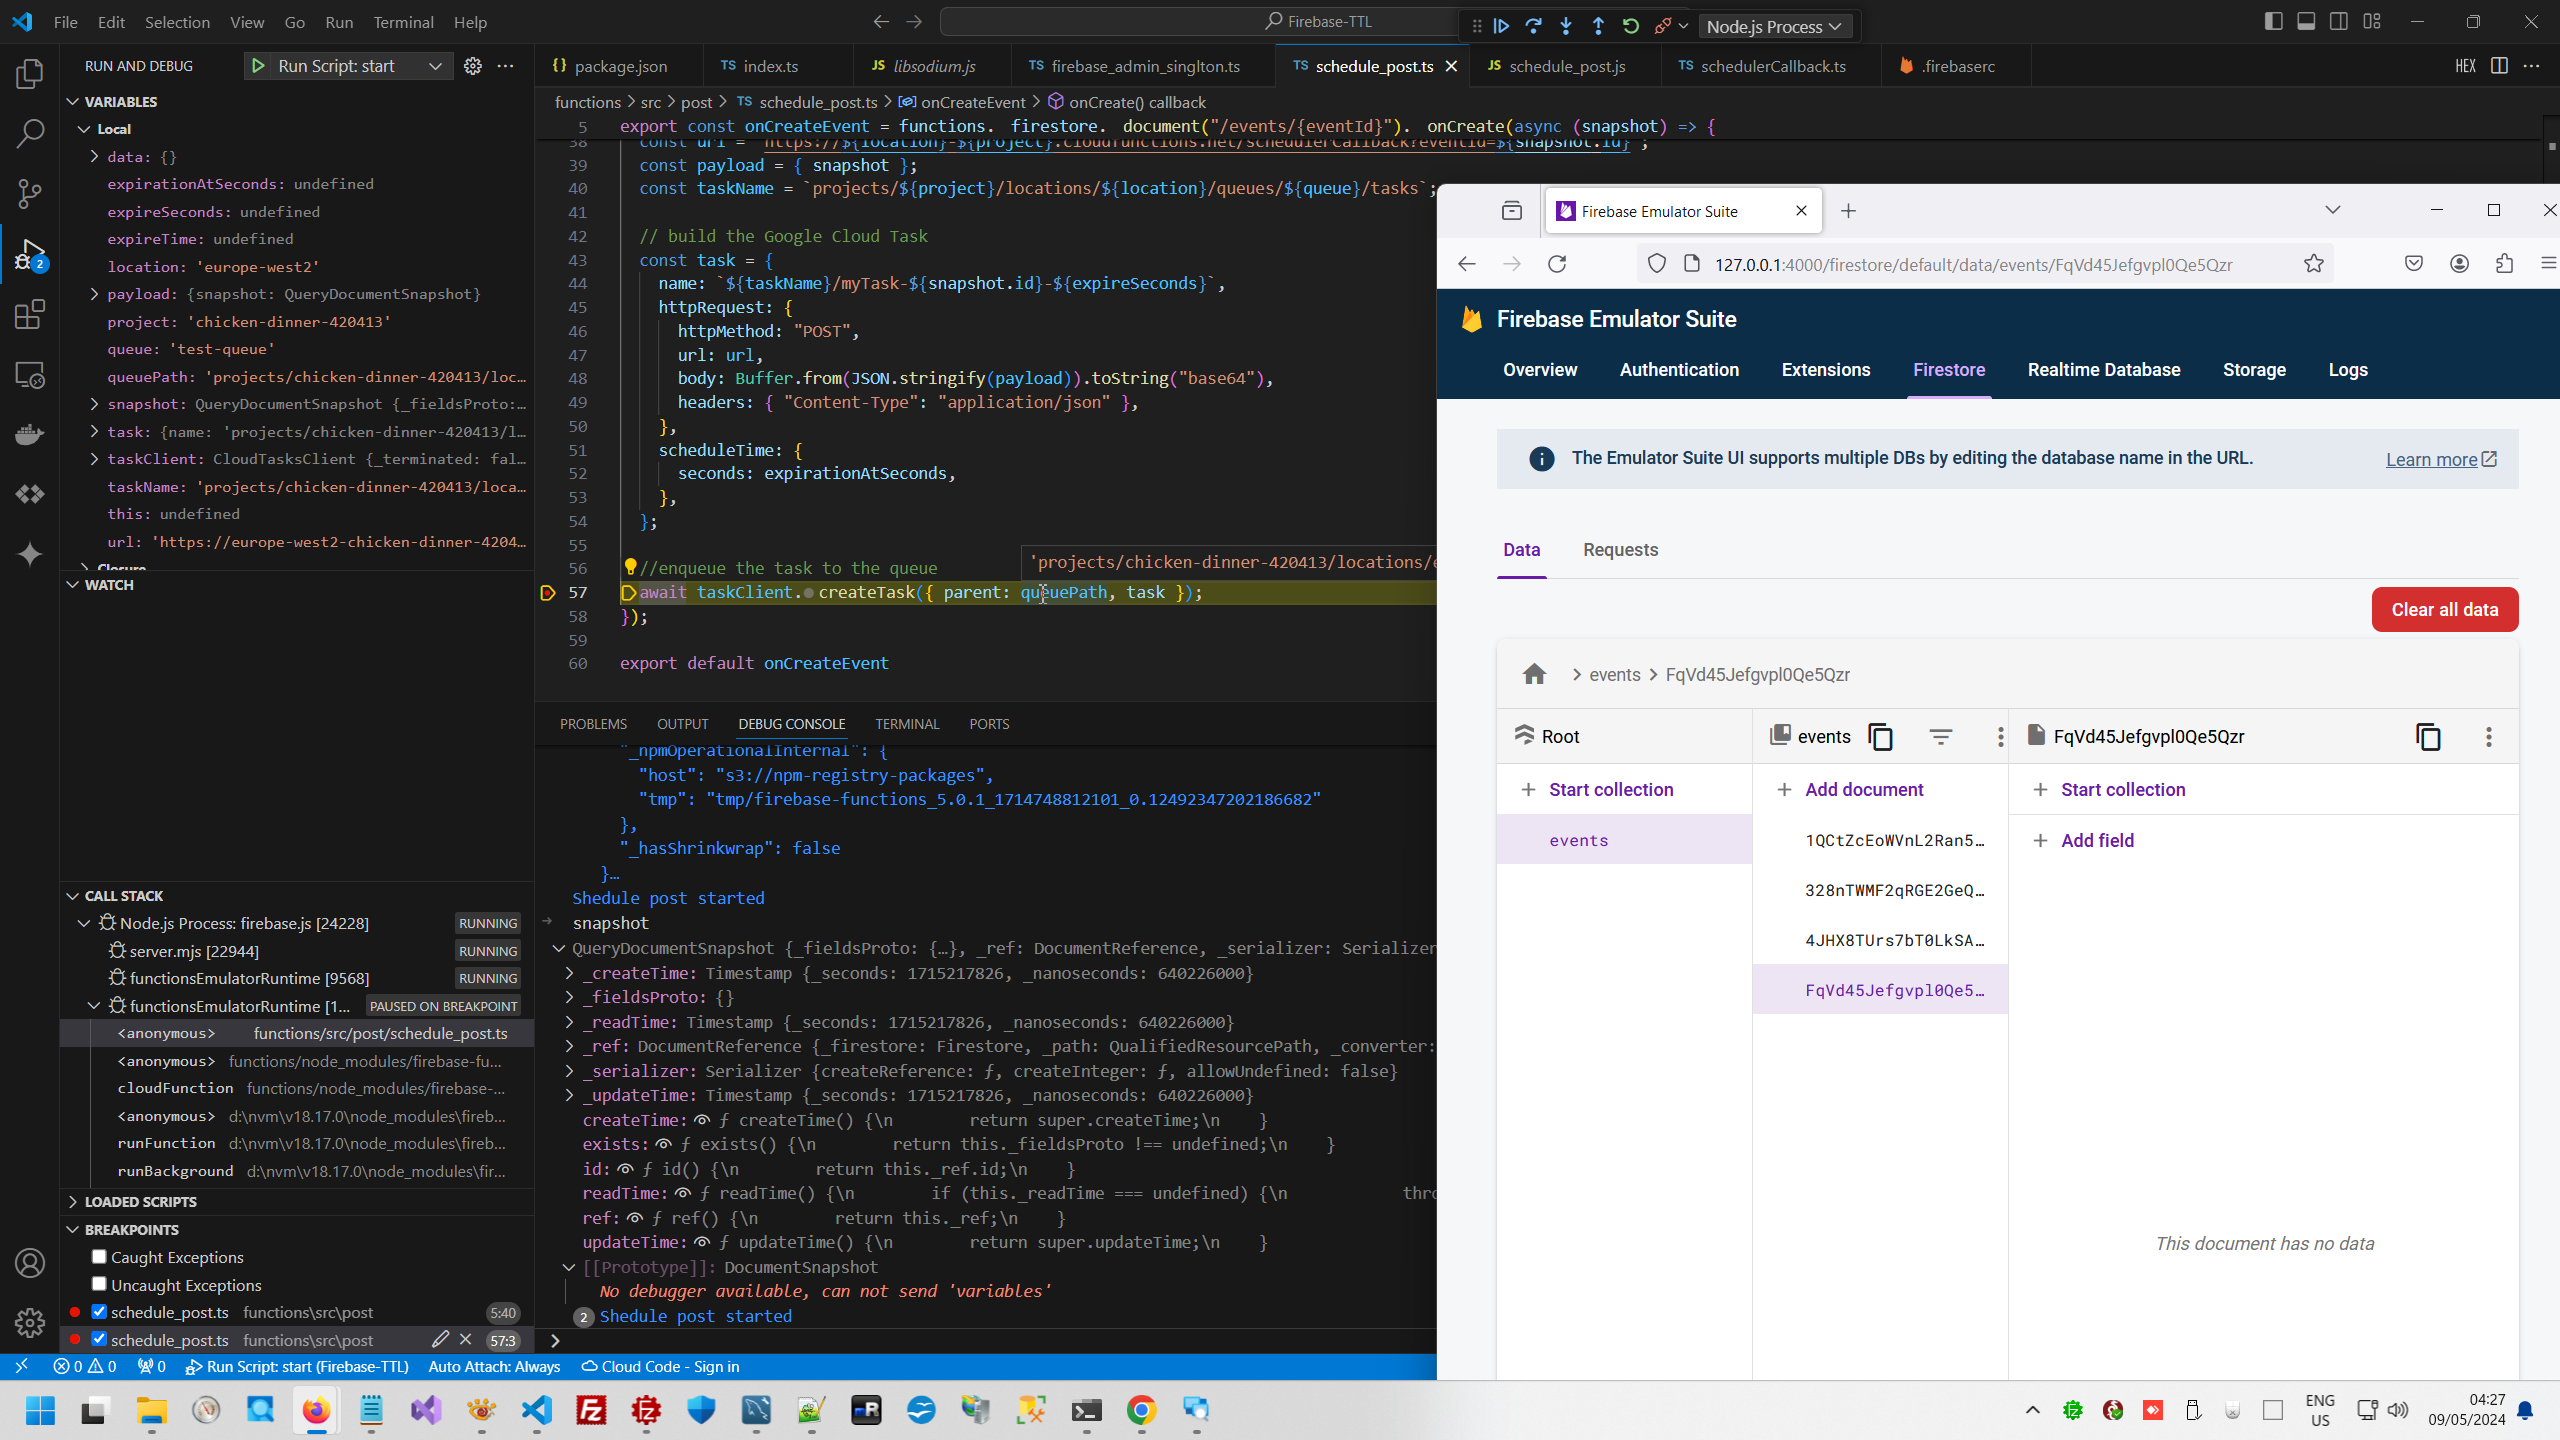
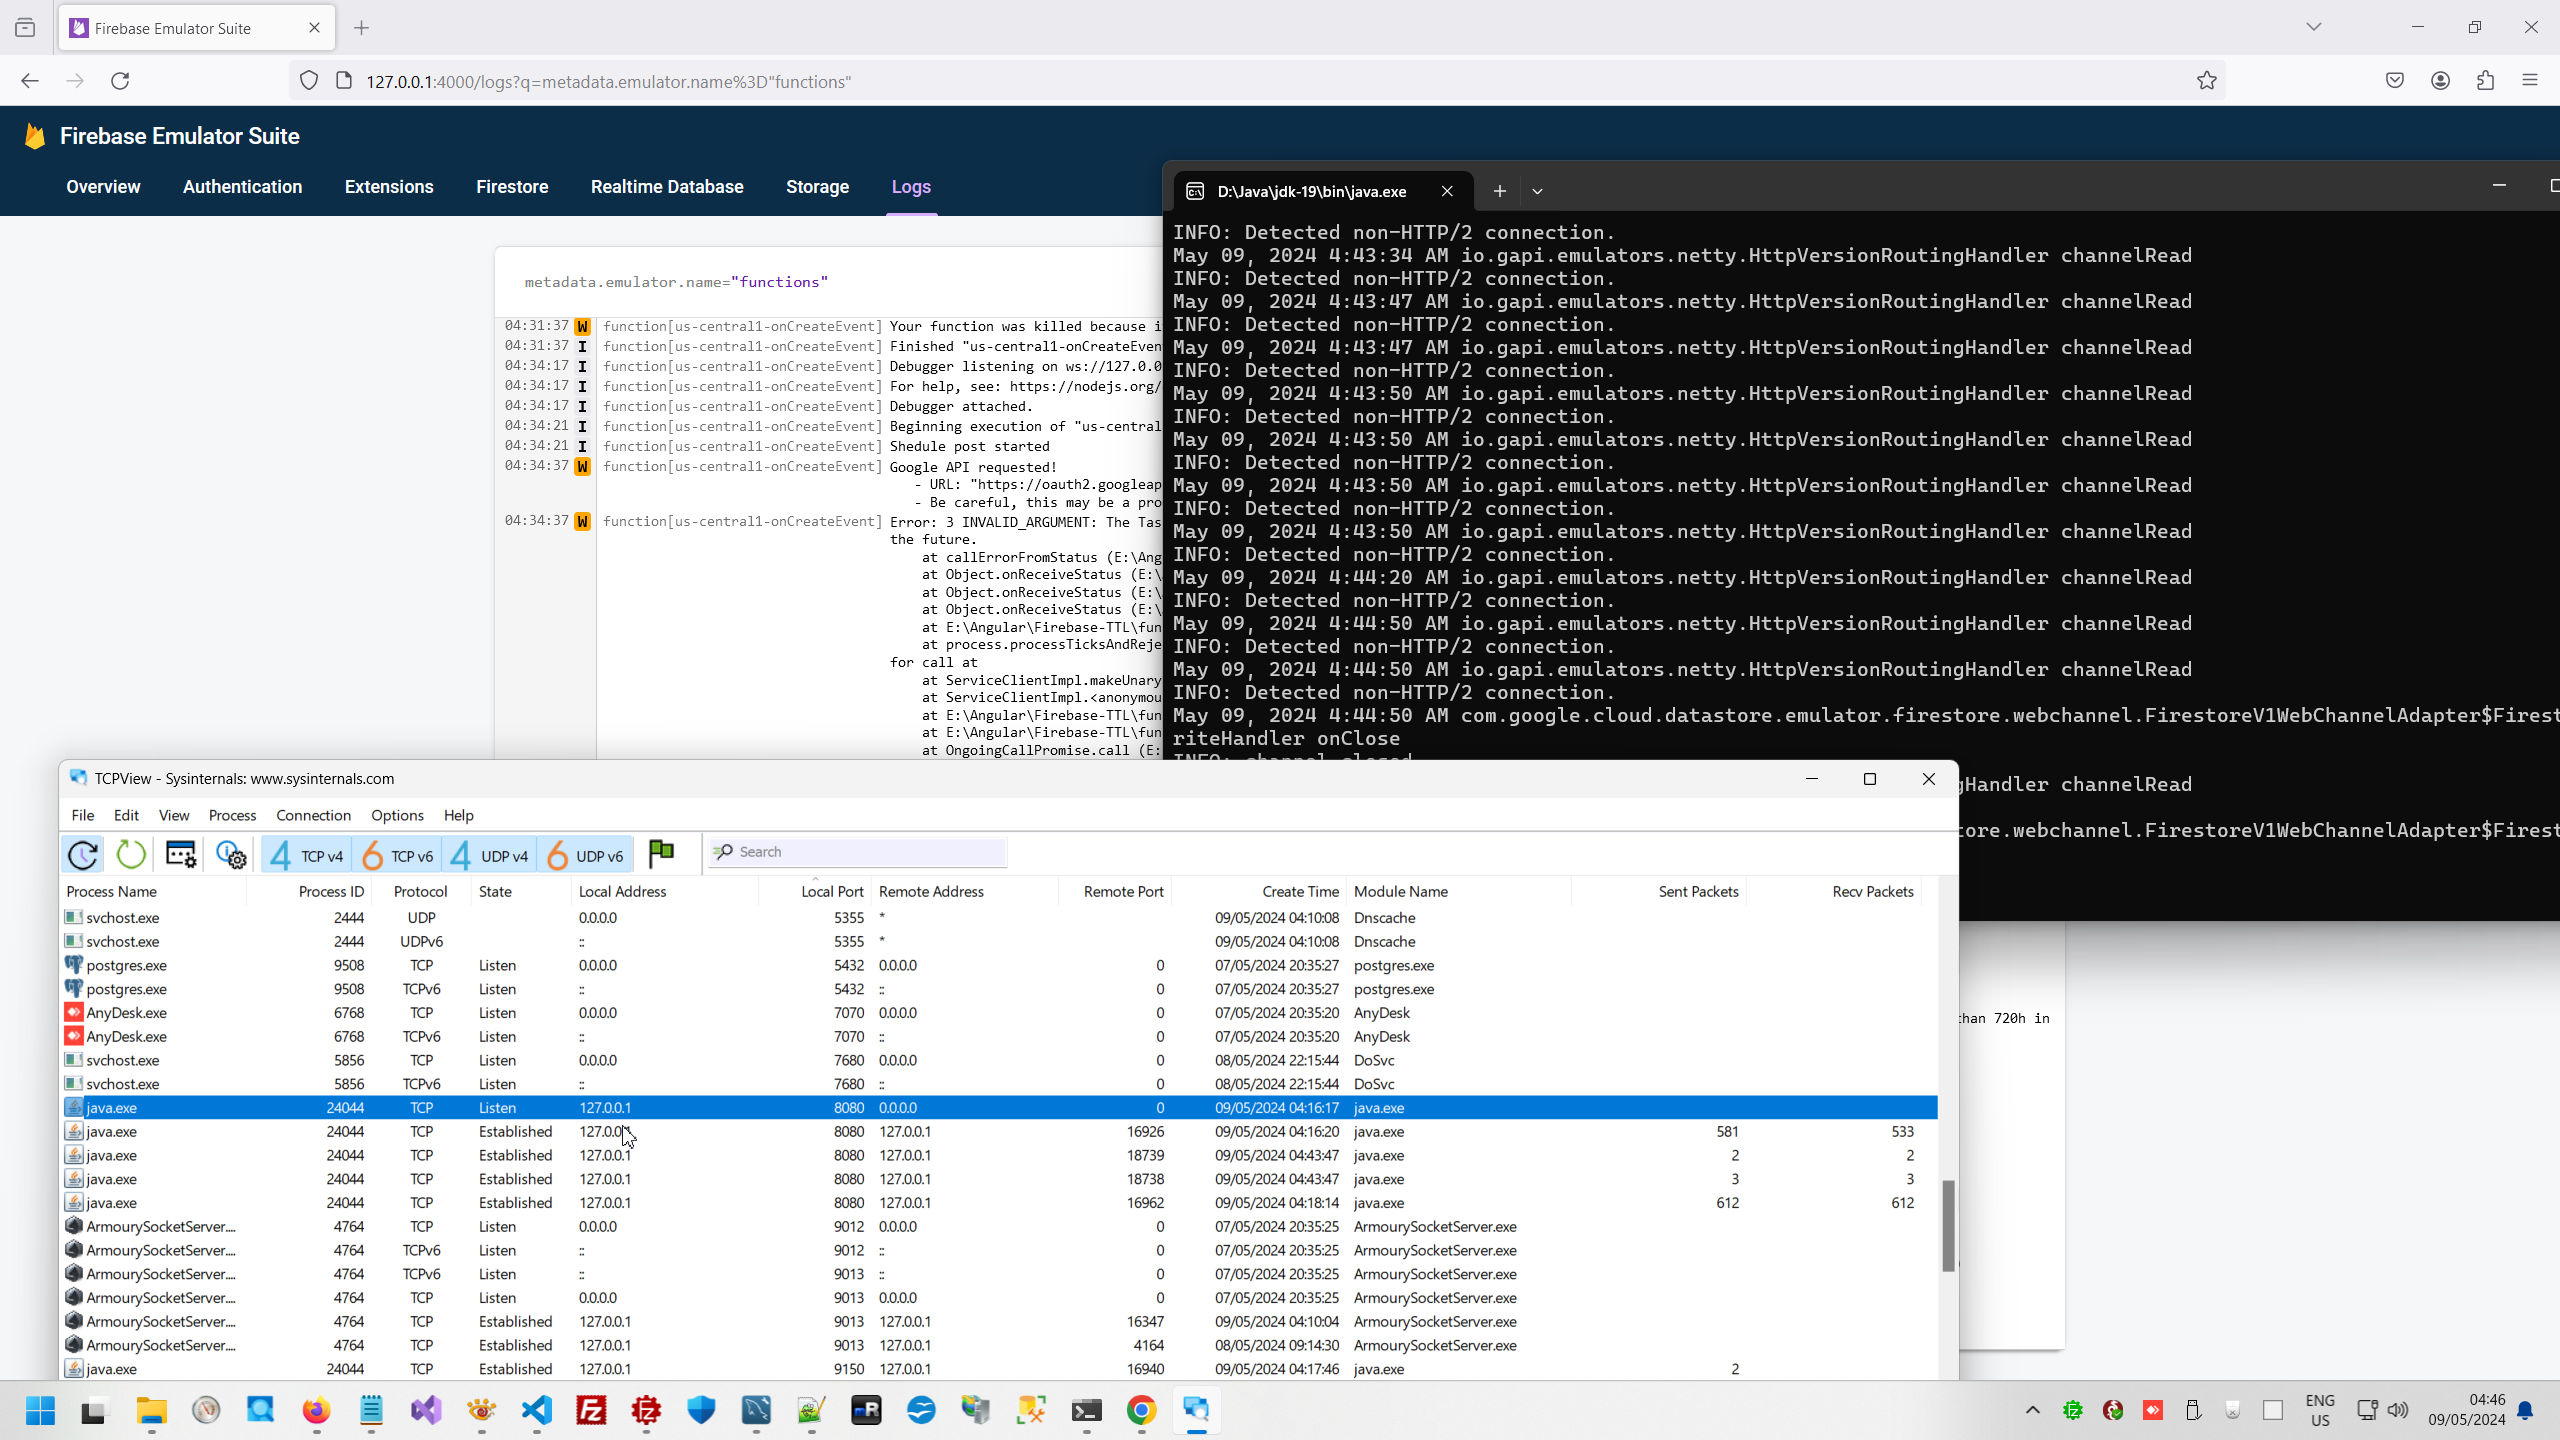
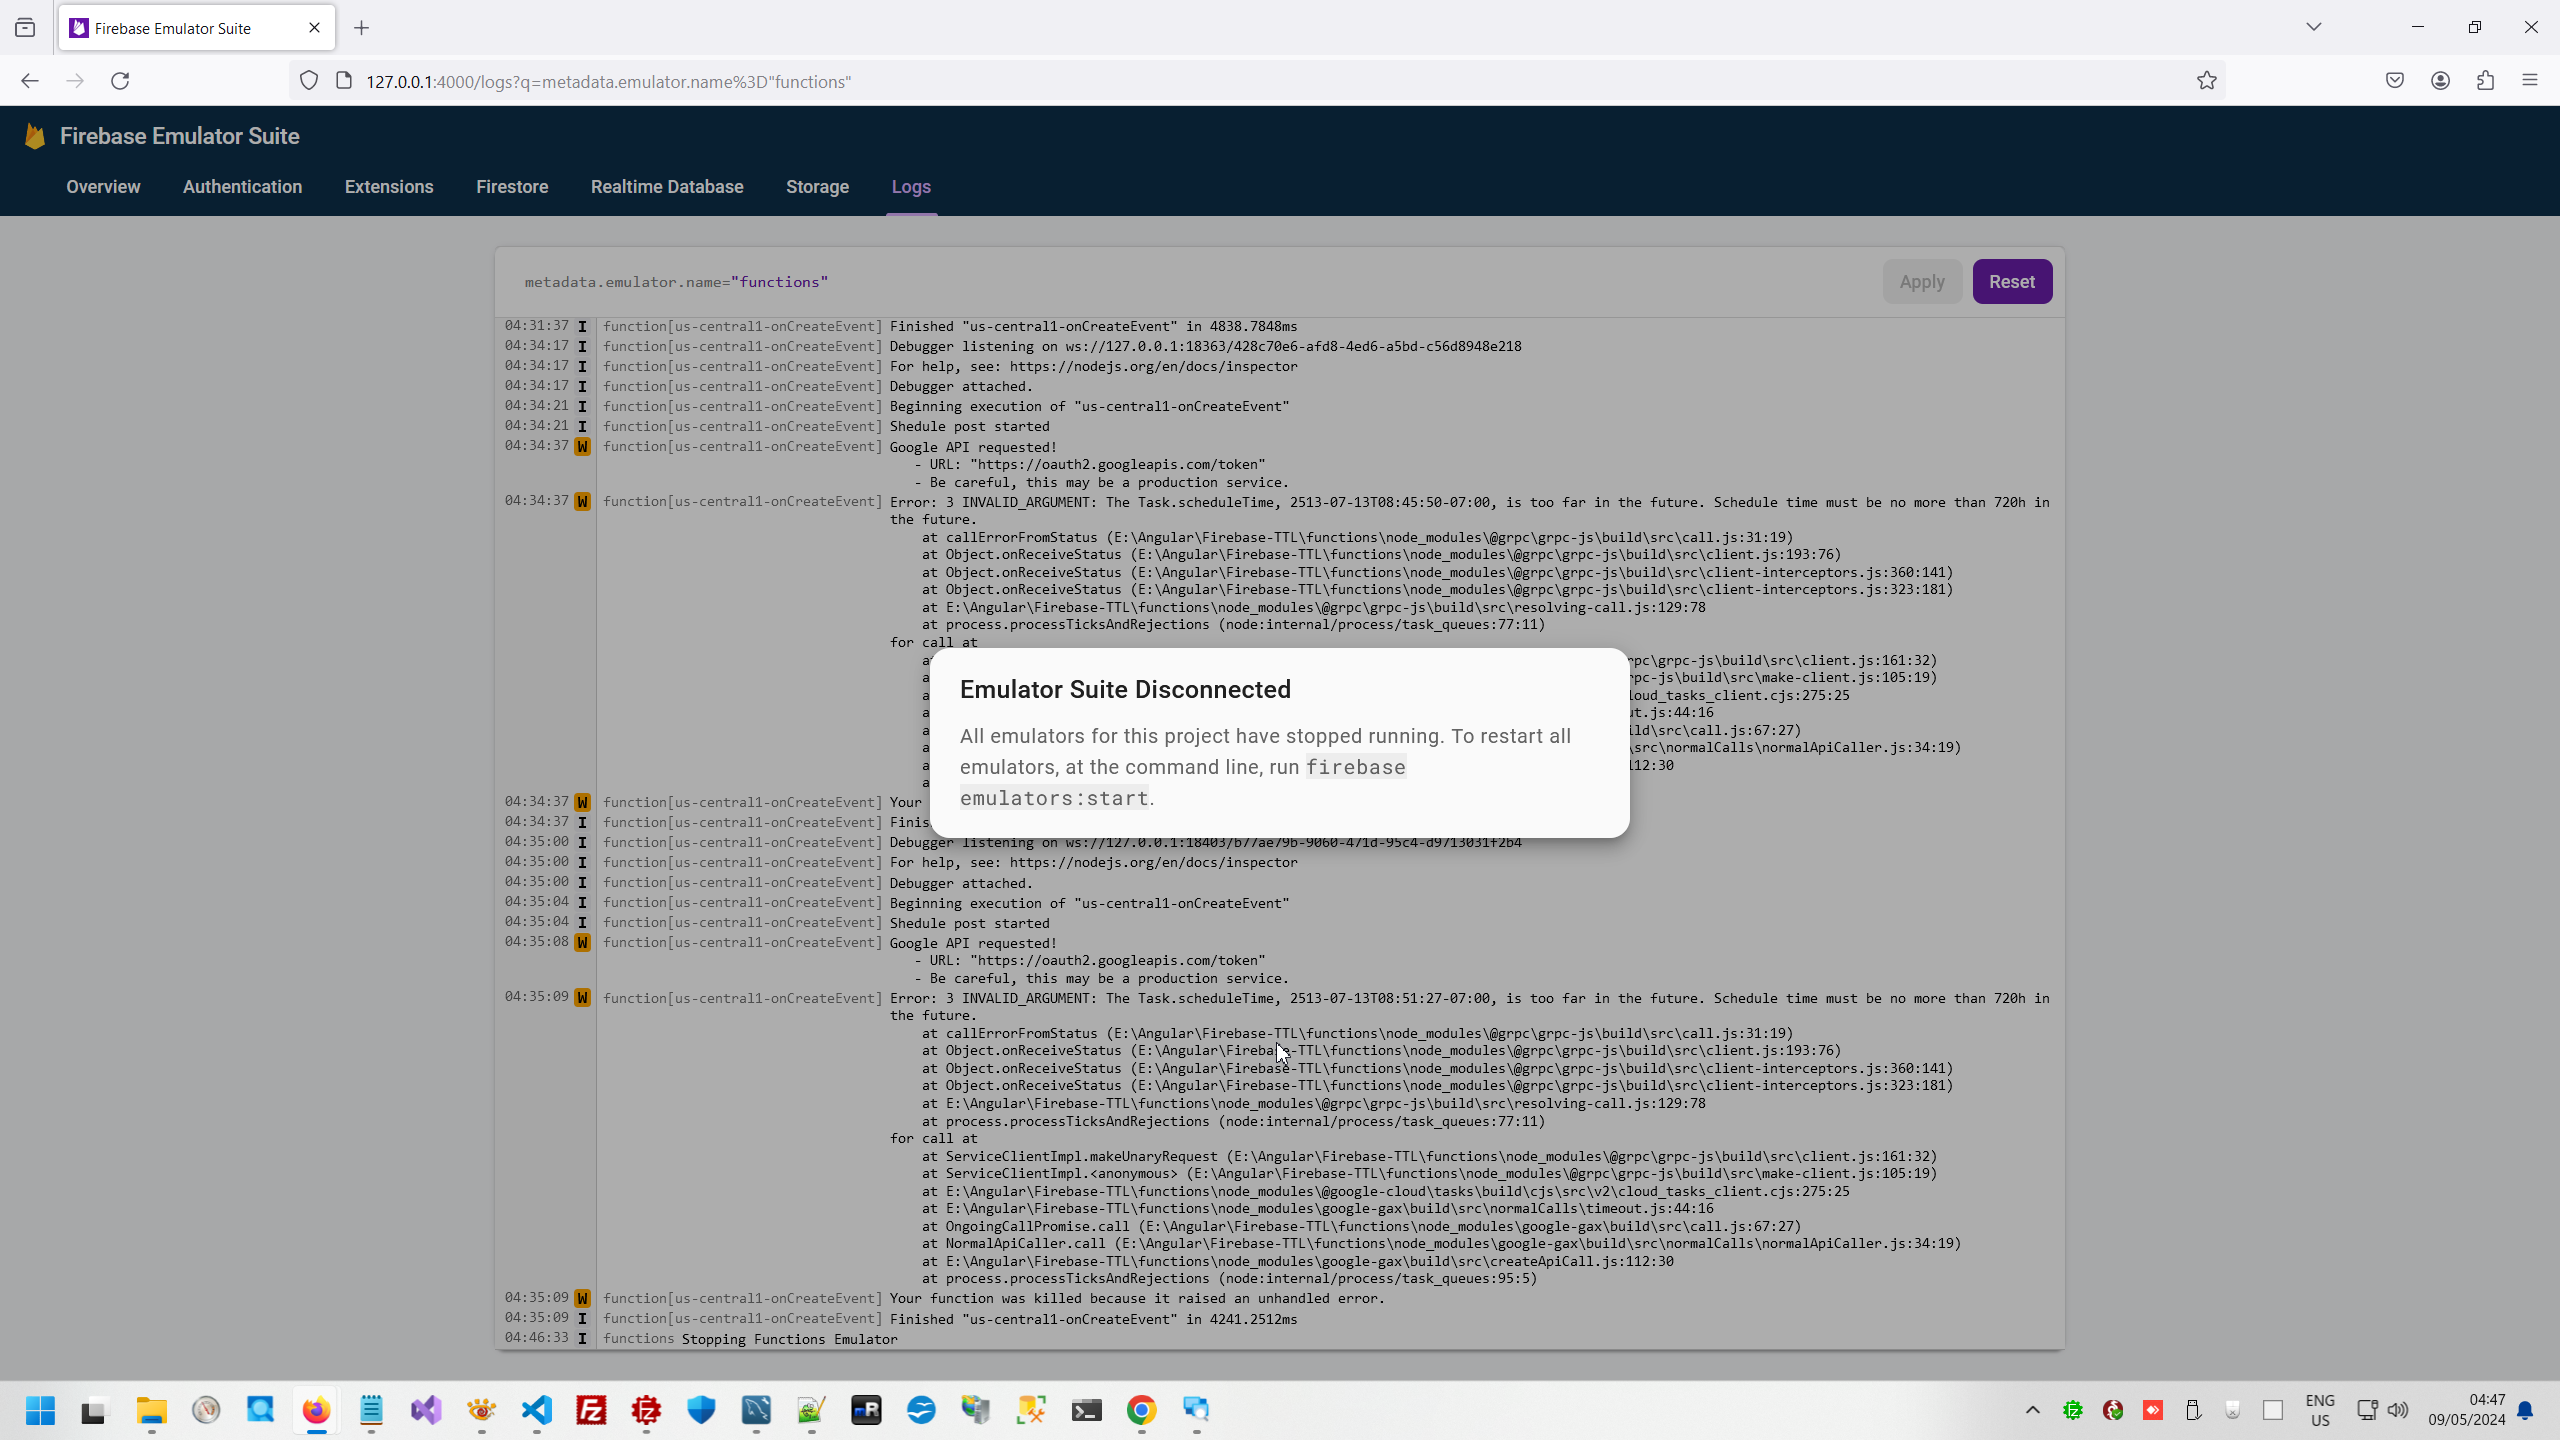
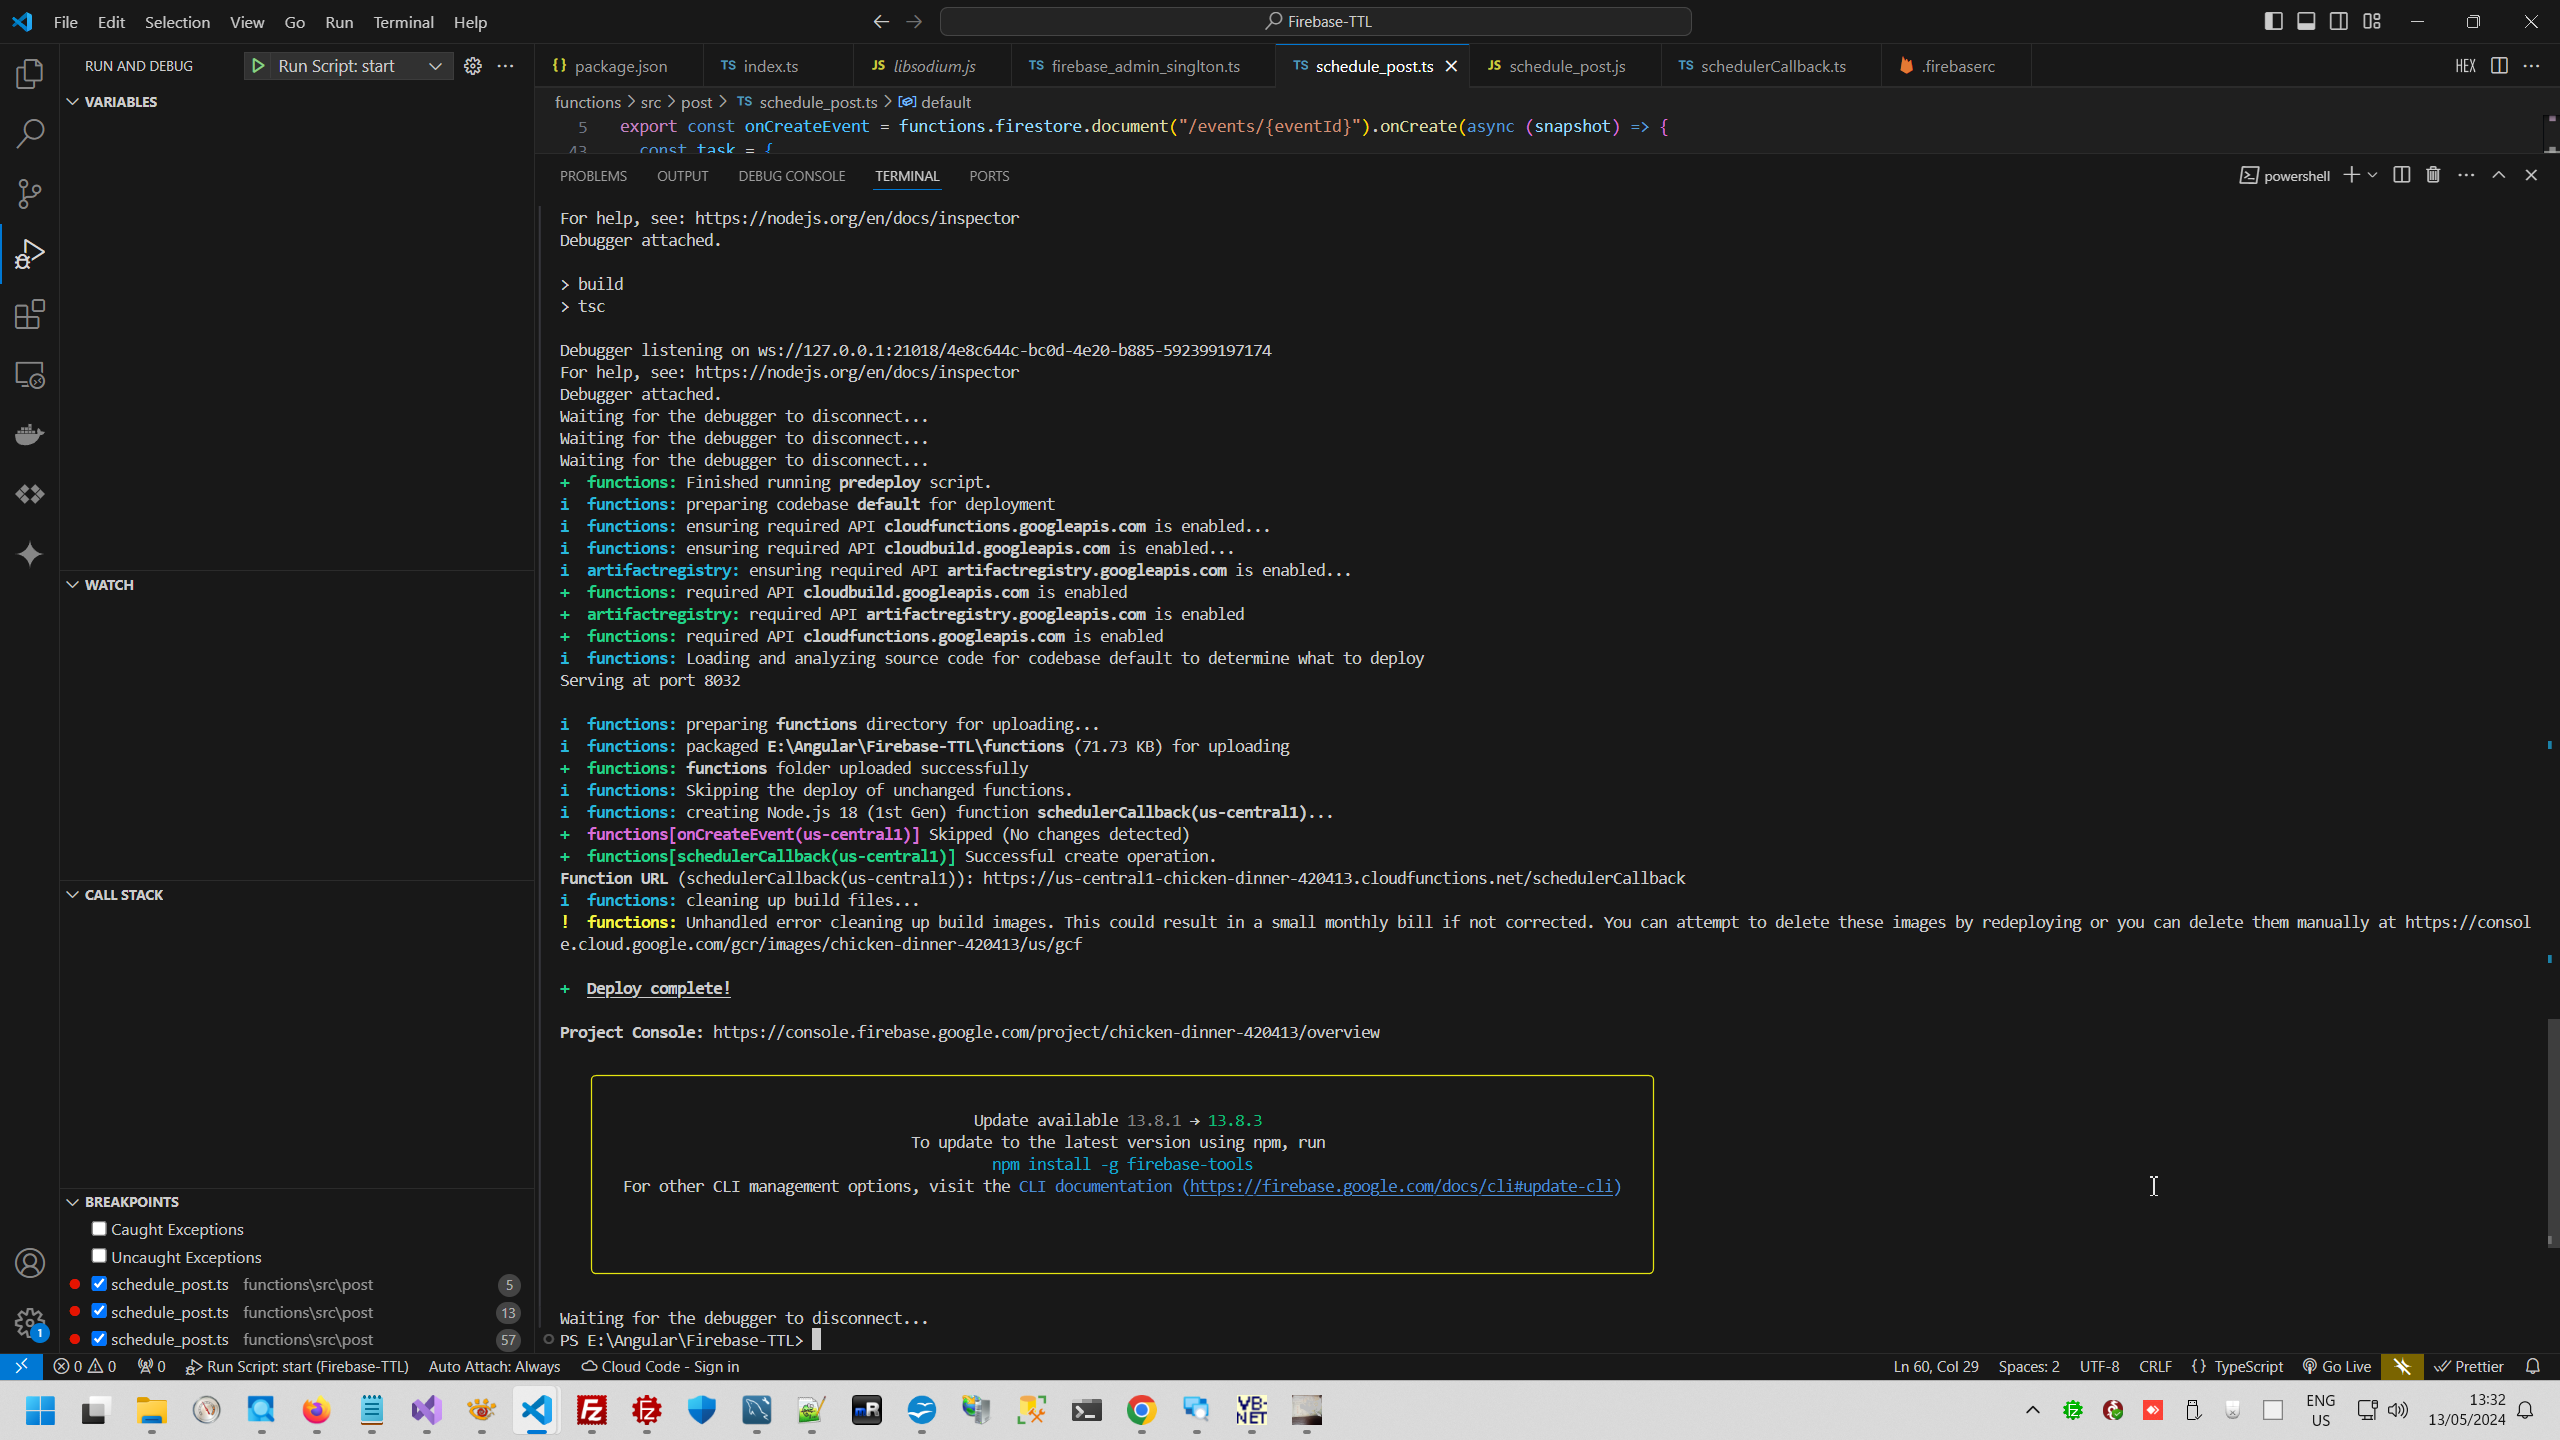
In this case I made test project, what finally included in my project, I deployed firebase function, that after TTL time will create Message in Google Cloud Message broker.

But pay attention to Account - Firebase will working with another account than you other Google Cloud services.
Also pay attention to Firebase Extension - some of them is free and usefull.

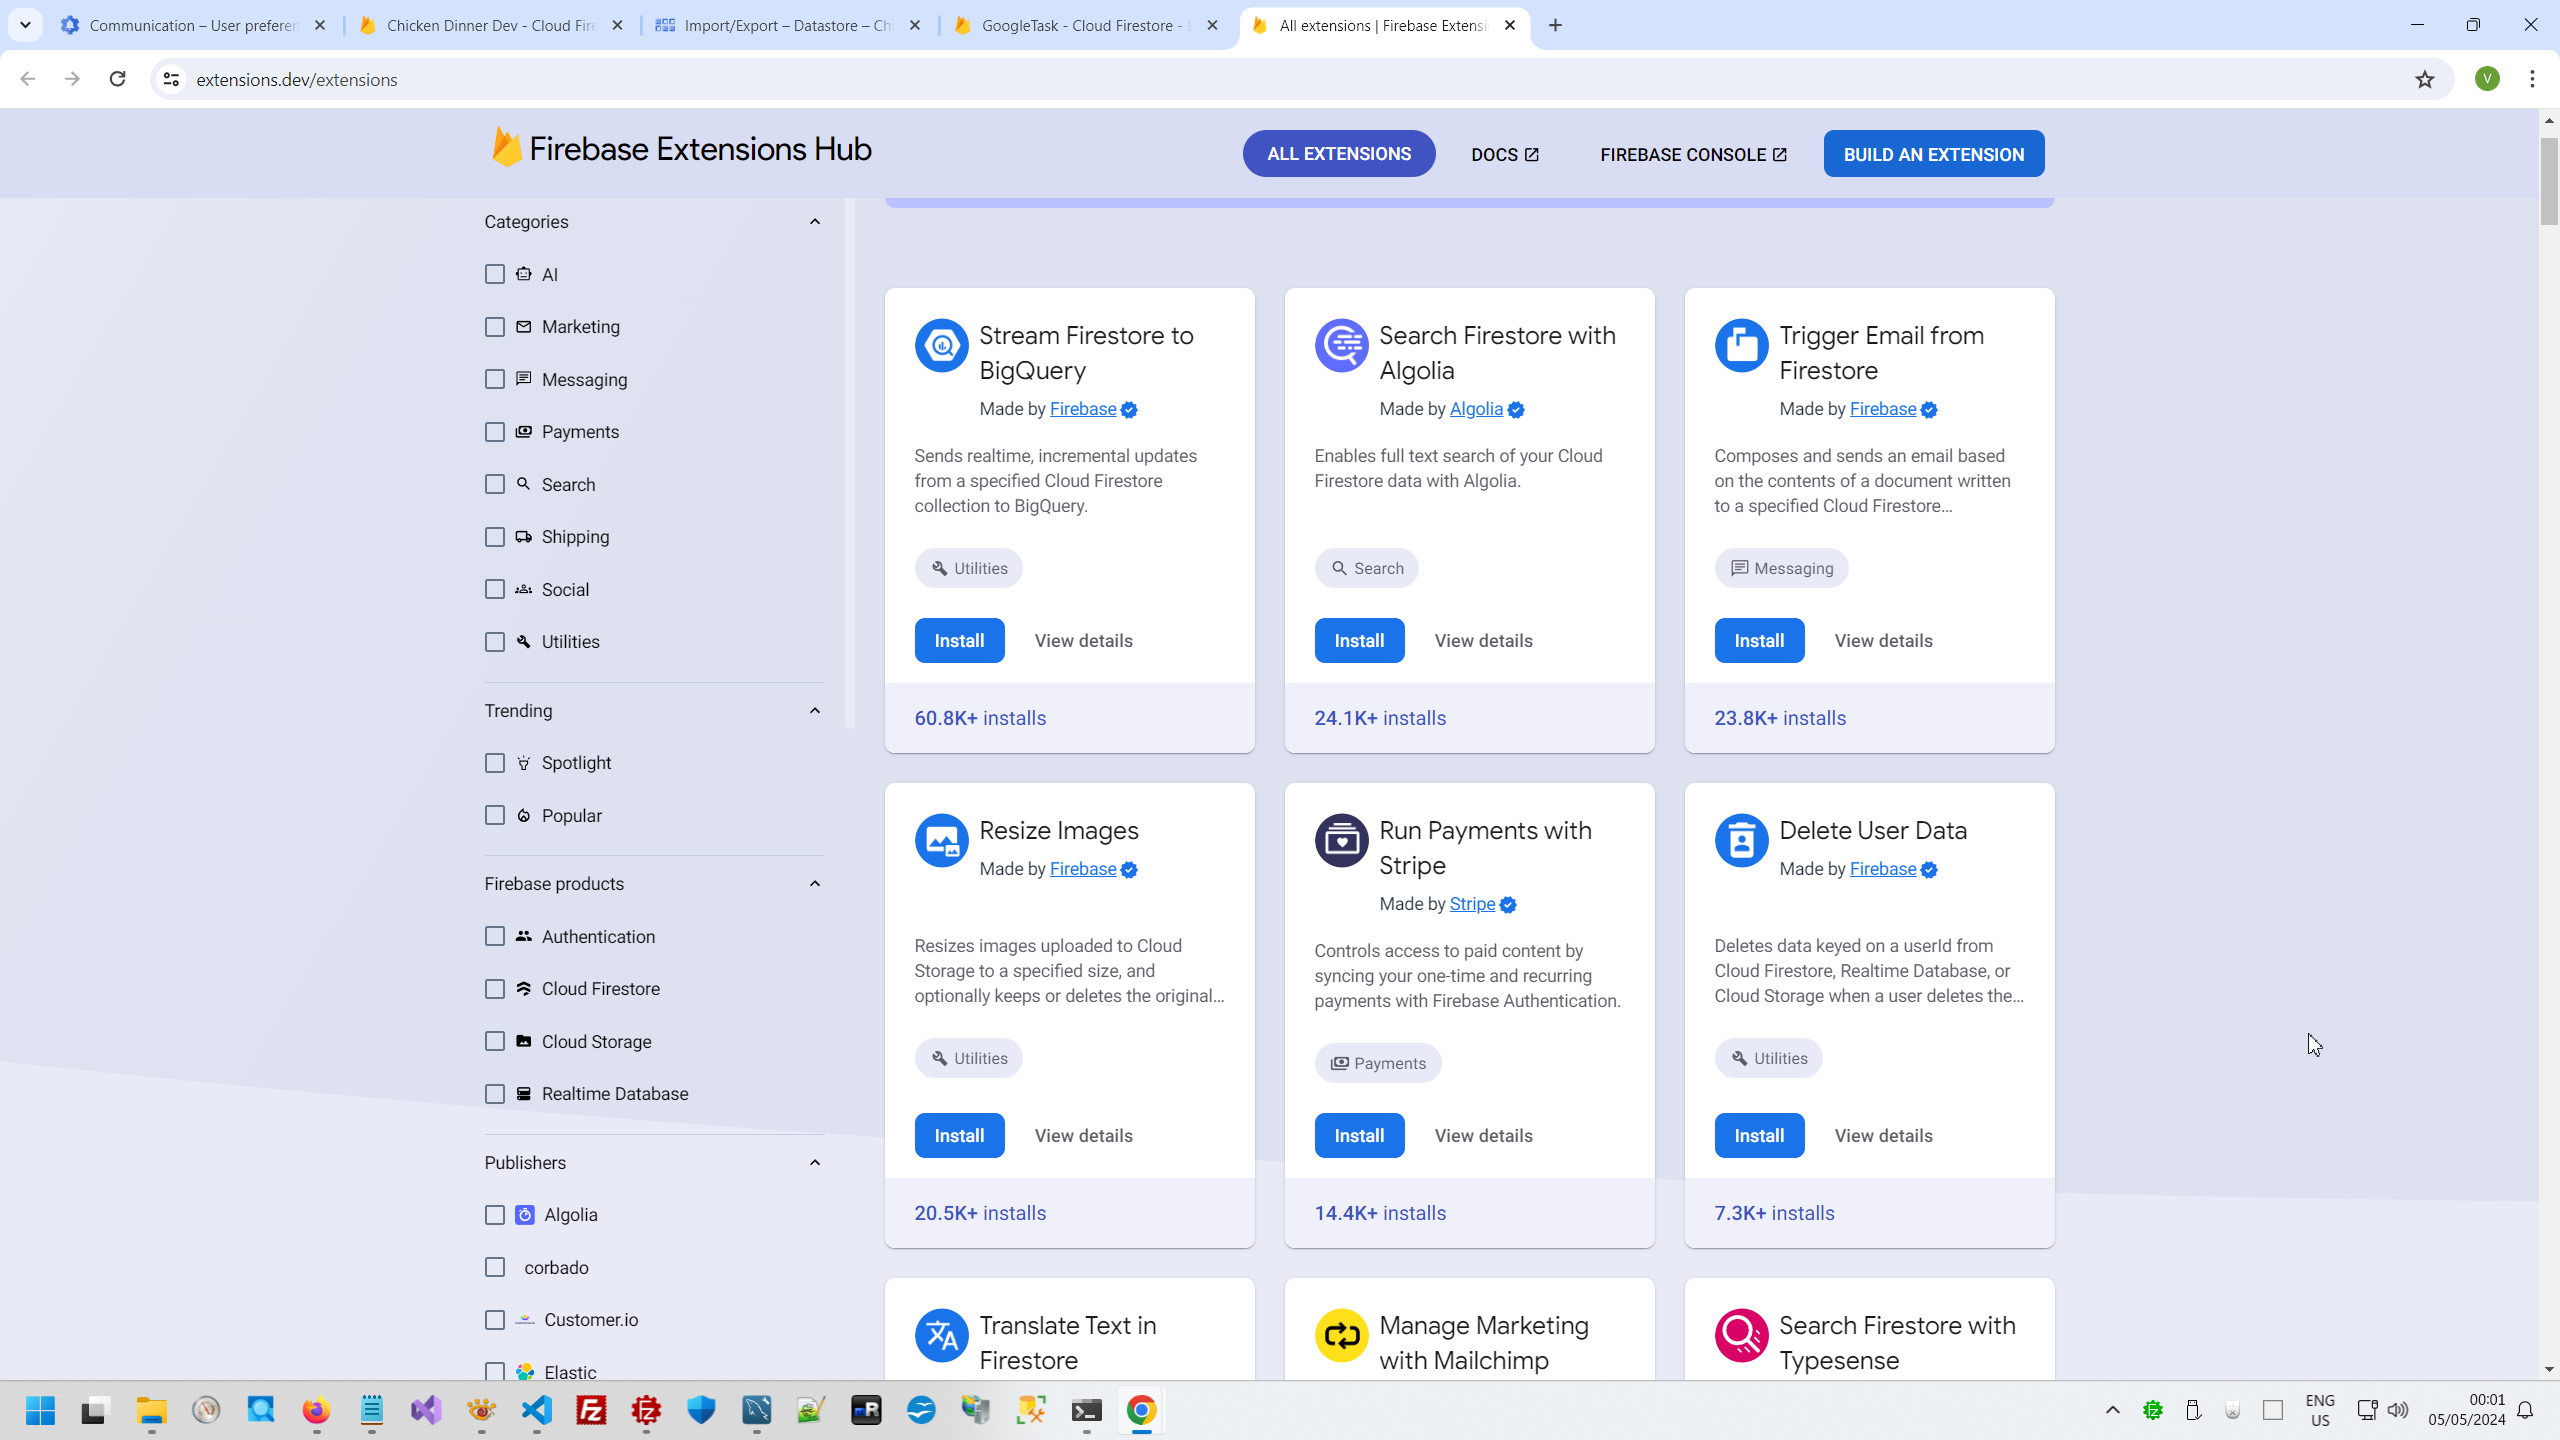
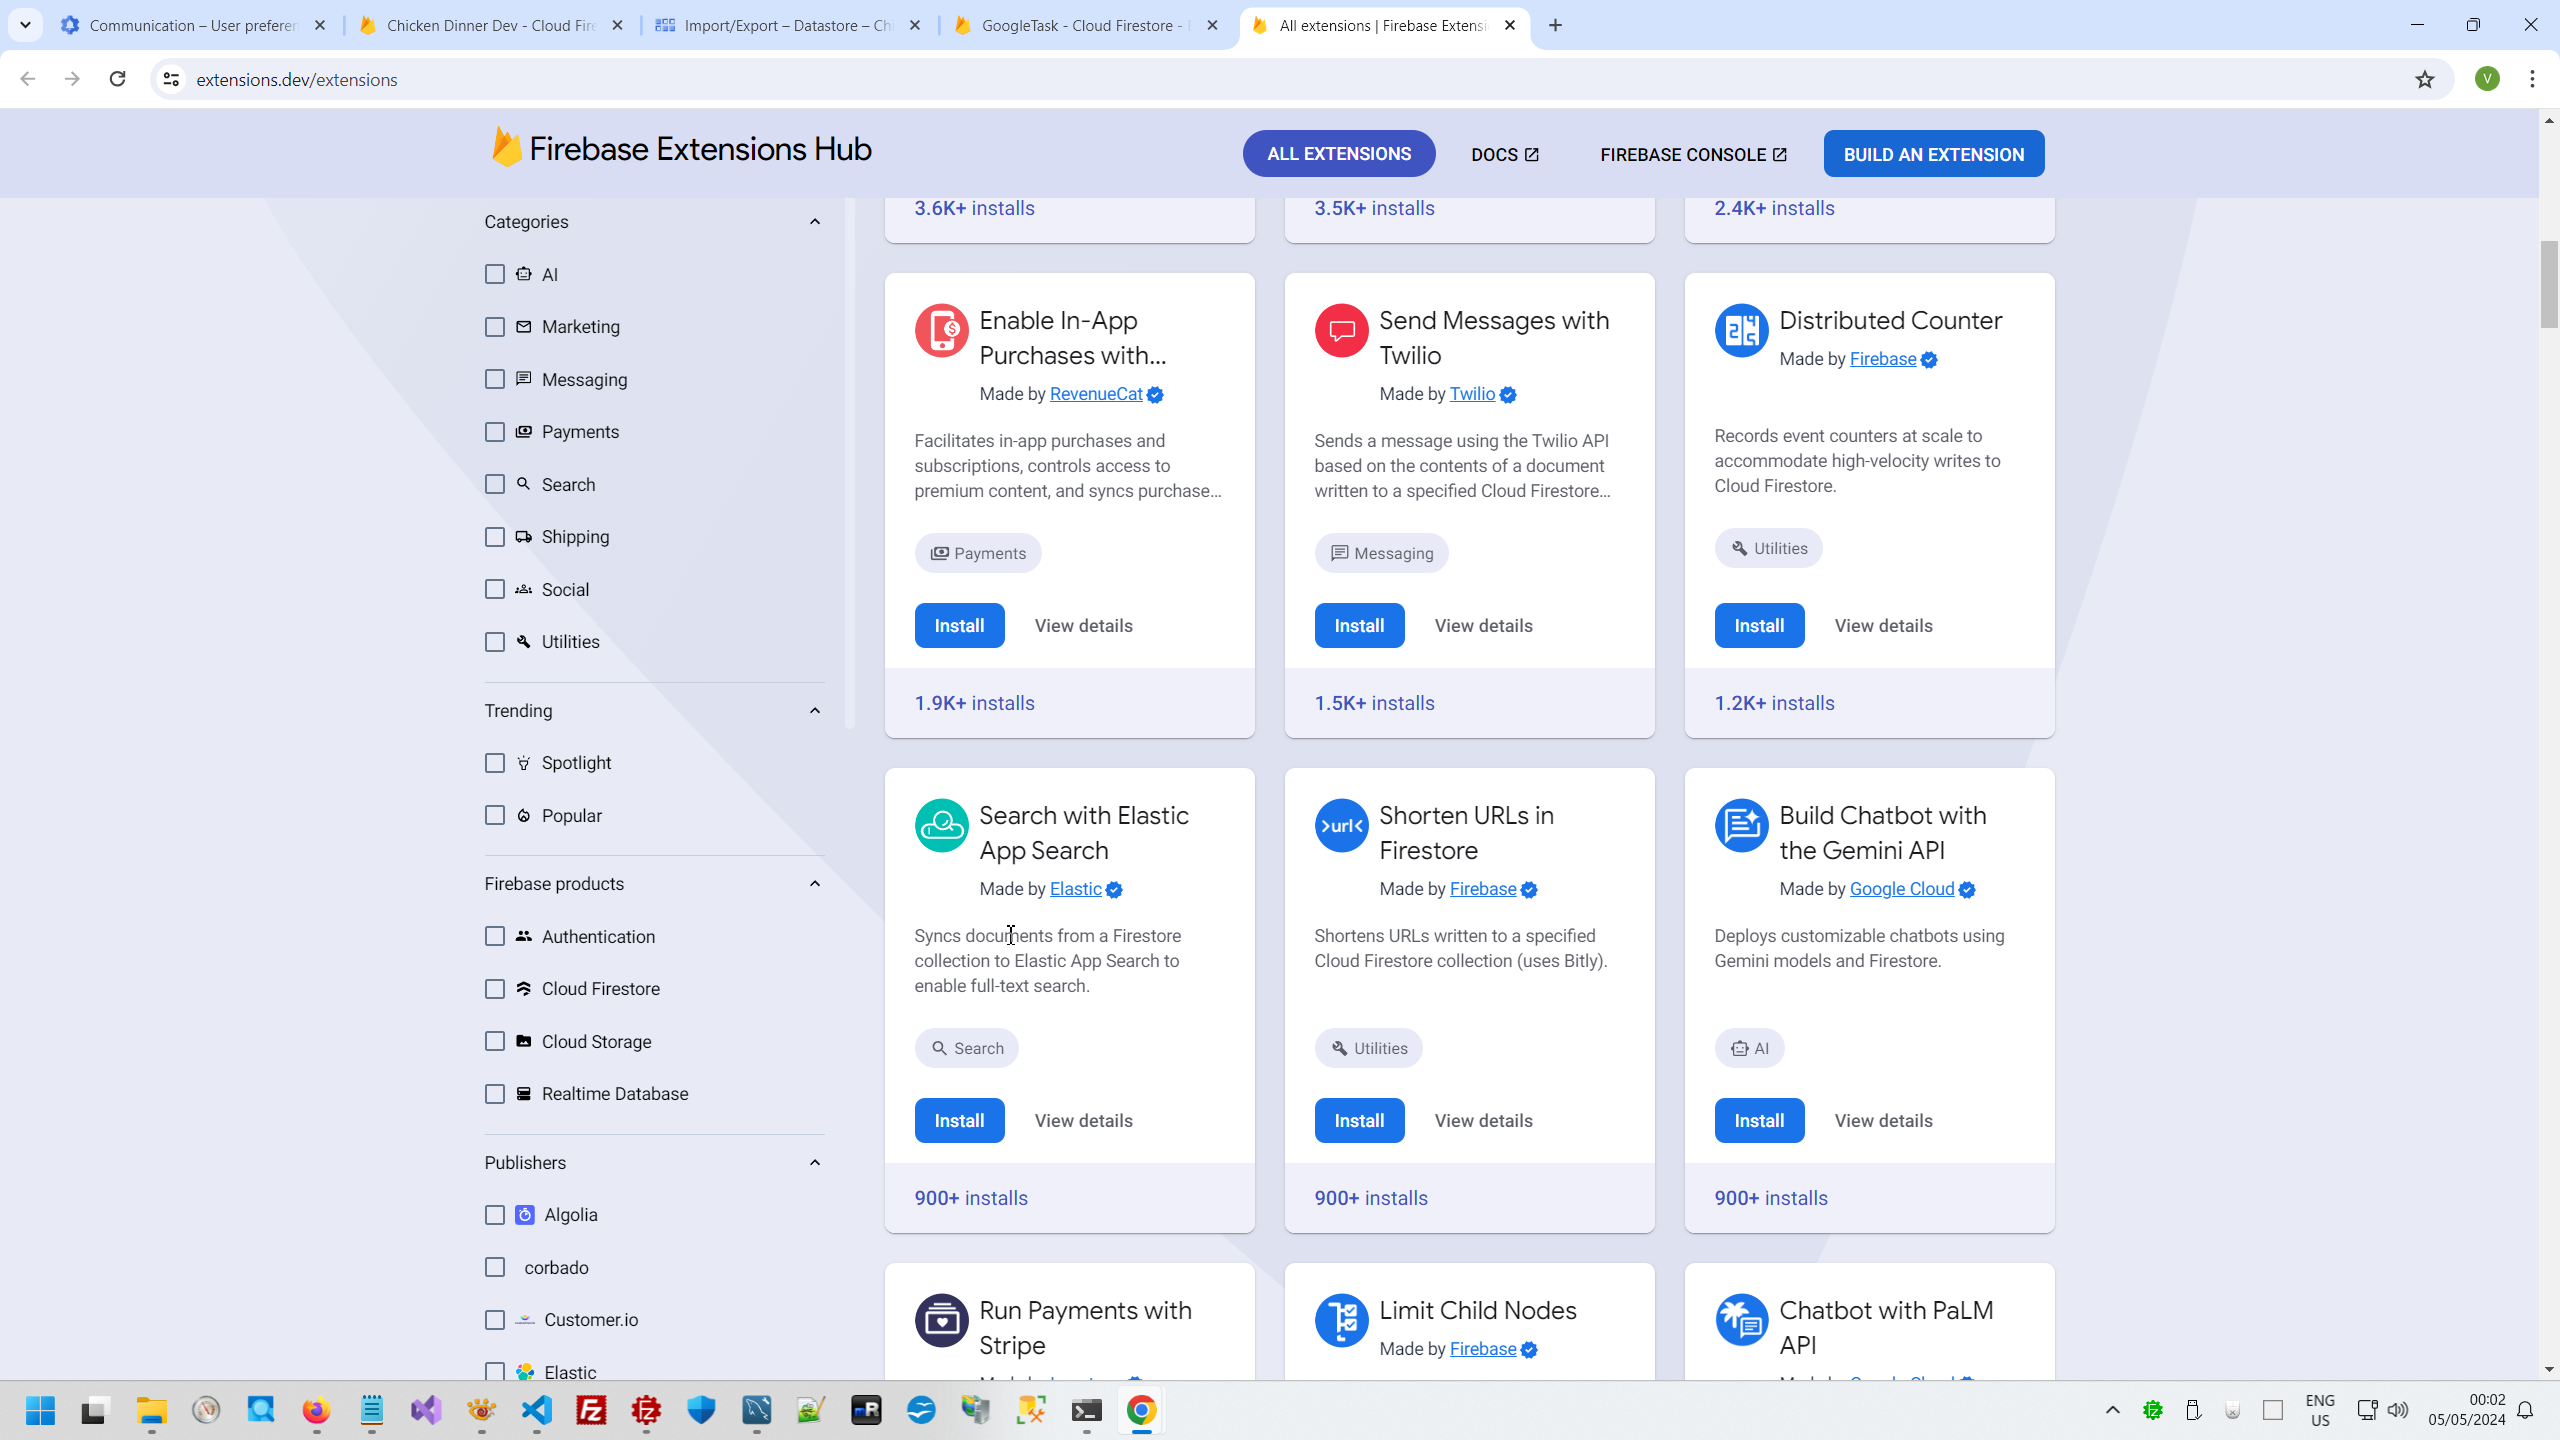
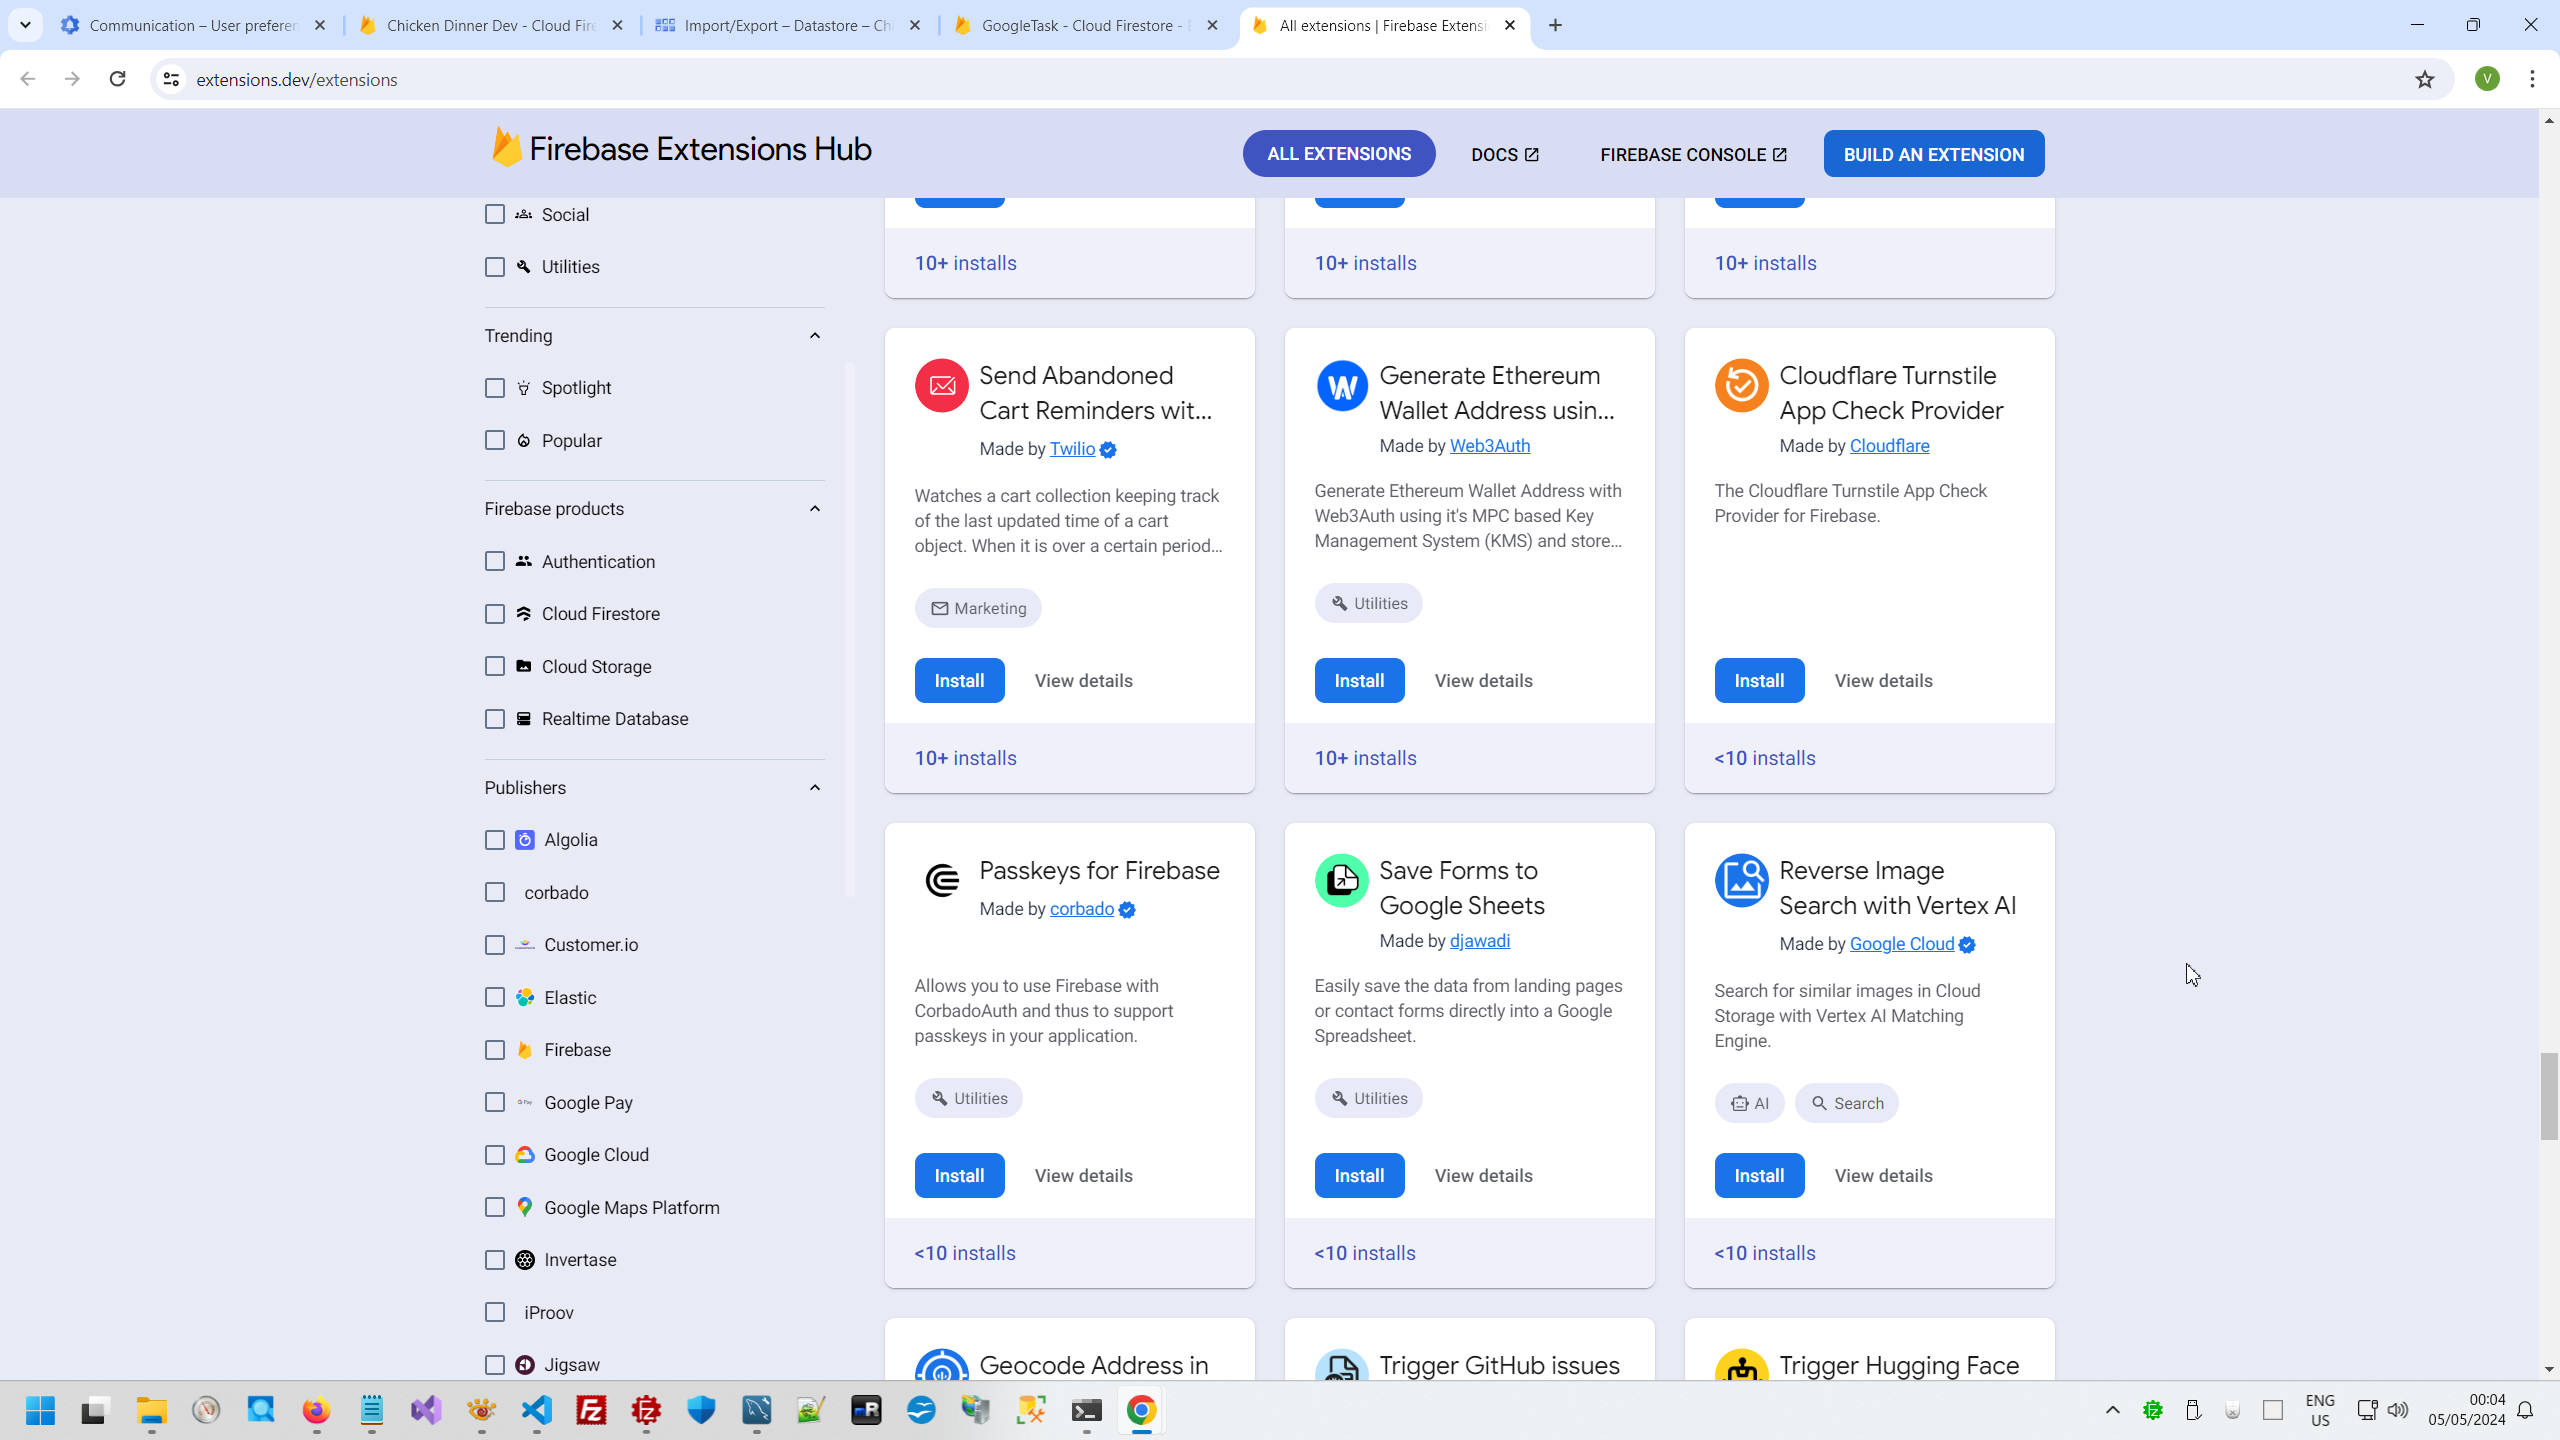
Of course, most interesting is - Firebase Admob extension https://apps.admob.com/, https://github.com/NativeScript/firebase, https://docs.nativescript.org/plugins/firebase-admob
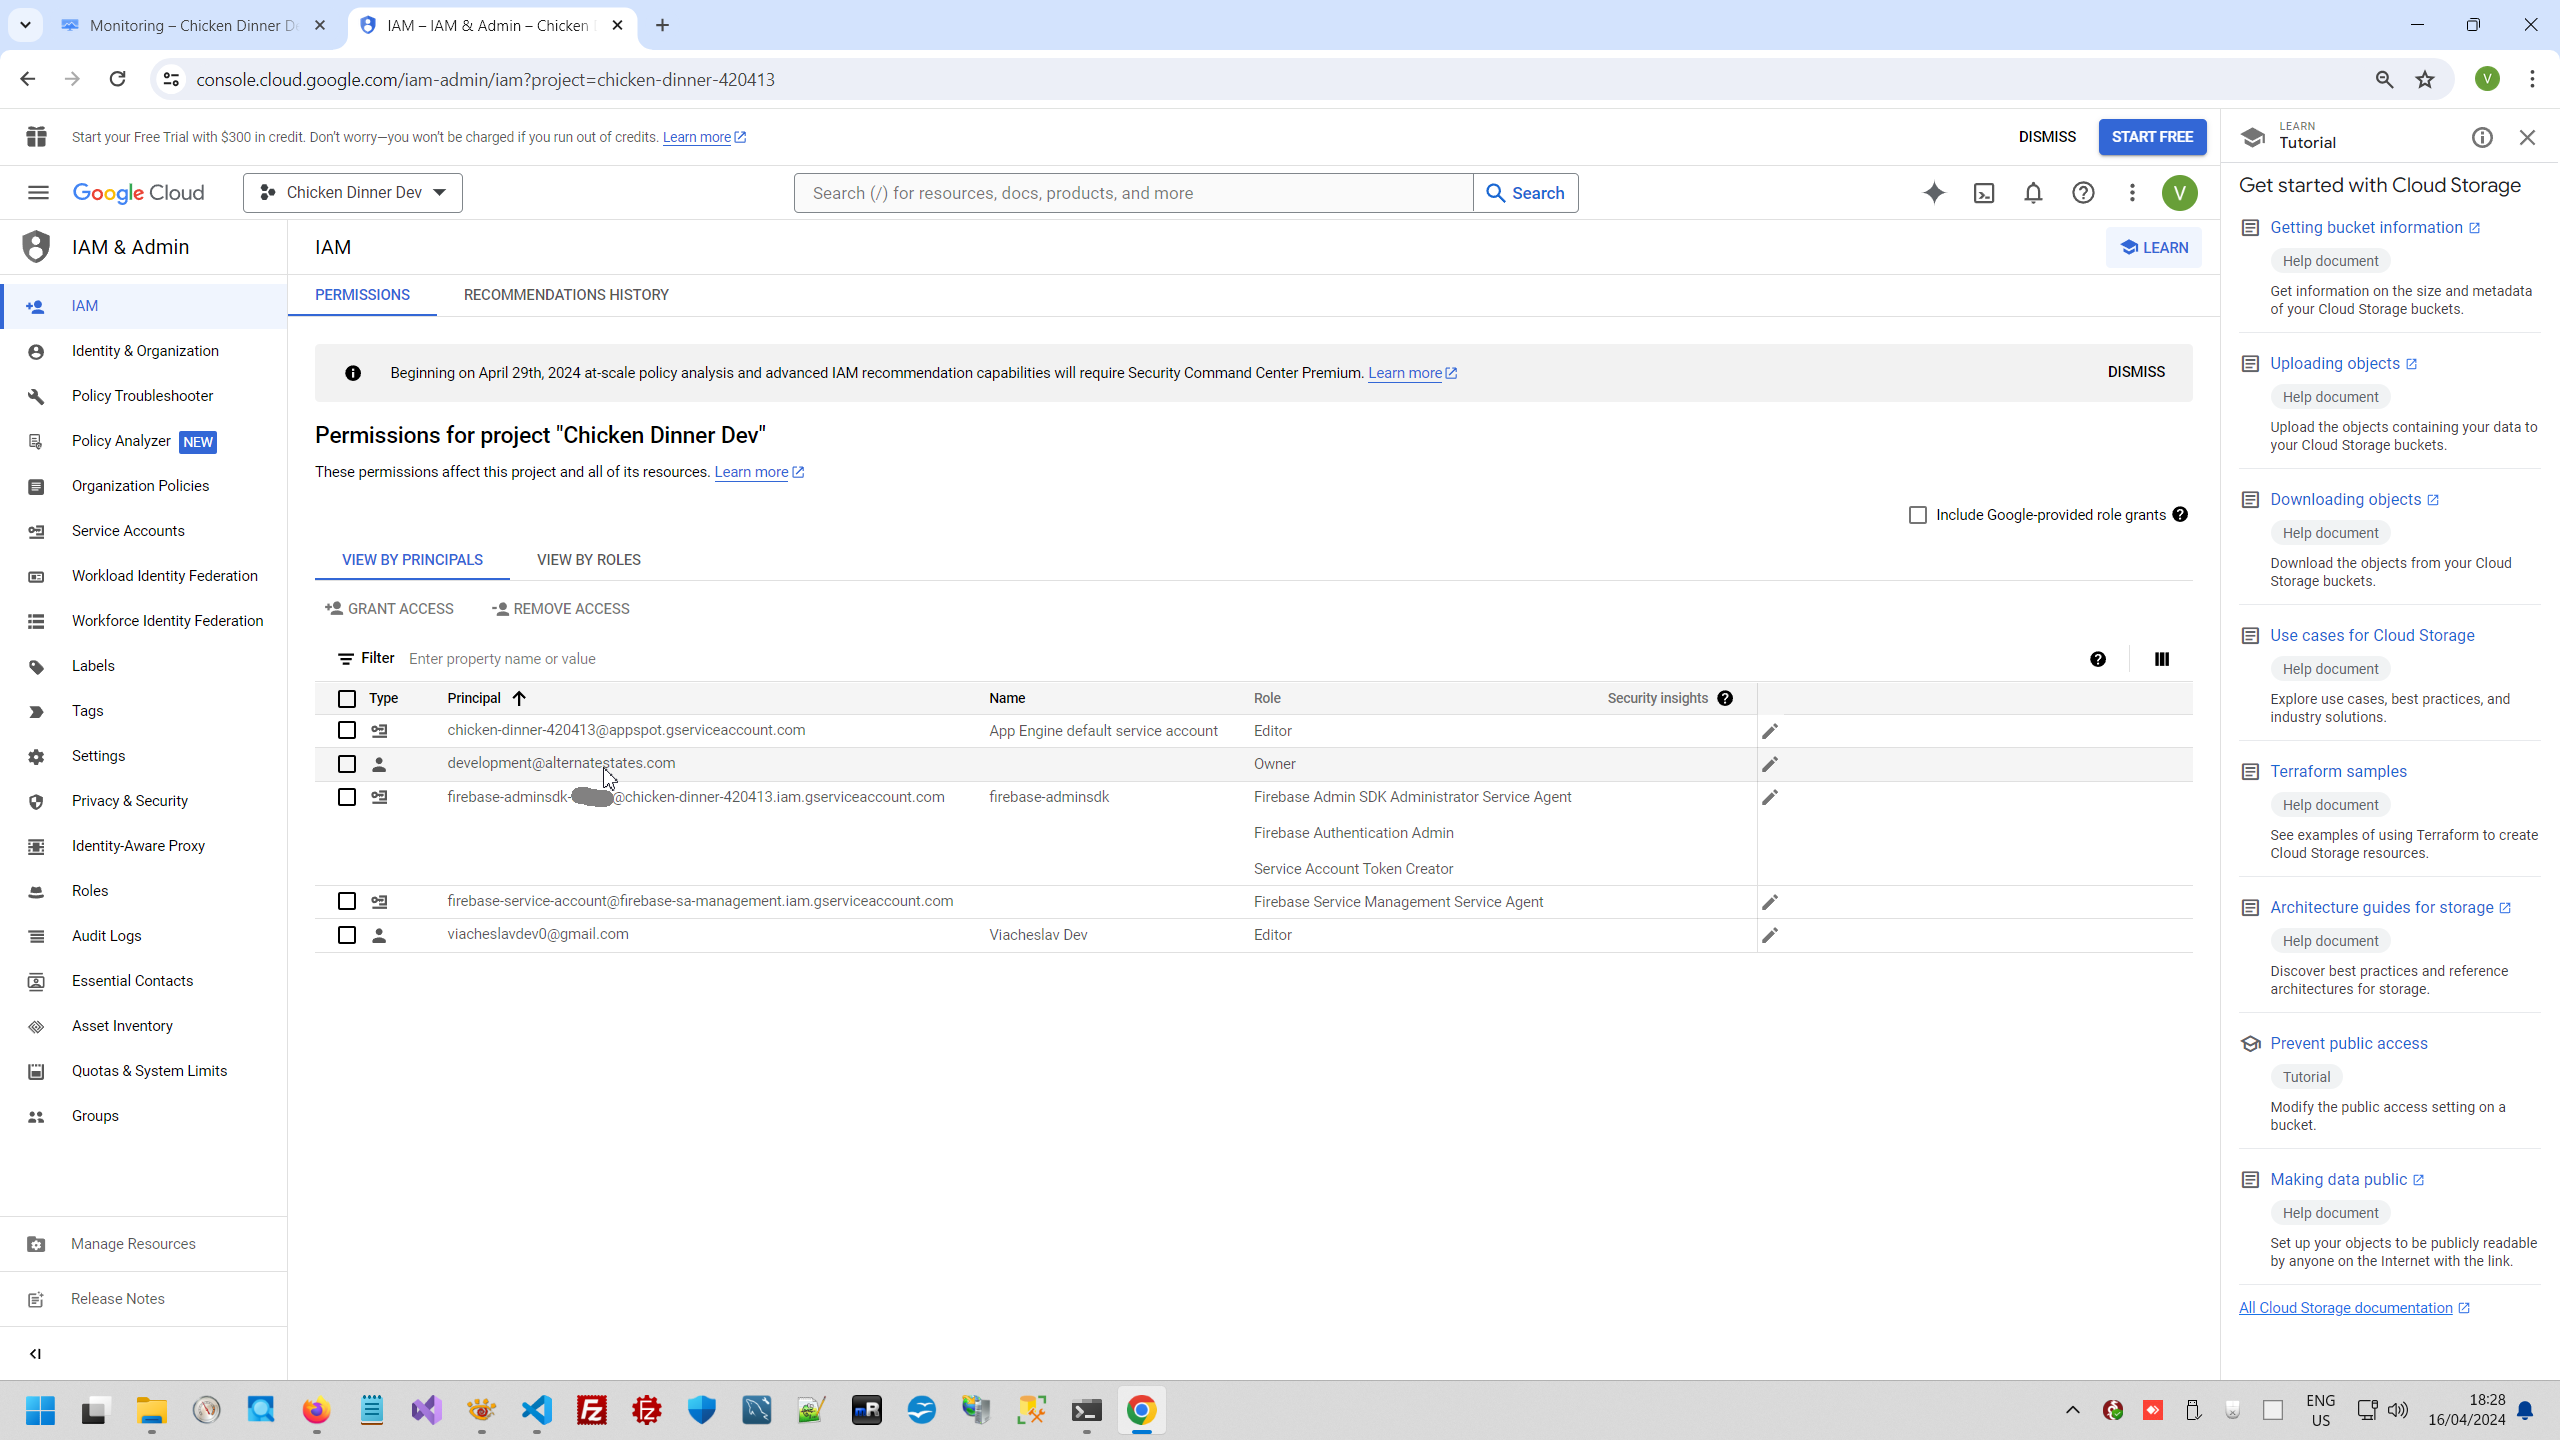
3. Setup account and permissions.
After we entering inside Google Cloud console, usually first step is Setup account.

You can create new project at any time, but if you are not owner of project, you need permission from owner to any important operations.
This is changing my permissions
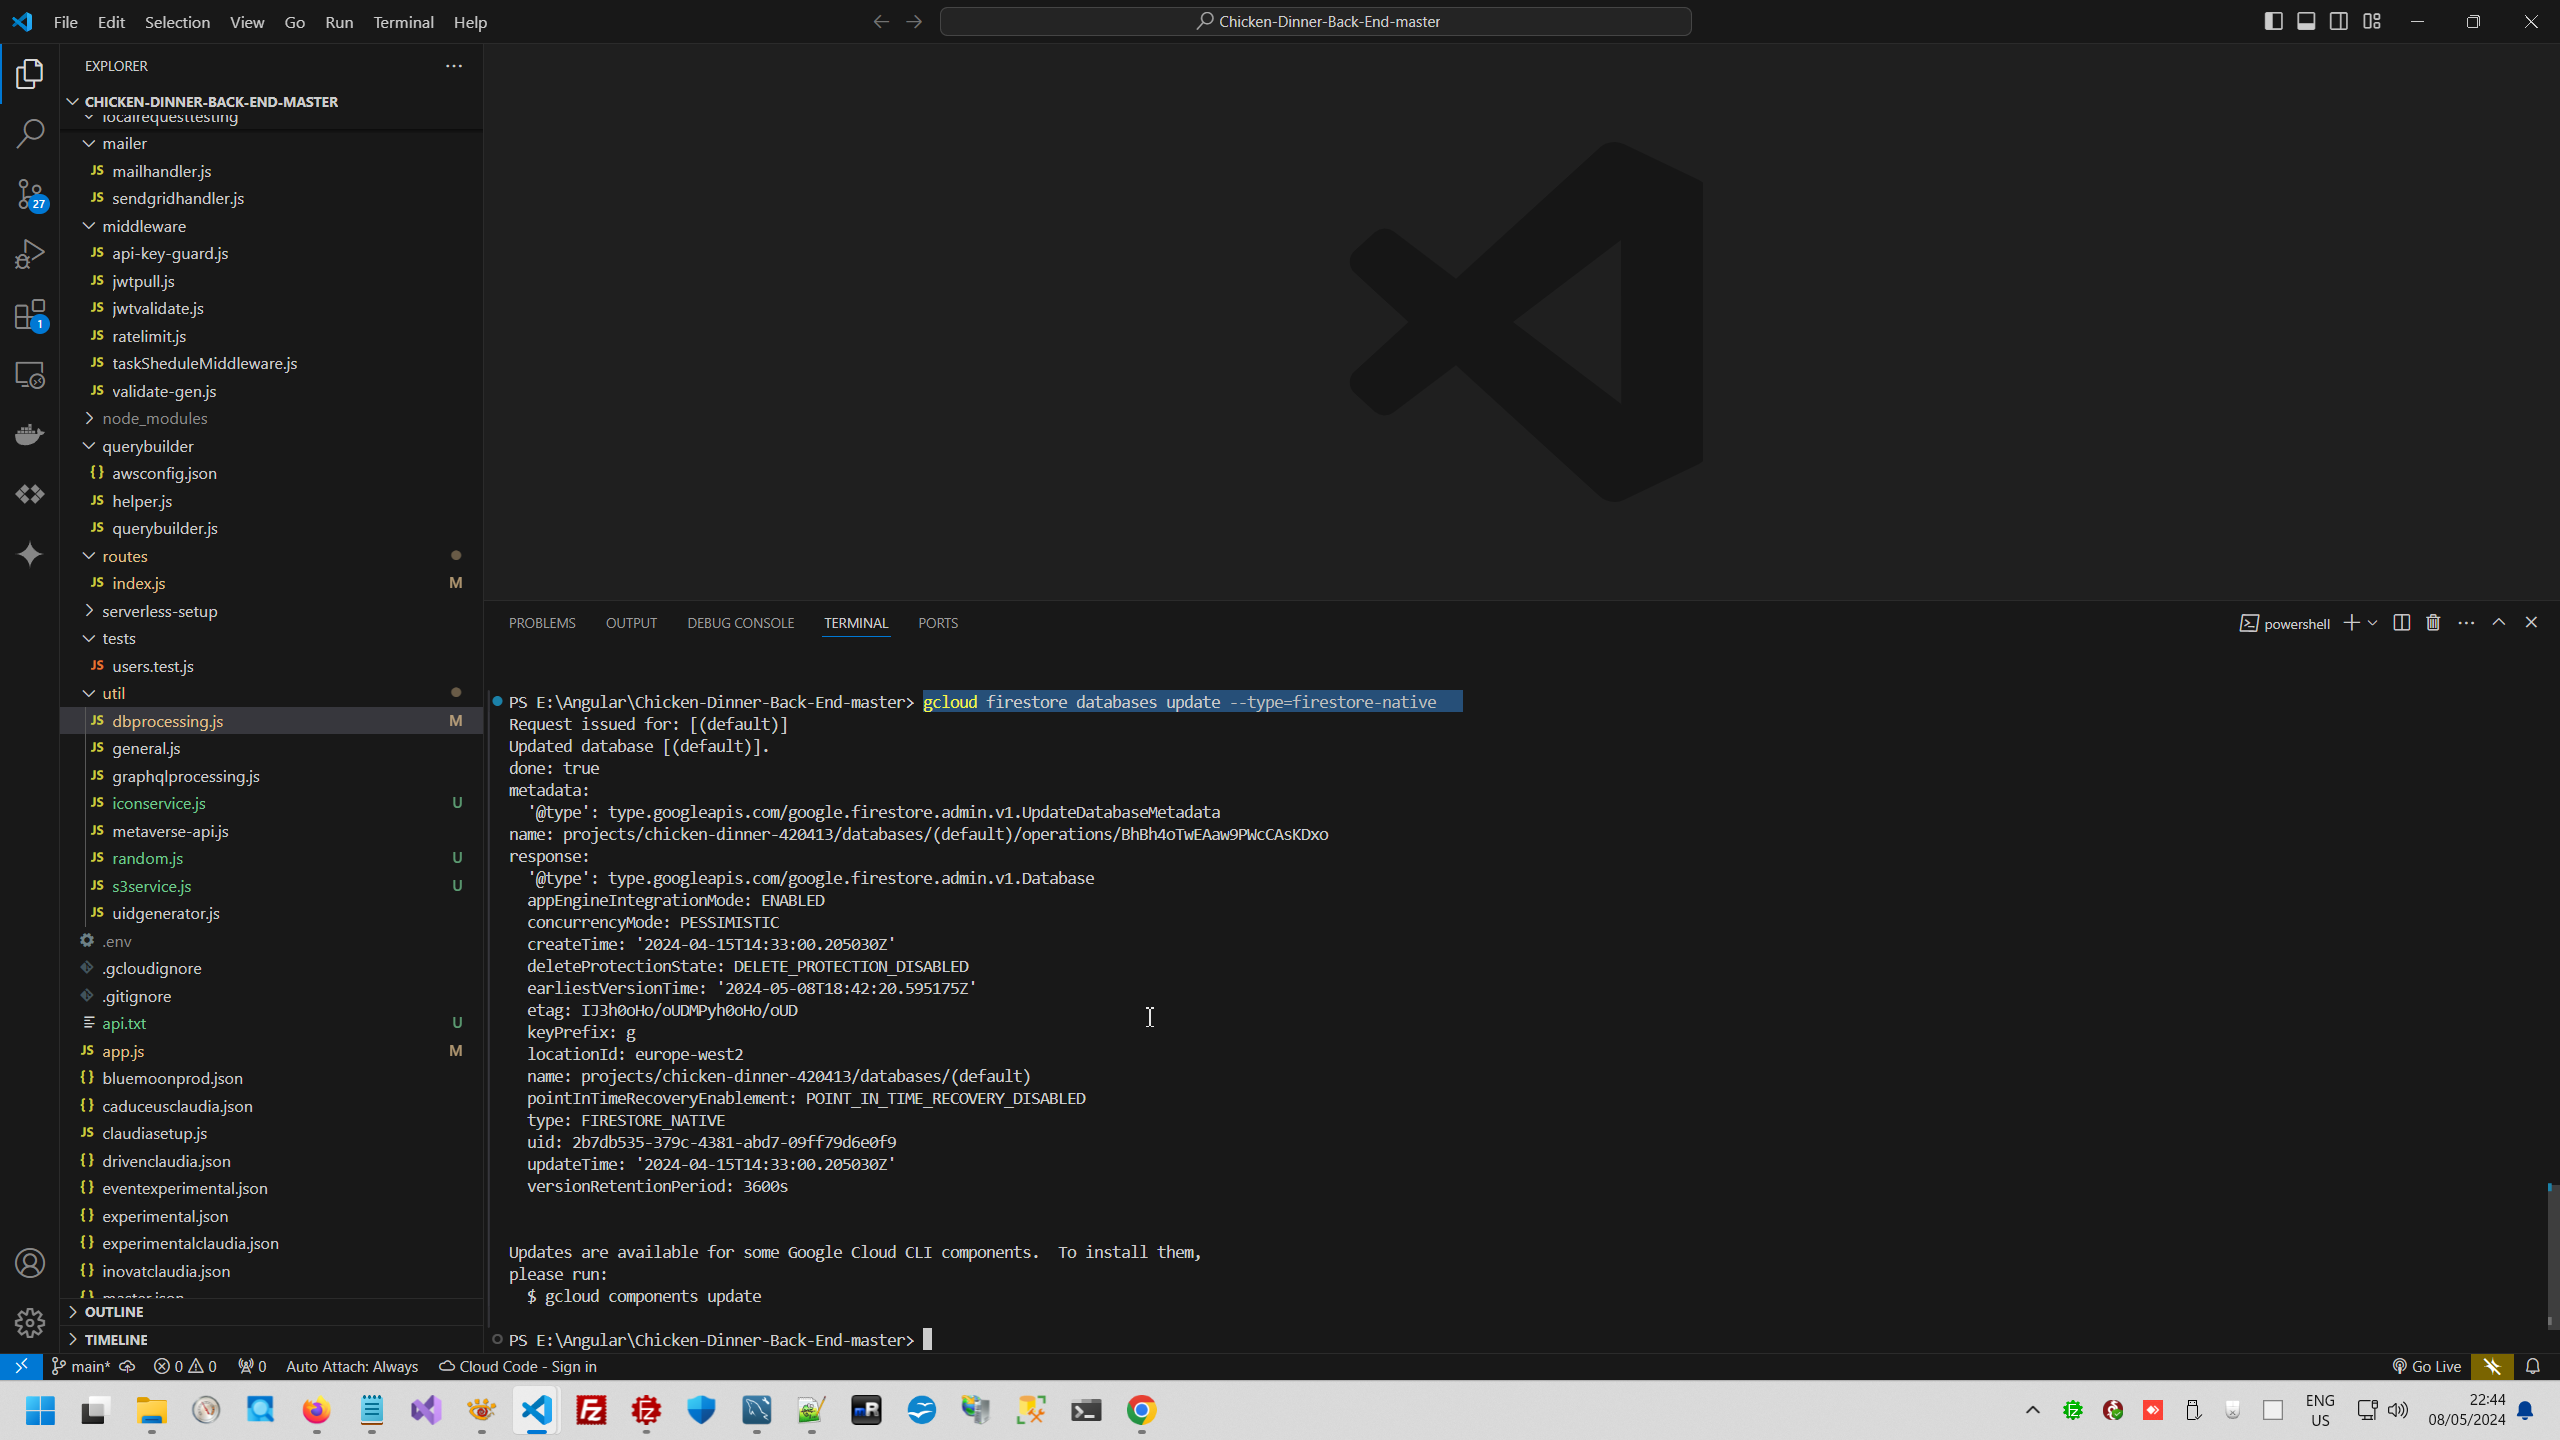
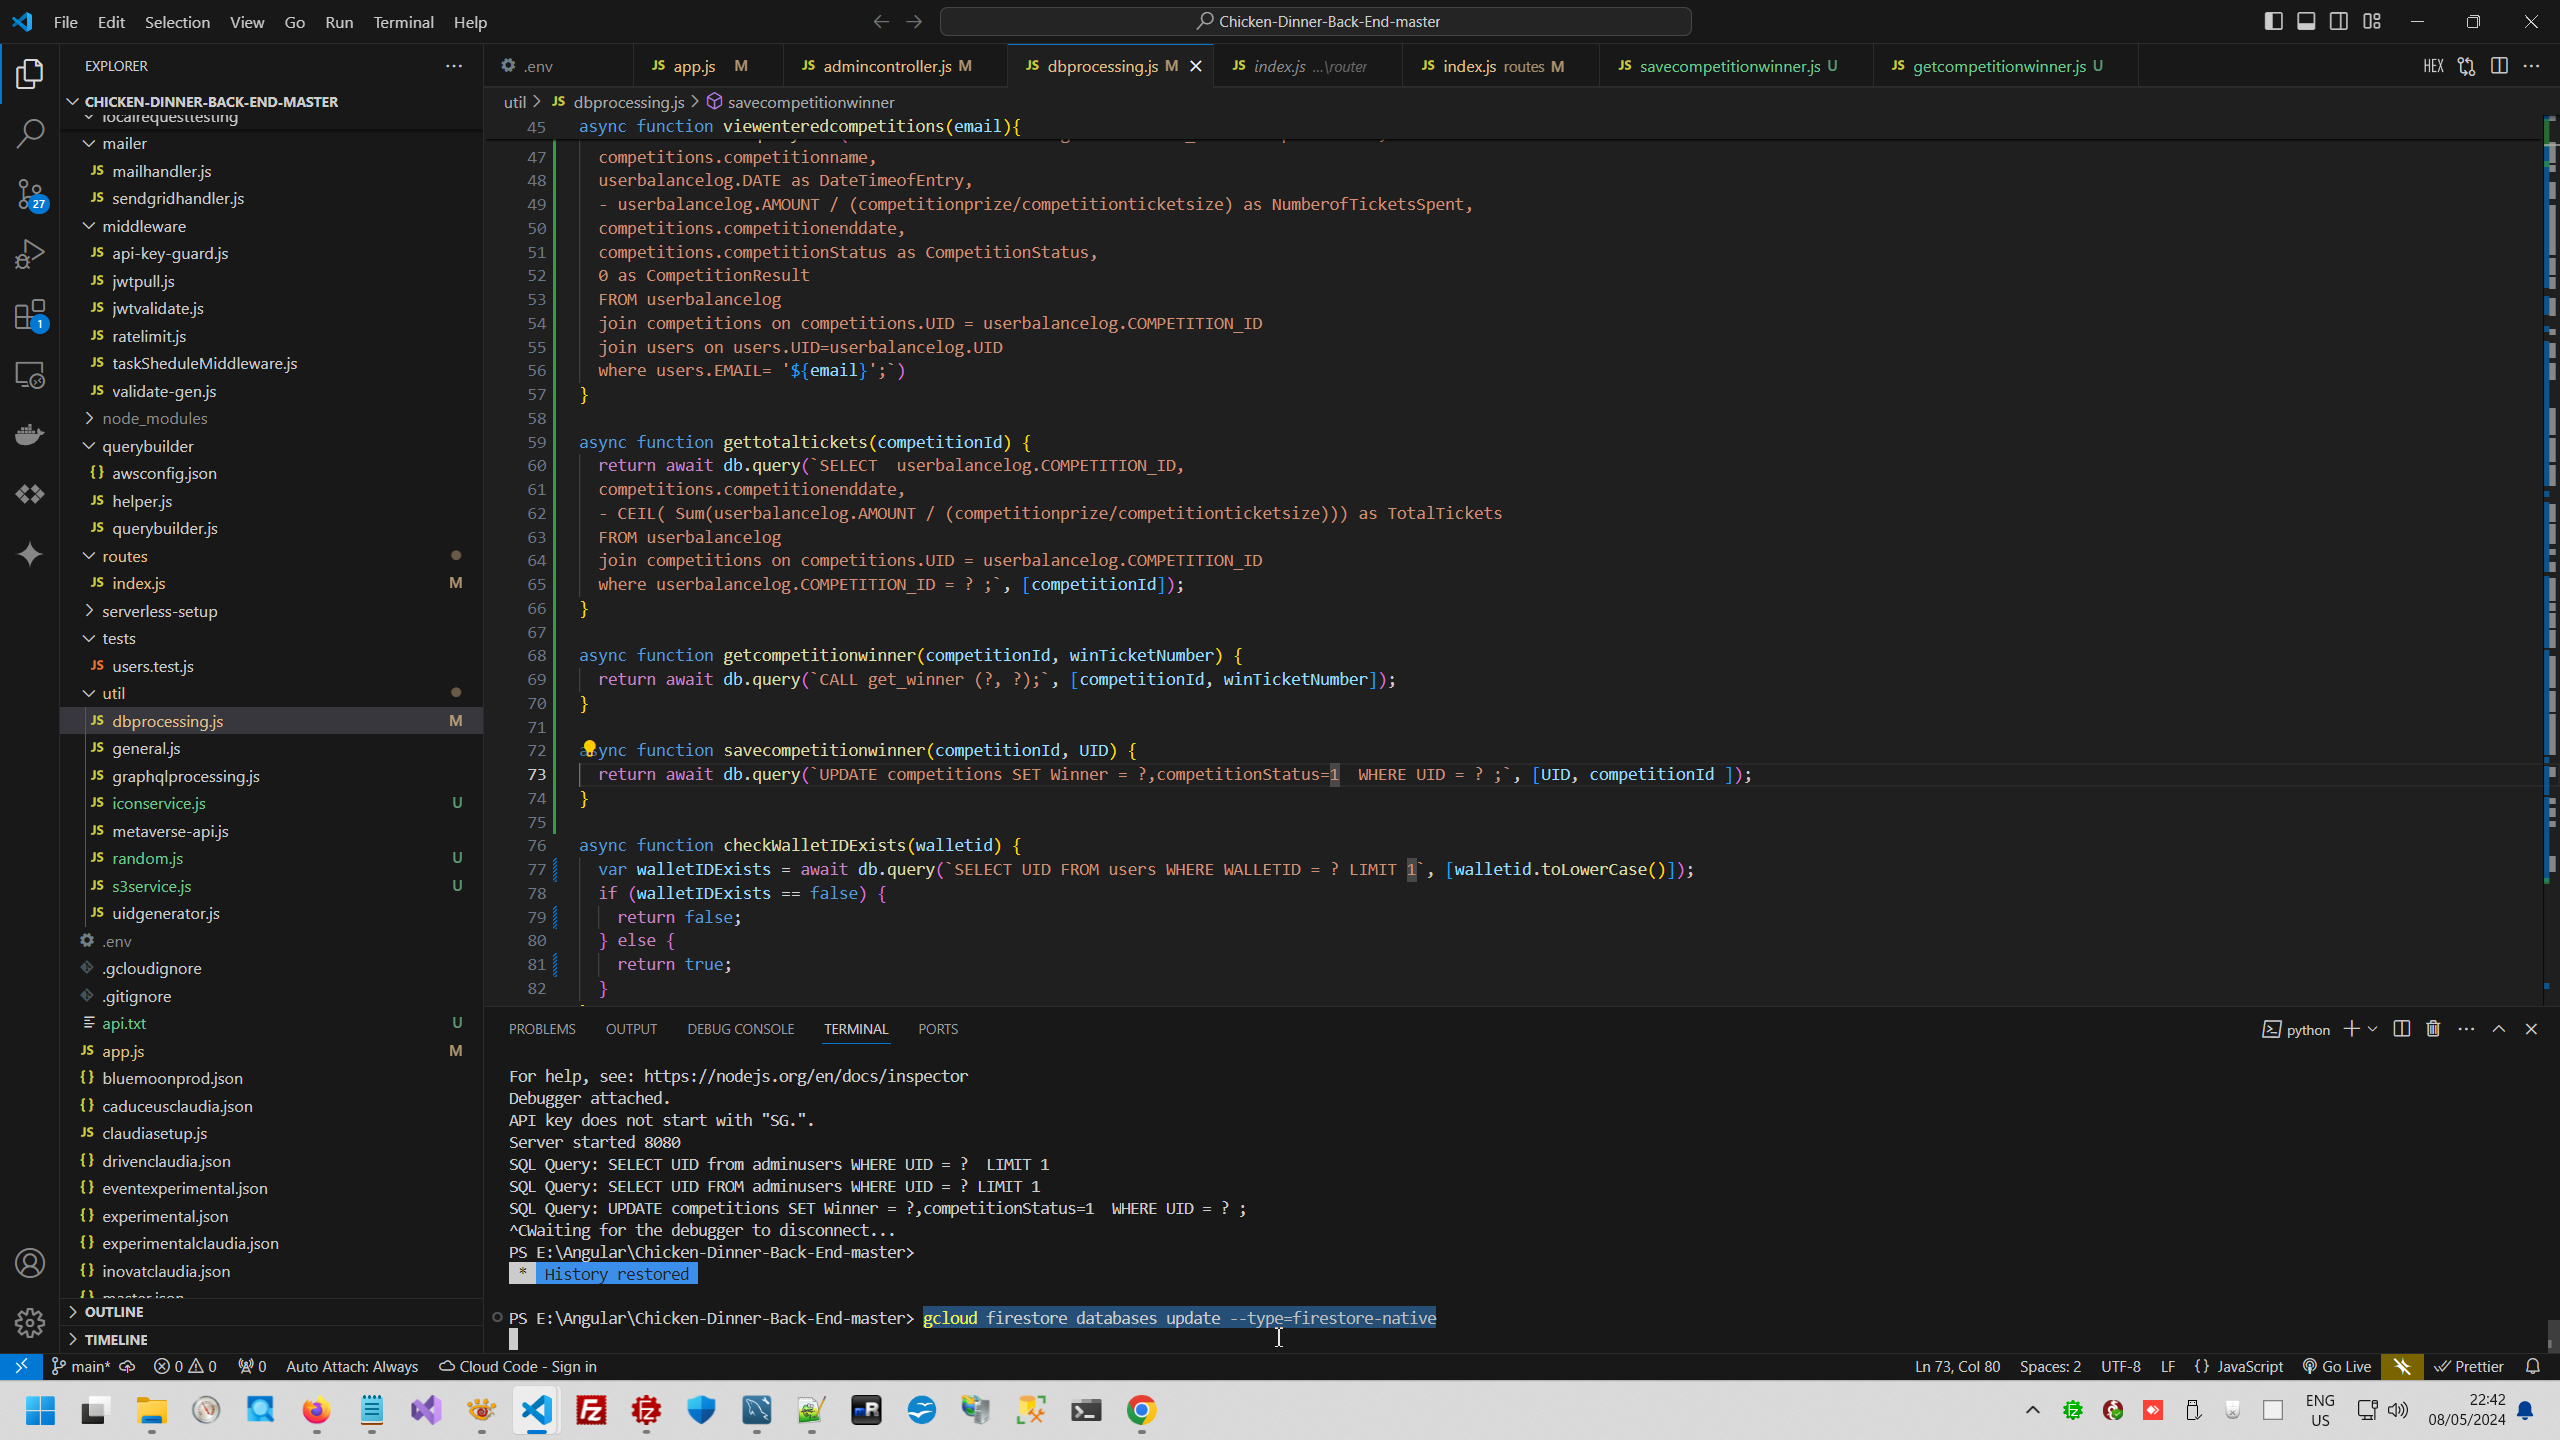
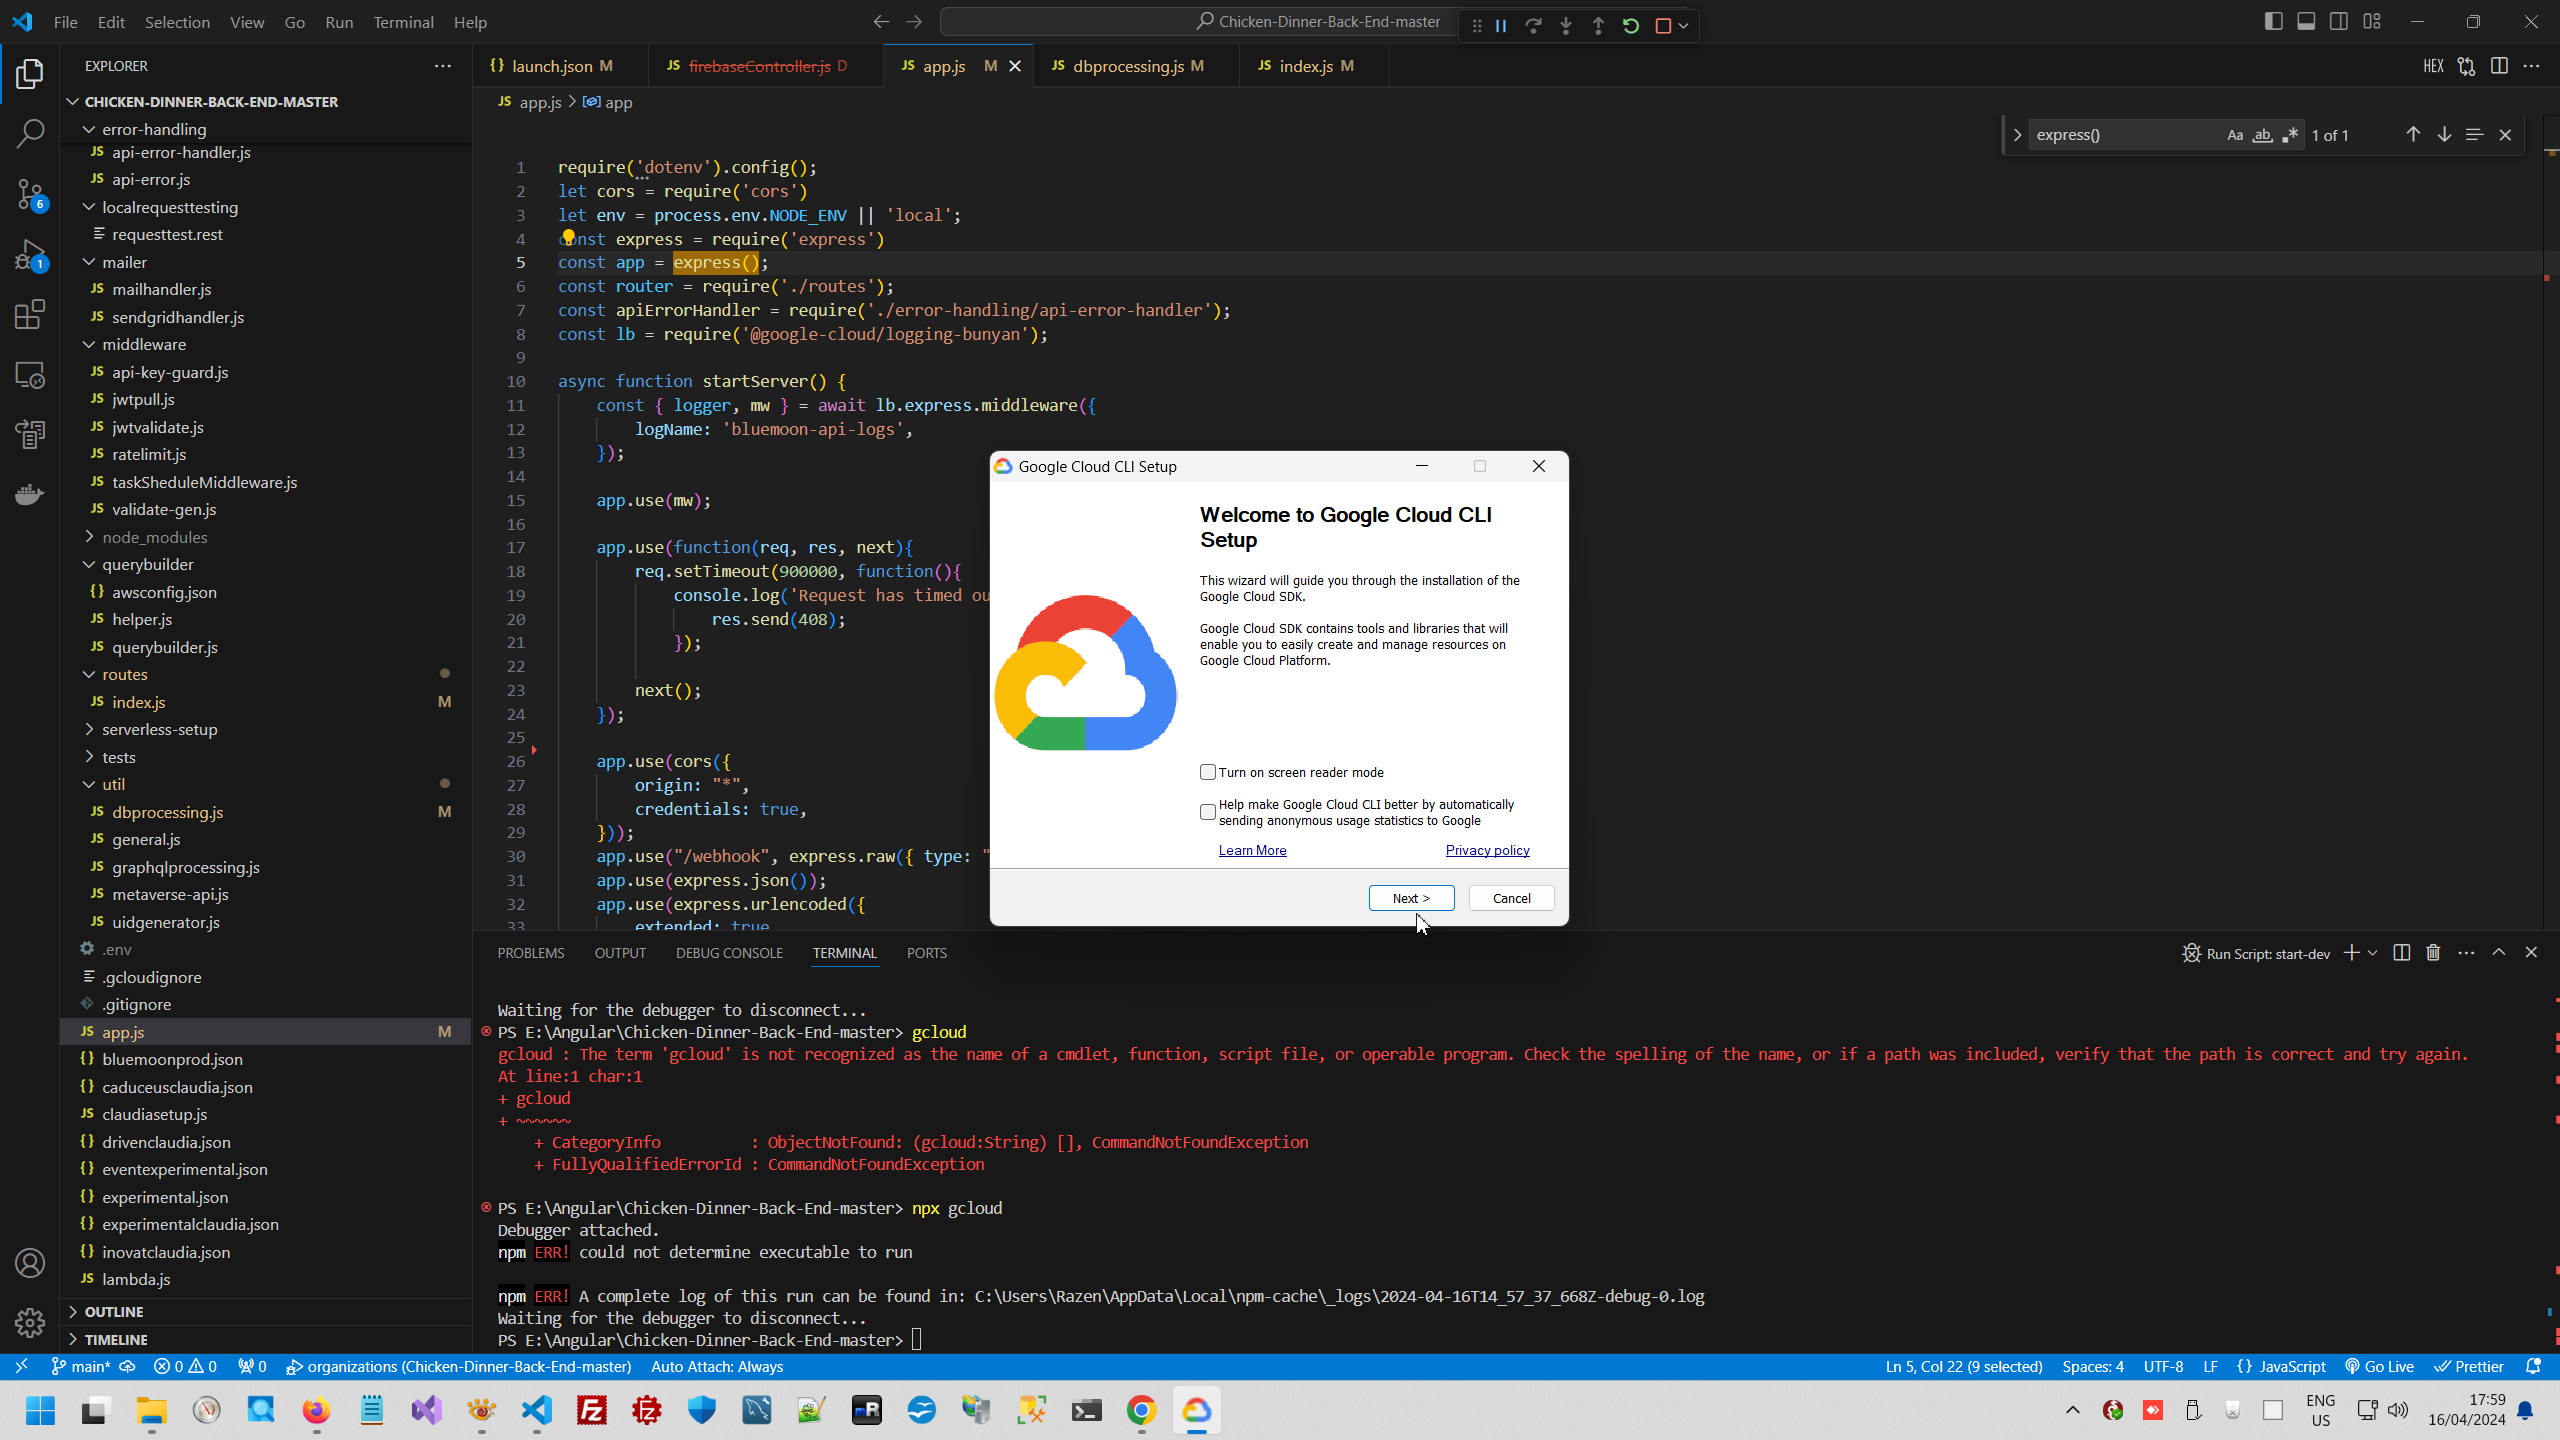
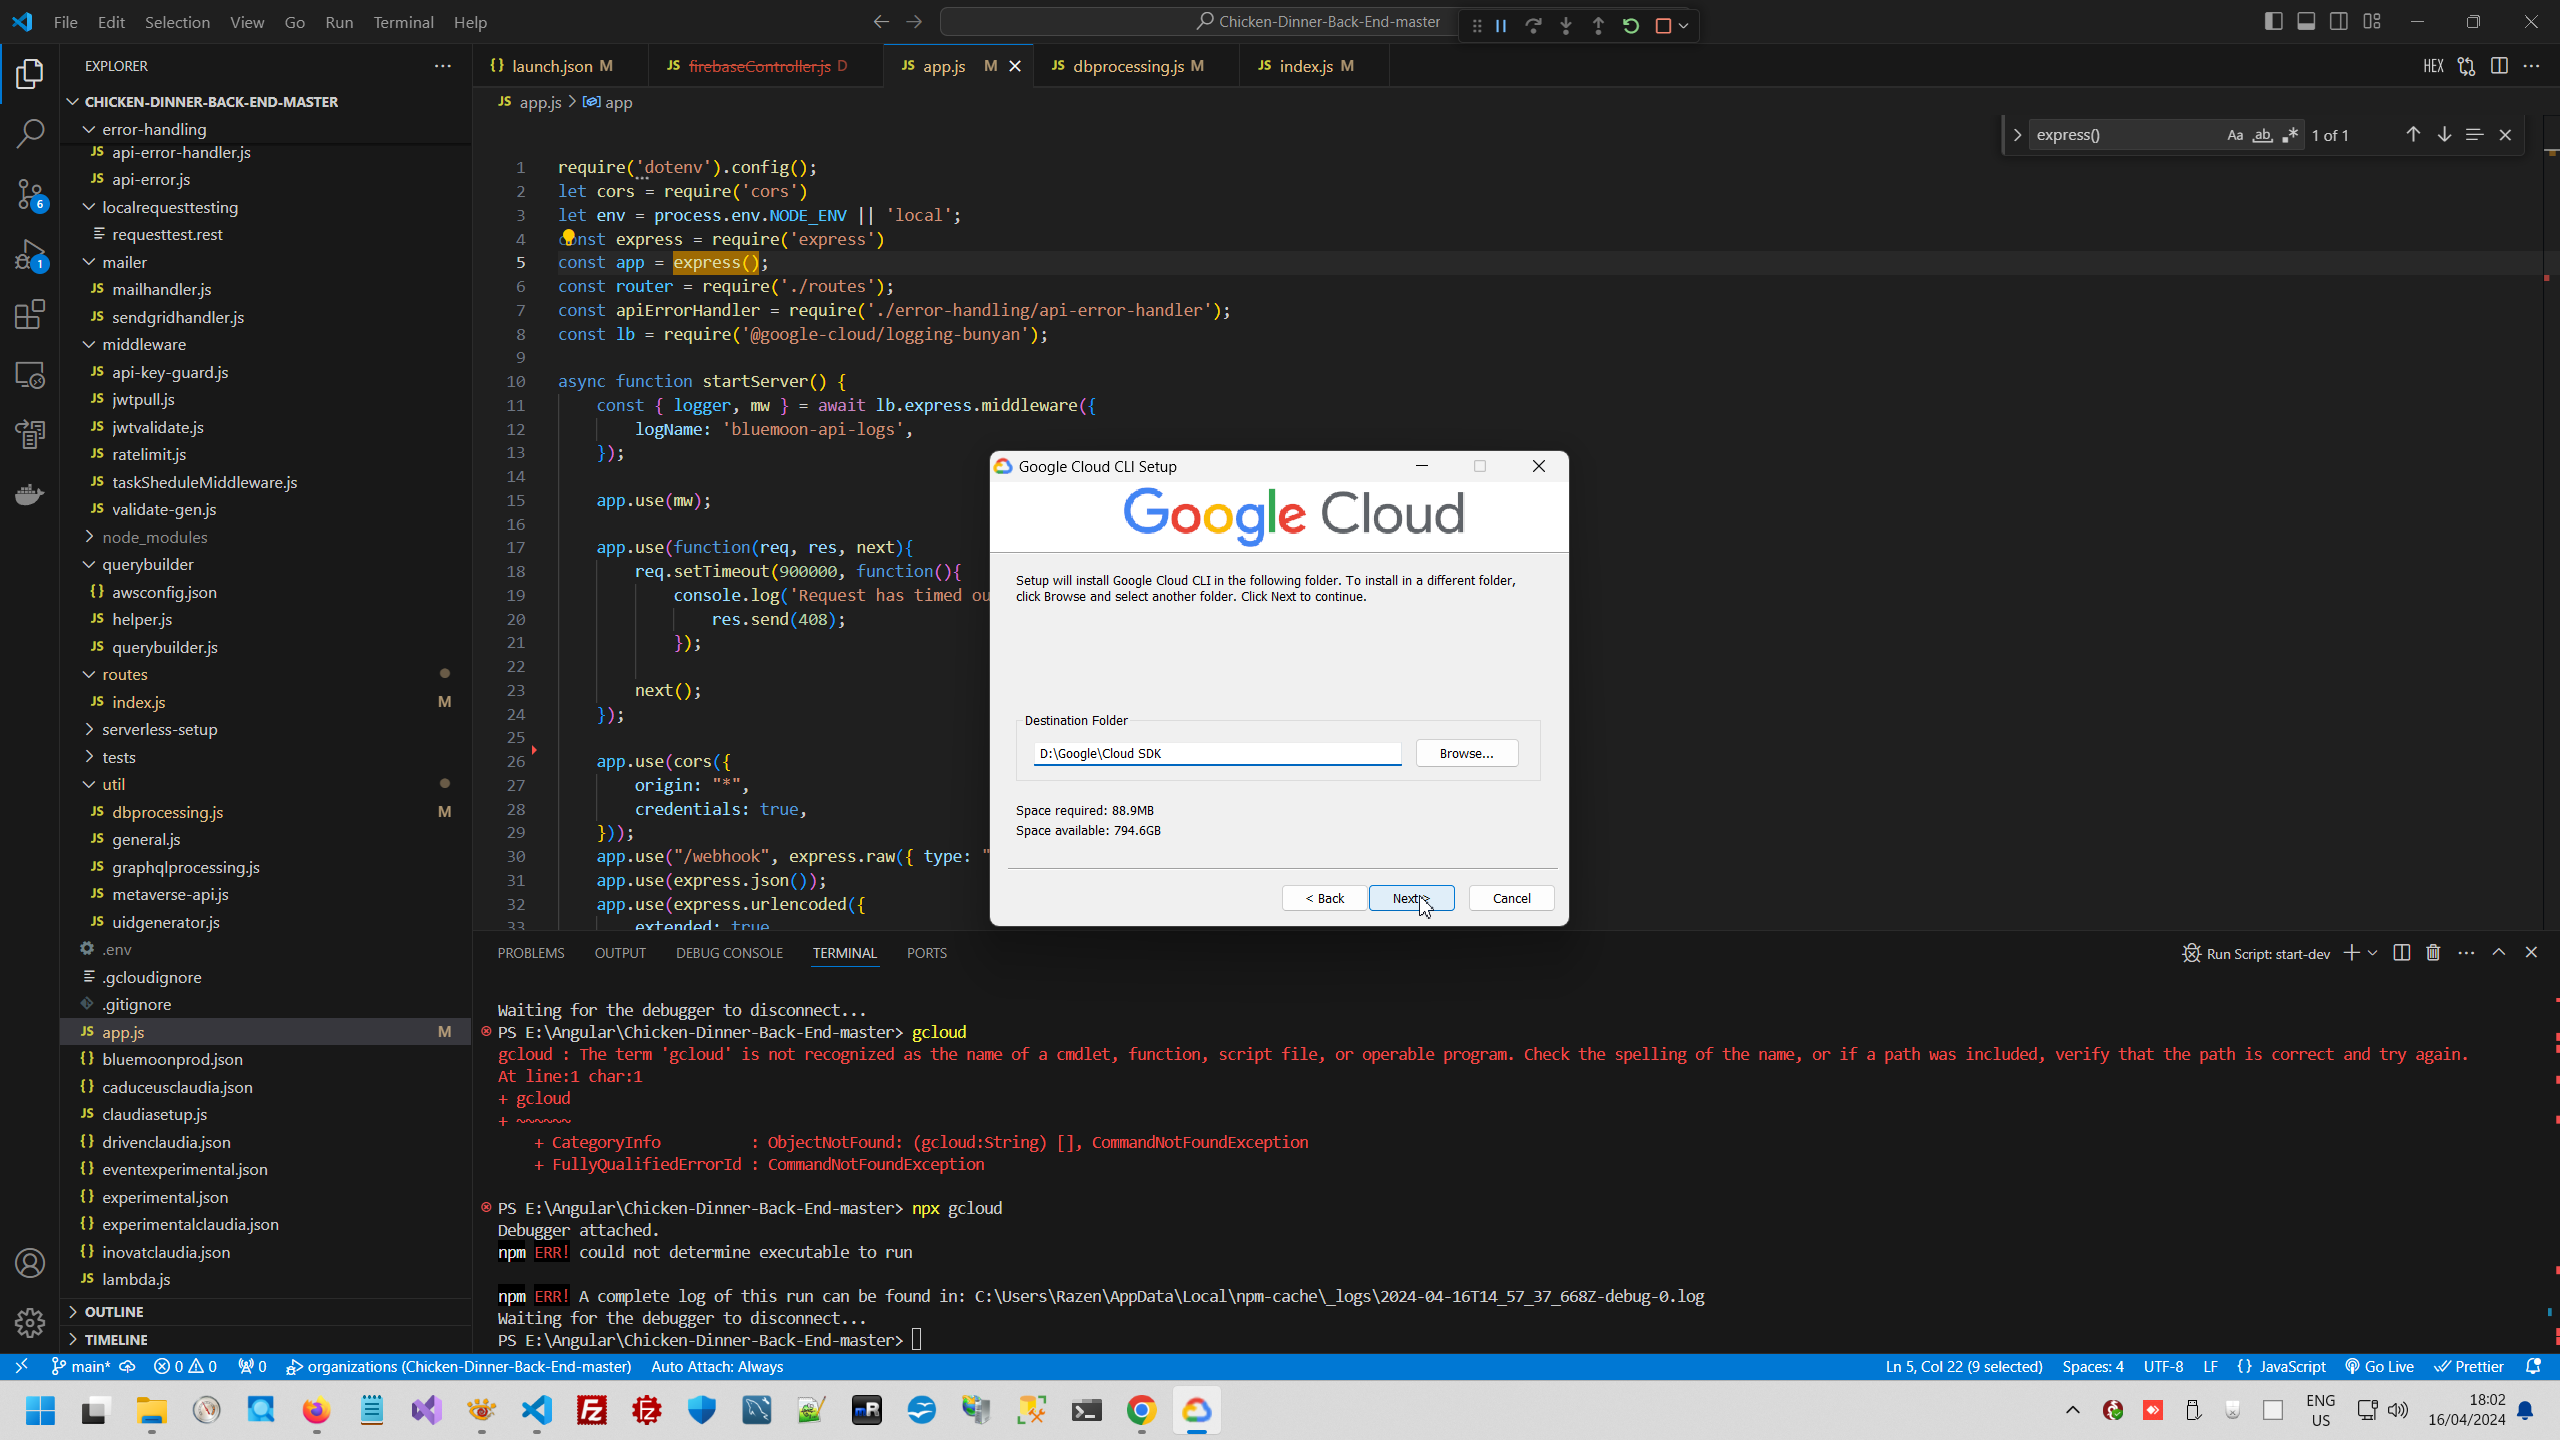
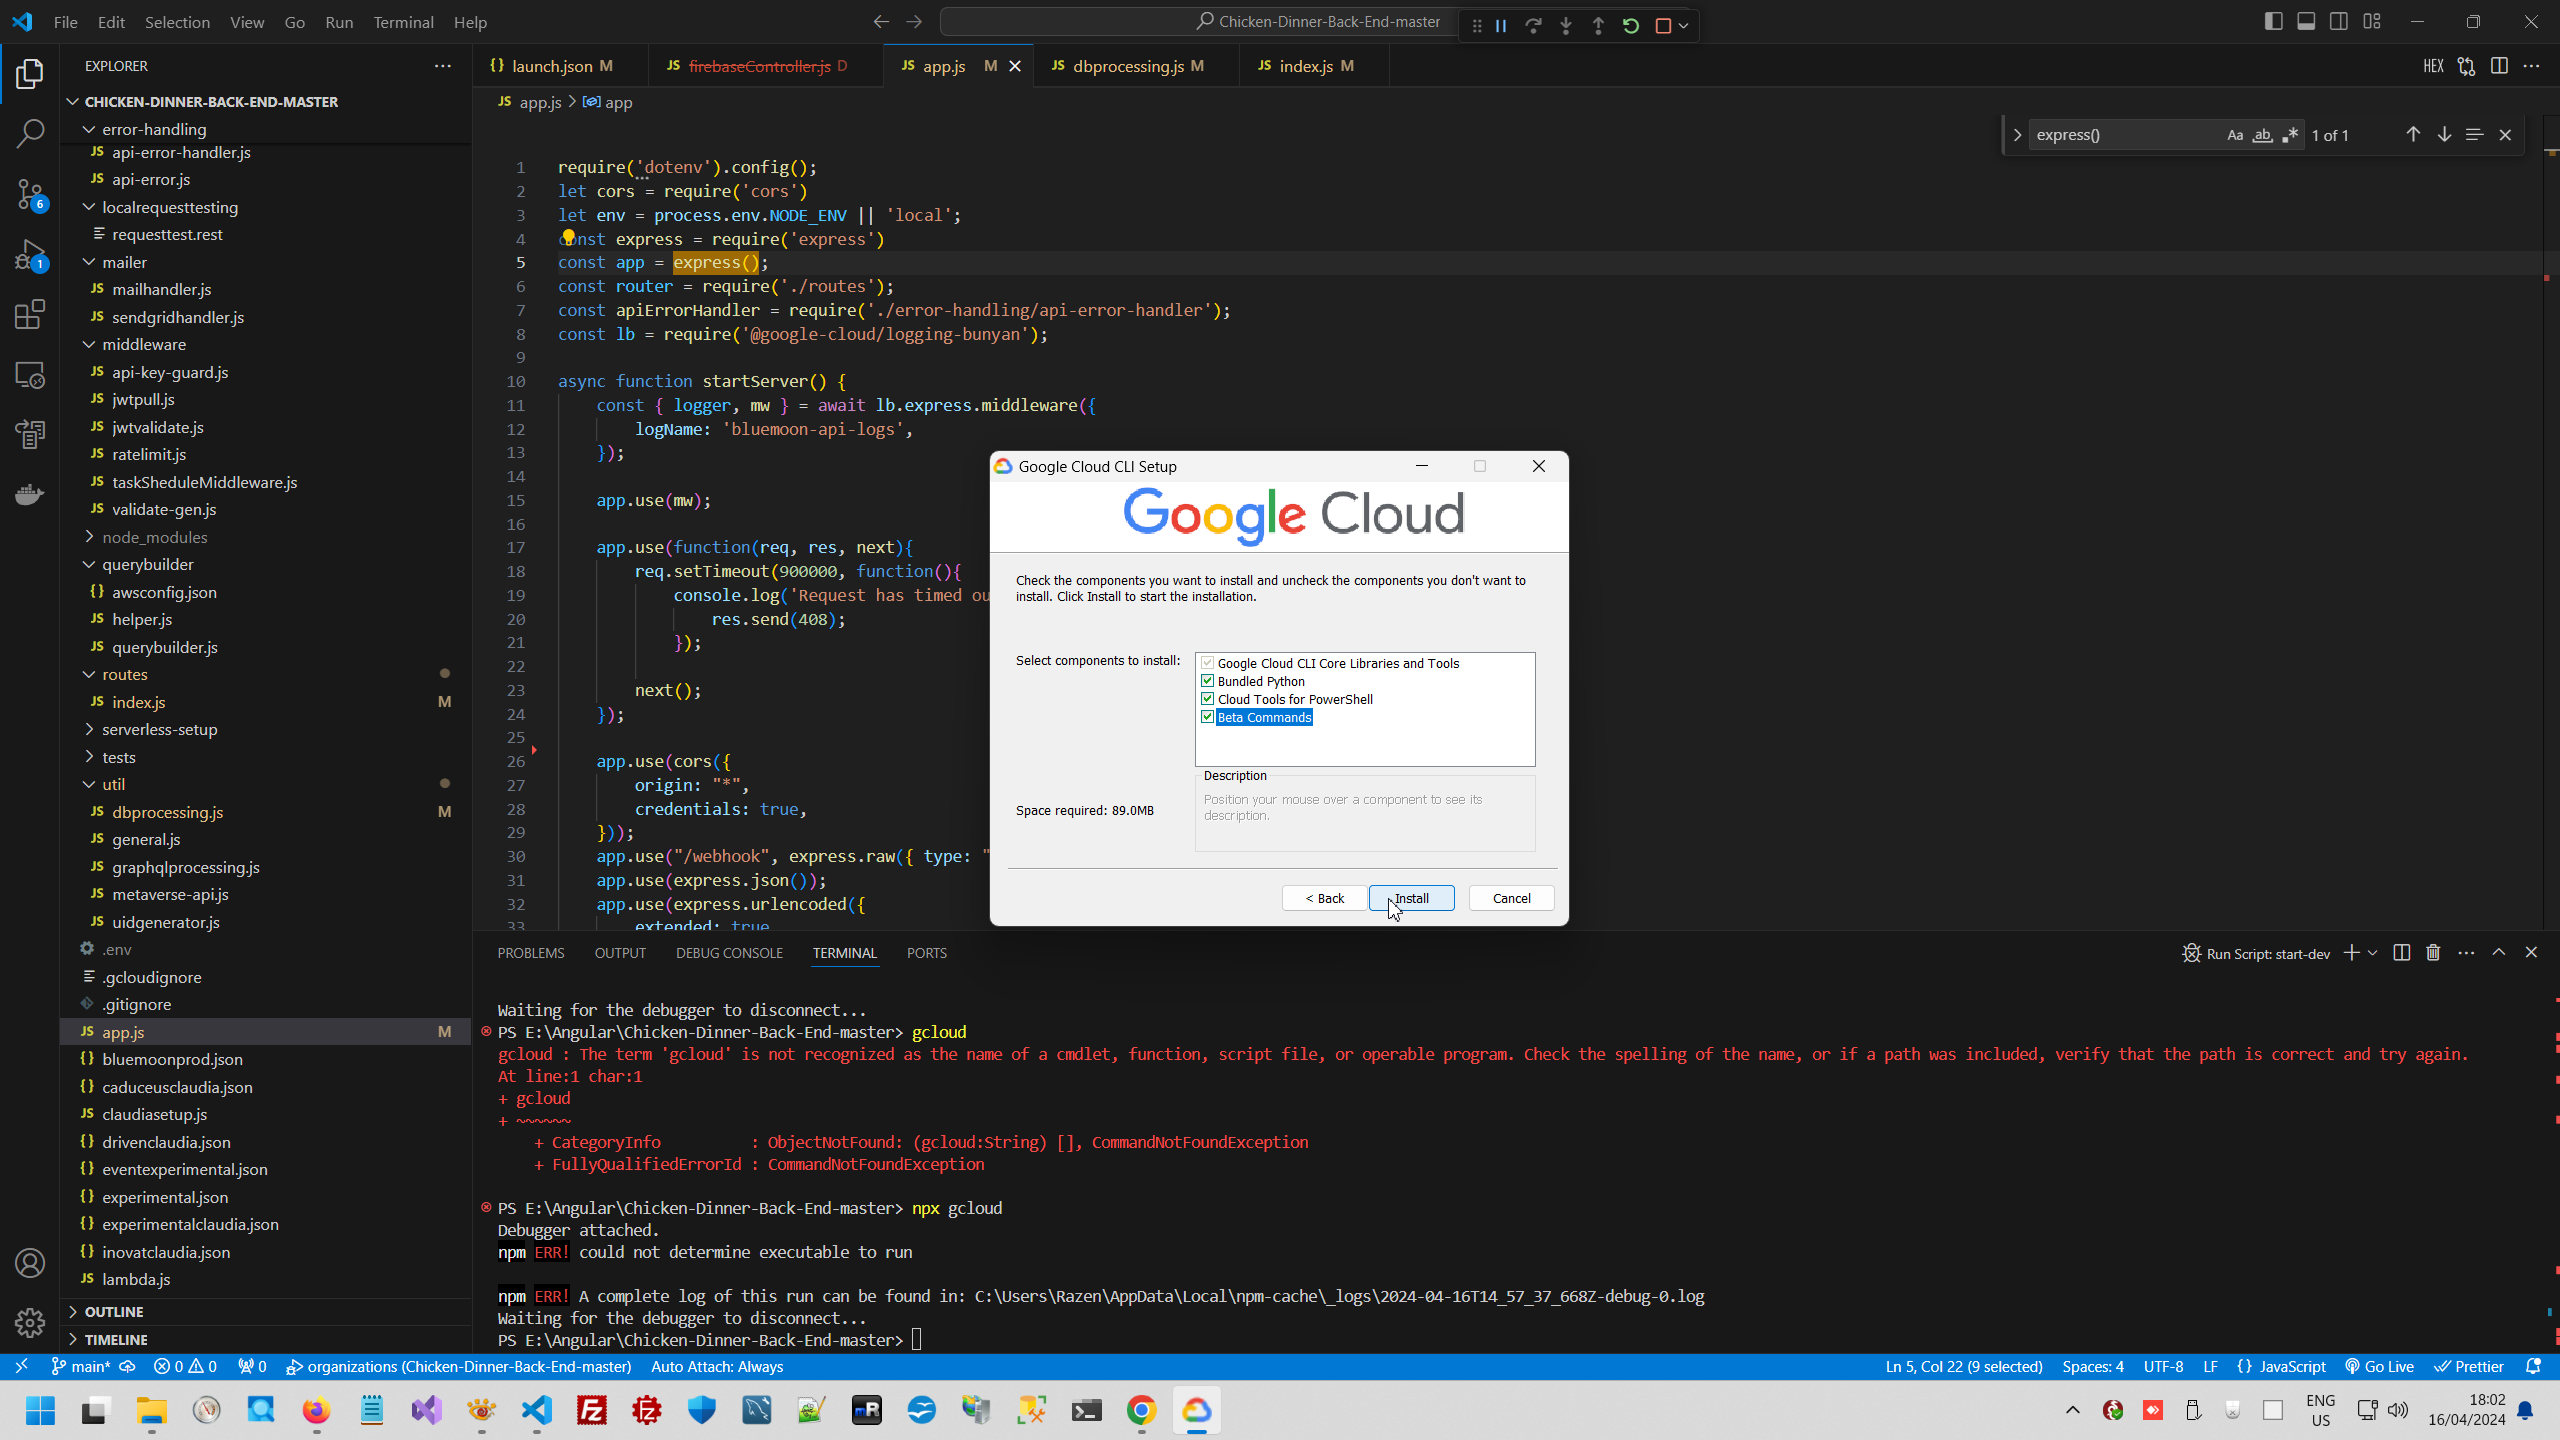
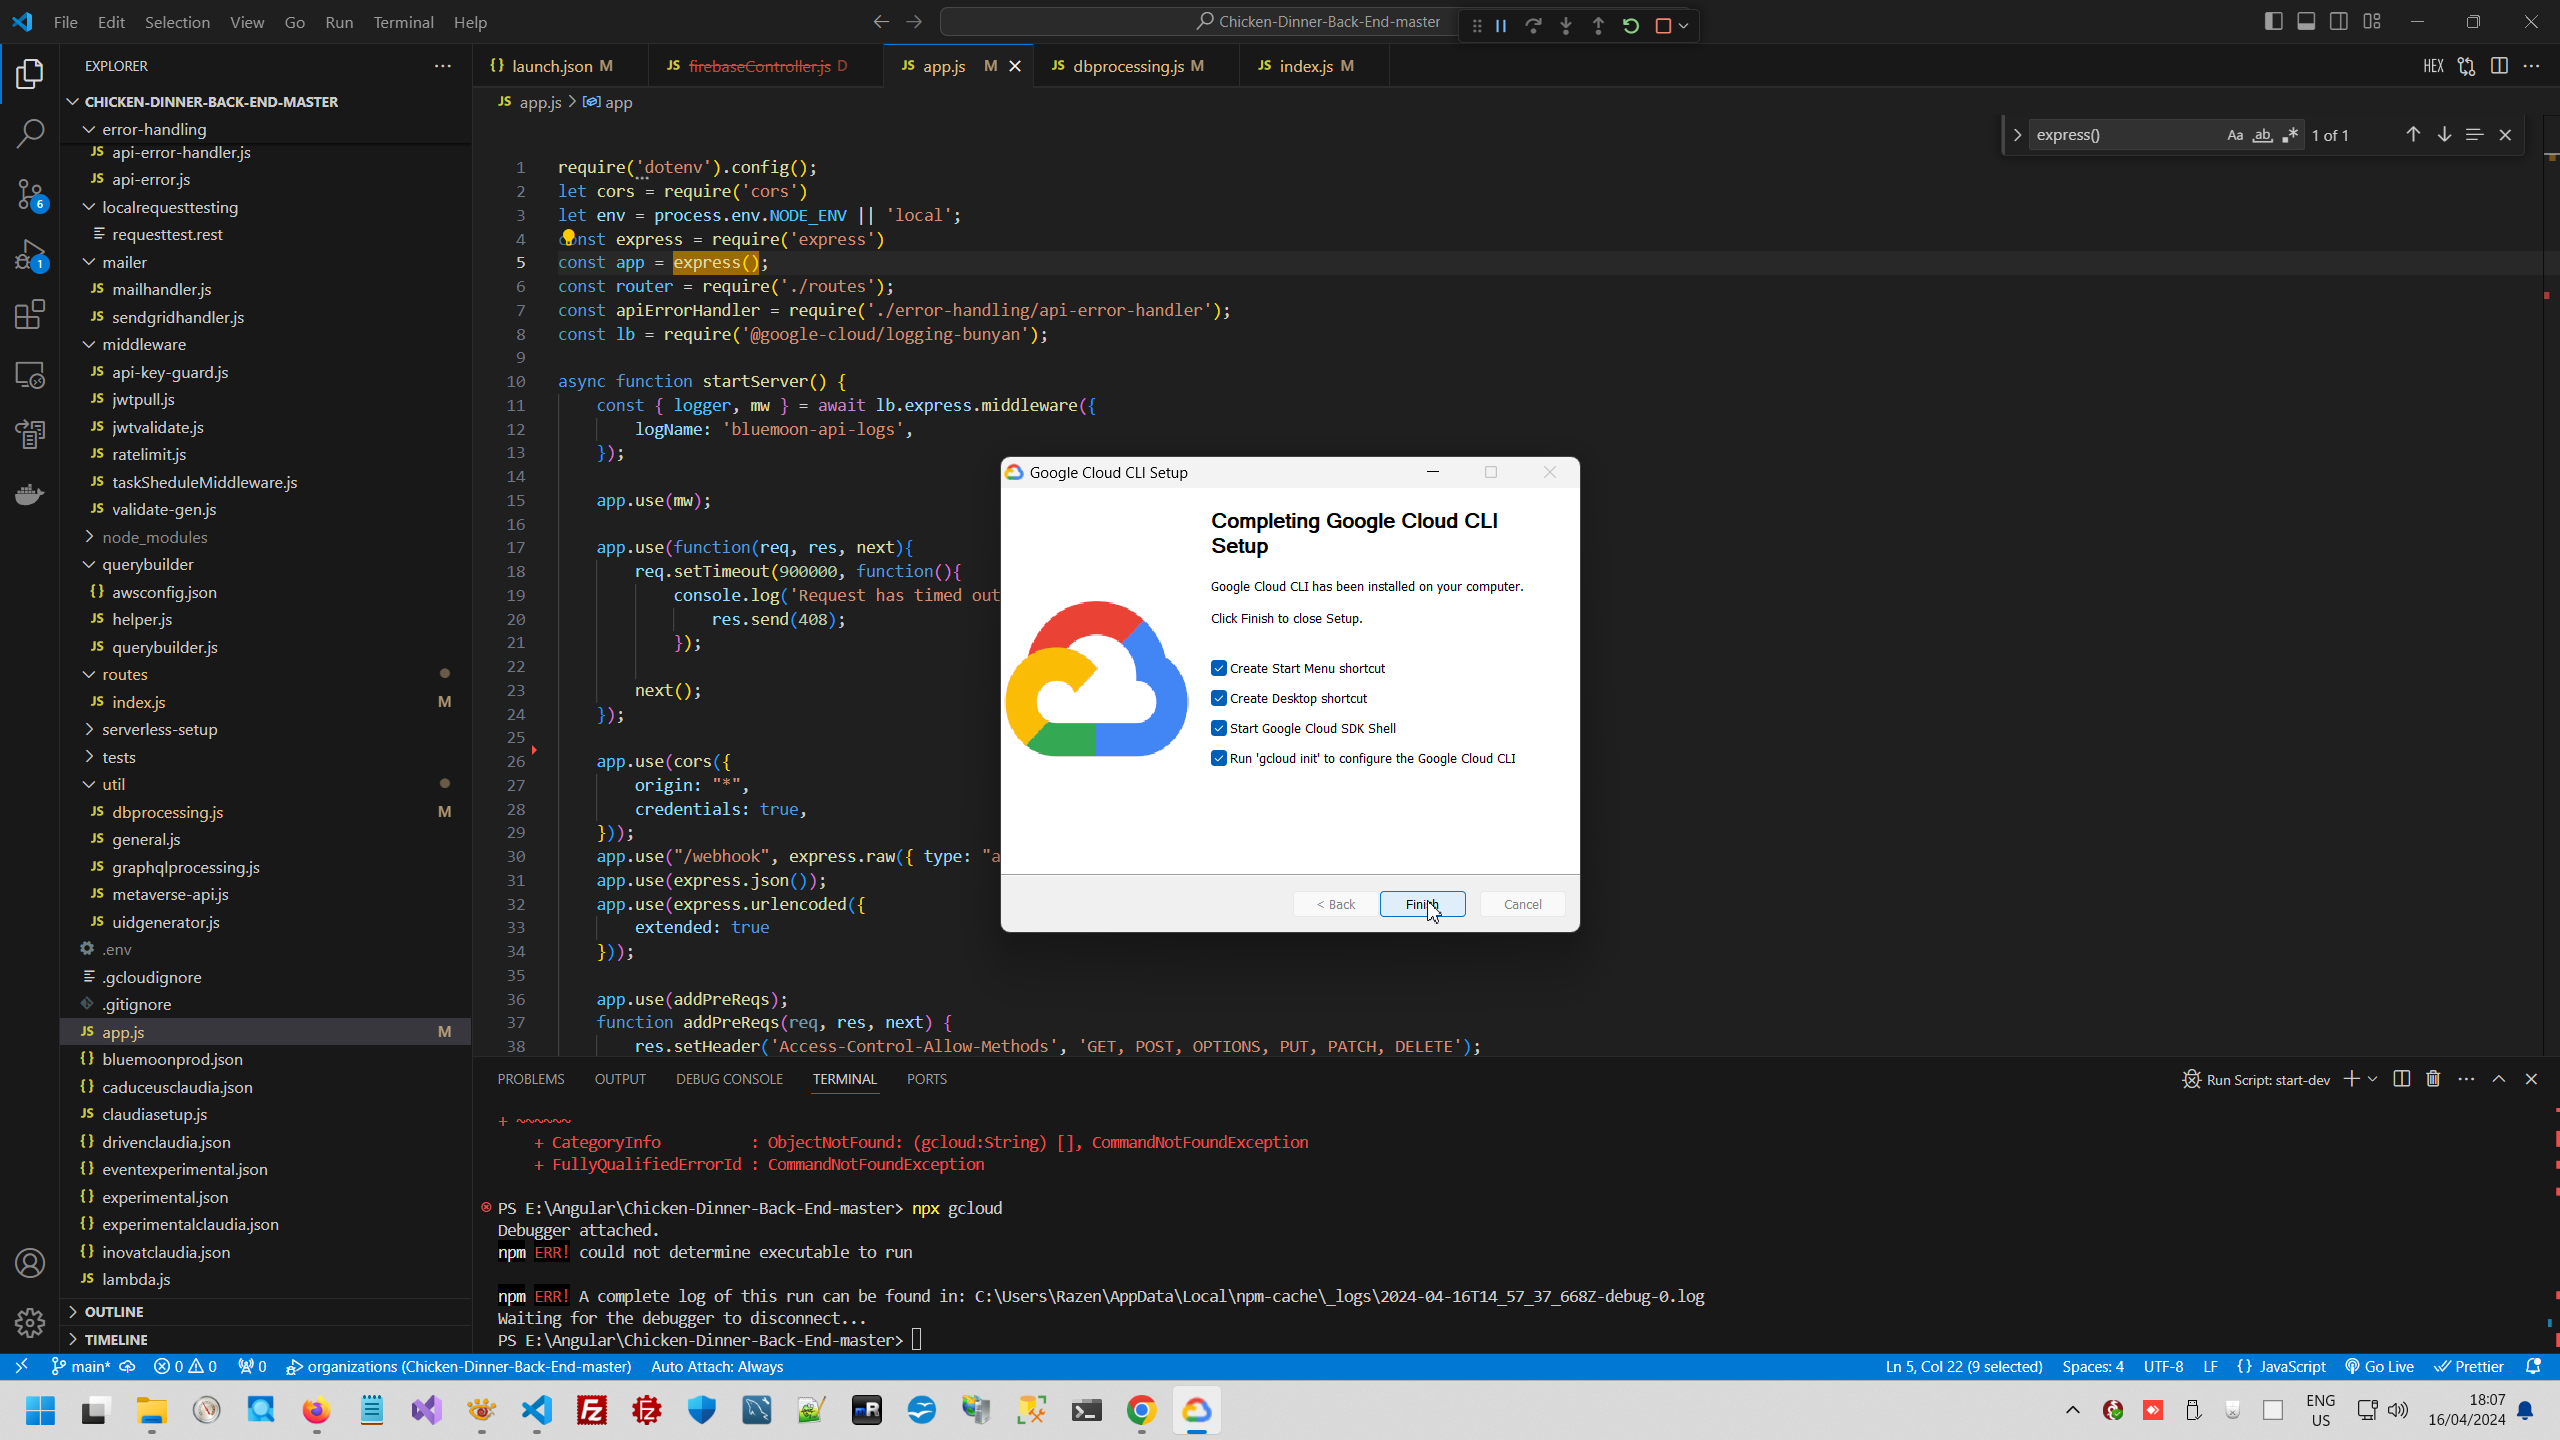
4. Start project locally and configure it remotely.
Initializing Gcloud project started from installation Gcloud CLI locally, than logging and this step finished with command:
# Gloud info


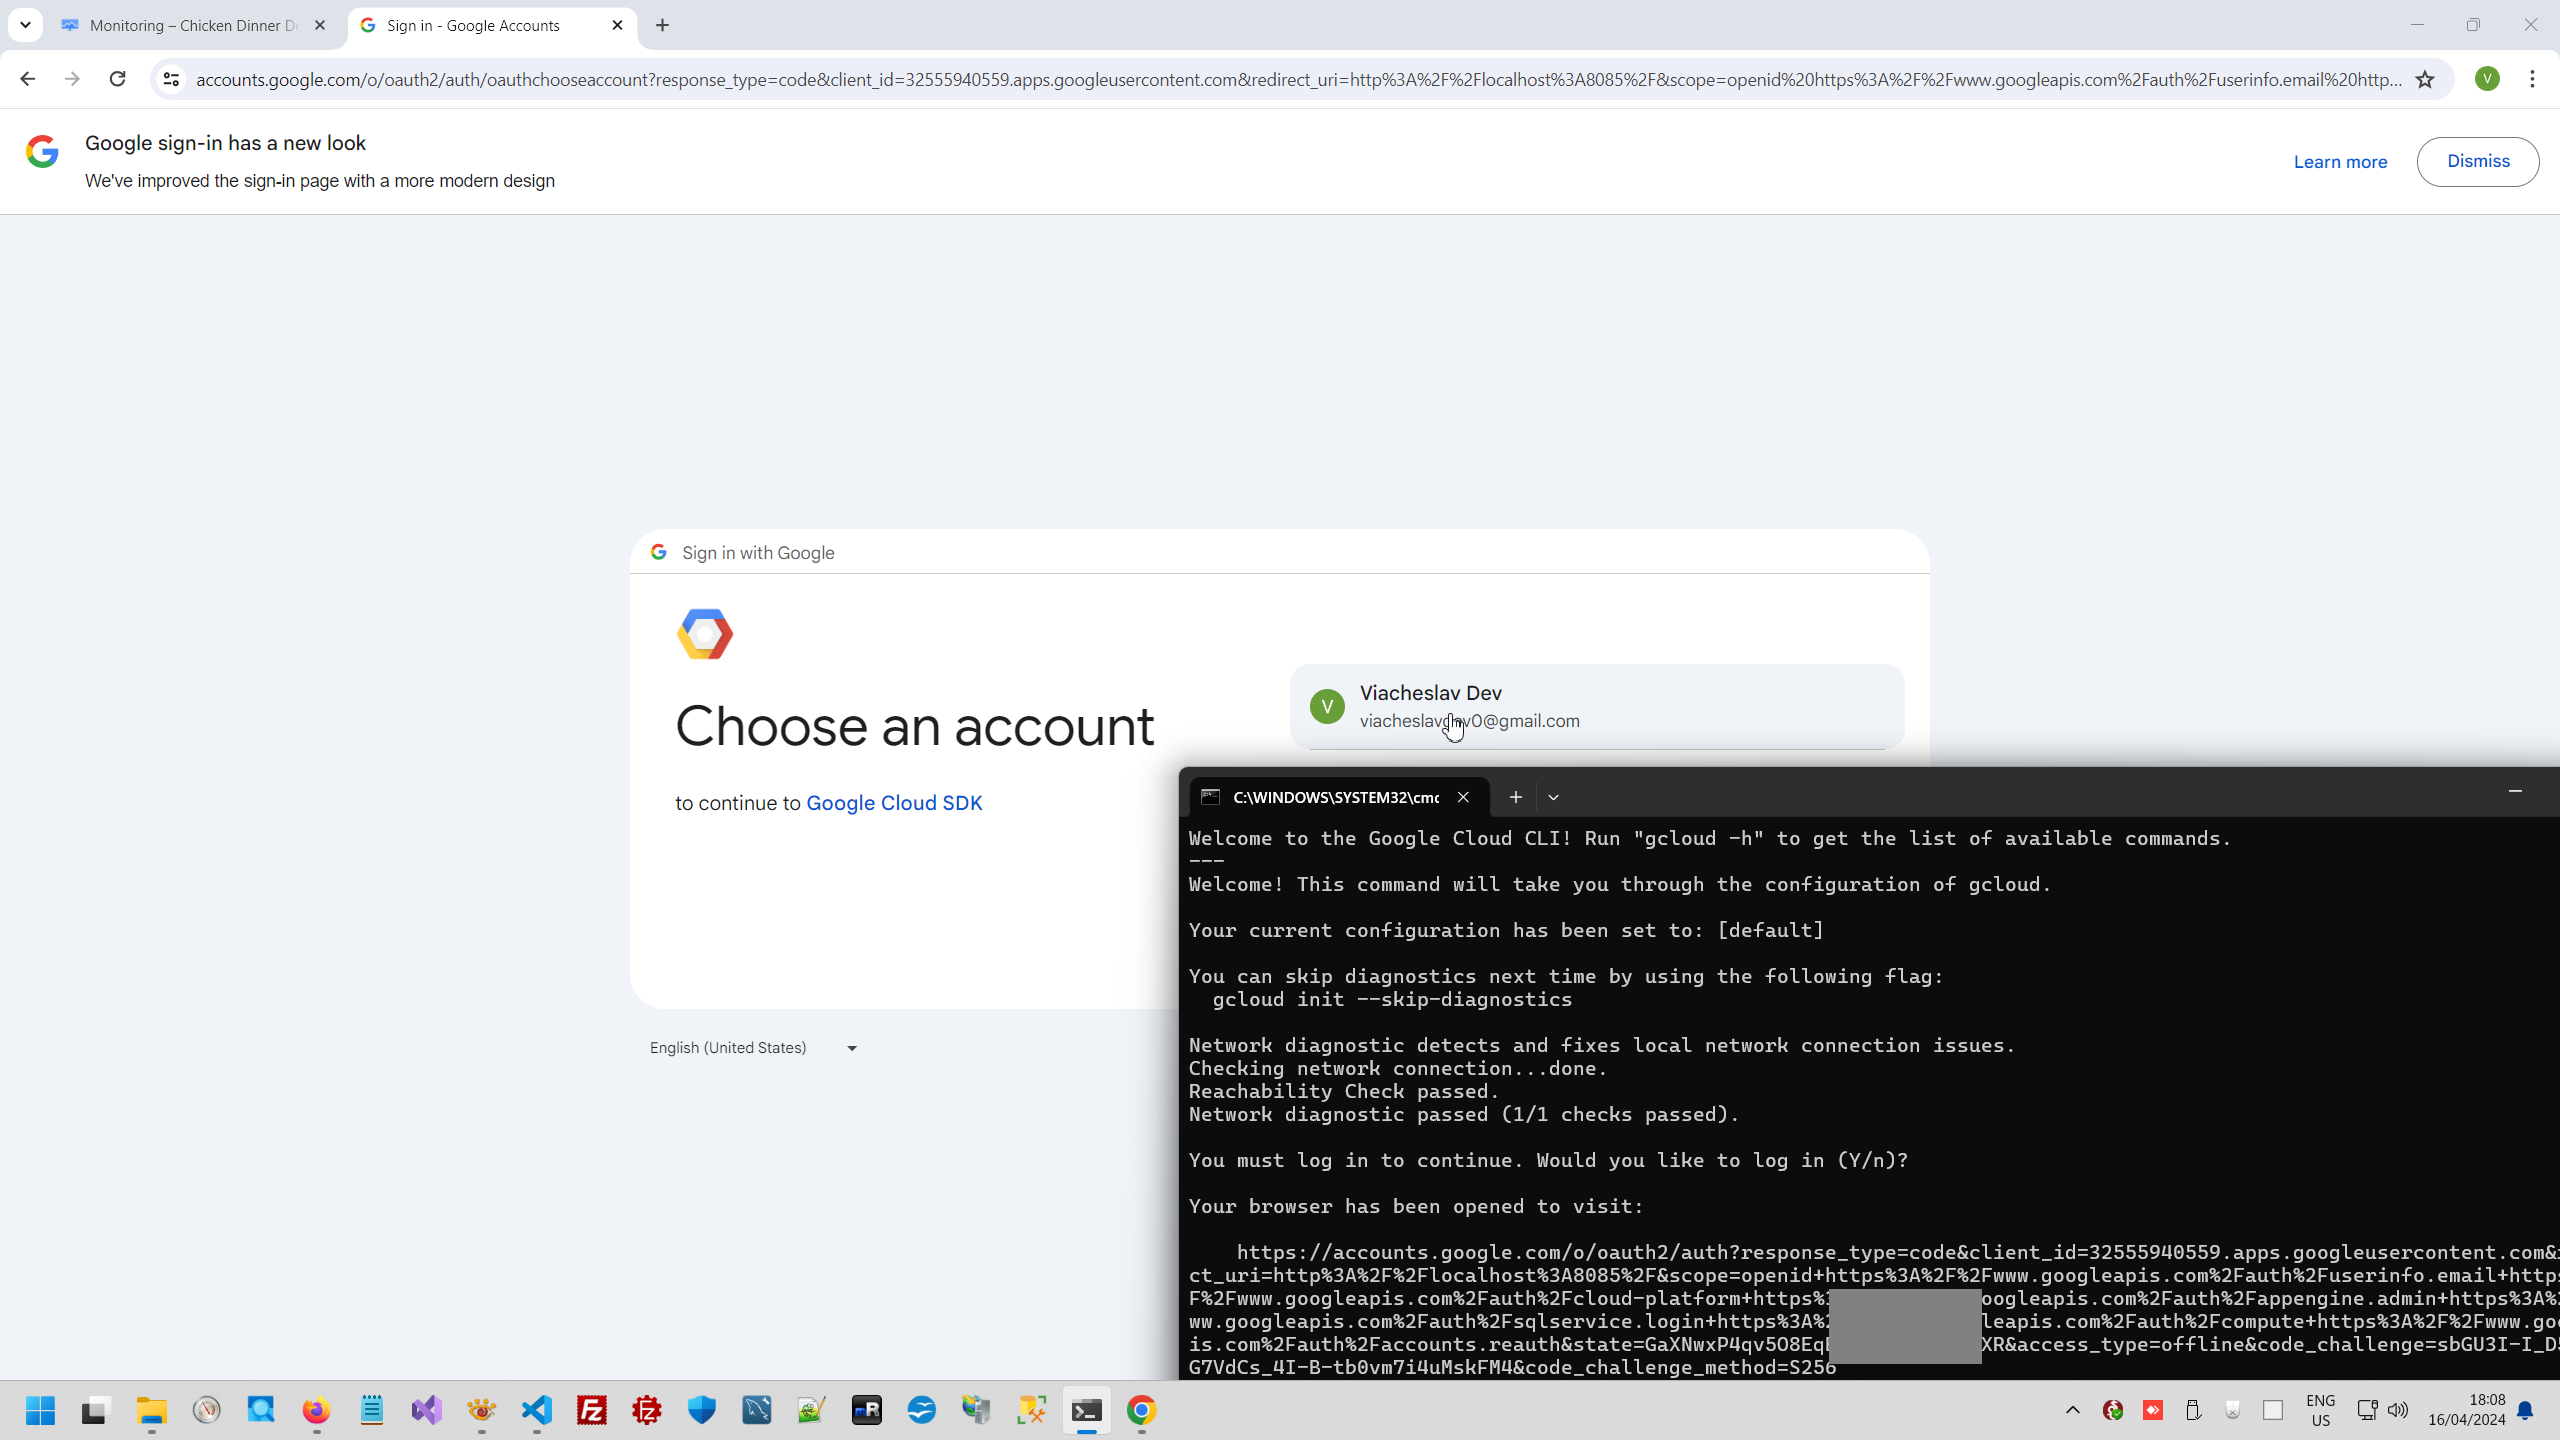
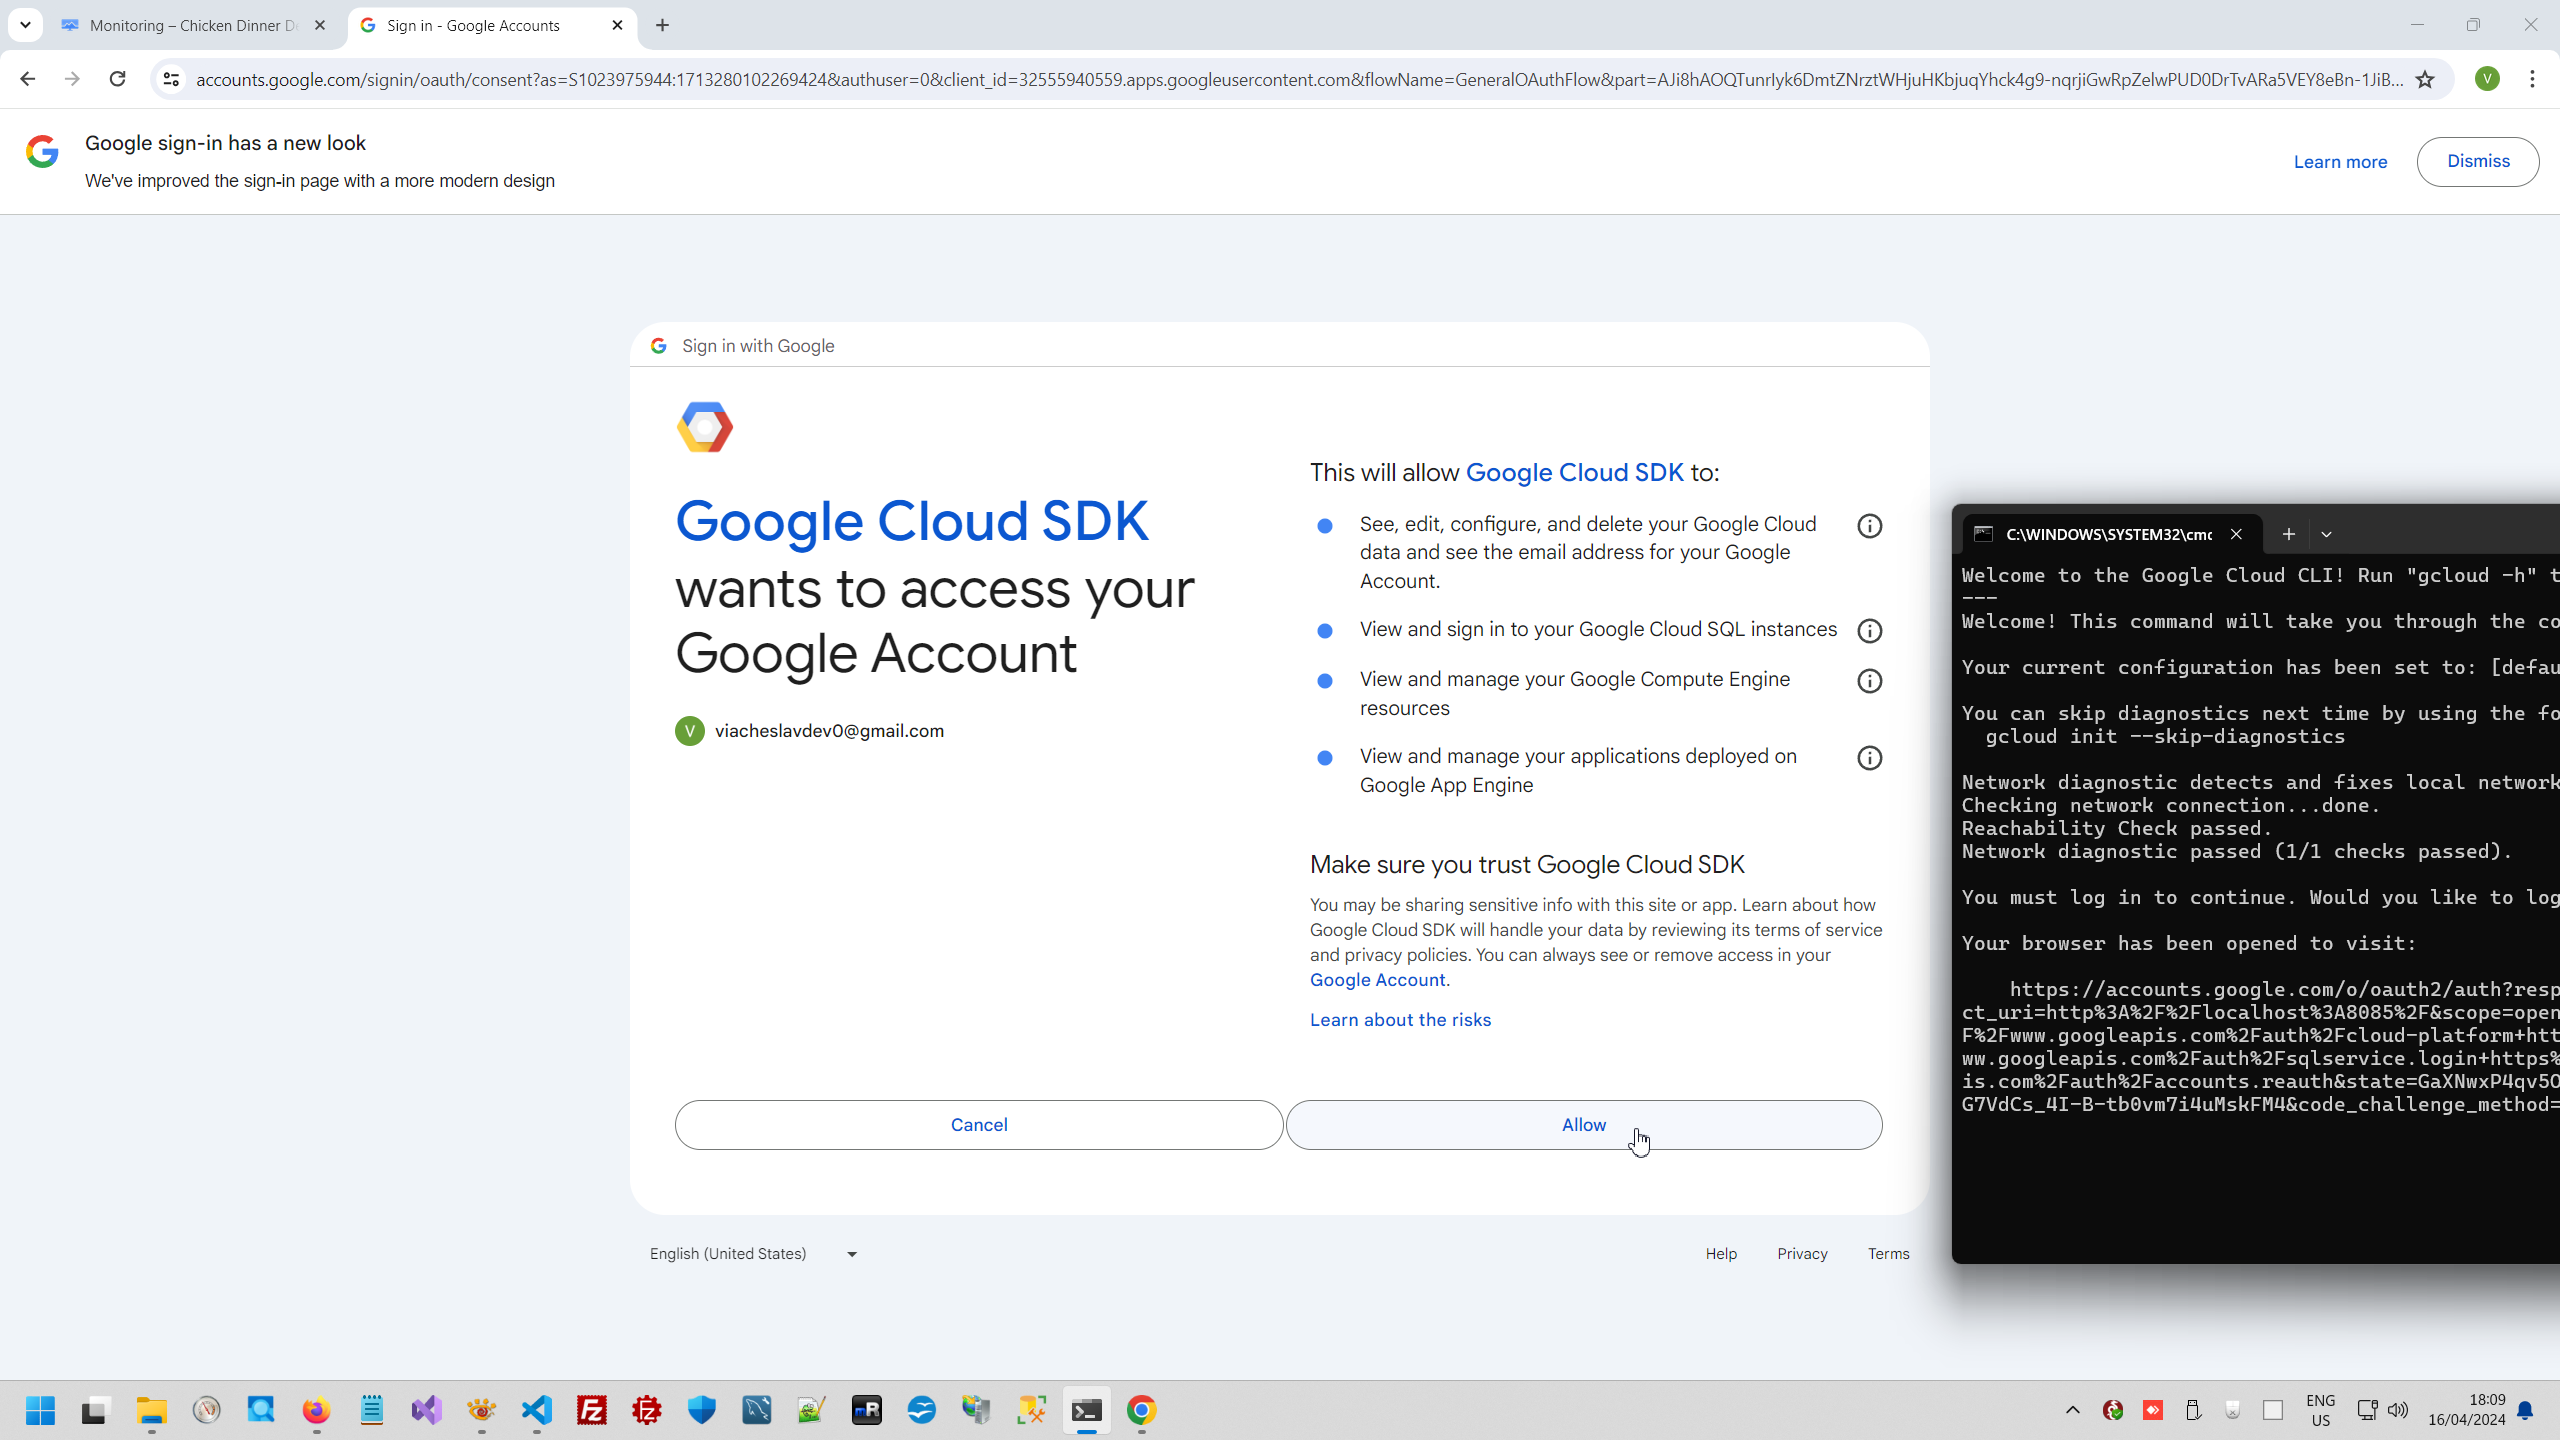
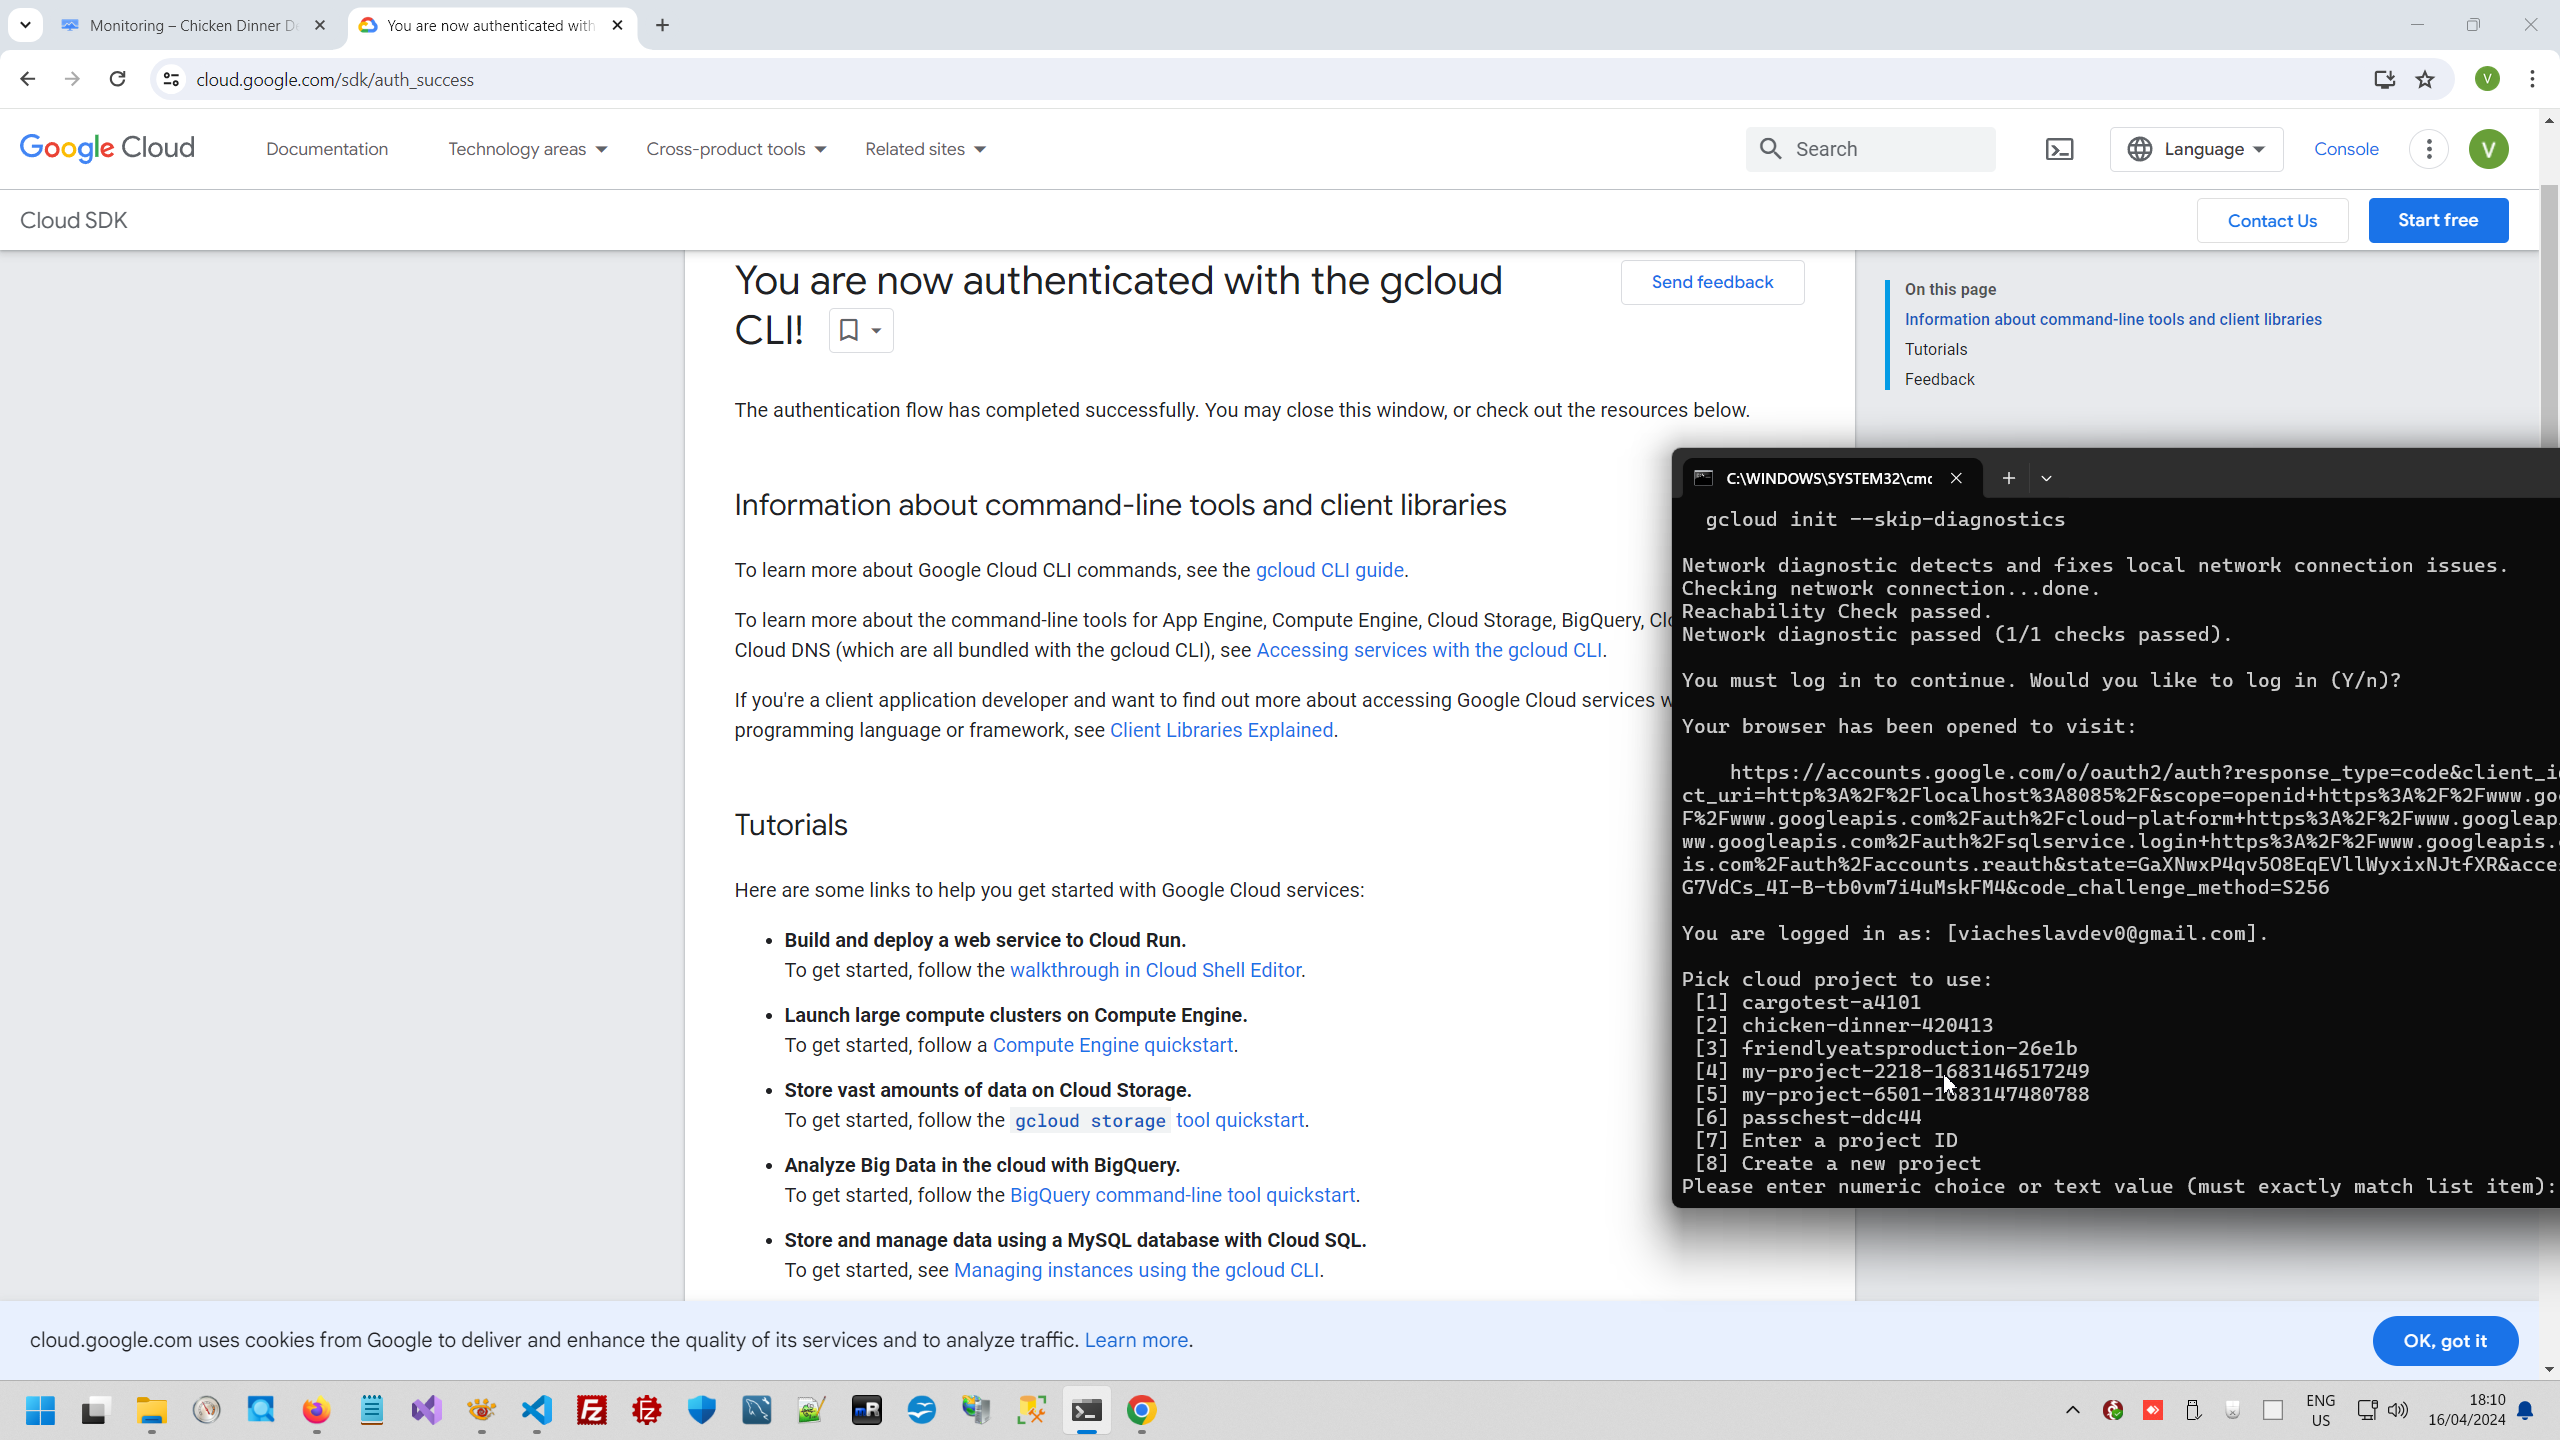
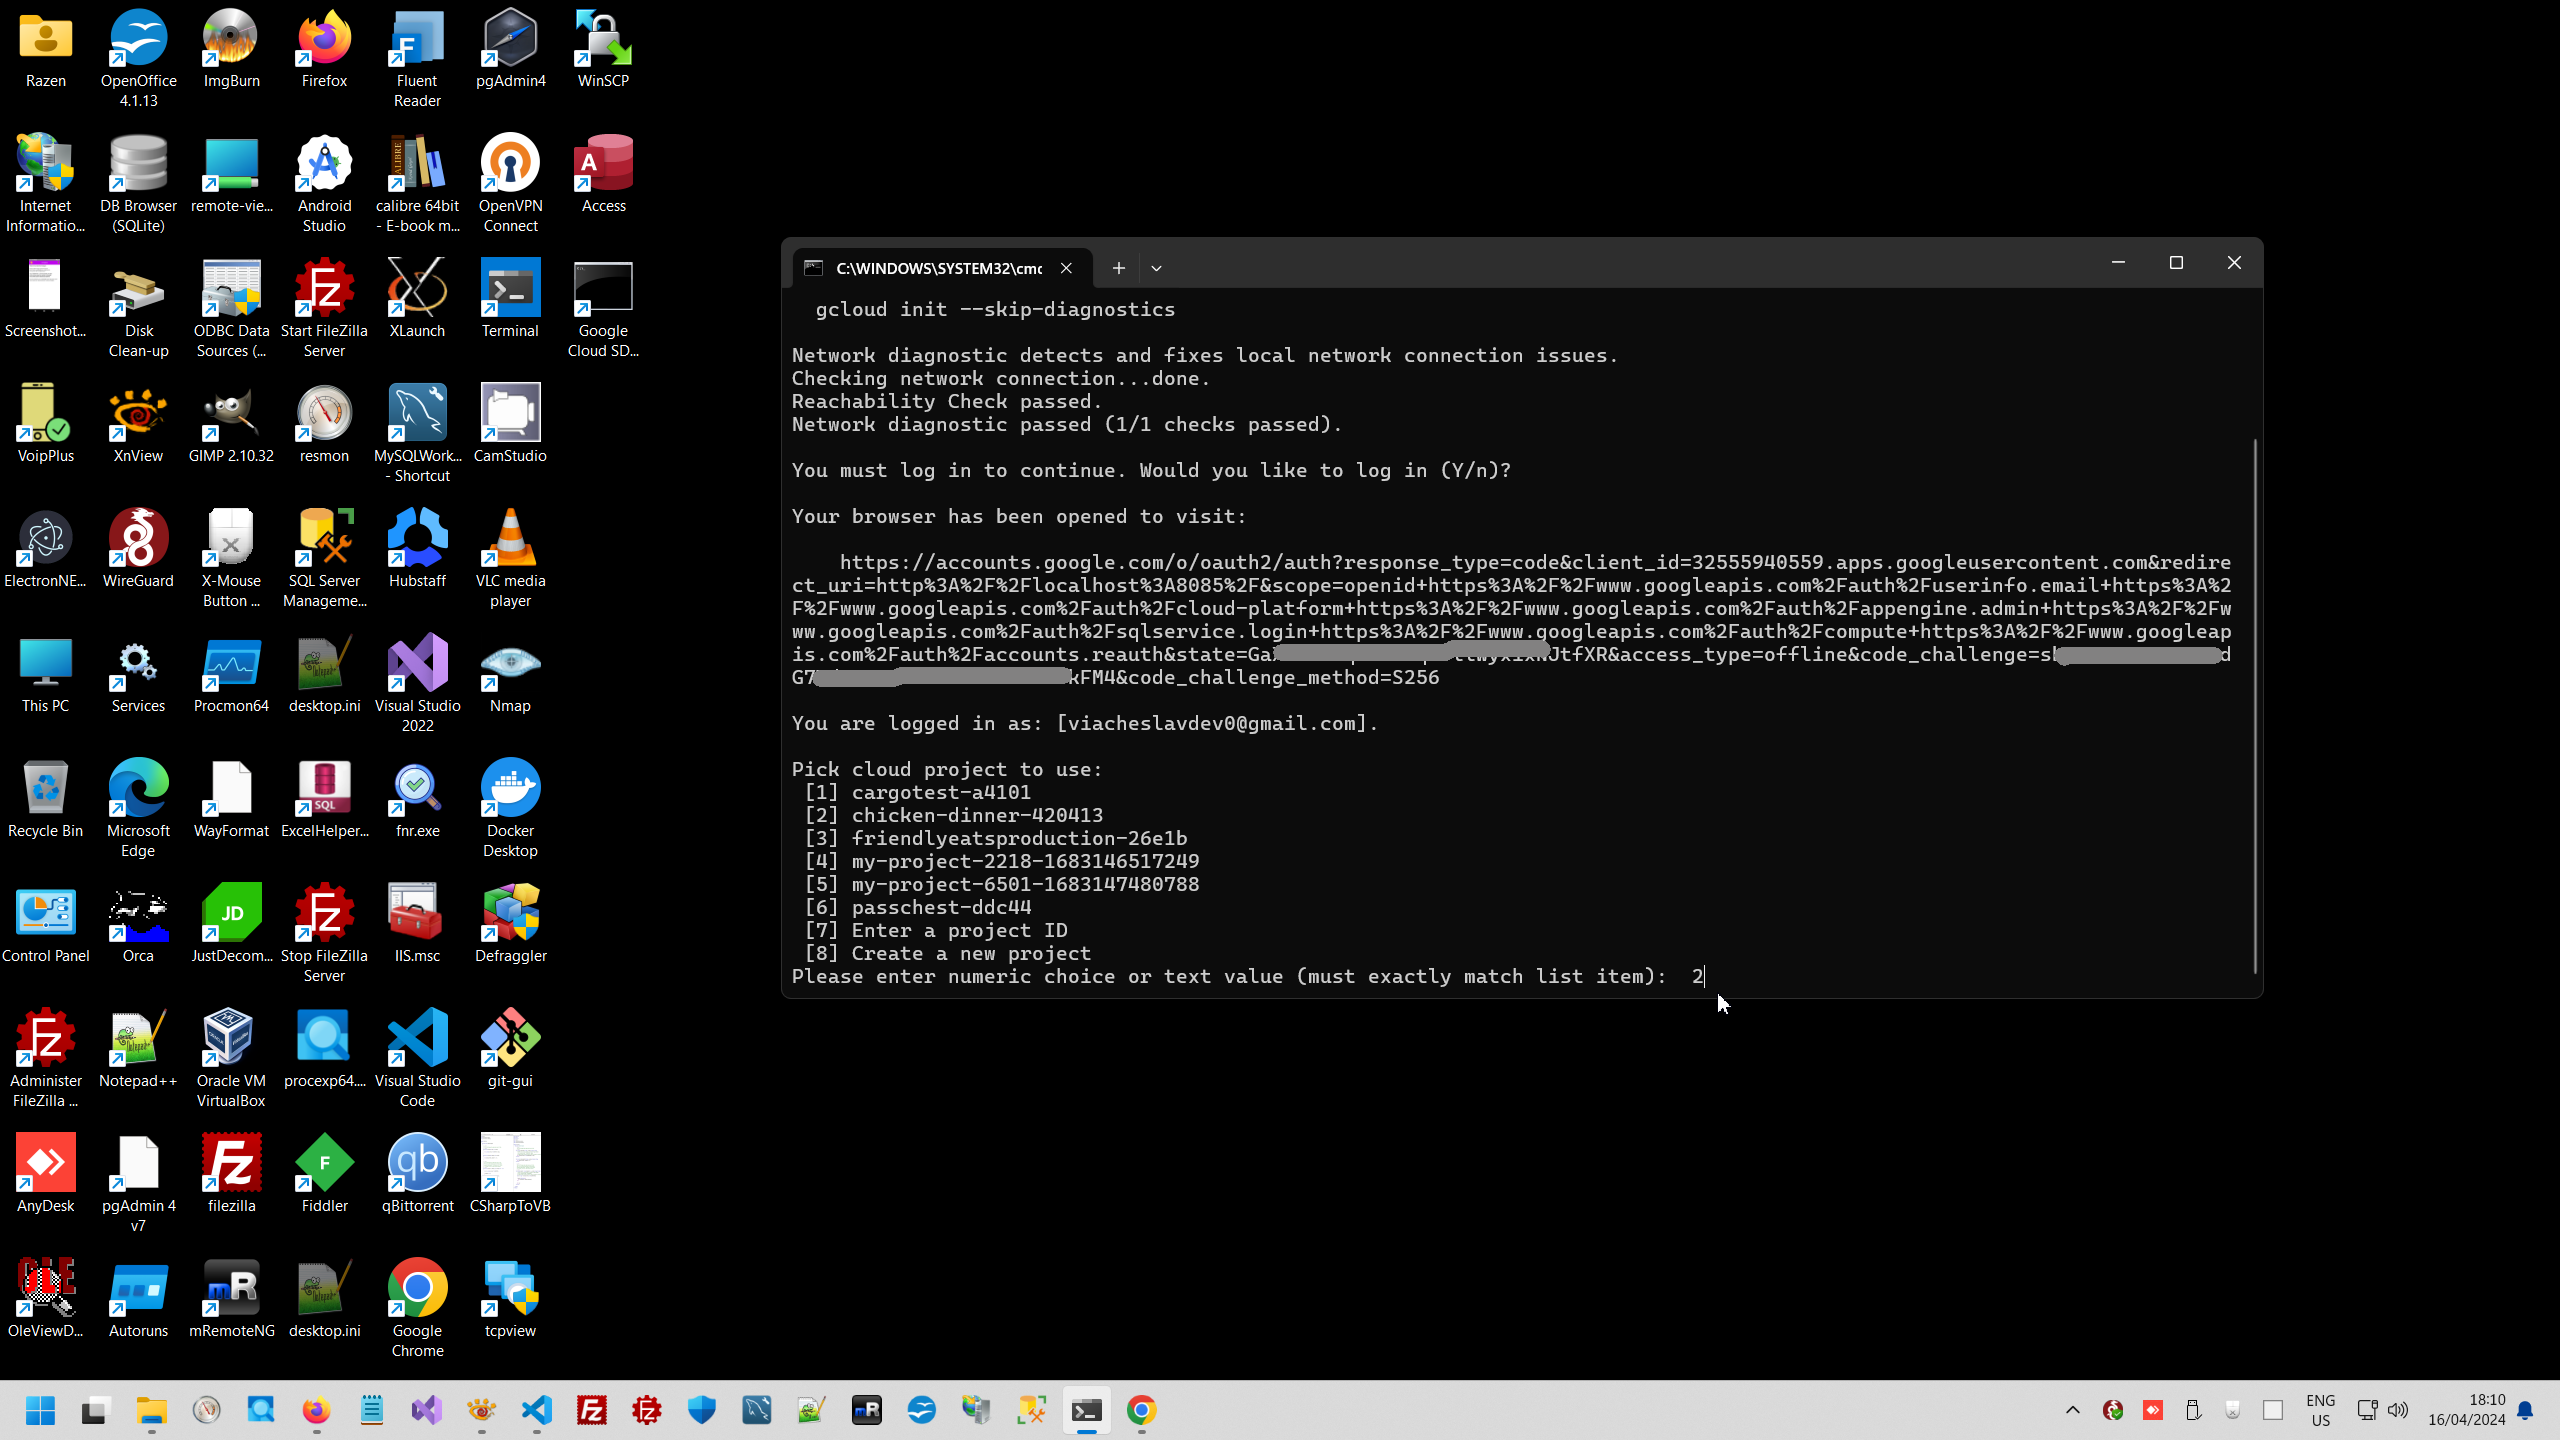

And than we can make loging our local project to GCloud in orde to connect local project to Google Cloud project.
Usually next step is setup region.
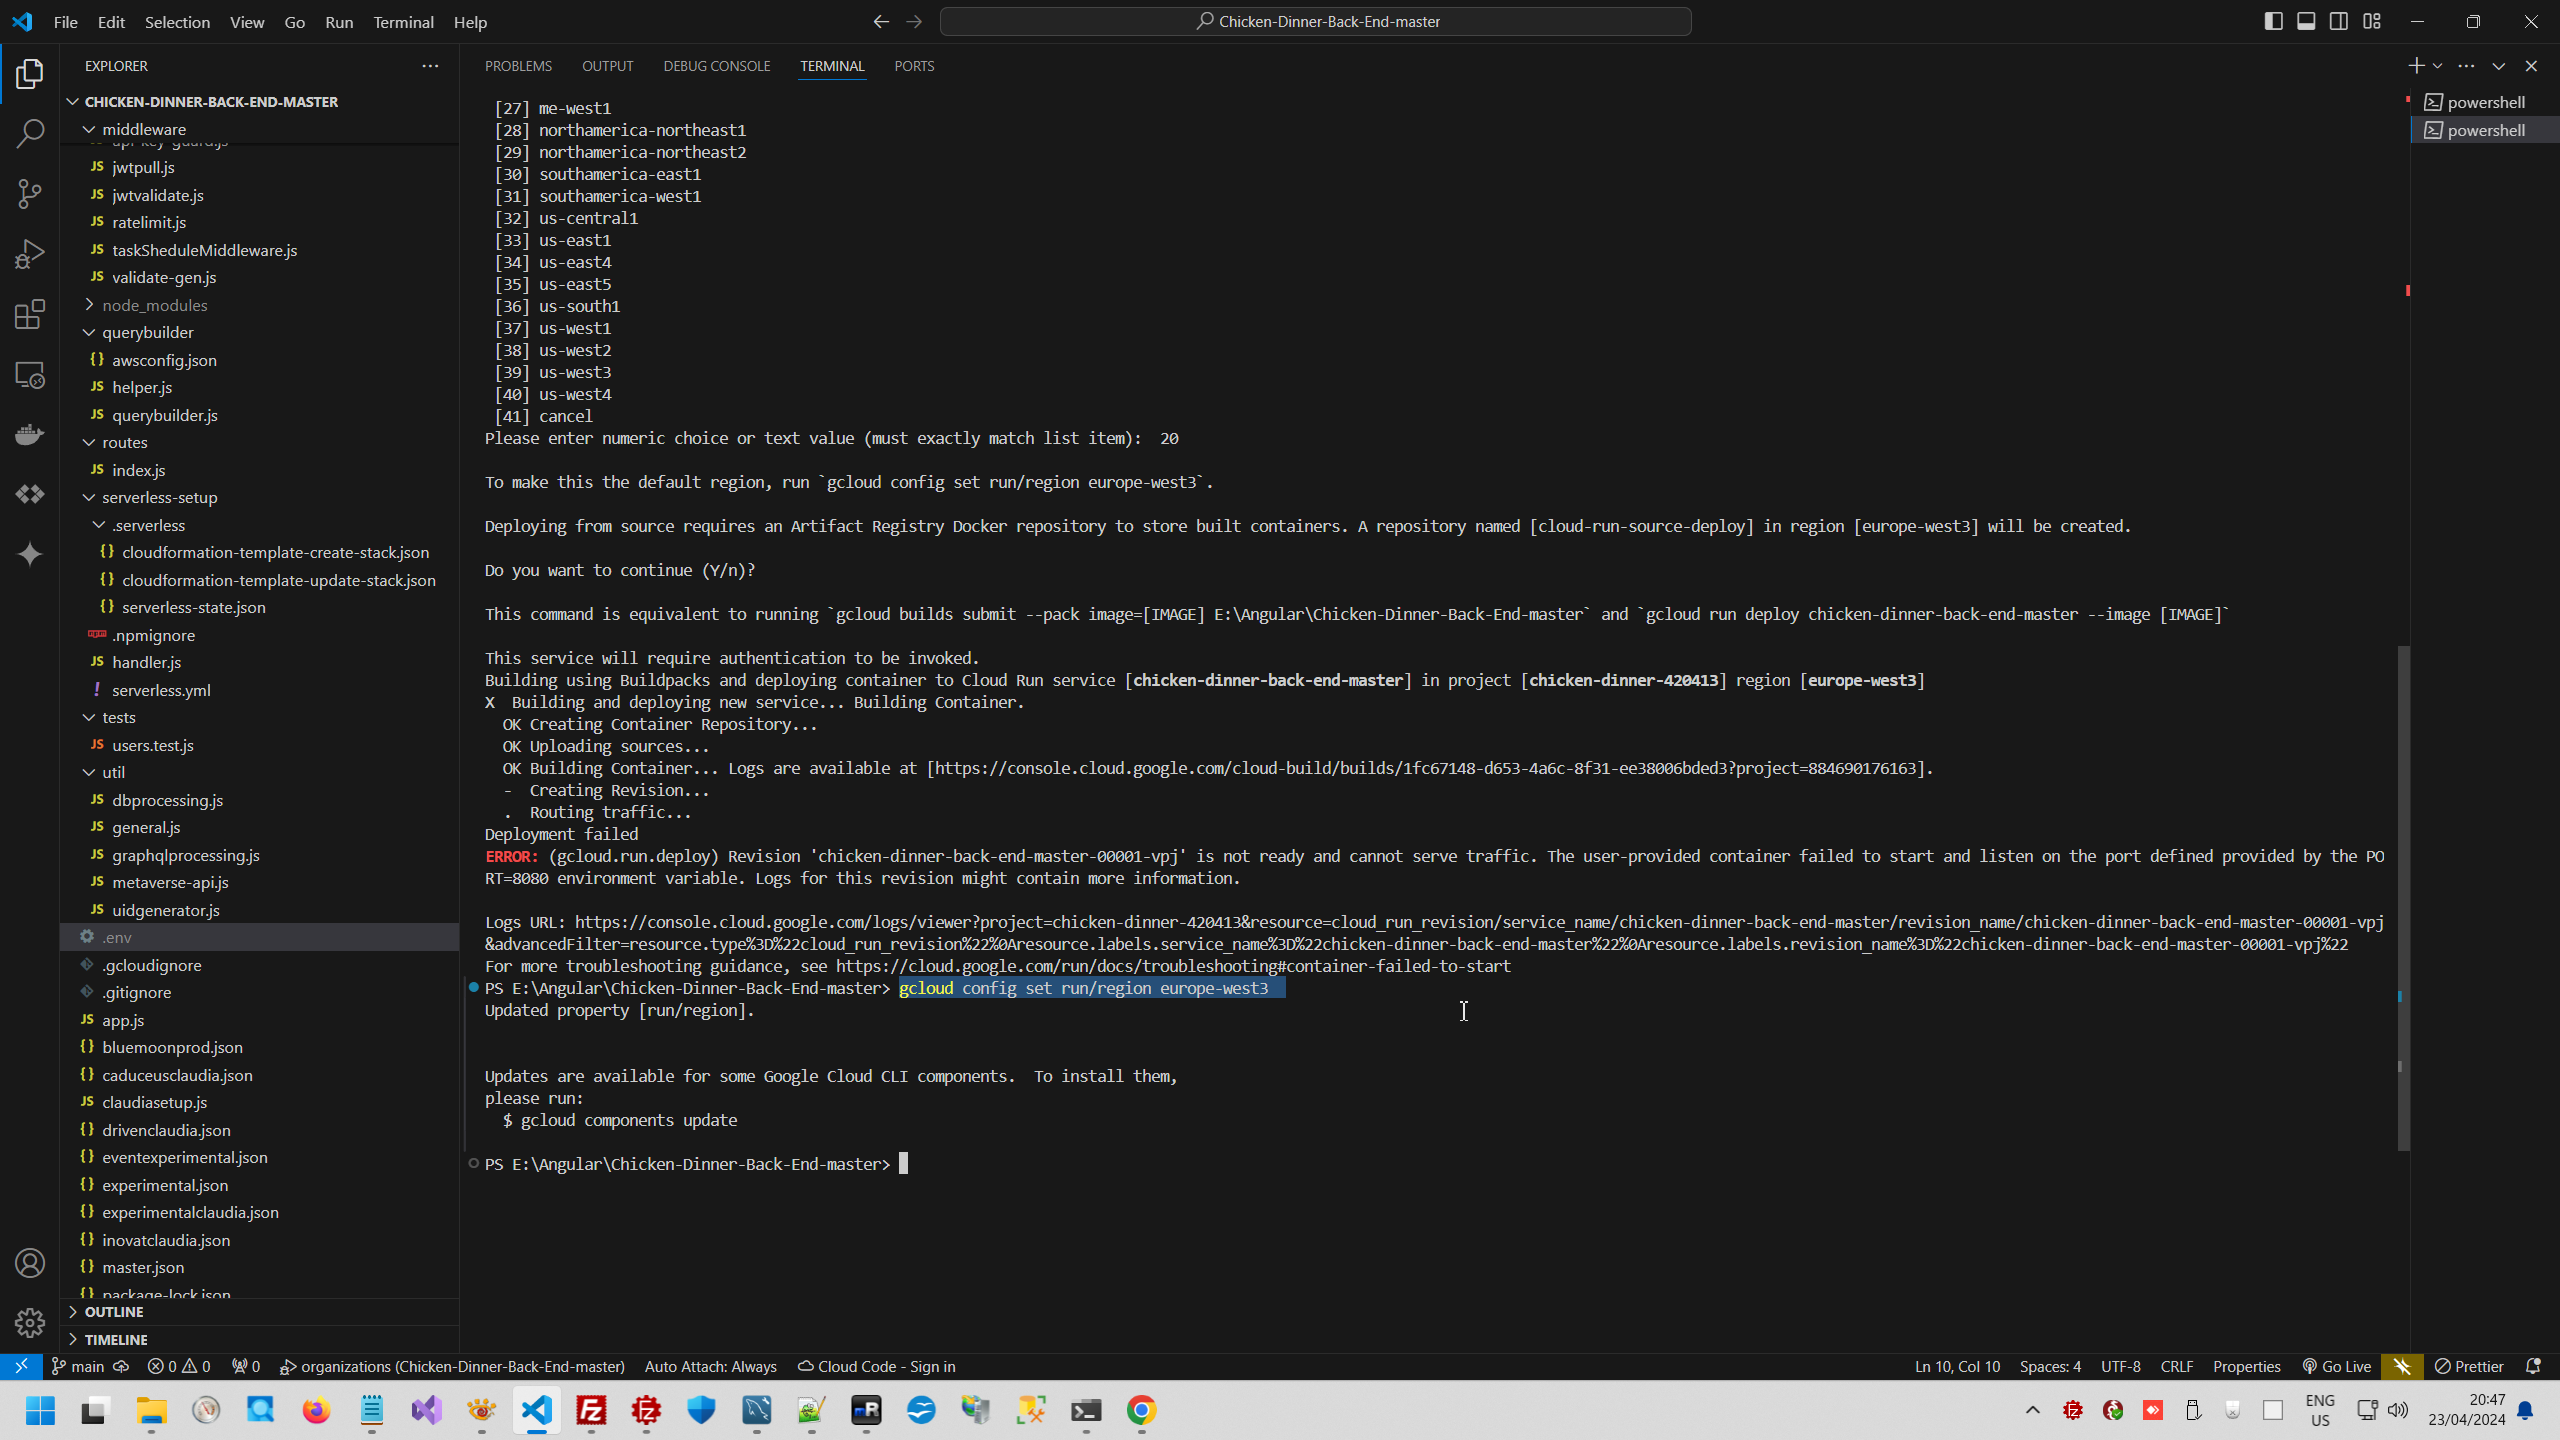
For my opinion cool next step is turn of Google scanner for vulnerability.
5. Deploy project.
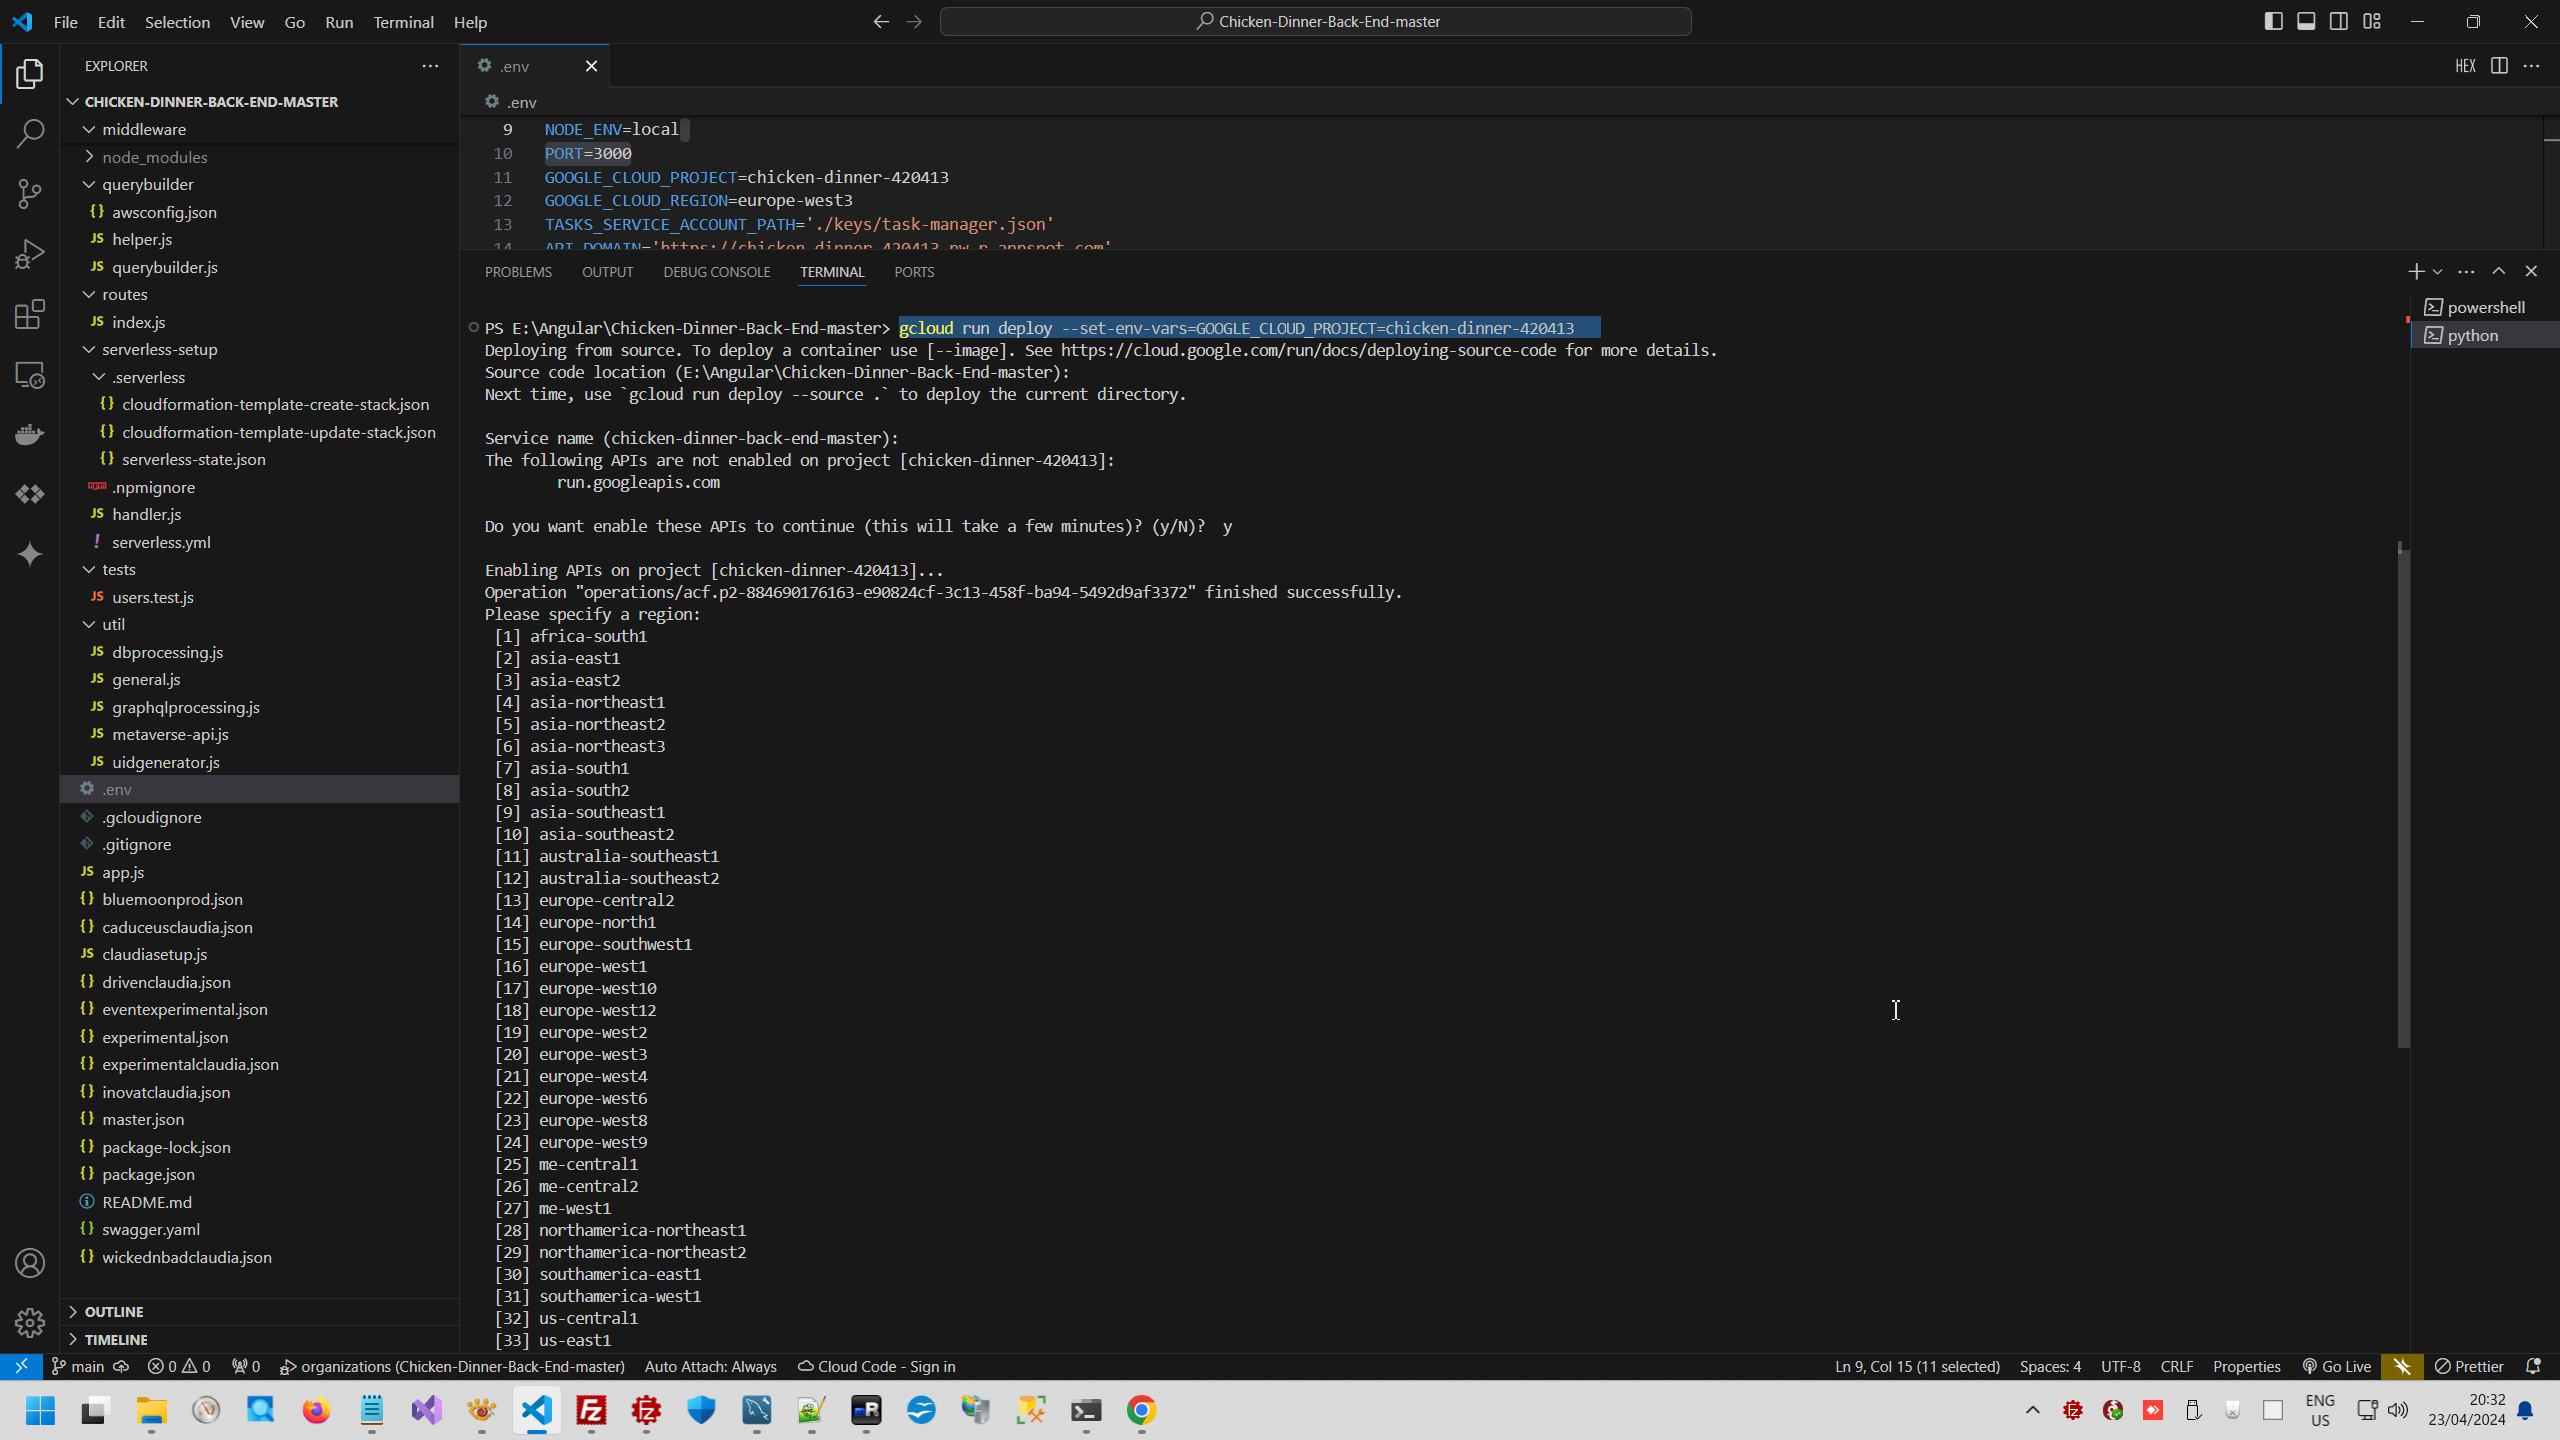
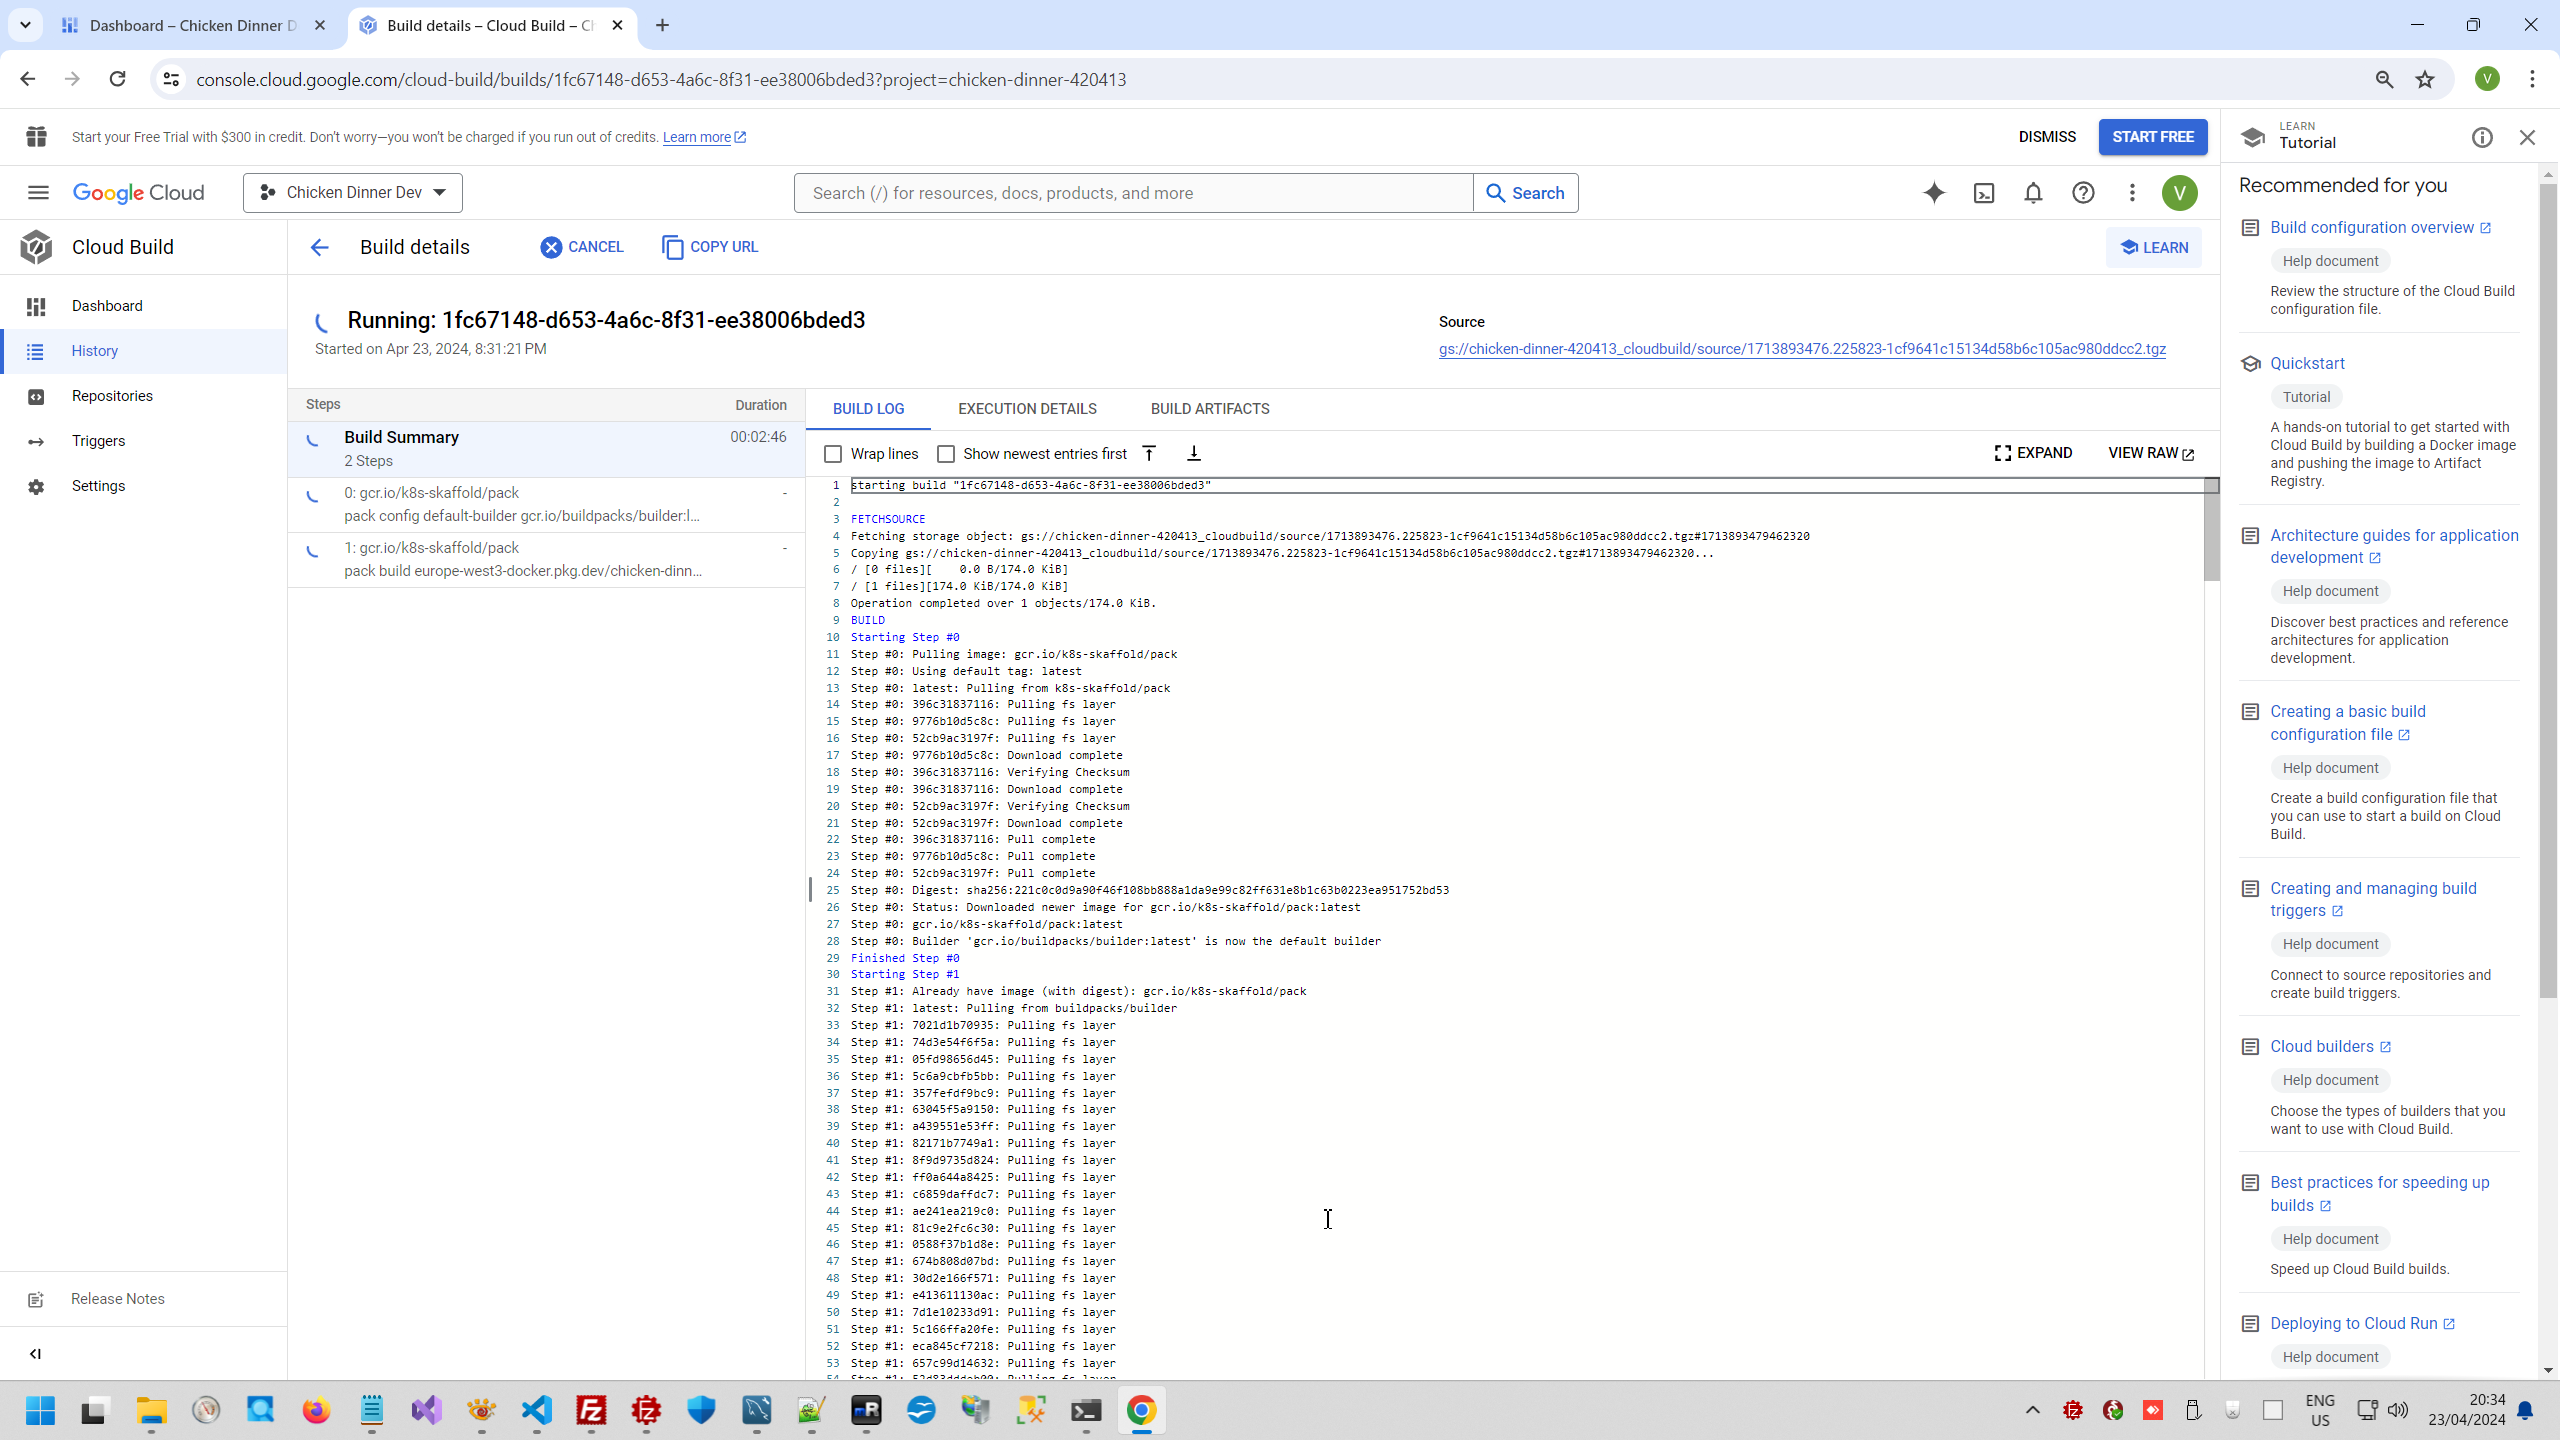
All above is about environment and how Google site has been built. This is not concrete programmer's job. But next step is concrete job what will require from your employer or customer. You will try to pack container and deploy it to Google Cloud.
# gcloud run deploy --set-env-vars=GOOGLE_CLOUD_PROJECT=chicken-dinner-420413 --source .
And, of course, it can not be working instantly, of course we receive only various error messages and no more. Since this moment your job will started.
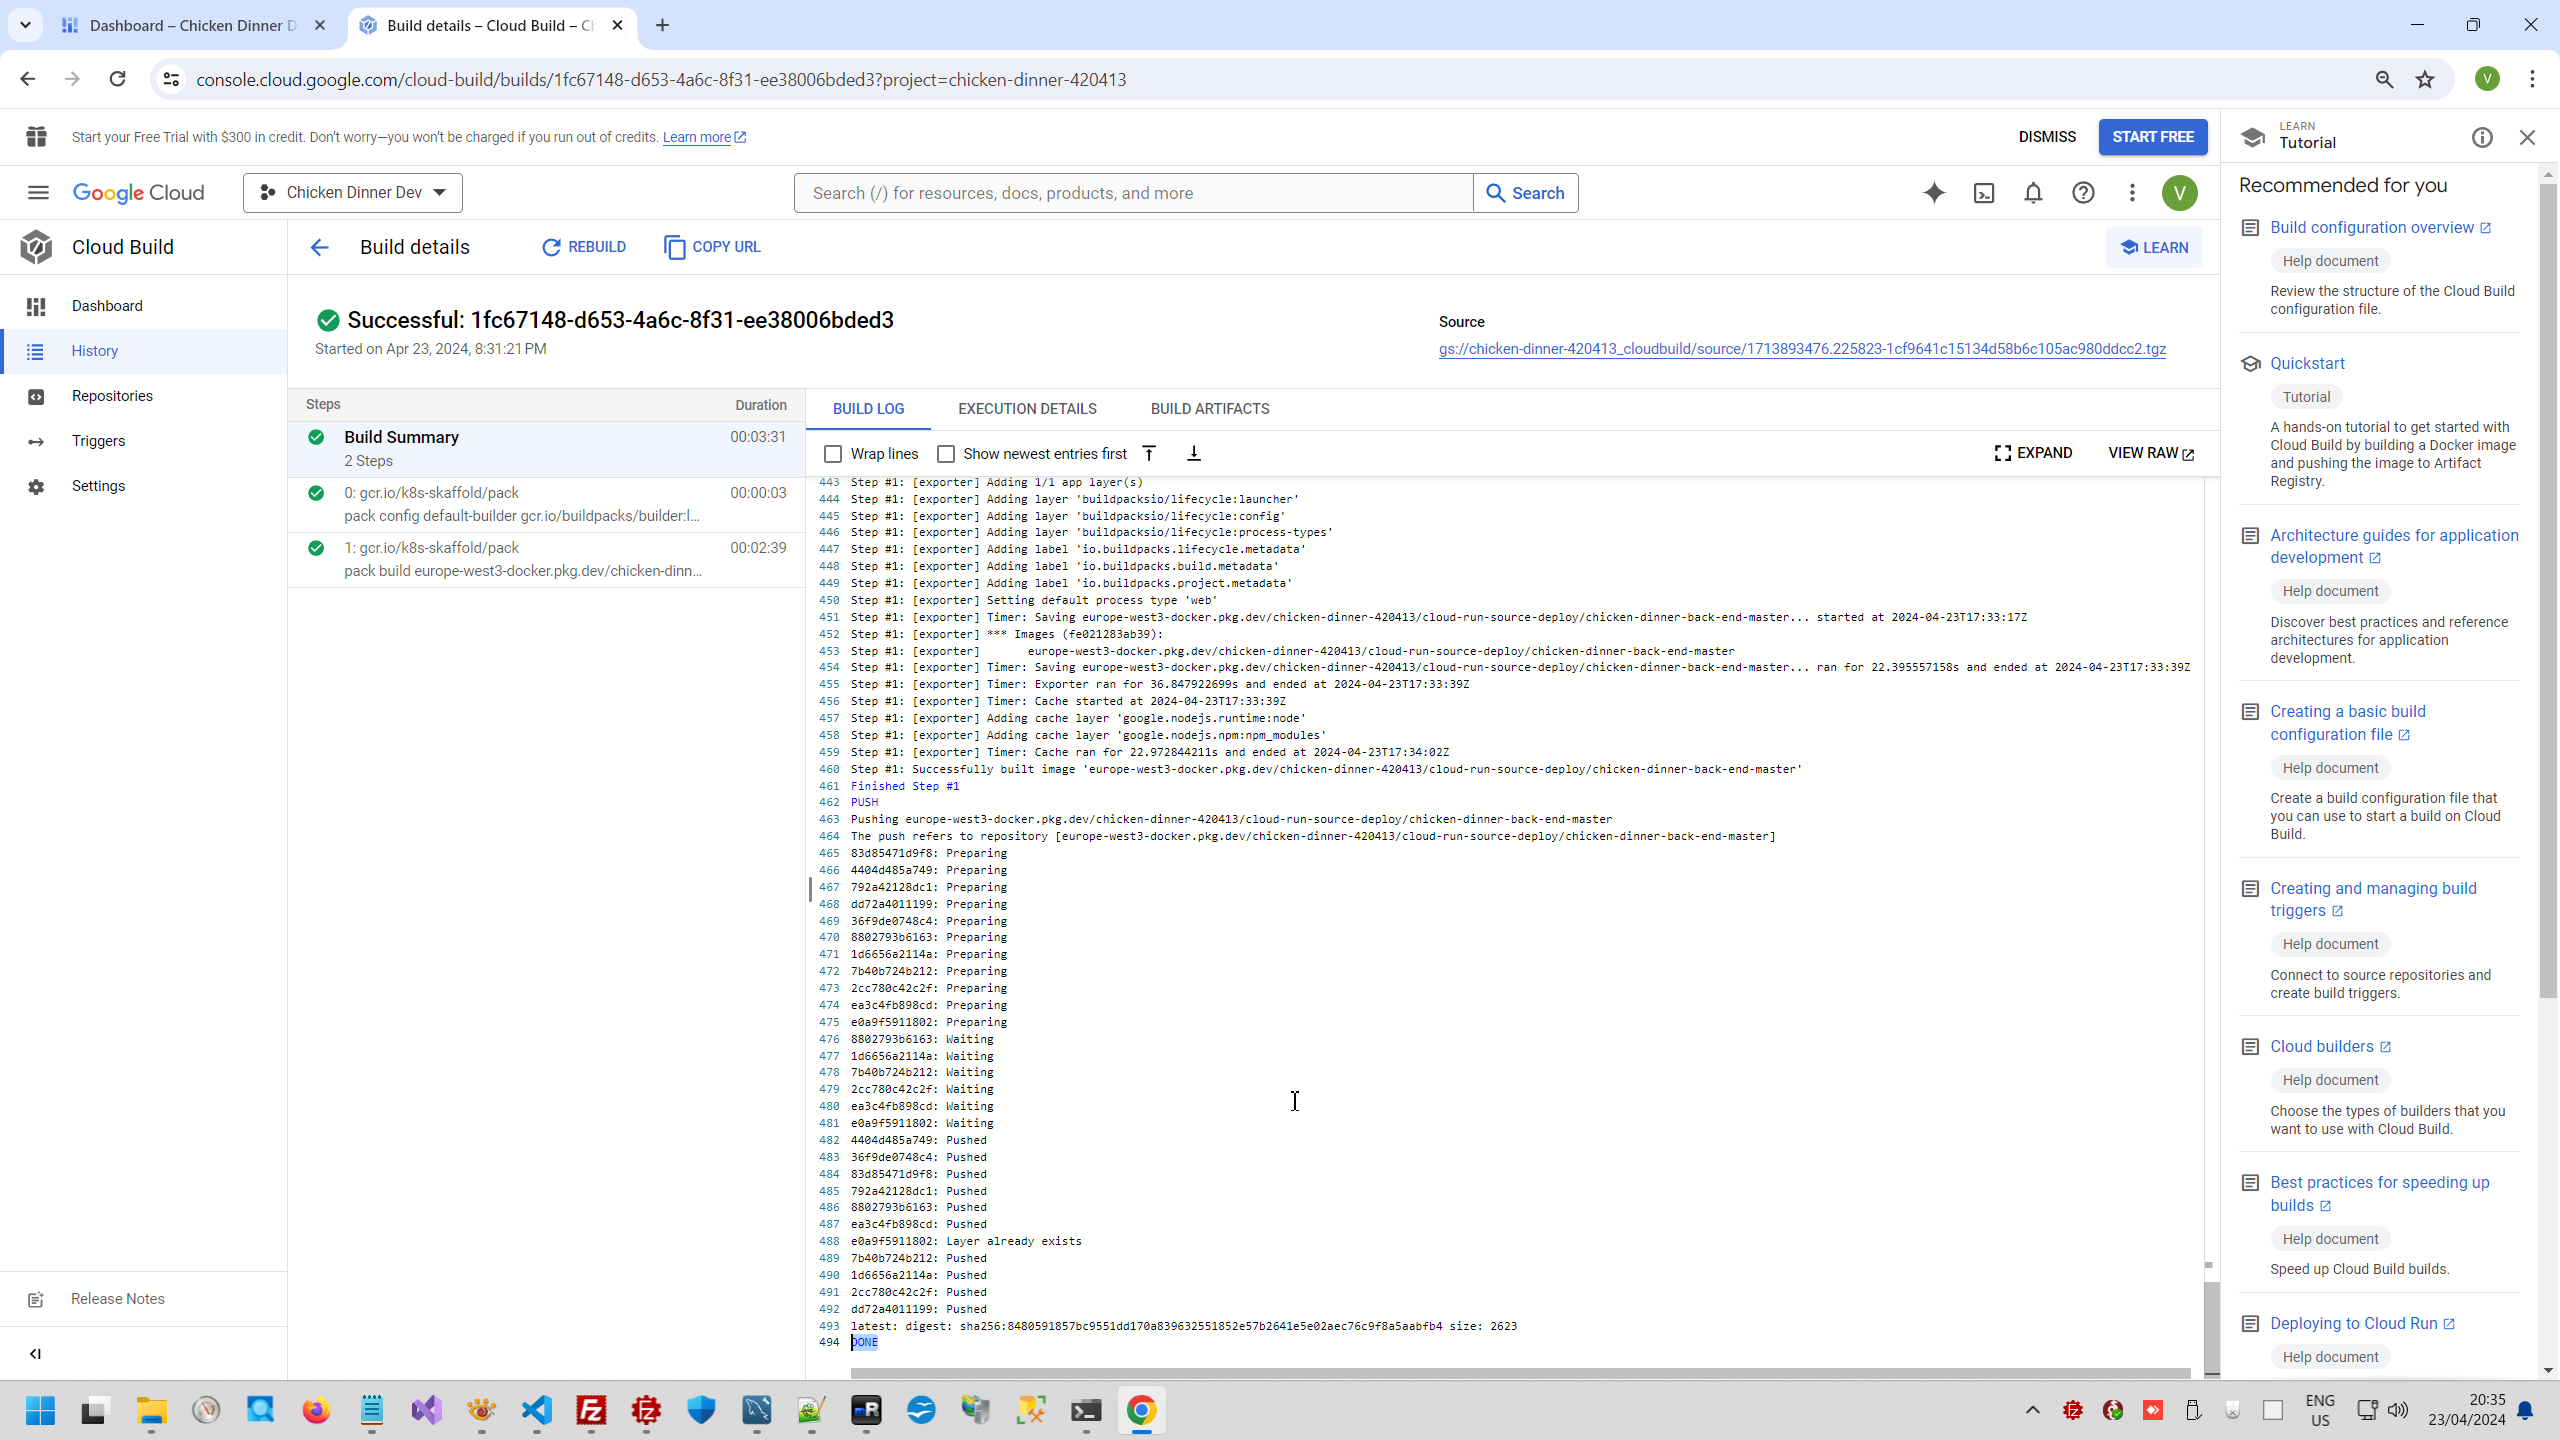
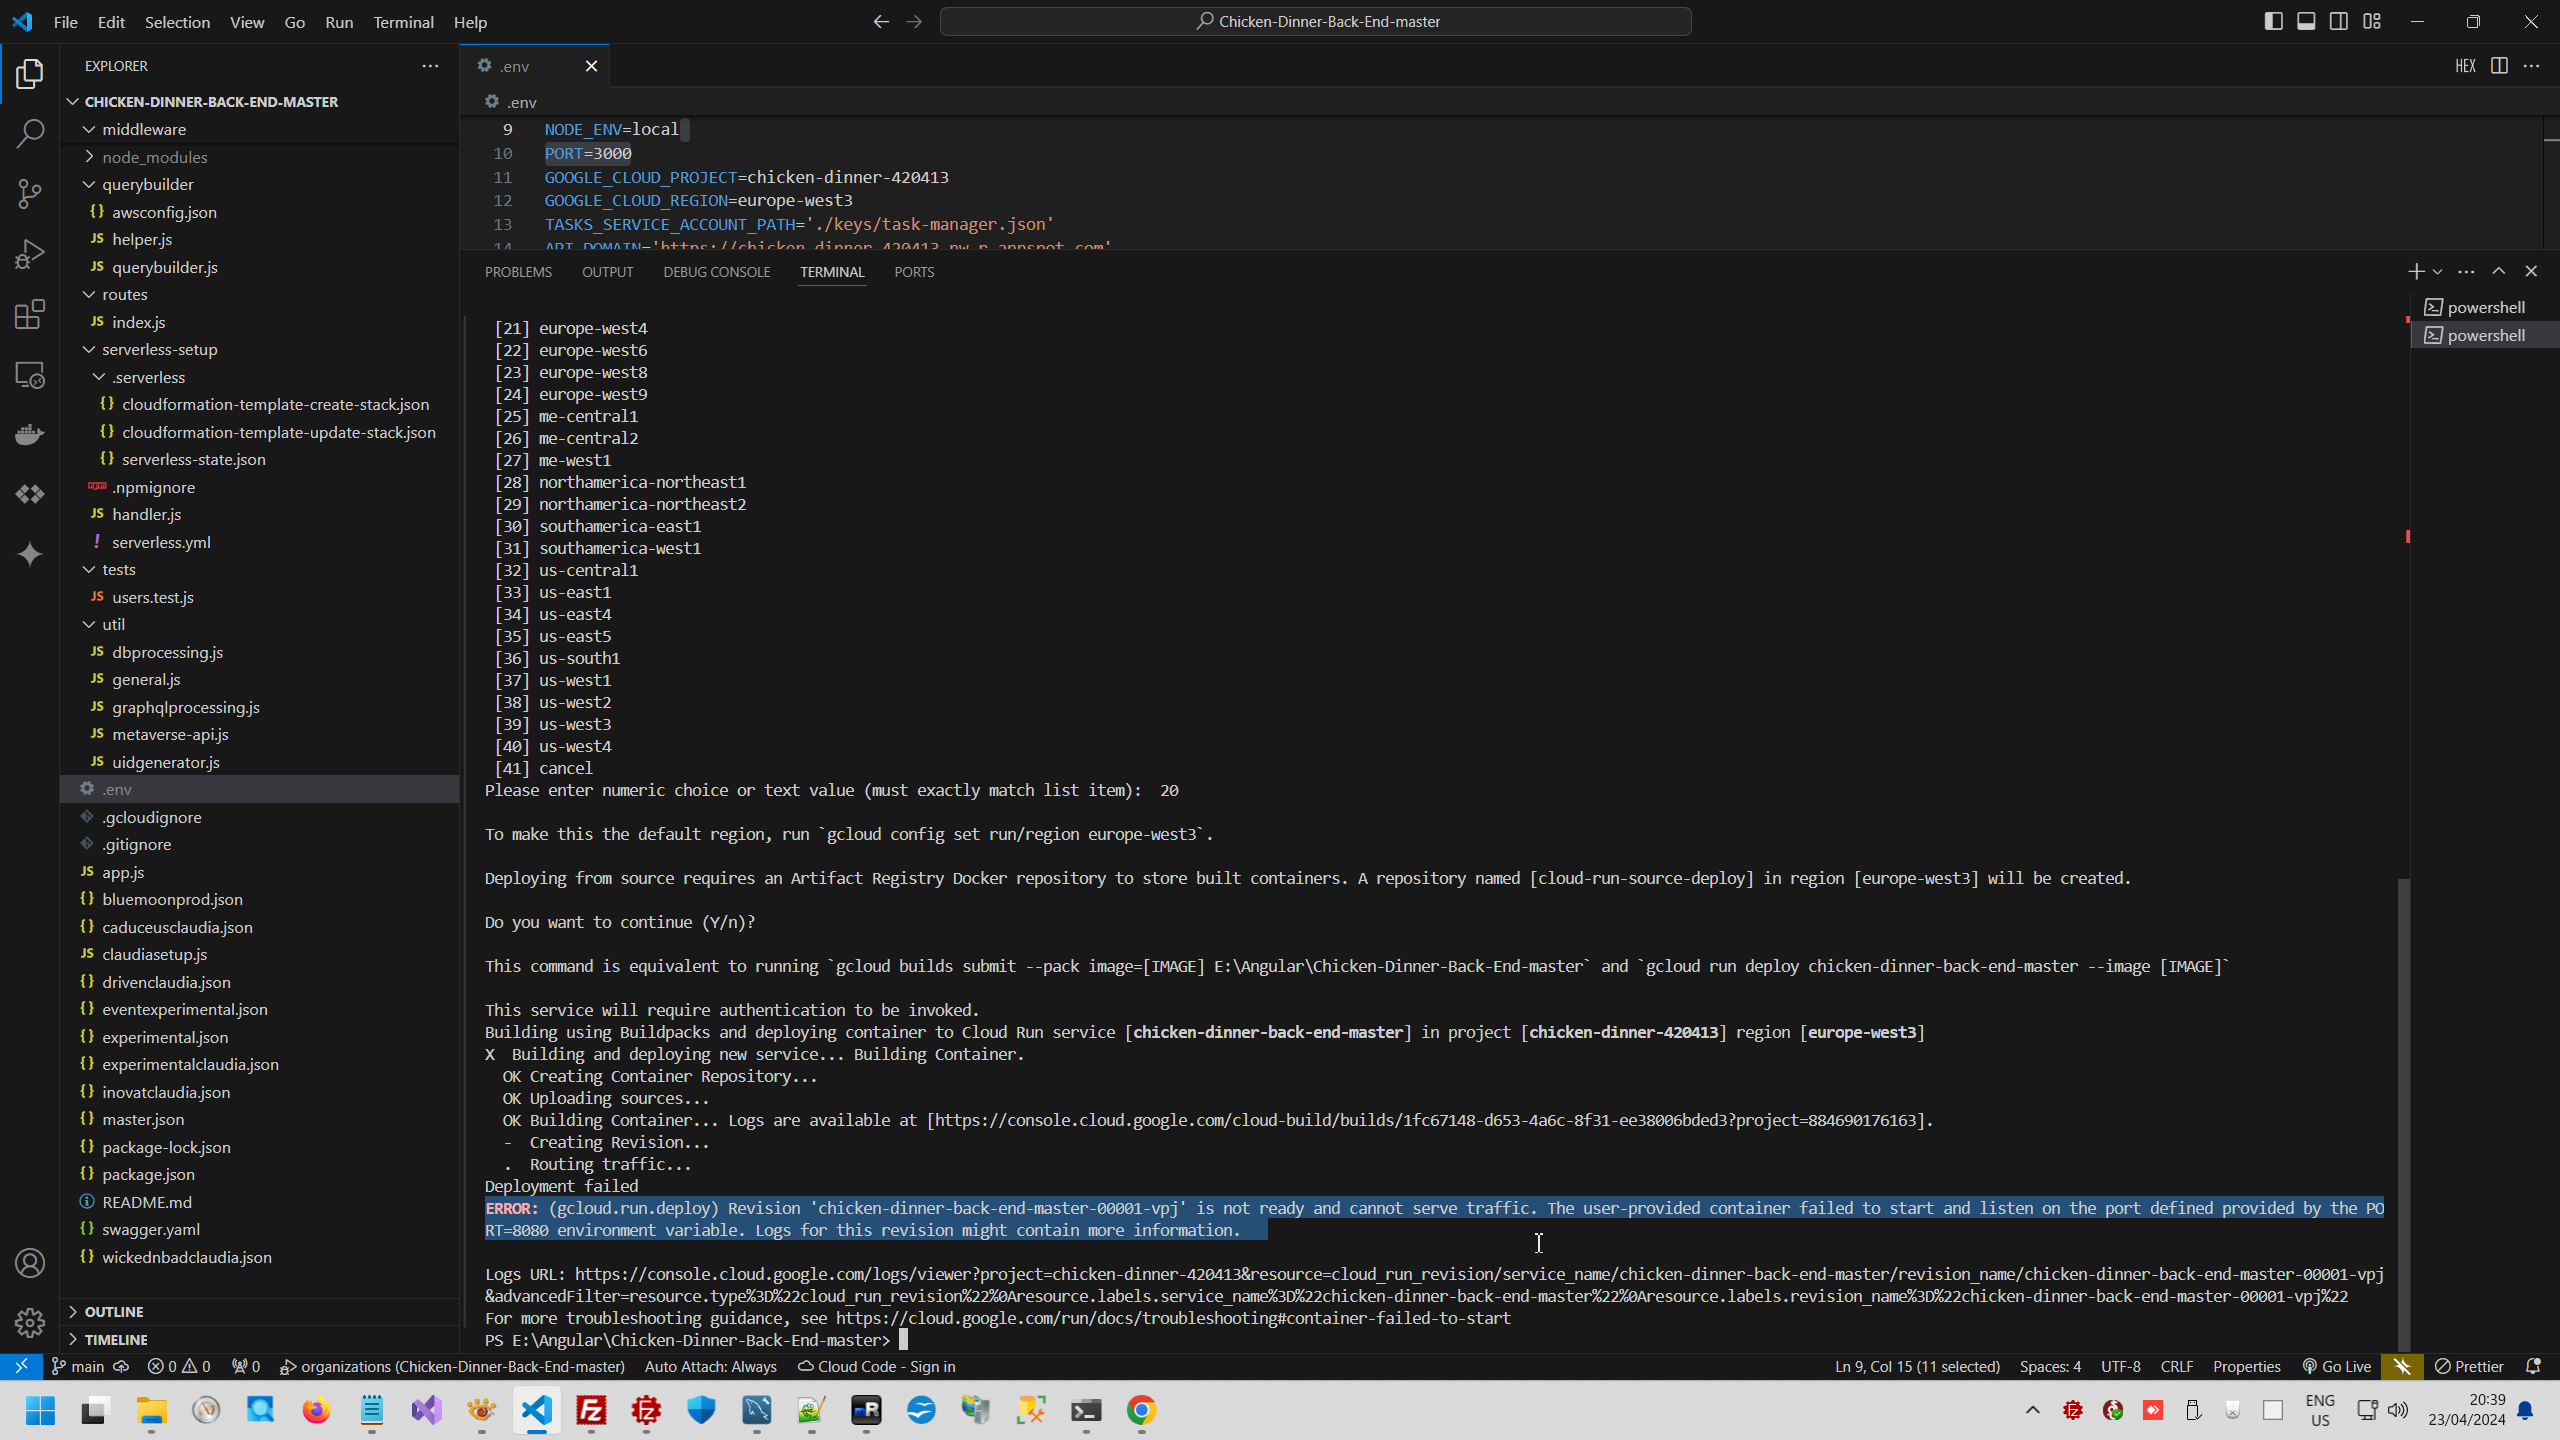
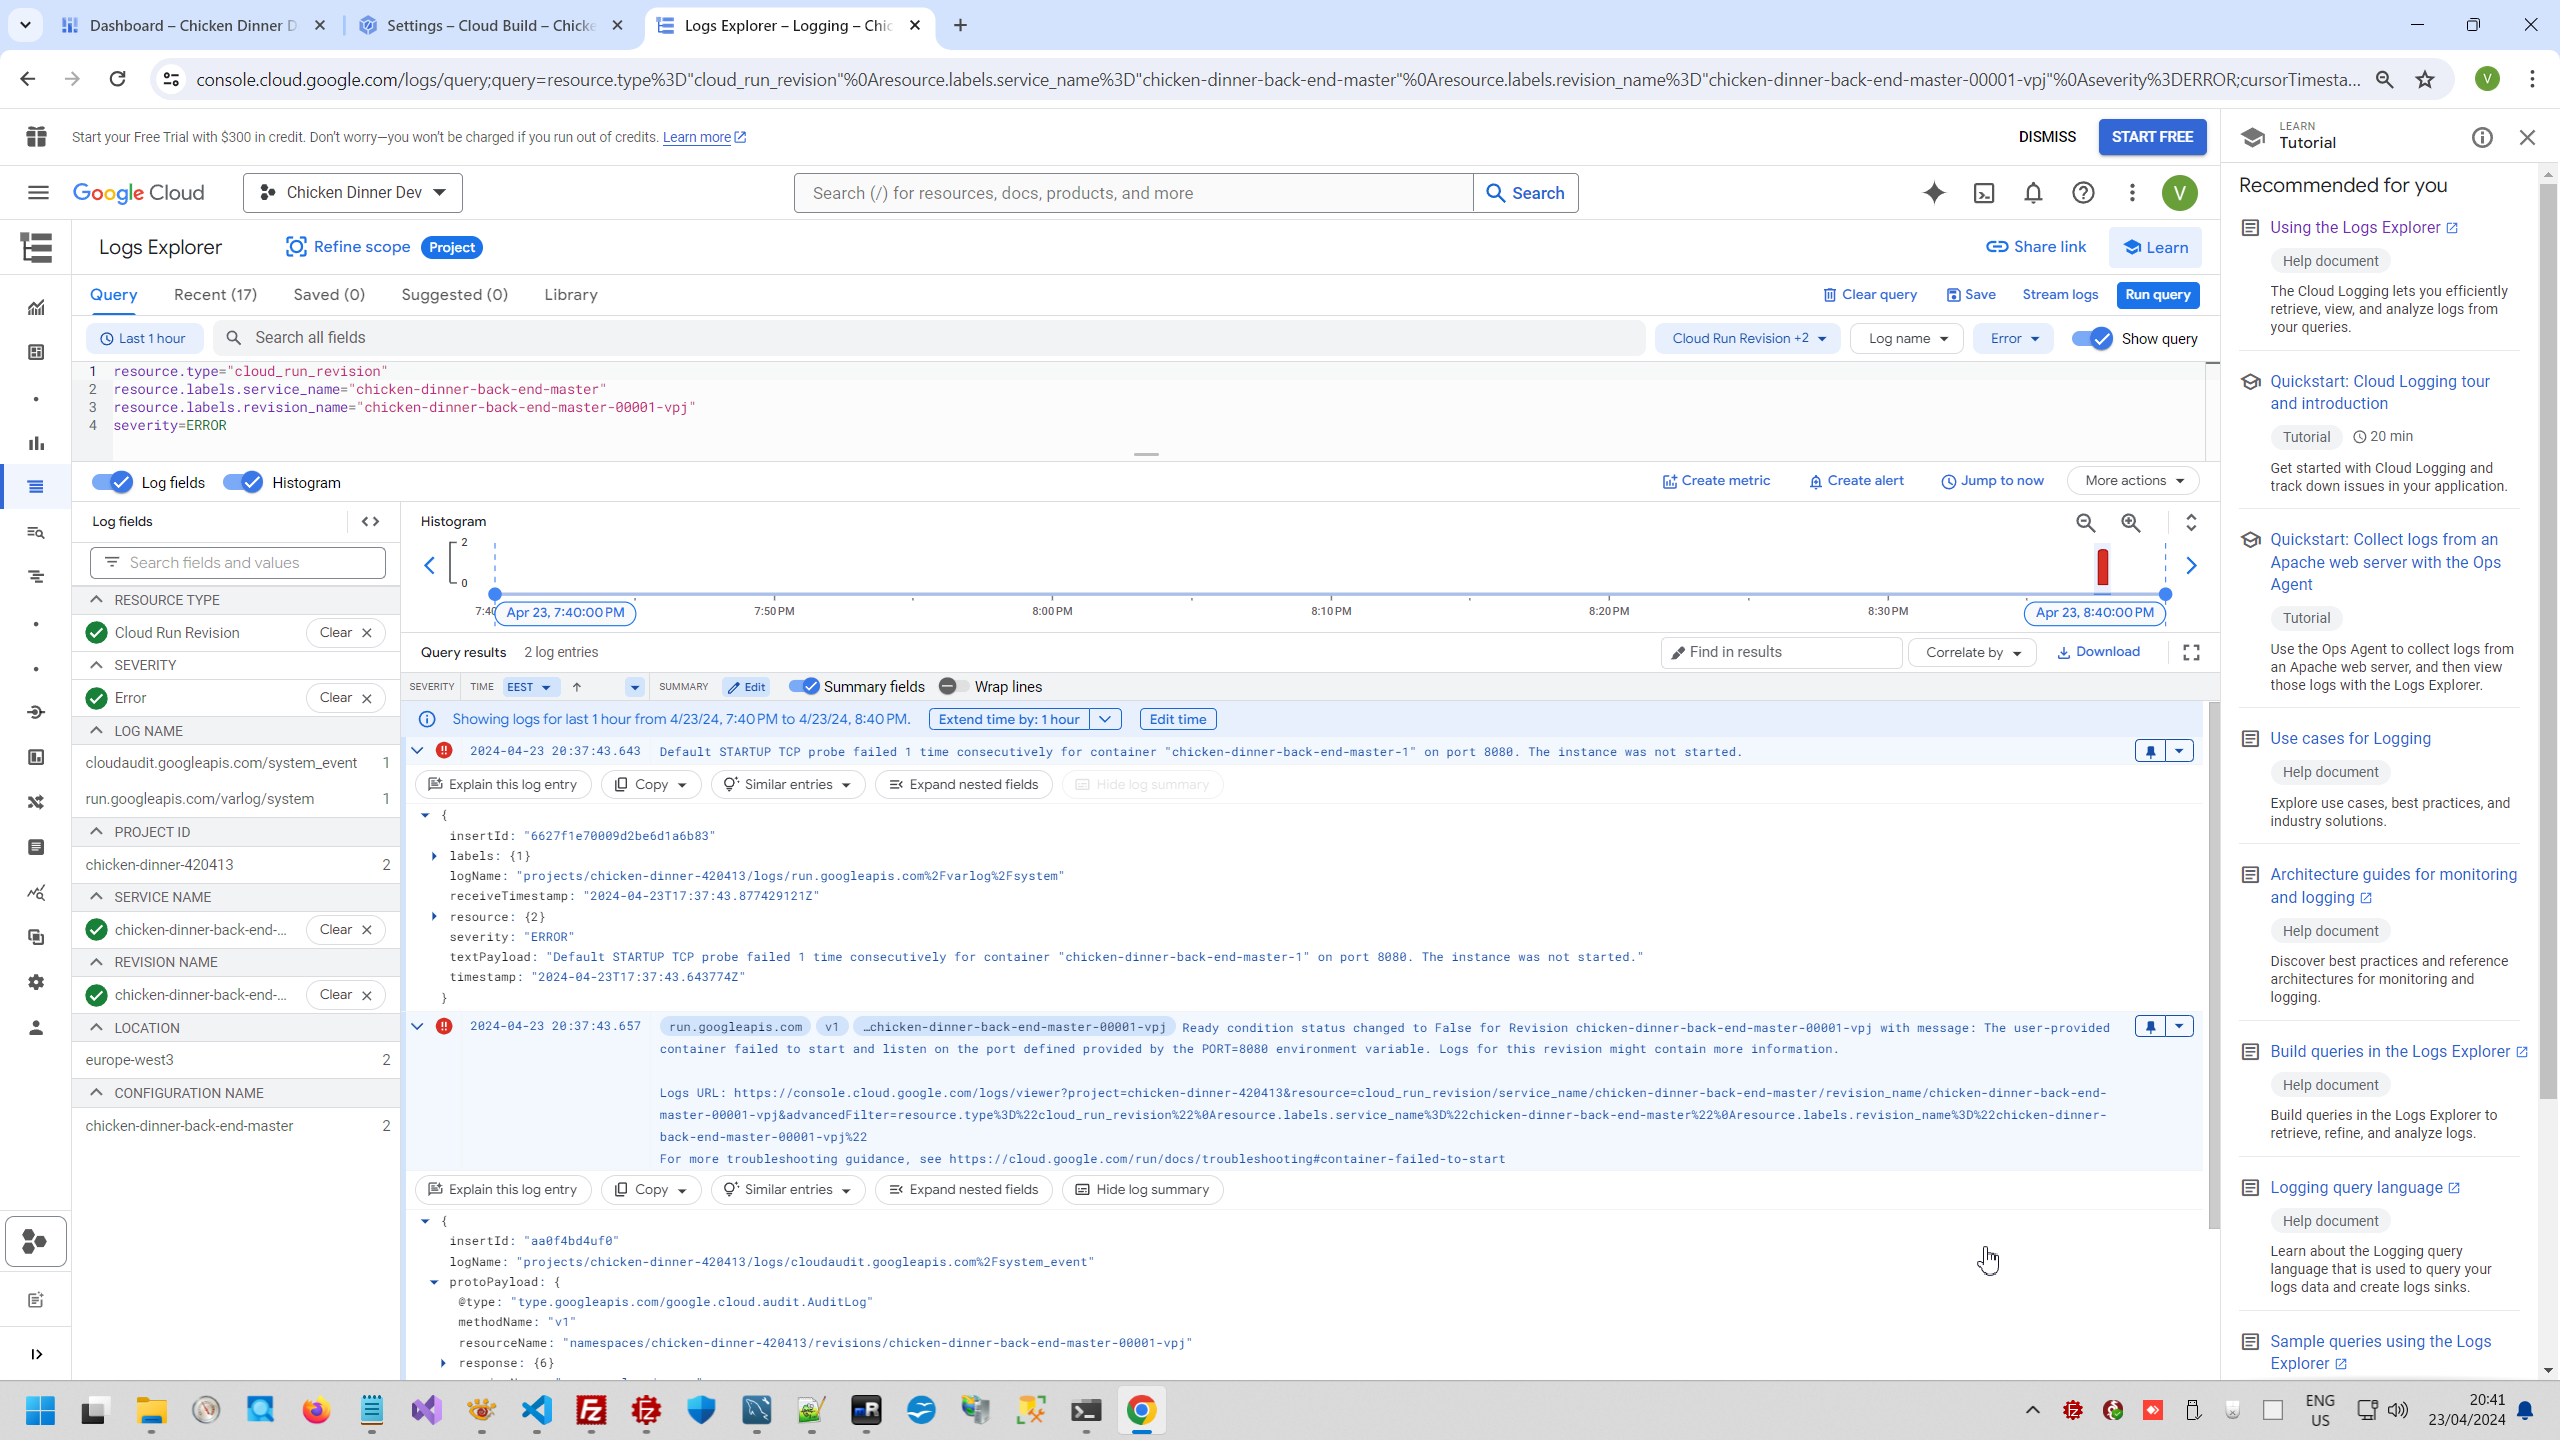
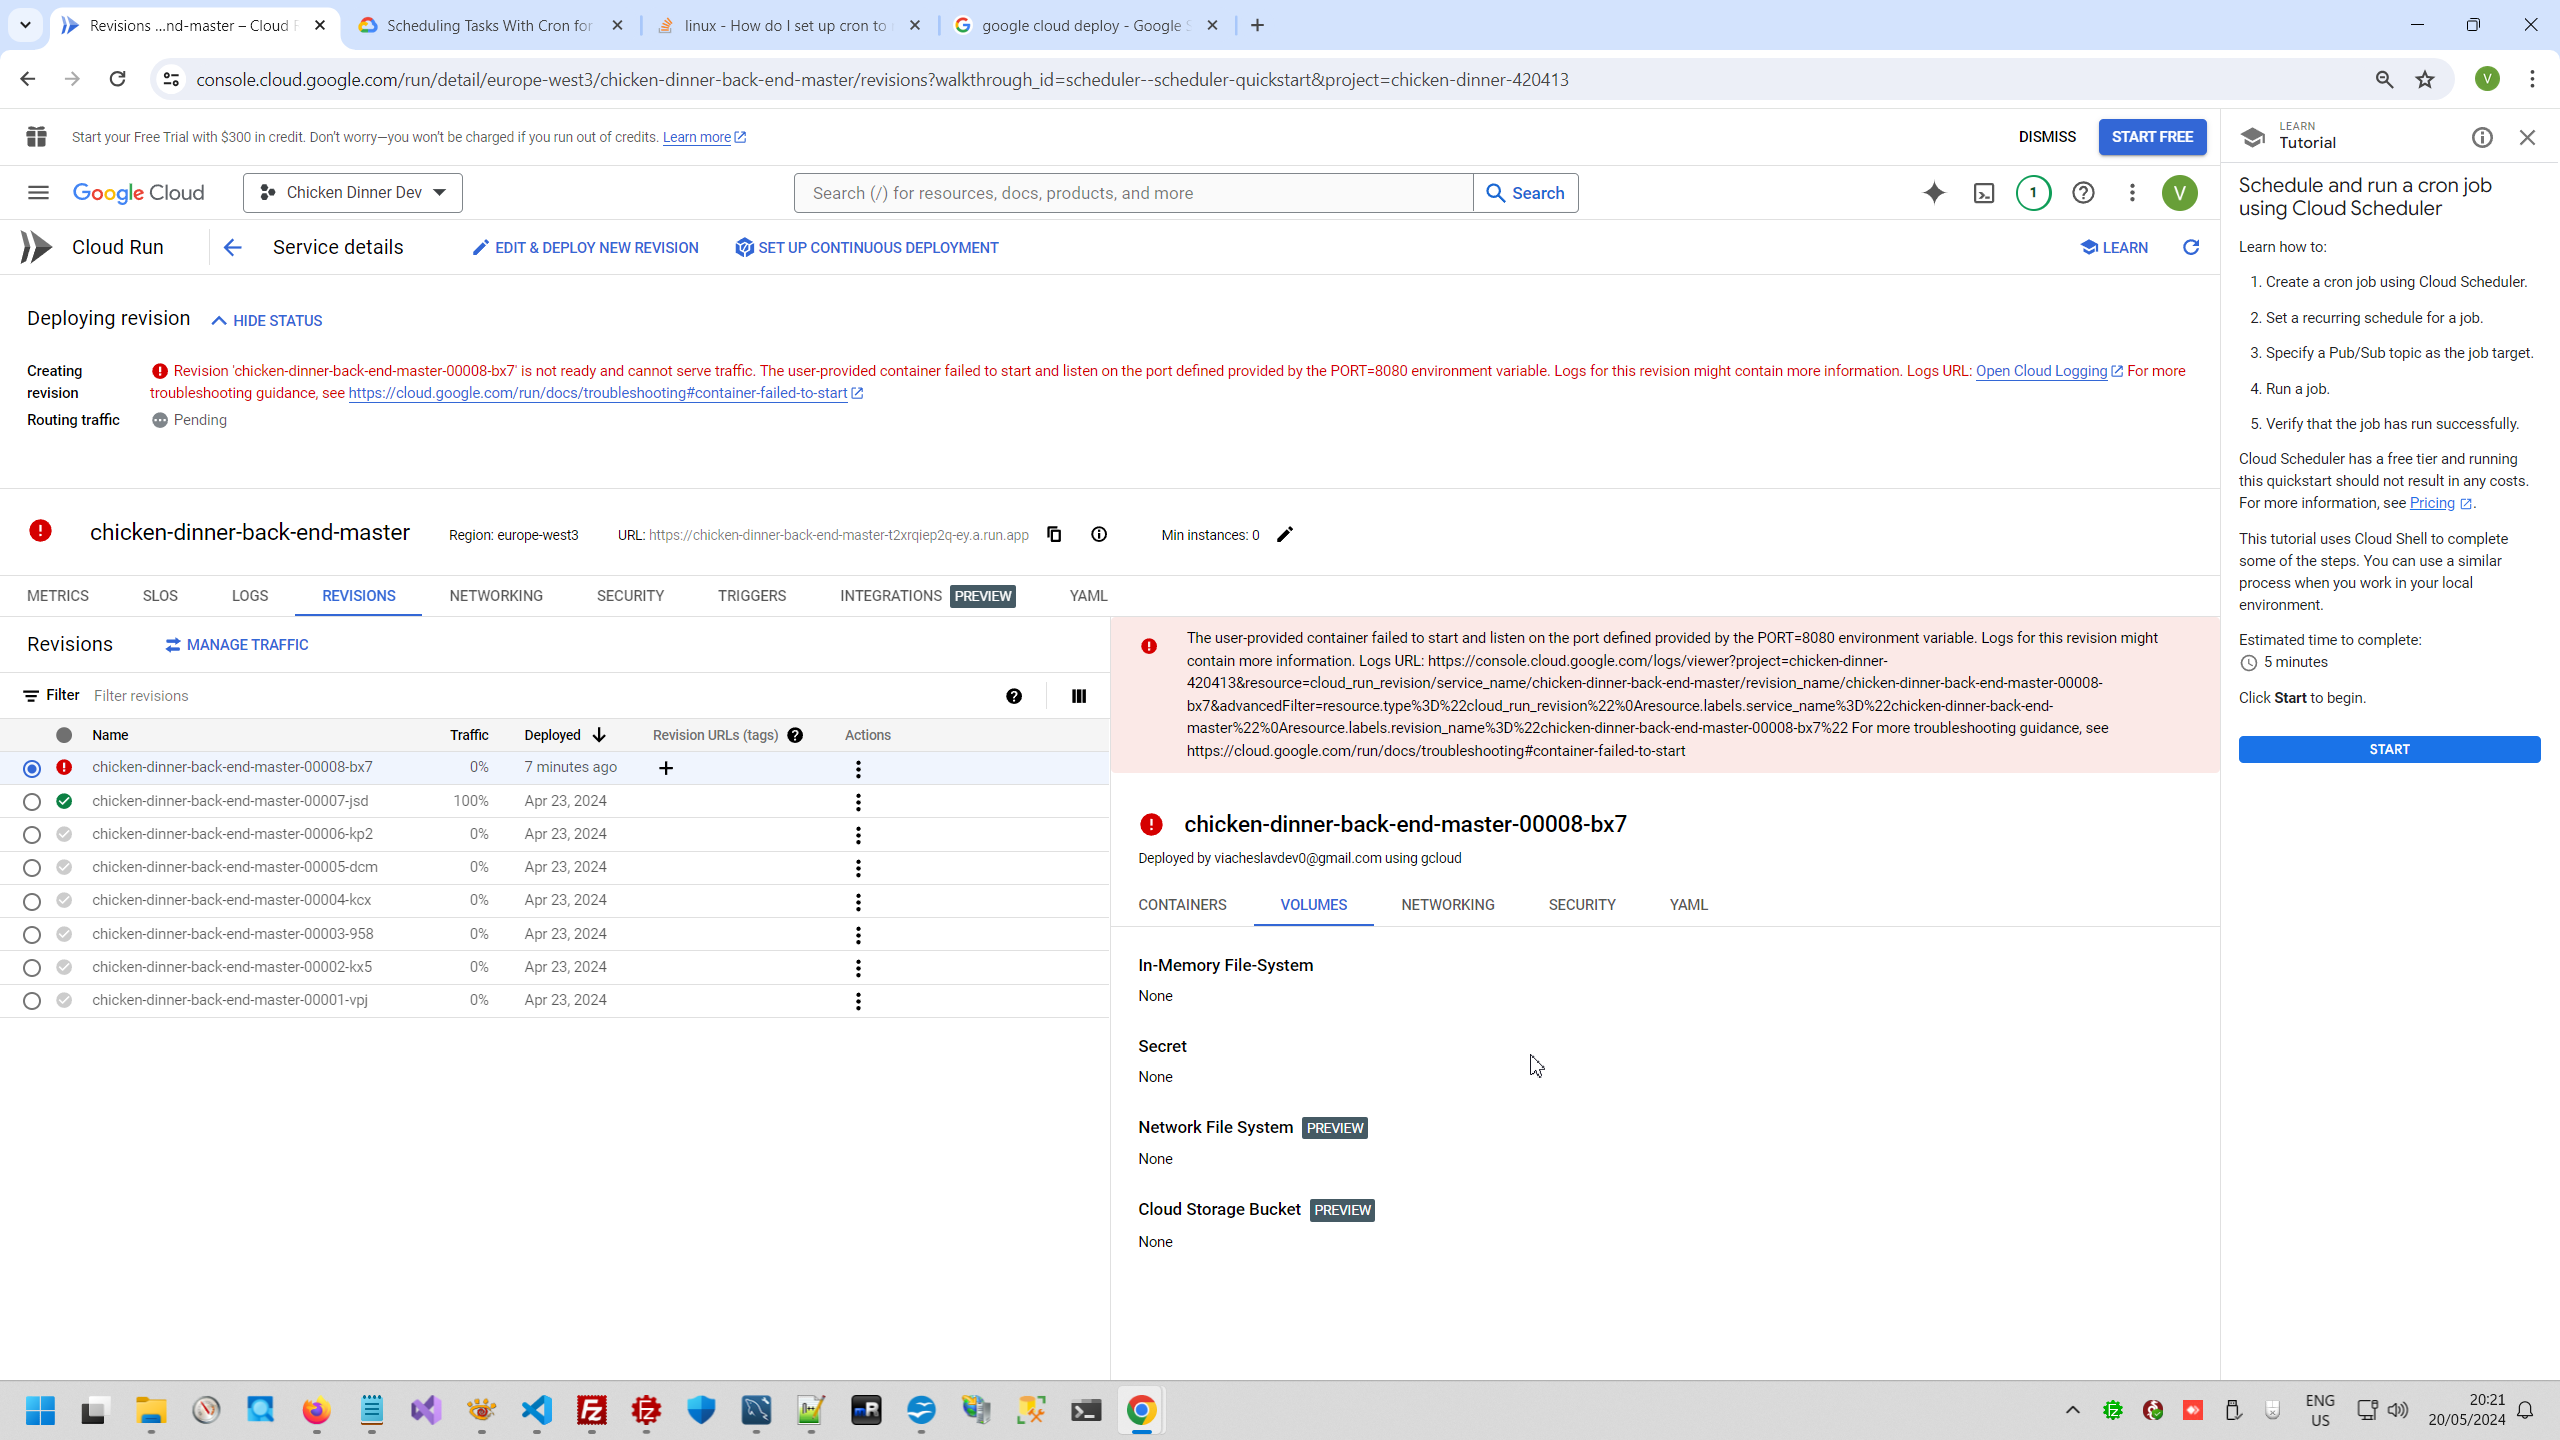
Of course, nobody knows what you write in your project and why you project not workable. This is exactly your job, your skill and your fortune. For example I worked more than 2 month why I deleted all errors.
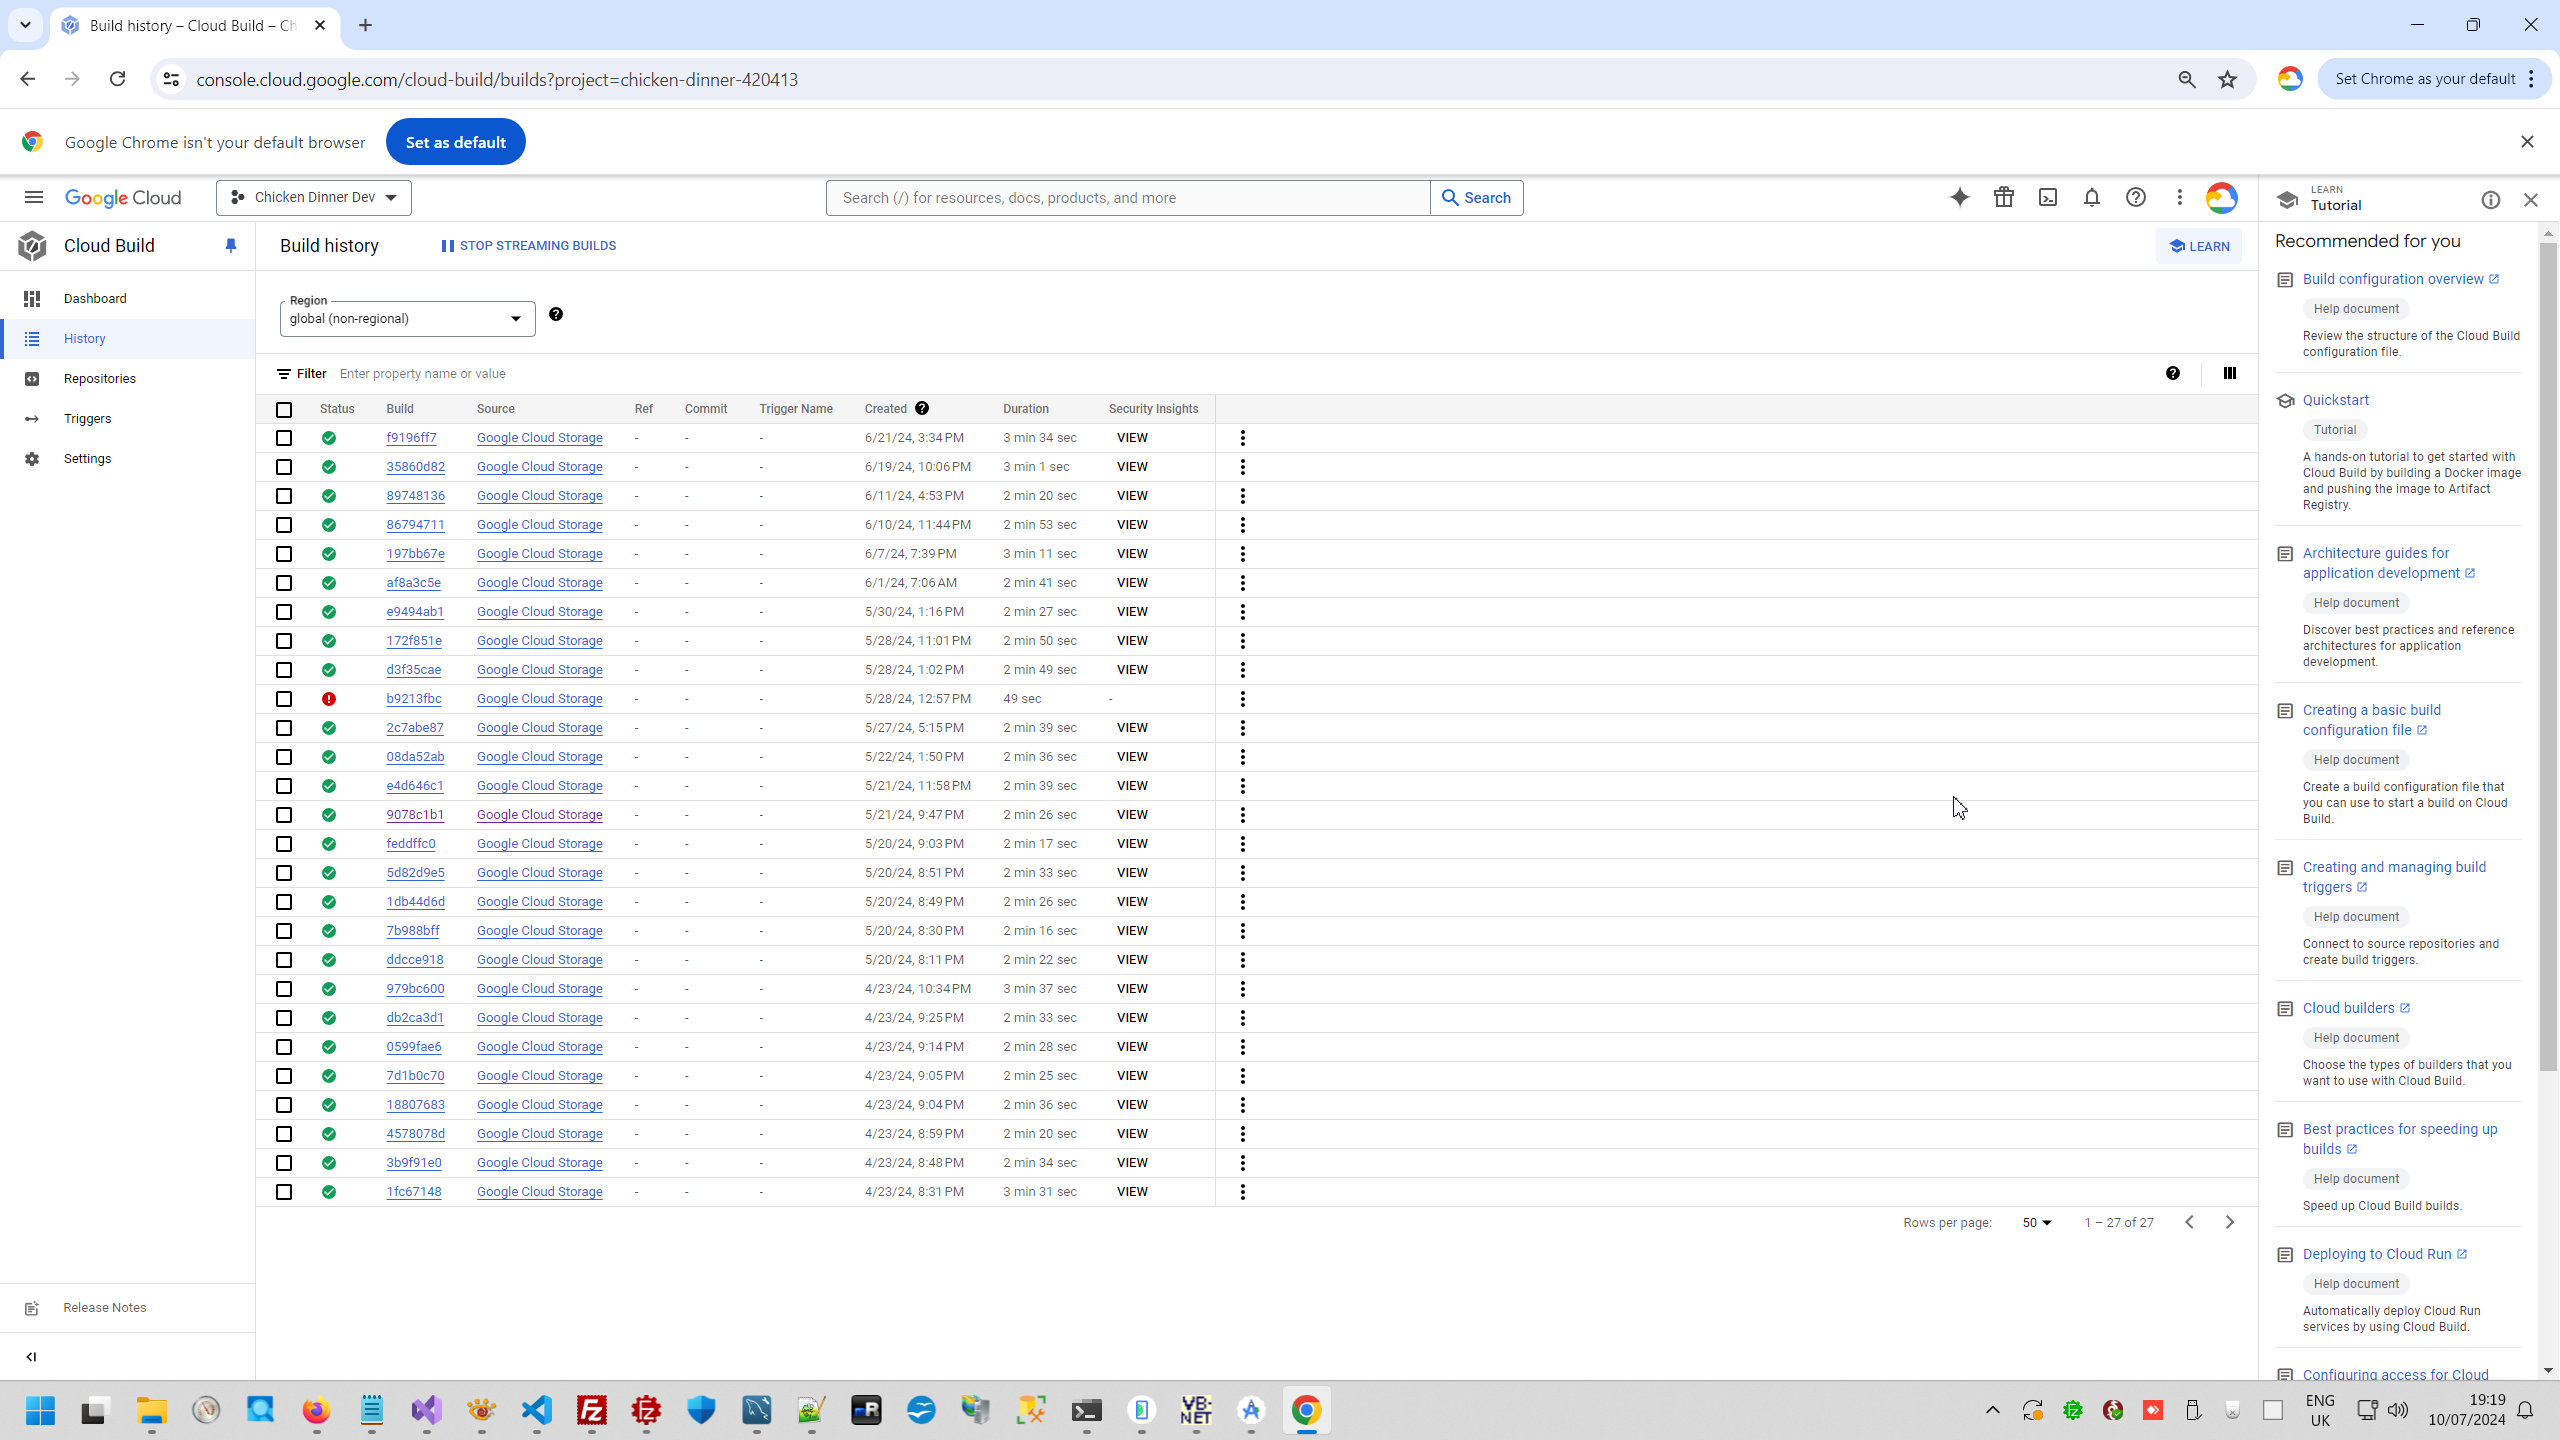
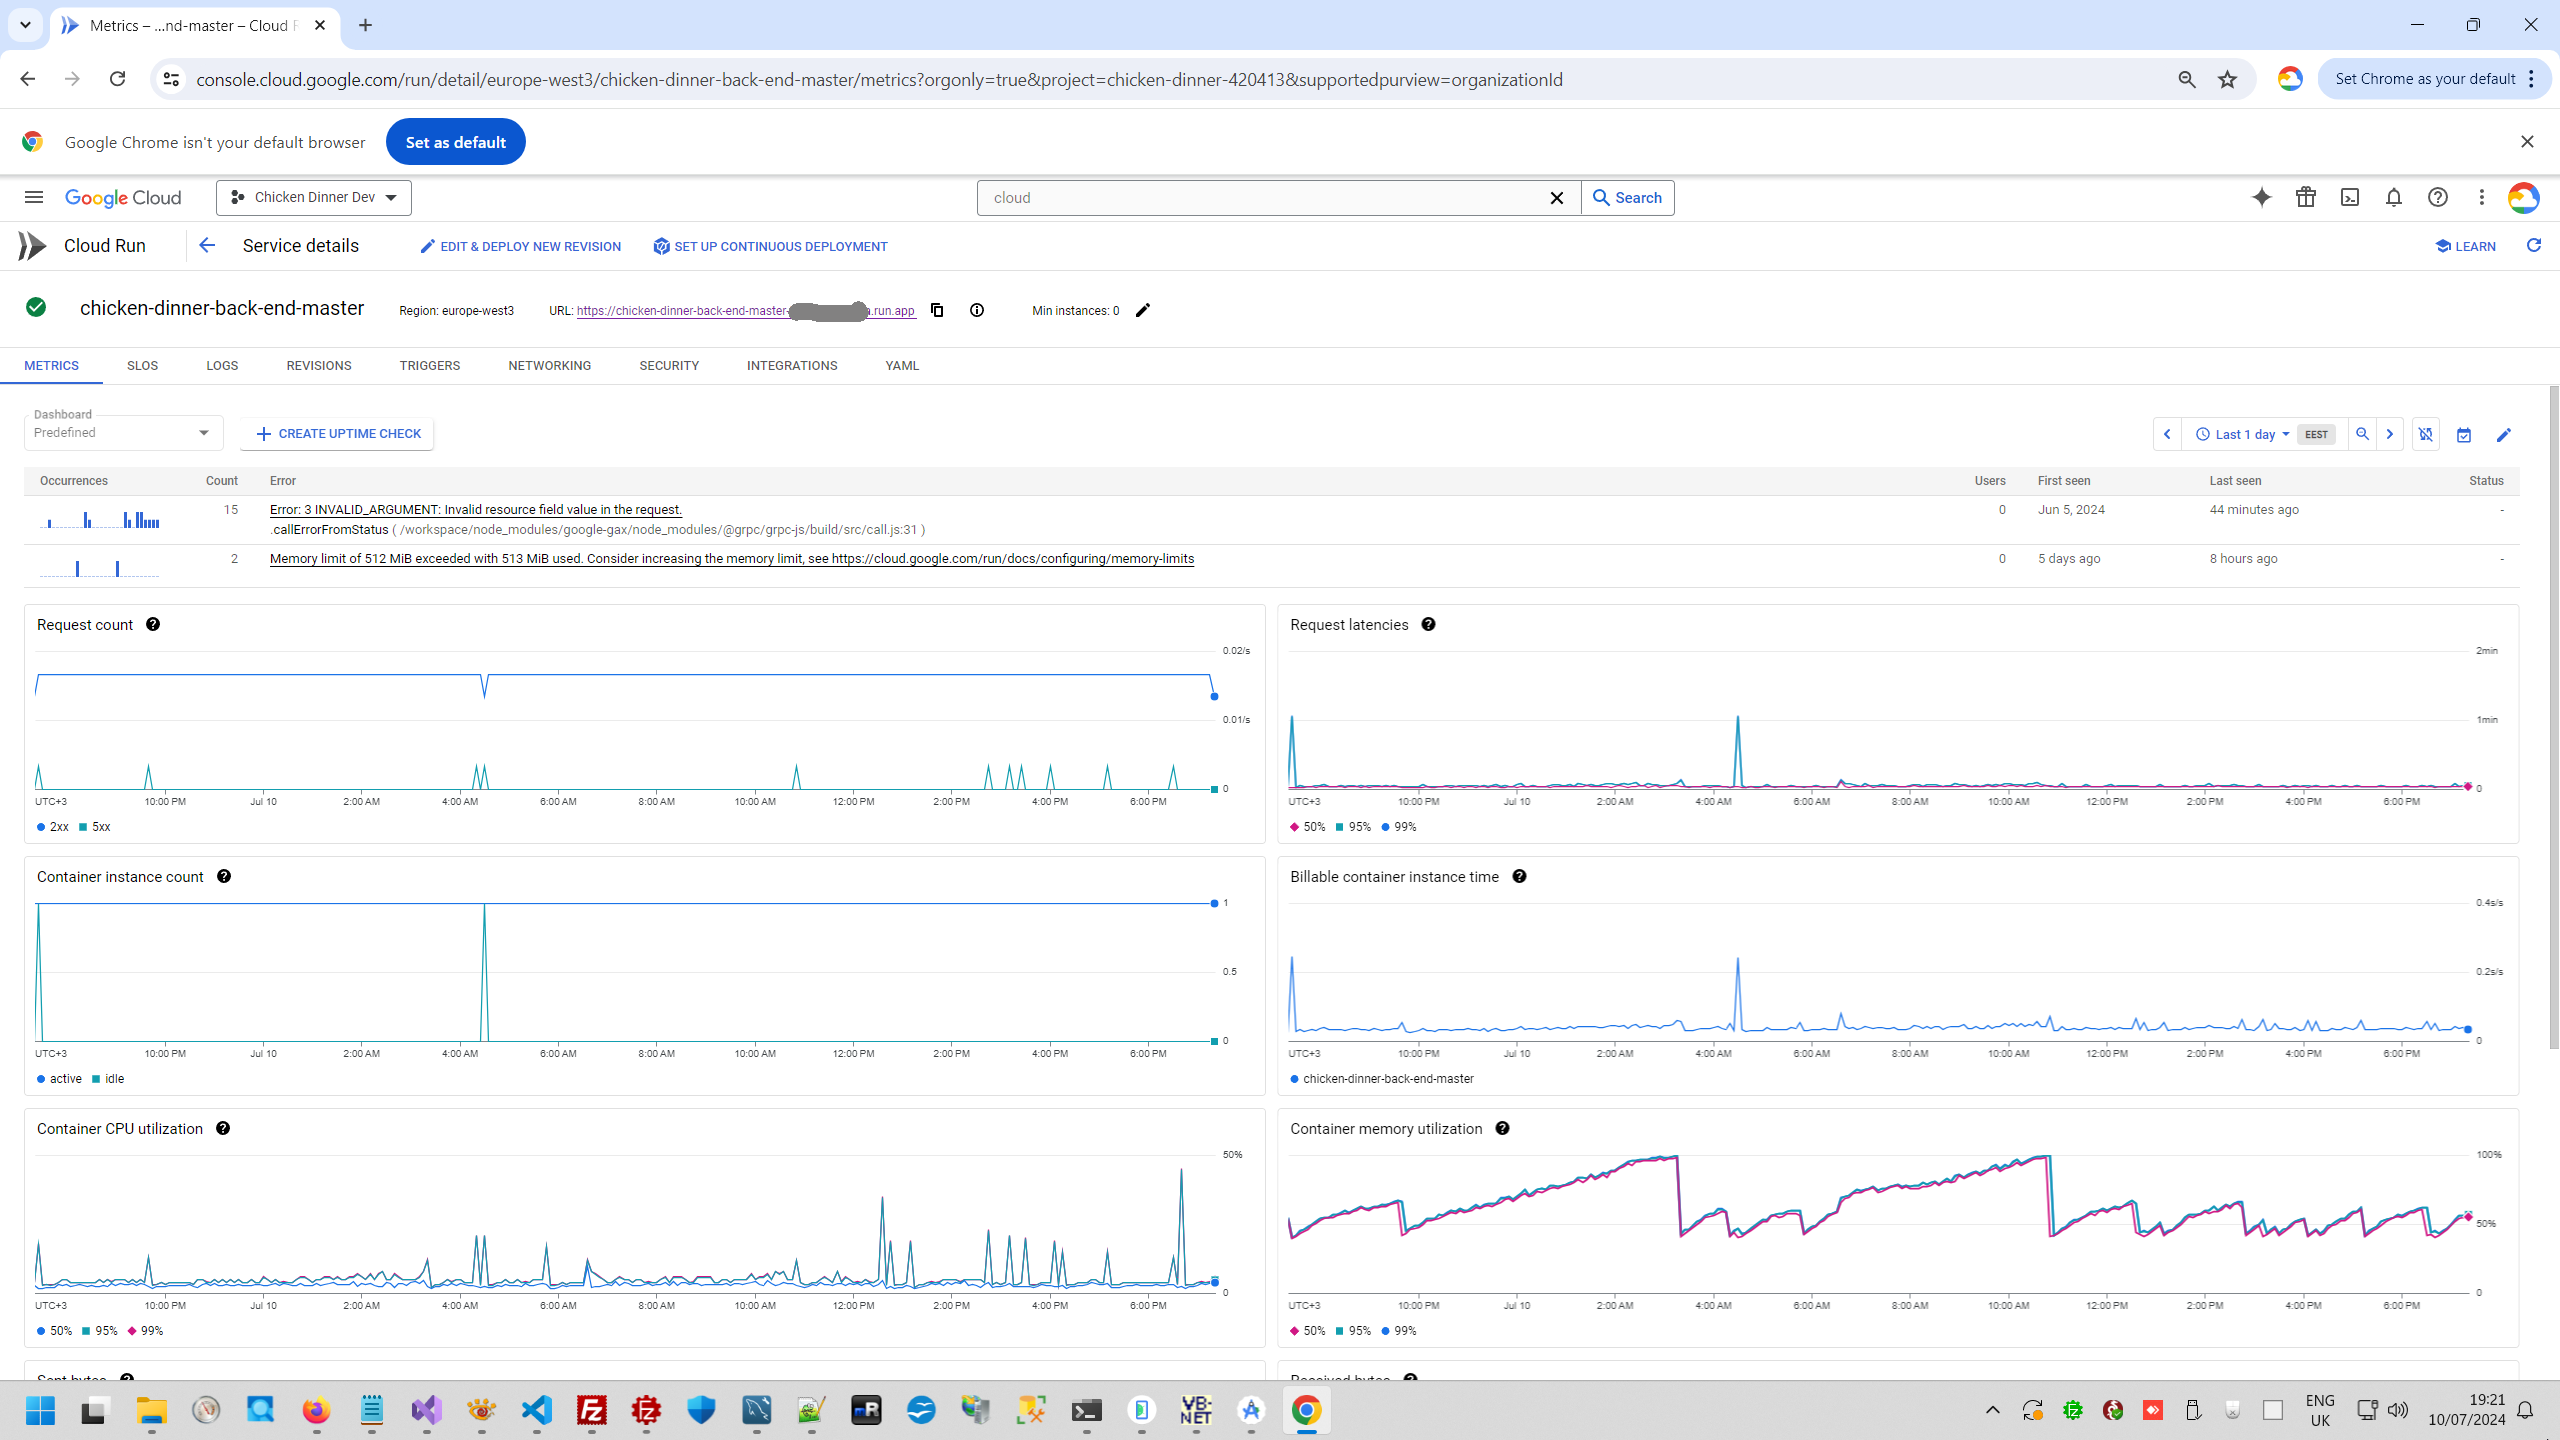
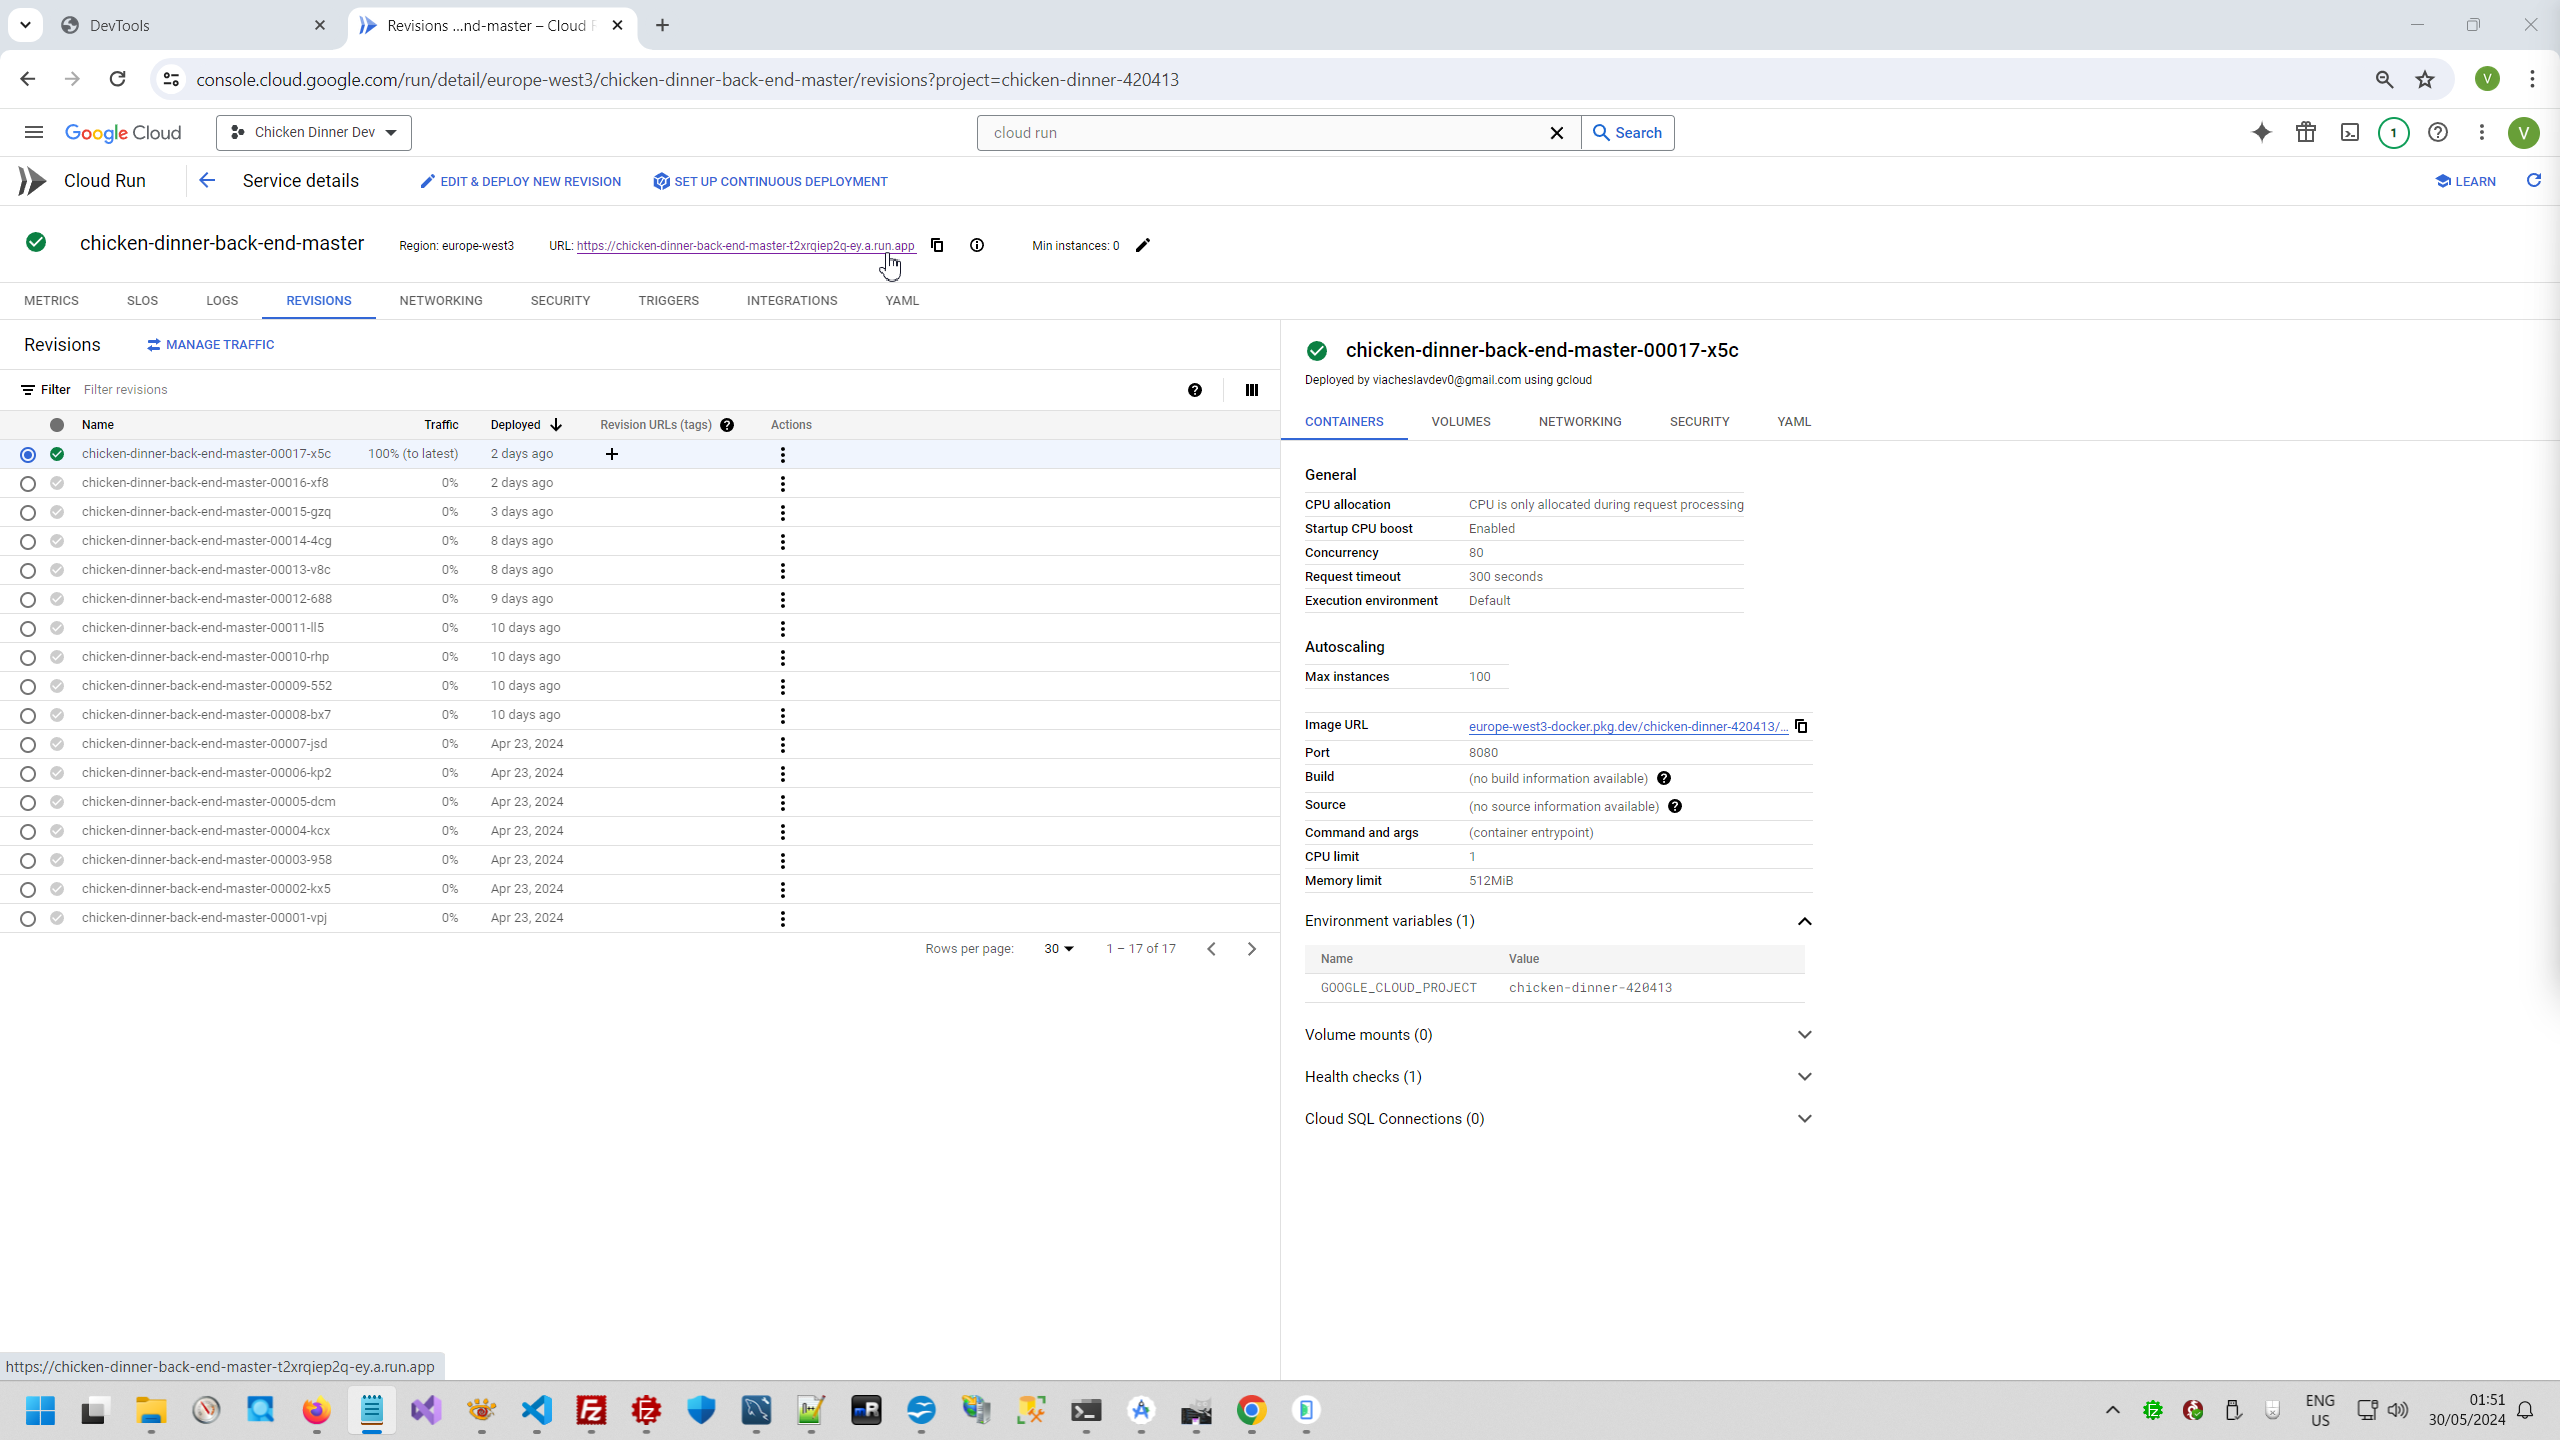
6. Manage deployed container.
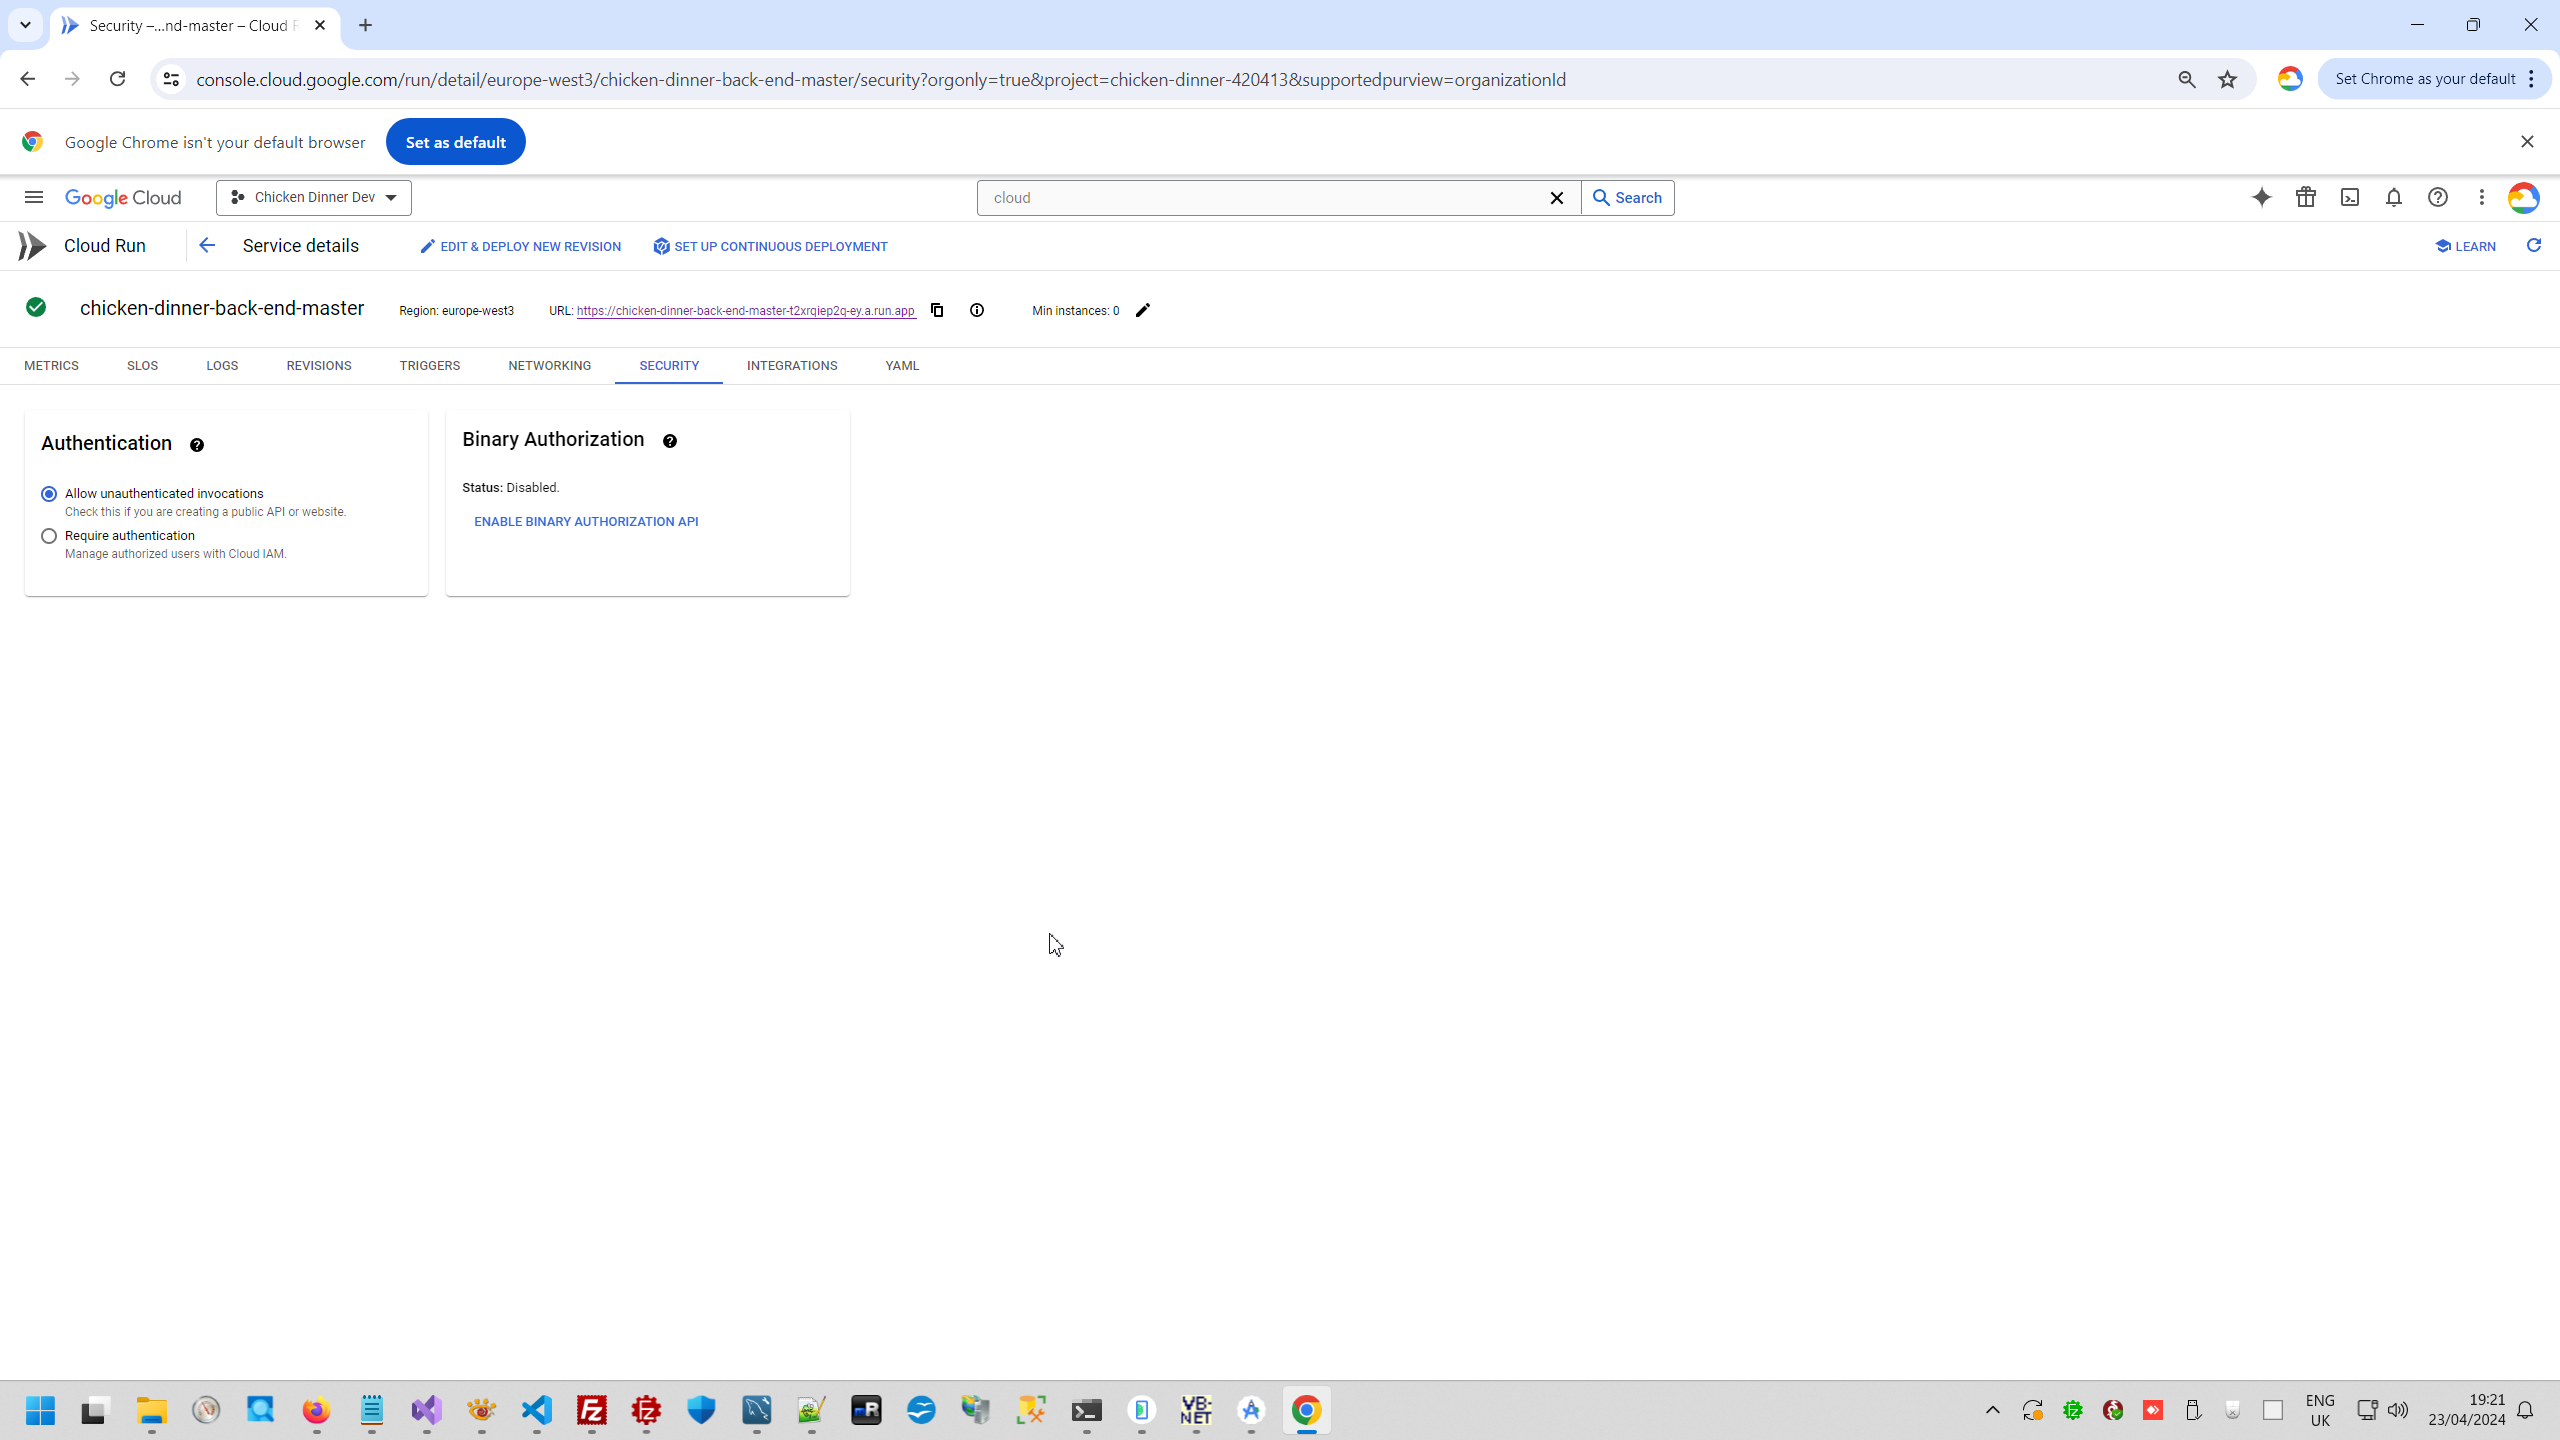
If, you want to open your backend API for other developers you must open it manually, because by default API is opened only for your Google account.
This is panel for manage one deployed container.
And this is parameter I speaking about.
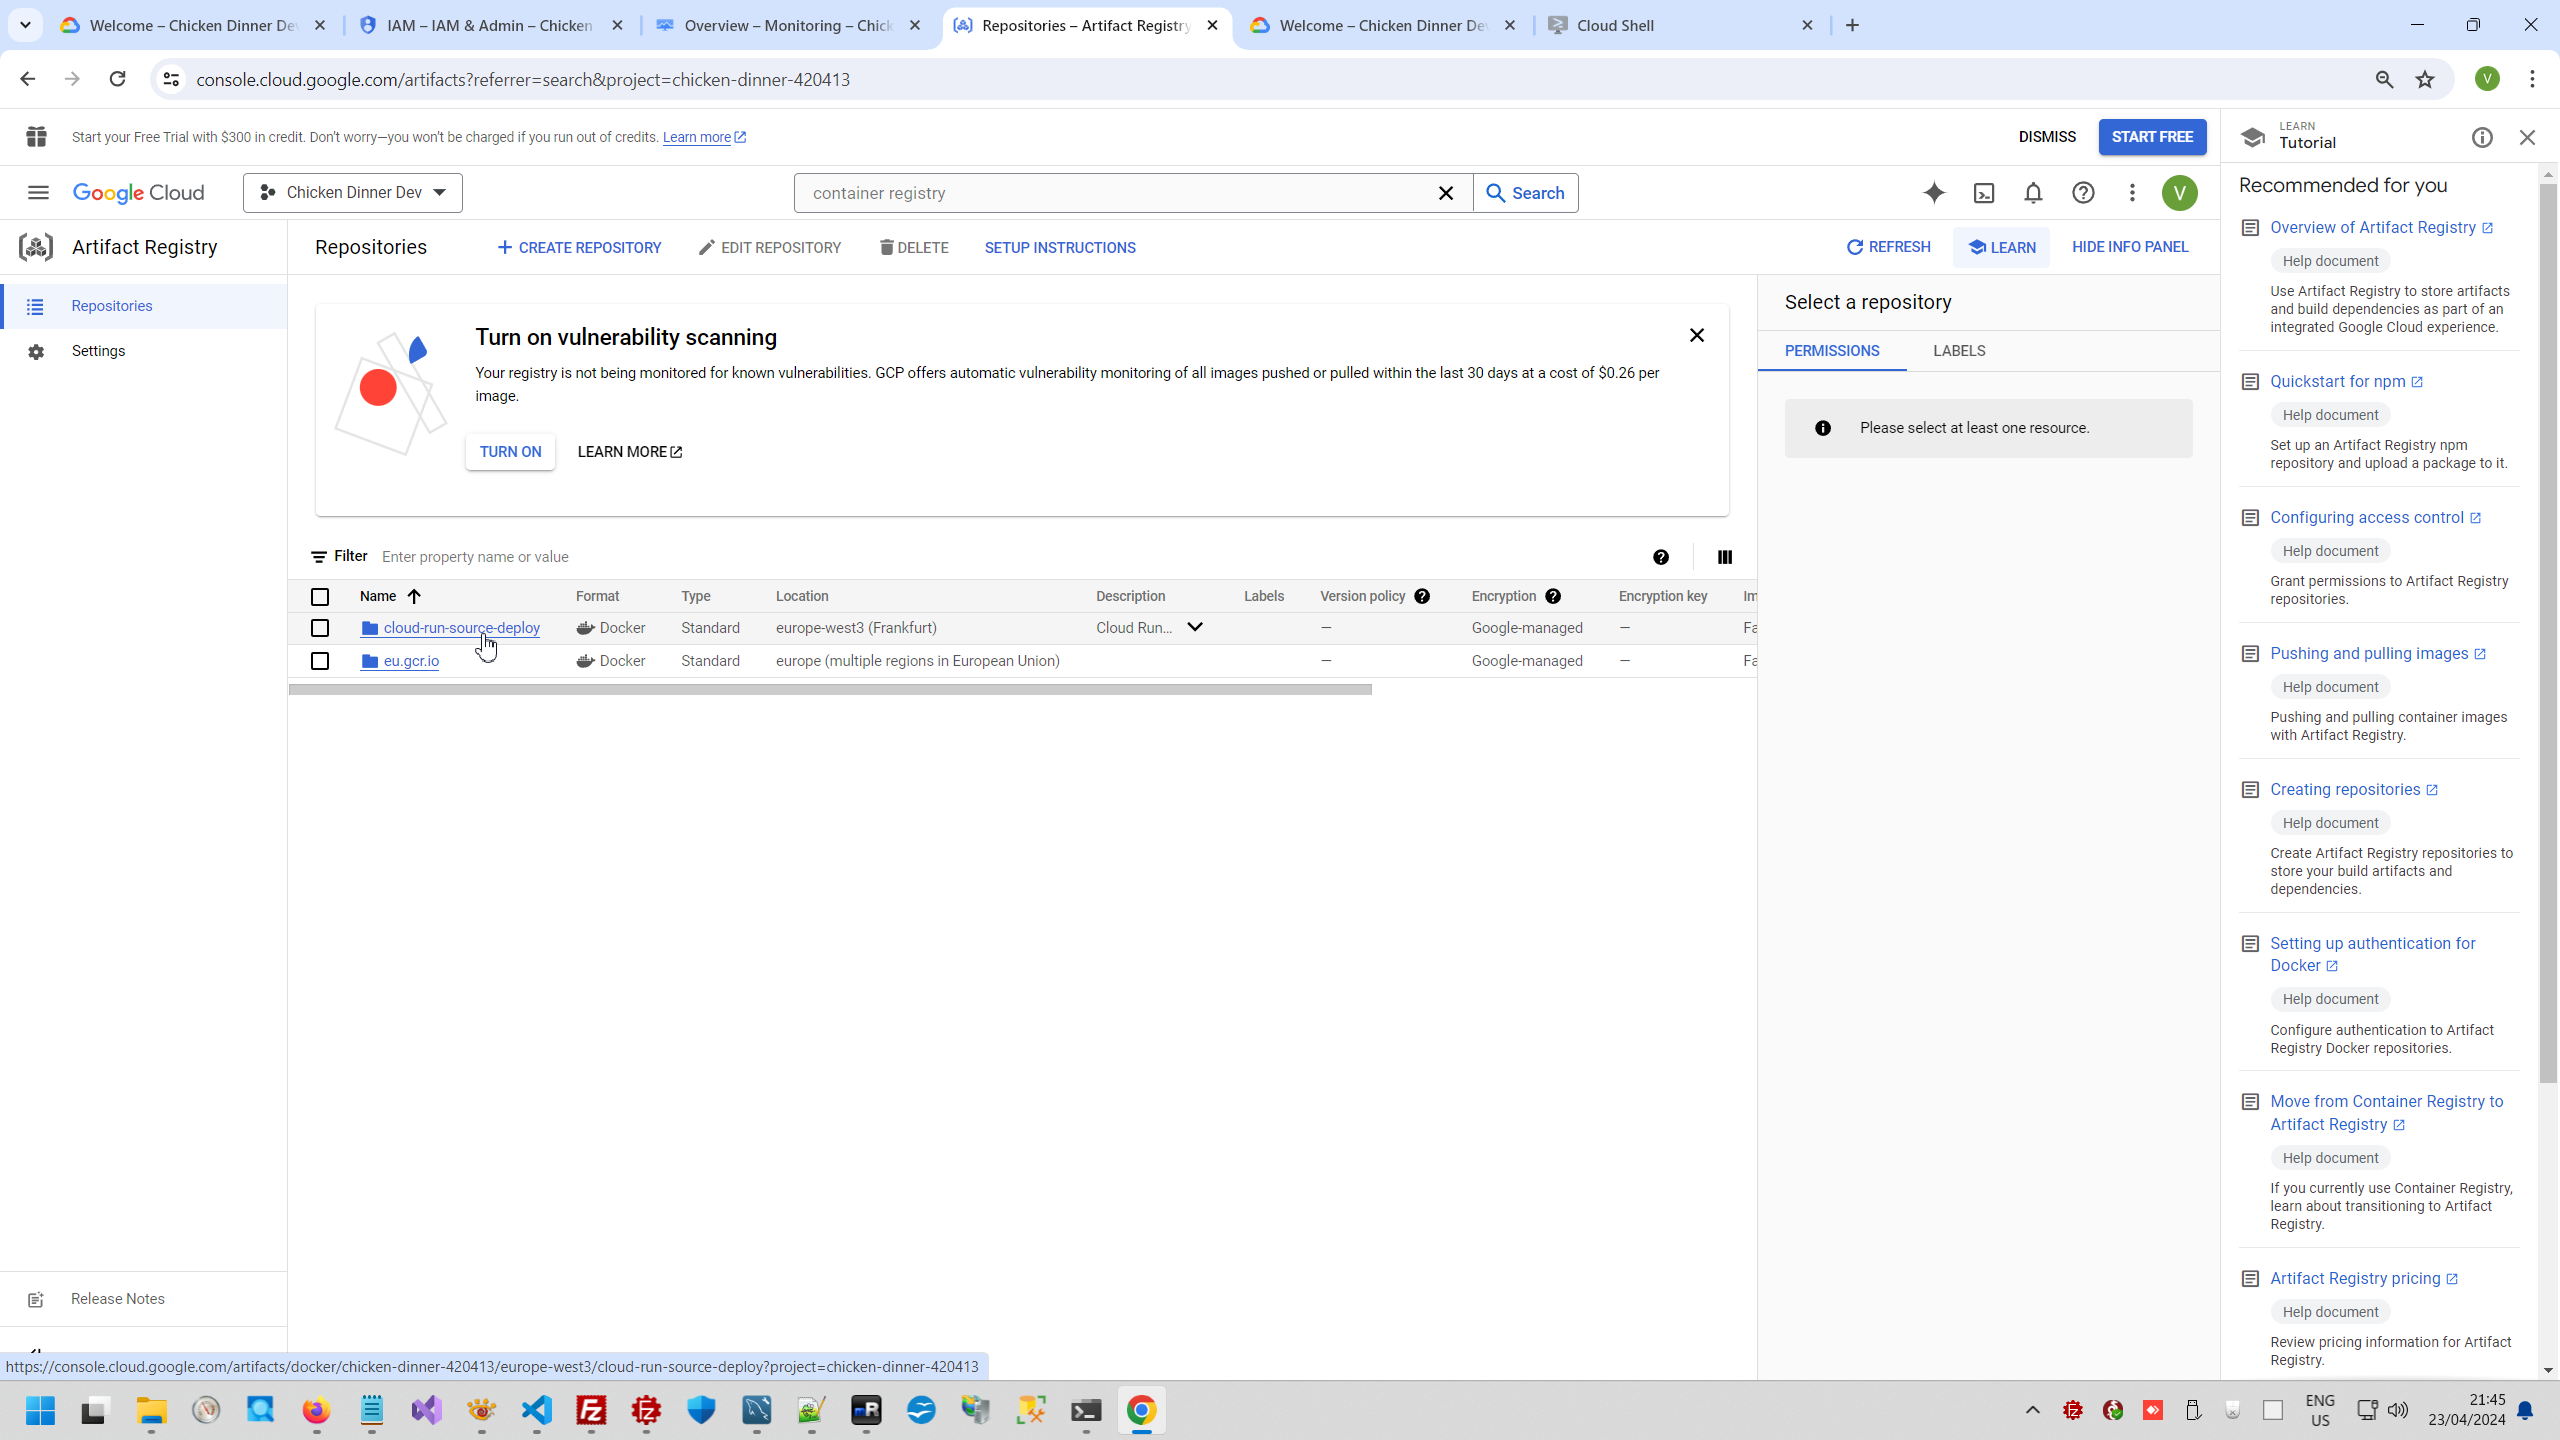
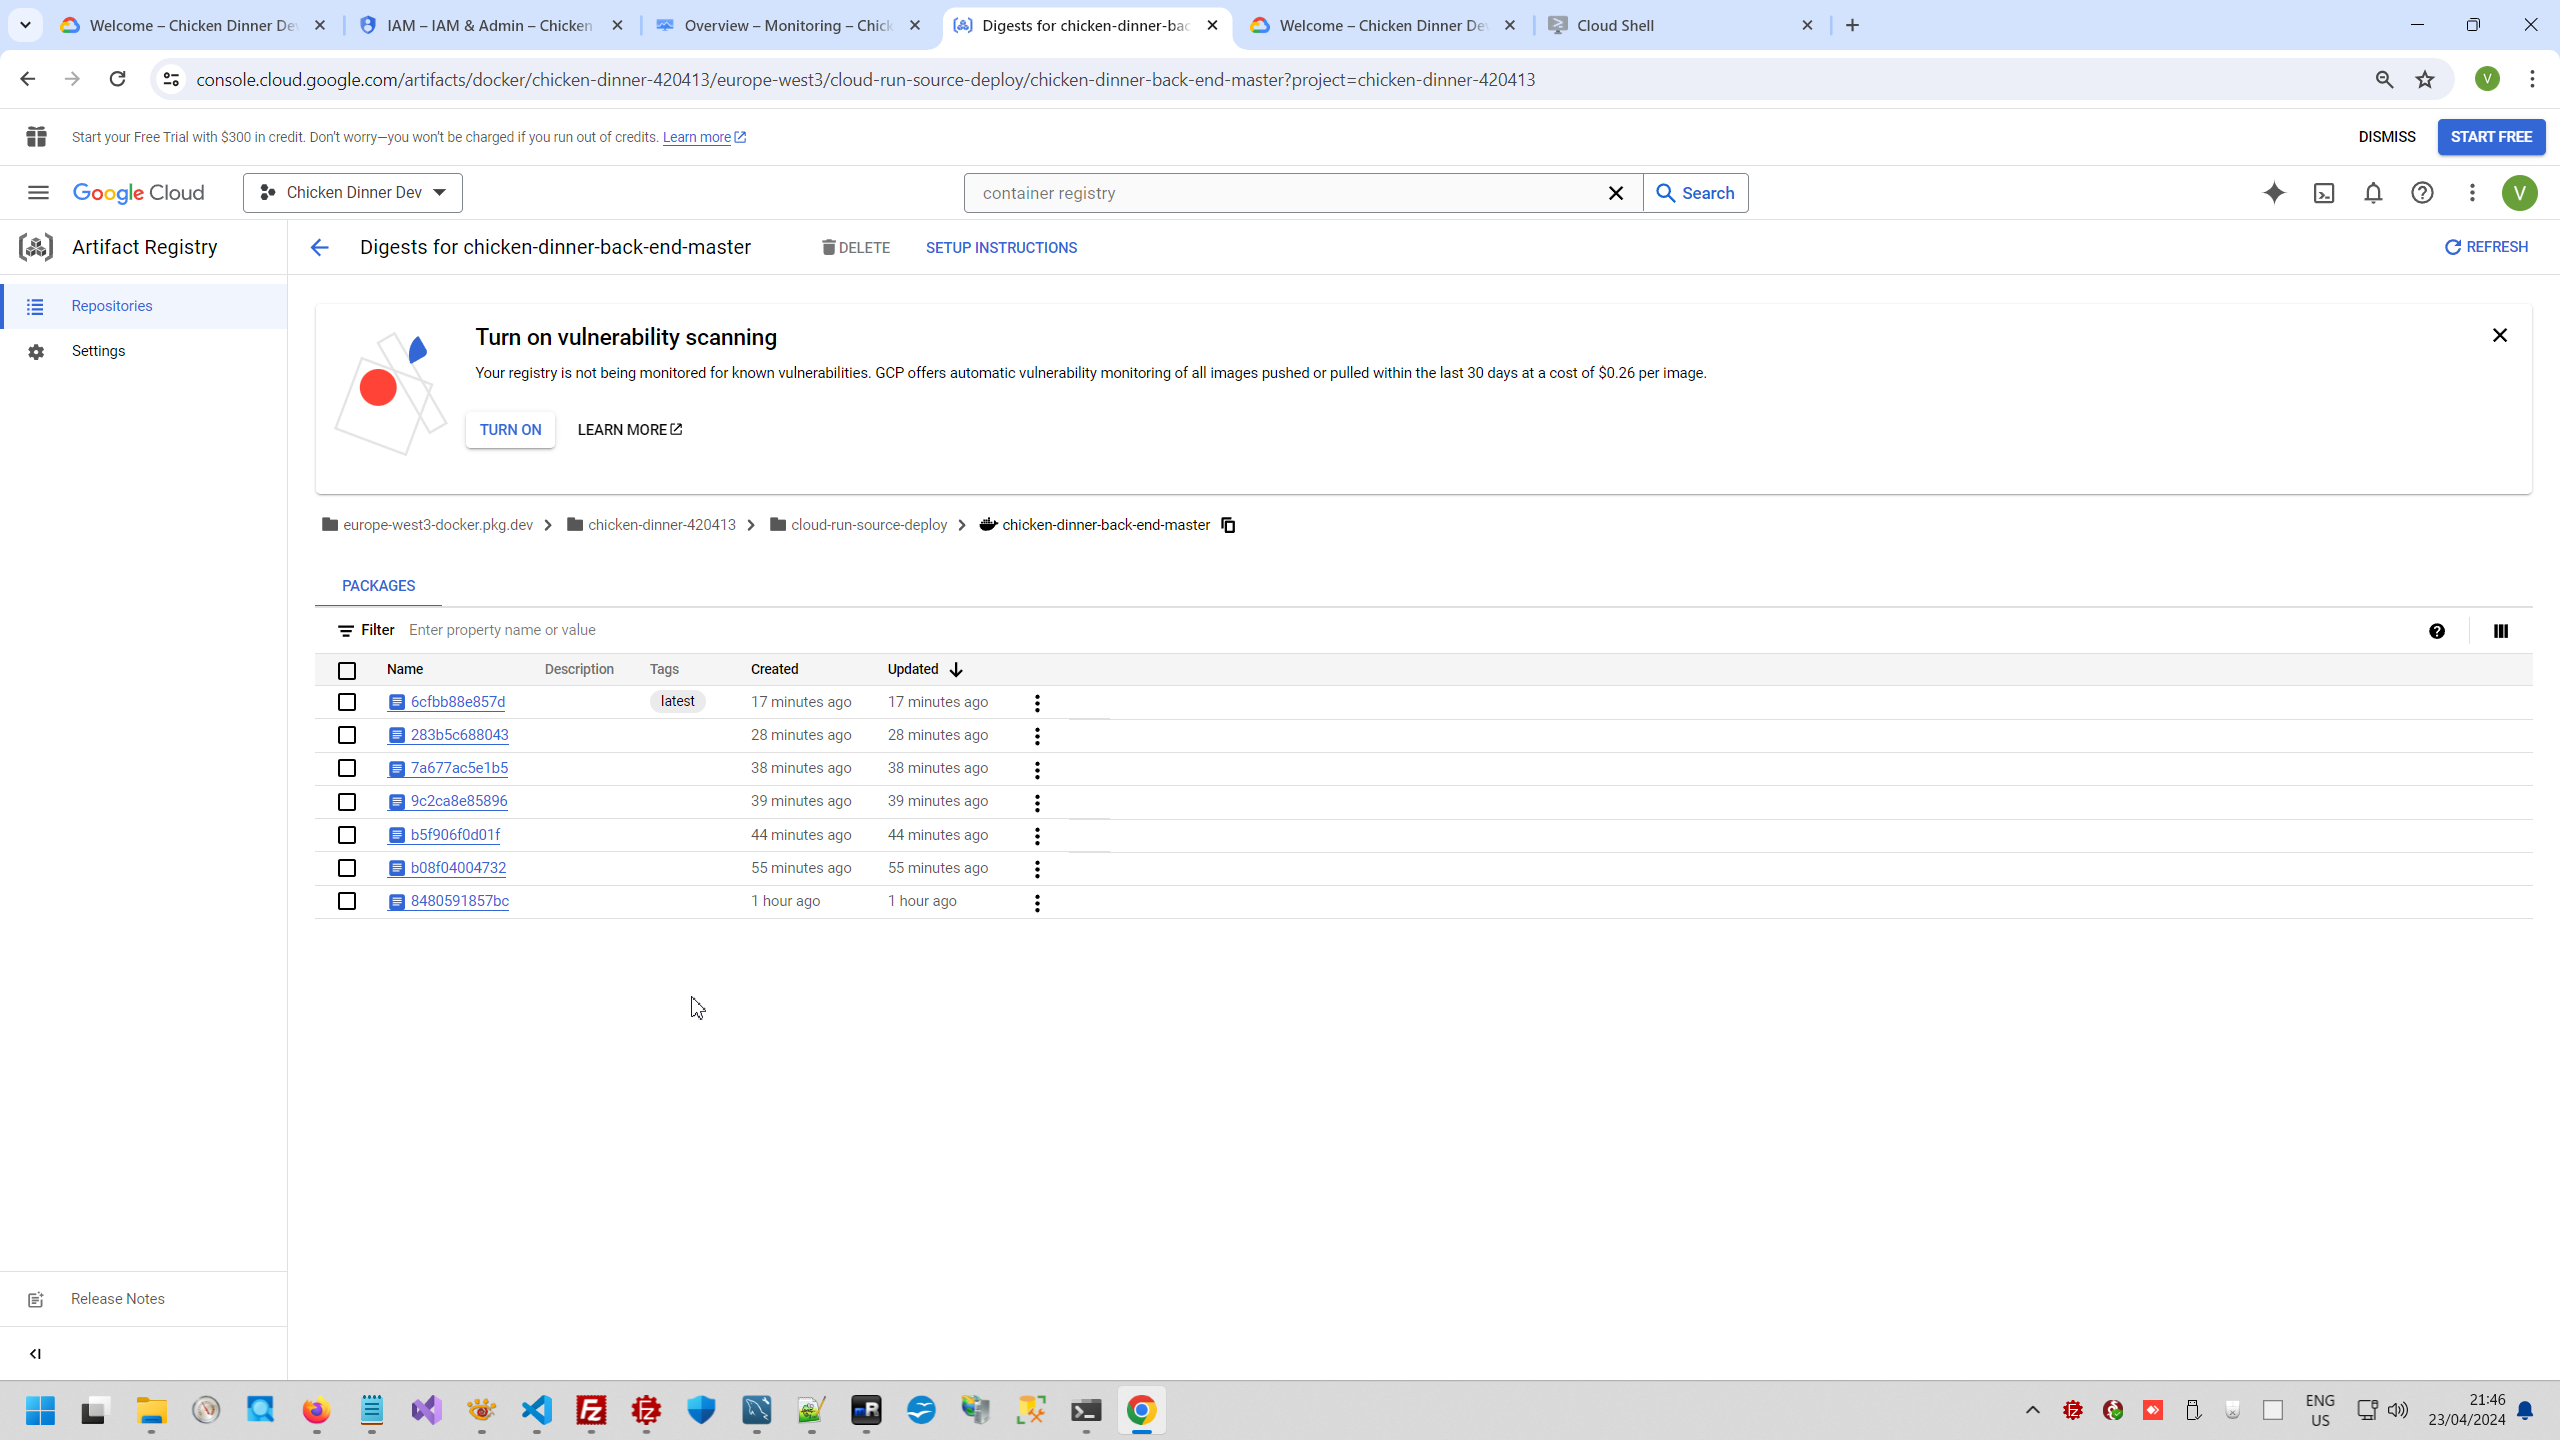
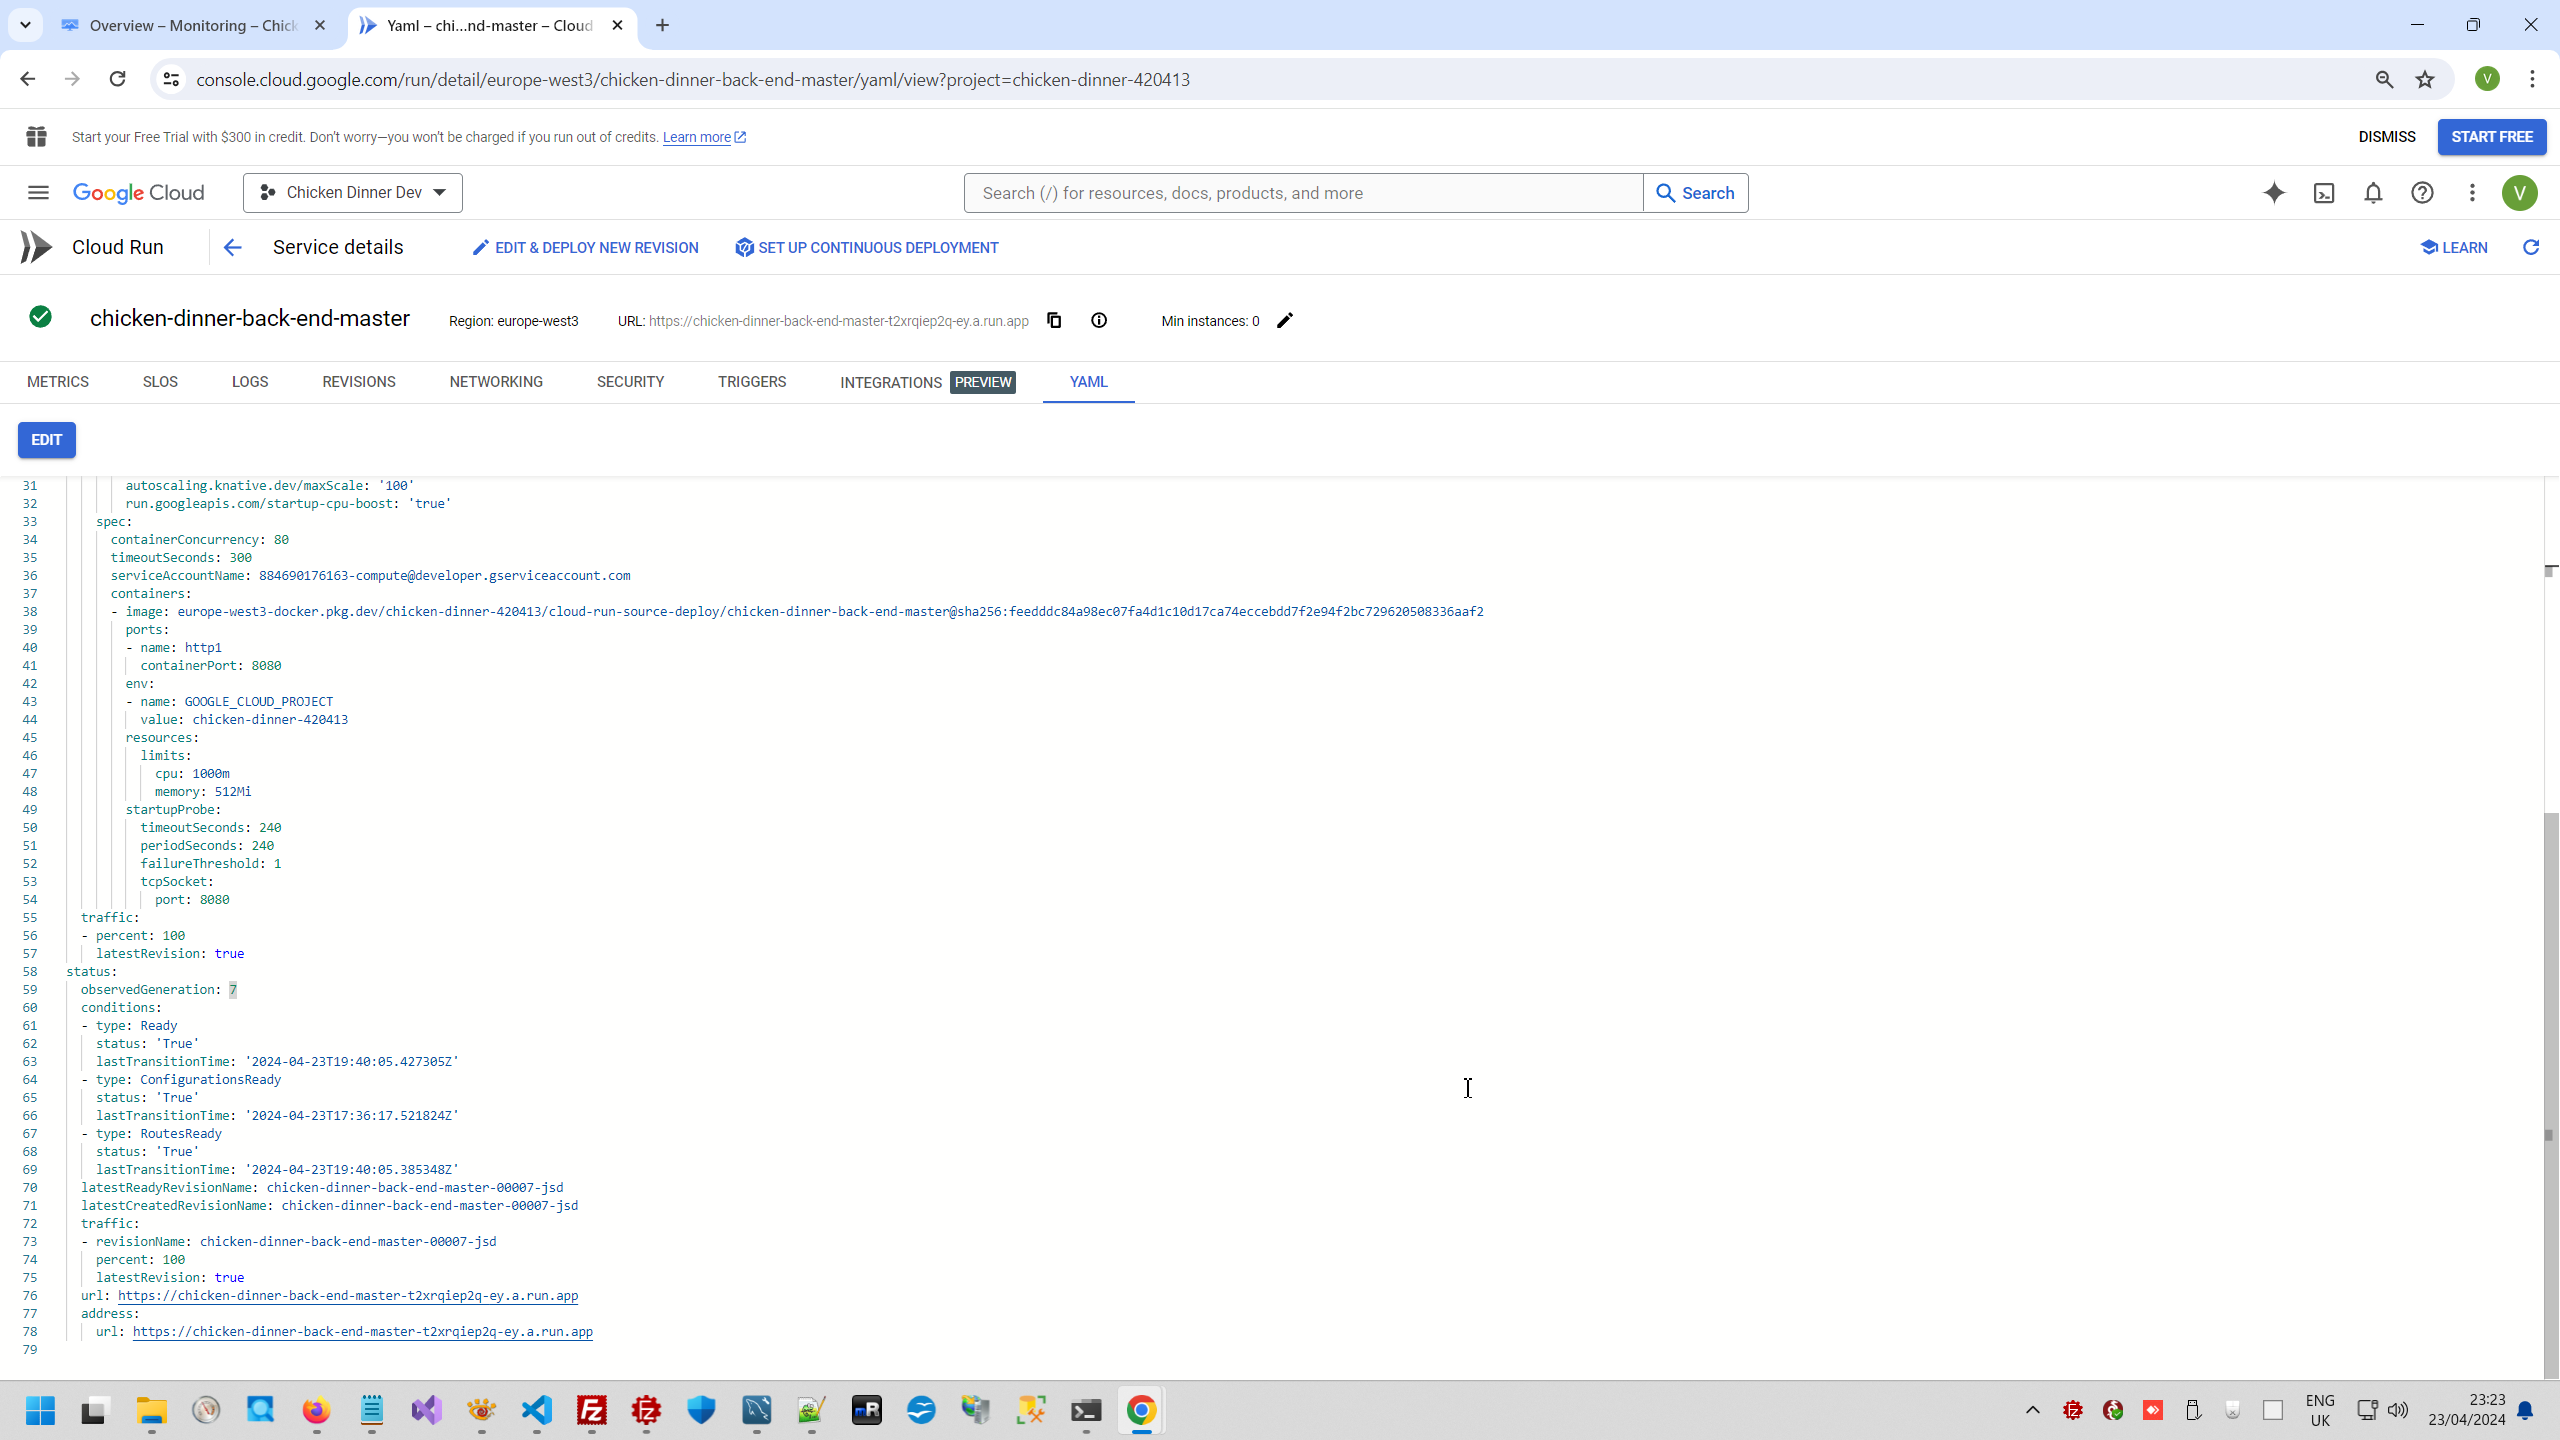
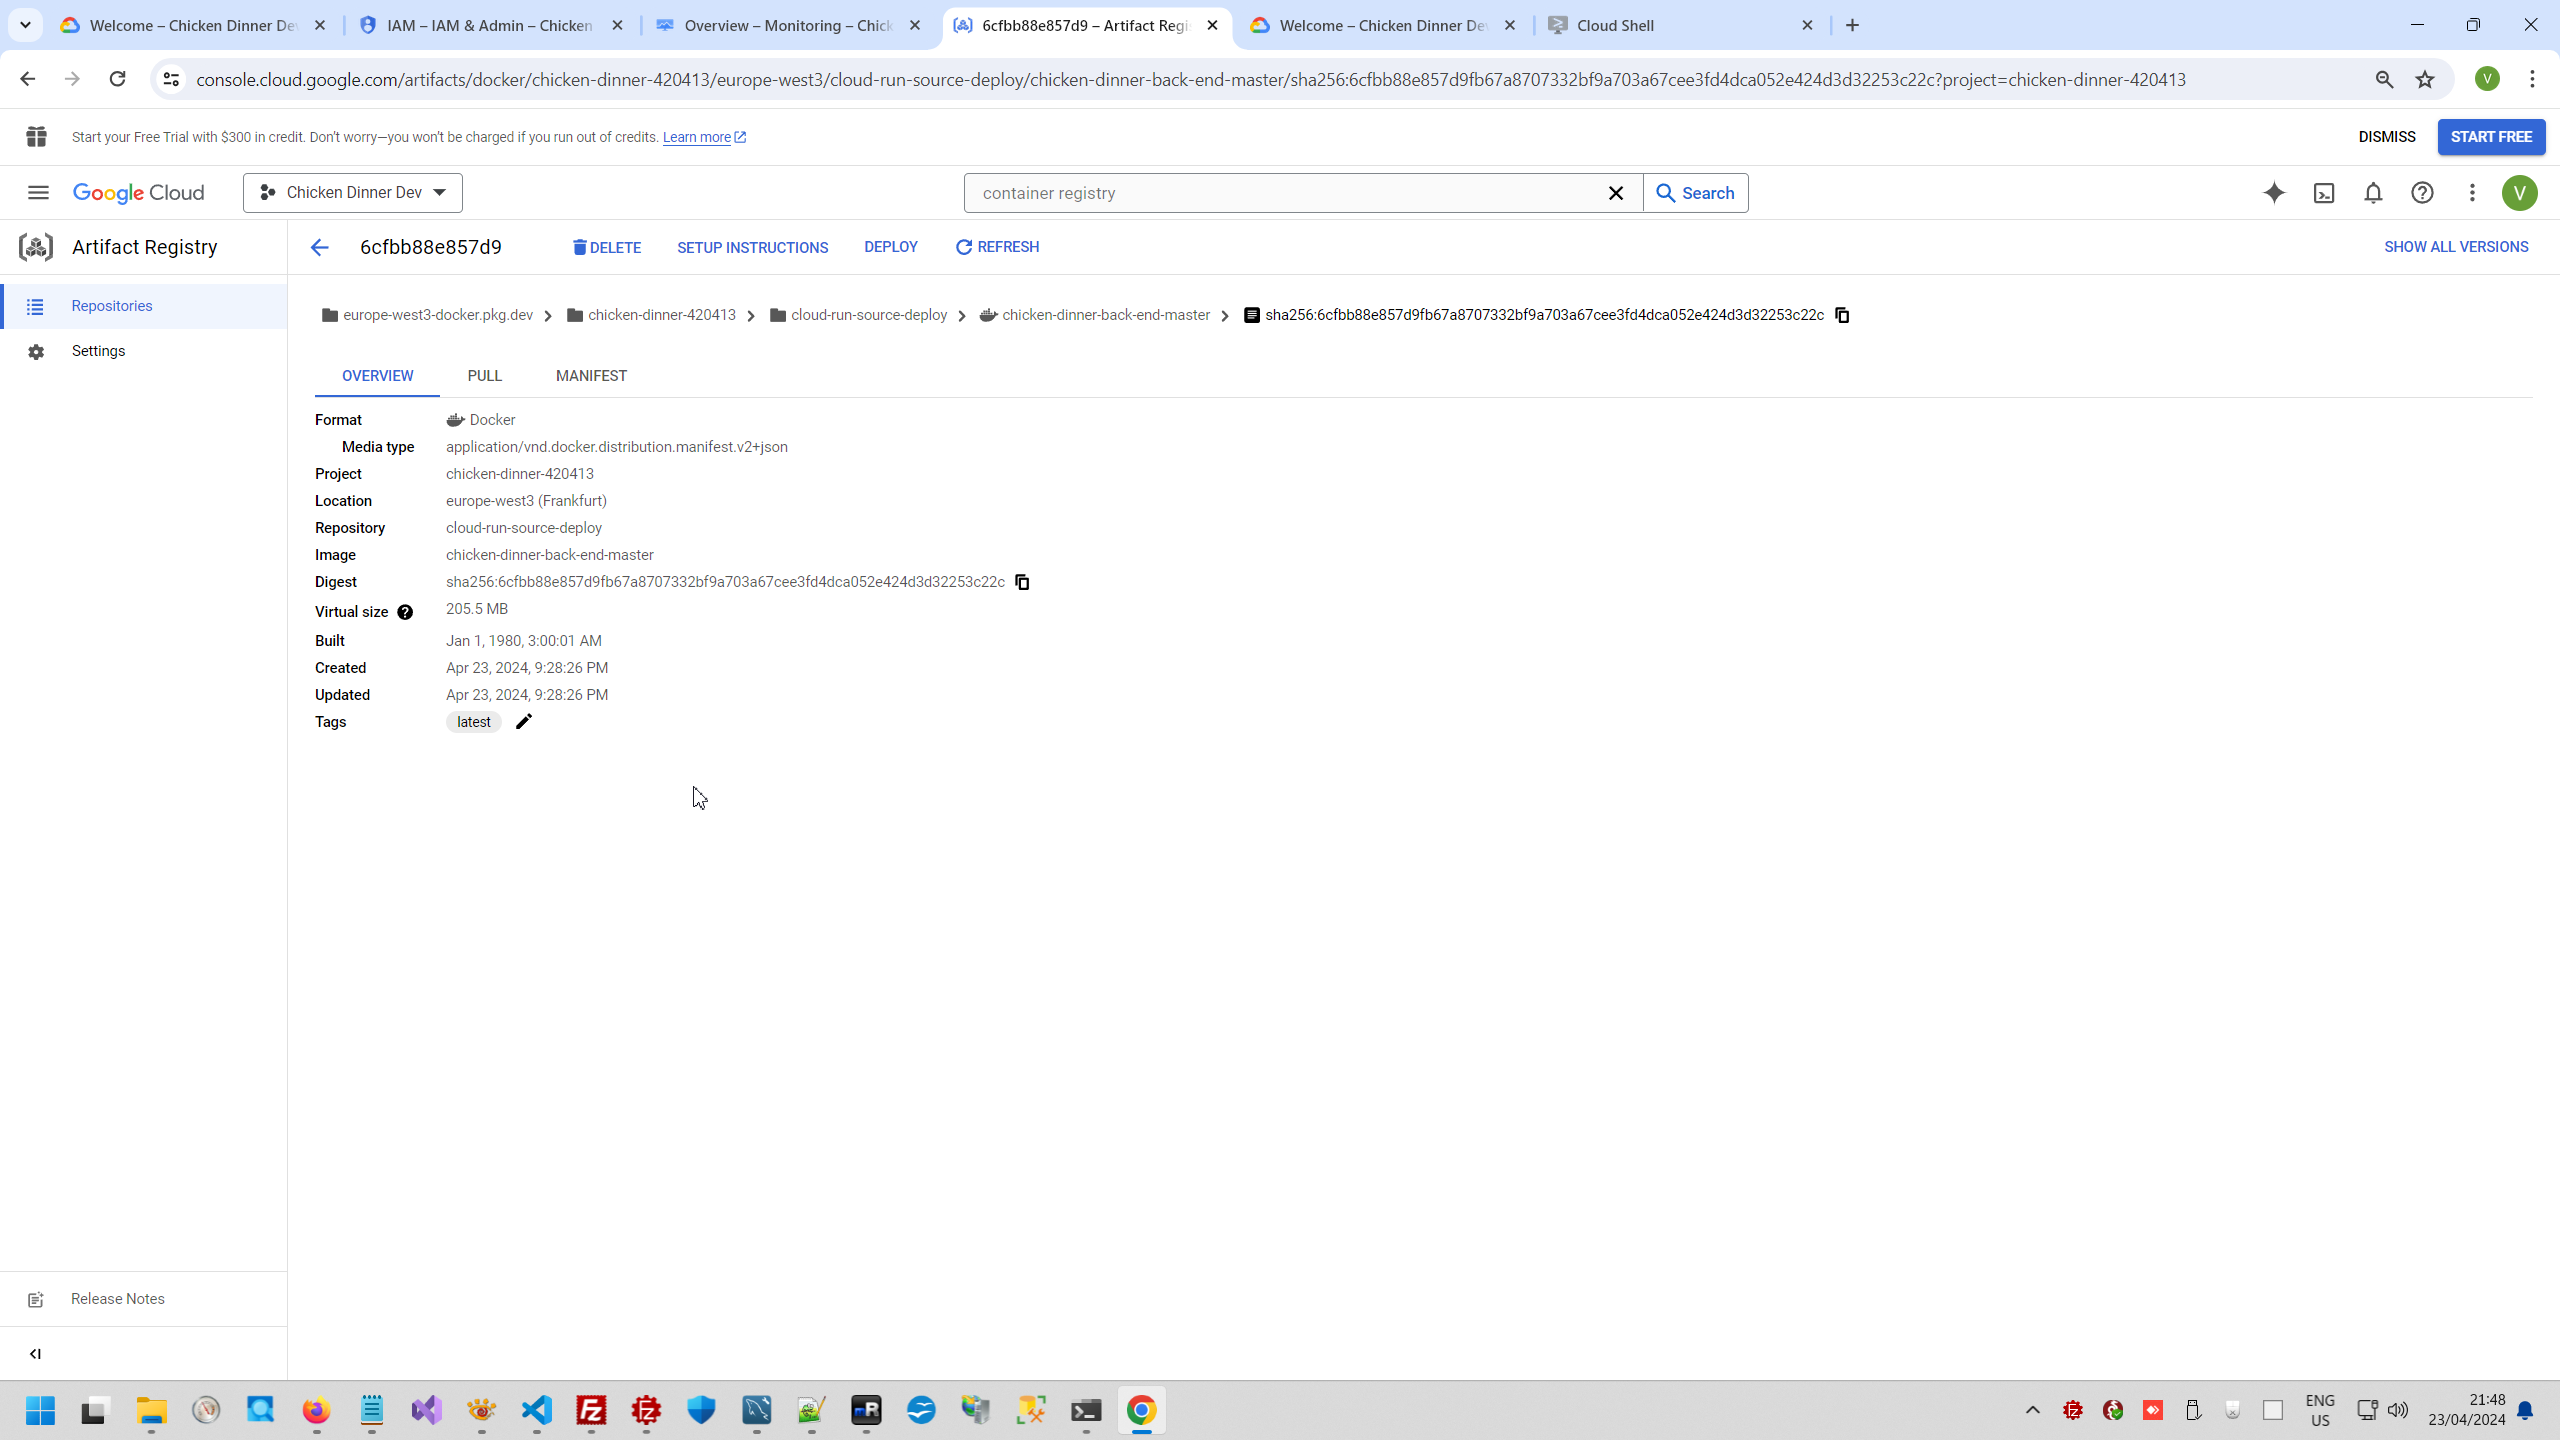
GCloud pack your project into Docker and started it. This is tool to see Docker layer. This is actual if you pack to docker more than one program.


JS project context:
Front context:
Google context:
 )
)
|
|