Up and running Ethereum 2.0 node
I have a number of details instruction about crypto currency, for example Masternode tasks, Dockerizing Masternodes, but in this page I want to describe another engine Ethereum 2.0.
This is common instruction about Ethereum https://openethereum.github.io/index with commands description and protocol description, but in this page I want to describe my way of practice implementation this documents.
1. Preparation. Increase disk size.
My first step in this task was be increase disk size, mount additional separate disk as /home directory. So, I add disk, create partition and format it.
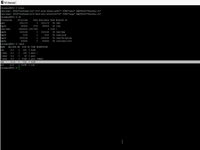
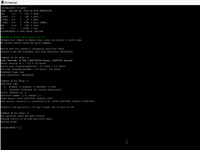
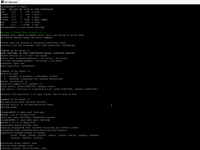
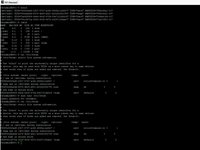
Than I mount temporary new disk and copy /home to temporary location in new disk.
# lsblk
# sudo fdisk /dev/sdc
# sudo mkfs.ext4 /dev/sdc1
# sudo mount /dev/sdc1 /mnt
# sudo rsync -avx /home/ /mnt
# blkid
# sudo nano /etc/fstab
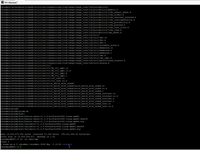
Than remove old content in /home directory and check diskid.
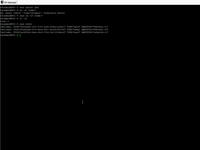
Than mount new disk permanently in as /home point.
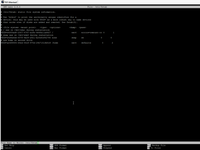
Than I reboot and up all files from temporary location to /home directory.
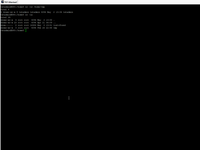
So, now I have about 50 GB of additional disk space.
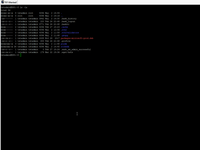
Interesting, that in another server I must be made additional step - for receive diskid I need to perform wipefs utility.
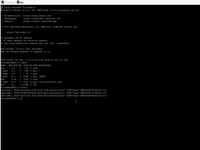
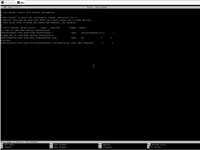
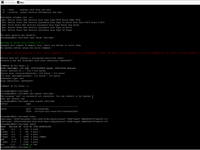
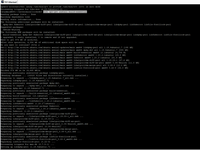
2. Preparation. Install compiler and linker.
# sudo apt-get install -y make g build-essential
3. Install RocksDB.
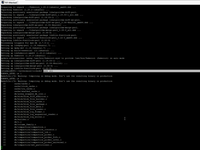
# git clone https://github.com/facebook/rocksdb.git
# sudo apt-get install -y libgflags-dev libsnappy-dev zlib1g-dev libbz2-dev libzstd-dev liblz4-dev
# cd rocksdb
# make all
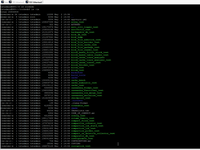
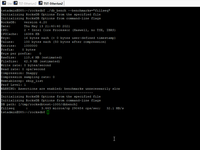
# ./db_bench --benchmarks="fillseq"
4. Install and tune nethermind.
Please follow this instruction https://www.poa.network/for-developers/poa-installation/install-nethermind-client and https://docs.nethermind.io/nethermind/first-steps-with-nethermind/getting-started. Pay attention that this is only one of five possibility program, please looks to https://ethereum.org/en/developers/docs/nodes-and-clients/#clients. Check disk space and hardware requirements https://docs.nethermind.io/nethermind/first-steps-with-nethermind/hardware-requirements.
# sudo apt update && sudo apt install libsnappy-dev libc6-dev libc6 unzip
# sudo useradd -m -s /bin/bash nethermind
# sudo bash -c 'echo "nethermind soft nofile 1000000" > /etc/security/limits.d/nethermind.conf'
# sudo bash -c 'echo "nethermind hard nofile 1000000" >> /etc/security/limits.d/nethermind.conf'
# sudo su - nethermind
# wget https://nethdev.blob.core.windows.net/builds/nethermind-linux-amd64-1.10.70-9837865.zip
# unzip nethermind-linux-amd64-1.10.70-9837865.zip -d nethermind
# cd nethermind
# ./Nethermind.Launcher
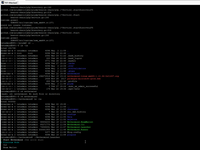
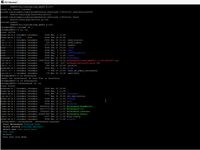
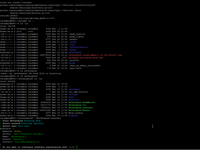
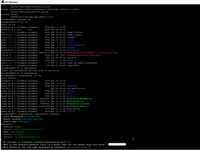
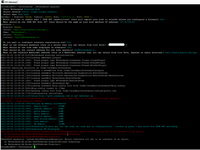
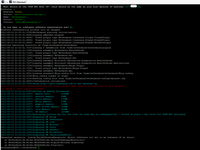
# sudo add-apt-repository ppa:ubuntu-toolchain-r/test
# sudo apt-get update
# sudo apt-get install gcc-6 g6
# sudo apt install libzstd1
# sudo ufw deny 8545
# sudo ufw enabled
# sudo ufw status numbered
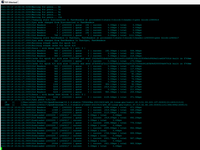
5. Install and tune pryzm.
Please follow this instruction https://docs.prylabs.network/docs/getting-started/. Pryzm is only one client, other is https://github.com/ConsenSys/homebrew-teku, https://github.com/nimbusproject, https://consensys.net/knowledge-base/ethereum-2/teku/, https://lighthouse.sigmaprime.io/.
installation
# mkdir prysm && cd prysm
# curl https://raw.githubusercontent.com/prysmaticlabs/prysm/master/prysm.sh --output prysm.sh && chmod  prysm.sh
check version
# ./prysm.sh beacon-chain --version
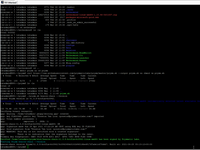
wallet create
# ./prysm.sh validator wallet create
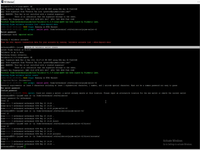
start the Prysm beacon chain as normal and connect to your eth1 node
# ./prysm.sh beacon-chain --grpc-gateway-host 127.0.0.1
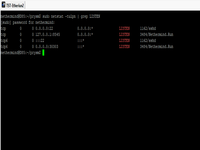
check validator is running in port 4000
# sudo netstat -tulpn +AHw- grep LISTEN
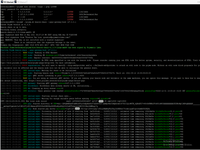
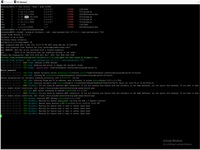
start web interface
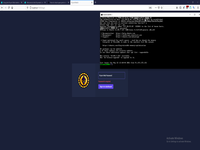
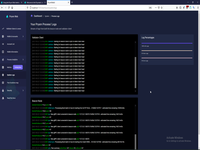
# ./prysm.sh validator --web --grpc-gateway-host 127.0.0.1 --grpc-gateway-port 7500
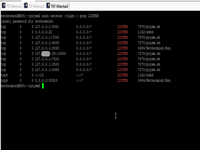
 rebind local port to remote
# ssh -L 7500:127.0.0.1:7500 tstadmin+AEA-157.XX.XX.85
start browser
# http:/
/localhost:7500

Crypto context:
 )
)
| < THANKS ME> |