Настройка Nginx по HostHeder-ам
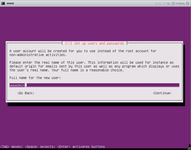
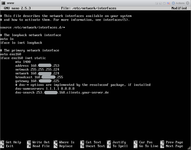
1. Install Ubuntu and update it.
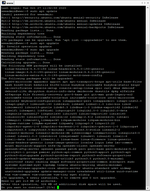
# sudo apt update
# sudo apt upgrade
2. Install Nginx and check firewall.
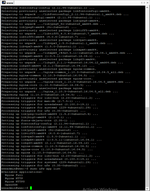
# sudo apt install nginx
# sudo ufw app list
3. Enable Nginx in firewall, Start Nginx and enable restart Nginx after reboot.
# sudo ufw status
# sudo ufw allow 'Nginx HTTP'
# sudo systemctl status/start/stop nginx
# sudo systemctl enable nginx
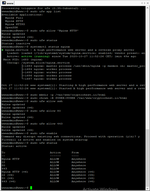
3. Open HTTP port in firewall, enable start firewall after reboot.
# sudo ufw allow SSH
# sudo ufw allow 80
# sudo ufw allow 443
# sudo ufw status
# sudo ufw enable
4. Make directory for domain ans set prmission.
# sudo mkdir -p /var/www/cryptochest.io/html
# sudo chown -R $USER:$USER /var/www/cryptochest.io/html
# sudo chmod -R 755 /var/www/cryptochest.io/html


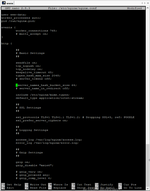
5. Avoid Nginx server_names_hash_bucket_size.
# sudo nano /etc/nginx/nginx.conf
6. SetUp Nginx config route for HostHeader.
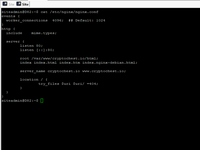
events {
  worker_connections  4096;  ## Default: 1024
}

http {
  server {
        listen 80;
        listen [::]:80;

        root /var/www/cryptochest.io/html;
        index index.html index.htm index.nginx-debian.html;

        server_name cryptochest.io www.cryptochest.io;

        location / {
                try_files $uri $uri/ =404;
        }
    }
}
# sudo nano /etc/nginx/sites-available/cryptochest.io
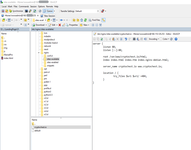
server {
        listen 80;
        listen [::]:80;

        root /var/www/cryptochest.io/html;
        index index.html index.htm index.nginx-debian.html;

        server_name cryptochest.io www.cryptochest.io;

        location / {
                try_files $uri $uri/ =404;
        }
}
7. Enable route for hostheader after reboot.
# sudo ln -s /etc/nginx/sites-available/cryptochest.io /etc/nginx/sites-enabled/
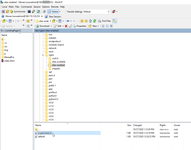
8. Check log and enjoy.
# tail -n 100 /var/log/nginx/access.log
# tail -n 100 /var/log/nginx/error.log

Linux context:
Servers context:
Comments (
 )
)
 )
)
Link to this page:
//www.vb-net.com/NginxHostHeader/Index.htm
|
|