- 1. DownloadImageAsync with .then().then().then() - (Browser and Node.js), Using fetch
- 2. Cross-Origin Request Blocked: The Same Origin Policy disallows reading the remote resource. But with <img src=''> CORS not prevent show images.
- 3. Create Image server with CORS middleware and show image in Browser with response.blob(), then FileReader.readAsDataURL(blob), then load data to Img.src.
- 4. Directly read image from FileSystem with Node.js
- 5. Concatenate all chunks into a single Buffer and create a data URL `data:image/gif;base64`
- 6. Create a transform stream to convert data chunk to base64 pipe
- 7. Manipulate in Browser level to allow or restrict show Images or Video by Content Security Policy
- 8. Create an object URL from the Blob - URL.createObjectURL(blob)
- 9. Simplest Image proxy server based on node-fetch.
- 10. Browser code based on fetch from Image Proxy Server with two than() and createObjectURL from blob
Basic workflow to working with Images :
(CSP, CORS),
(Temporary URL as blob, Encoding image as data:image),
(Fetch, Browser FileReader, Node-Fetch),
(ArrayBuffer, TypedArray, DataView, HexConversion),
DataStream (Concatenate Chunks, Convert data inside stream),
(Image server, Image Proxy server).
In past I mostly worked with ASP.NET and I usually not write something clearly on Javascript, usually I created special helper like this How to create Razor html-helper in VB.NET - result in Browser of @Html.Ajax, @Html.Image helper is clear Javascript in any case, but this ASP.NET tag has parameters what allow that tags tune on server side.
But now I changed my focus outside of ASP.NET and working with clear Javascript more and more and this is a reason why this page appears in my blog. A lot of my program based to that templates, for example MyVault Android phone application, also I'm constantly writing various proxy servers, for example Cloudflare proxy with special CORS policy.
And now I decide to assembly main my working templates with images to one post in my blog and upload these templates to public https://github.com/AAlex-11/BasicImagesWorkflow
So, Main points to working with images include:
- Two main restriction.
- Browser CORS (Cross-Origin Requests CORS, CORS Google, CORS MDN)
- CSP (Content Security Policy CSP Evaluator, CSP MDN, CSP Google)
- How to create Node Image Server with special CORS policy middleware (app.use(cors())
- How to working with Image at all, why need 3 times Then :
- Fetch, Response.blob(), Blob.arrayBuffer(), DownloadImageAsync with Then().Then().Then(), Fetch.Then().Then().
- Working with Browser FileReader() :
- FileReader.Onloadend and FileReader.ReadAsDataURL(blob)
- Common skills with Browser DOM :
- Dynamically add image to DOM in Browser - document.body.appendChild(img)
- Common skills to working with JS Asynchronous code:
- New Promise(resolve, reject)
- Await
- Common knowledge how to working with Node Express:
- Working with endpoint and port
- Working with filesystem
- Working with Response.pipe
- How to work with huge data stream:
- Concatenate all chunks into a single Buffer with Buffer.concat(data)
- Create a transform stream to convert data to base64 with fs.createReadStream().pipe(base64Stream) and Transform(chunk)
- Need to clear understanding difference between:
- Temporary URL like <img src="blob:http://localhost:63342/f10da726-adee-4416-97c0-52ad73a4a1ad"> MDN
- Permanent (embedded in code). Encoding image as data `data:image/gif;base64,${base64String}` stored directly in code. MDN
- External URL like https://example.com/image.png MDN
- Also to working with image need to clearly understand difference between:
- Blob (Binary Large Object): Represents immutable raw data. Think of it as a file-like object in memory. Suitable for storing various binary data (images, audio, etc.). Methods like response.blob() in fetch are a good way to handle downloads. To display an image from a Blob, create a temporary URL using URL.createObjectURL(blob) and set that as the src of an img element.
- Image: The
element is used to display images in the browser. You wouldn't download an
element itself; you would download the image data as a Blob and create the img element to display the Blob data (after creating a Blob URL from that Blob data)
- Difference between Blob and Image: A Blob is generic binary data. An Image is how you display an image in a browser. You use a Blob (or ArrayBuffer) to store the binary image data before displaying it with an Image. It is helpful to think of a Blob as the container of the information, and of Image as a way to present this information in the browser.
- How to work with JS Binary data:
- ArrayBuffer: A fixed-length contiguous block of raw binary data. Not as directly suitable for downloads as Blobs, but can be used to represent parts or all of downloaded binary data. You can create a Blob from an ArrayBuffer if needed.
- TypedArray is a view that provides a way to read and write the binary data in an ArrayBuffer. It is not a single class but a family of classes (e.g., Int8Array, Uint8Array, Float32Array.)It provides a structured view of the binary data in an ArrayBuffer.
- DataView is a flexible view into an ArrayBuffer that Allows reading and writing different data types (e.g., Int8, Uint16, Float32, etc.) at any byte offset. Does not support direct indexing like TypedArray
- Hex conversion methods:
- btoa() method to create a Base64-encoded ASCII string from a binary string in Browser
- buffer.toString('base64') the same in Node.js
- More about binary data processing JS Binary data processing
1. DownloadImageAsync with .then().then().then() - (Browser and Node.js), Using fetch
1: const imageUrl = 'https://www.easygifanimator.net/images/samples/video-to-gif-sample.gif';
2:
3: async function downloadImageAsync(url) {
4: try {
5: const response = await fetch(url);
6: if (!response.ok) {
7: throw new Error(`1`HTTP error! status: ${response.status}`'`);
8: }
9: const blob = await response.blob(); // Get the image as a Blob
10: return URL.createObjectURL(blob); // Creates a temporary URL for Blob
11: } catch (error) {
12: console.error('Error downloading image:', error);
13: return null
14: }
15: }
16:
17: downloadImageAsync(imageUrl).then(blobUrl => {
18: console.log(blobUrl);
19: return fetch(blobUrl);
20: })
21: .then(response => response.blob()) // Convert the response to a Blob
22: .then(blob => {
23: // Convert the Blob to an ArrayBuffer
24: return blob.arrayBuffer();
25: })
26: .then(arrayBuffer => {
27: // Convert the ArrayBuffer to a Uint8Array to view binary data
28: const uint8Array = new Uint8Array(arrayBuffer);
29:
30: // Log the binary data as a Uint8Array
31: console.log('Binary data (Uint8Array):', uint8Array);
32:
33: // Optionally, convert the binary data to a base64 string and log it
34: const base64String = btoa(String.fromCharCode.apply(null, uint8Array));
35: console.log('Binary data (Base64):', base64String);
36: })
37: .catch(error => {
38: console.error('Error:', error);
39: });
40:
blob:nodedata:ae7d6fb8-aa79-43cf-9af6-ec7e83447701

Binary data (Uint8Array): Uint8Array(962901) [
   71,  73,  70,  56,  57,  97,  94,   1, 197,   0, 255,  10,
    0, 132, 137, 122, 199, 213, 216,  16,  77,   6,   8,  49,
    4, 114, 119, 106, 124, 131, 116, 139, 146, 131, 181, 199,
  203,   3,  13,   3, 148, 153, 137, 236, 243, 244, 187, 205,
  209, 137, 141, 129, 165, 168, 152, 194, 205, 210, 171, 195,
  198, 101, 106,  90, 129, 125, 114, 209, 220, 225, 168, 188,
  194,  45, 111,  15,  40,  84,  16,  24, 106,   7, 163, 183,
  187, 177, 189, 197, 135, 165, 170,  50, 141,  12, 180, 183,
  168, 187, 210, 211,
  ... 962801 more items
]
Error: RangeError: Maximum call stack size exceeded
2. Cross-Origin Request Blocked: The Same Origin Policy disallows reading the remote resource. But with <img src=''> CORS not prevent show images.
1: //<body>
2: //<img src="https://www.easygifanimator.net/images/samples/video-to-gif-sample.gif" alt="Sample GIF"/> - working fine
3: //</body>
4:
5: async function downloadImageAsync(url) {
6: try {
7: const response = await fetch(url);
8: if (!response.ok) {
9: throw new Error(`HTTP error! status: ${response.status}`);
10: }
11: const blob = await response.blob(); // Get the image as a Blob
12: return URL.createObjectURL(blob); // Creates a temporary URL for Blob
13: } catch (error) {
14: console.error('Error downloading image:', error);
15: return null
16: }
17: }
18:
19: downloadImageAsync('https://www.easygifanimator.net/images/samples/video-to-gif-sample.gif').then(blobUrl => {
20: const img = document.createElement('img');
21: img.src = blobUrl;
22: document.body.appendChild(img)
23: })
24:
Cross-Origin Request Blocked: The Same Origin Policy disallows reading the remote resource at https://www.easygifanimator.net/images/samples/video-to-gif-sample.gif.
(Reason: CORS header ‘Access-Control-Allow-Origin’ missing). Status code: 200.
Error downloading image: TypeError: NetworkError when attempting to fetch resource.


Solution - add .htaccess in Apache server

<IfModule mod_headers.c>
  Header set Access-Control-Allow-Origin "*"
</IfModule>
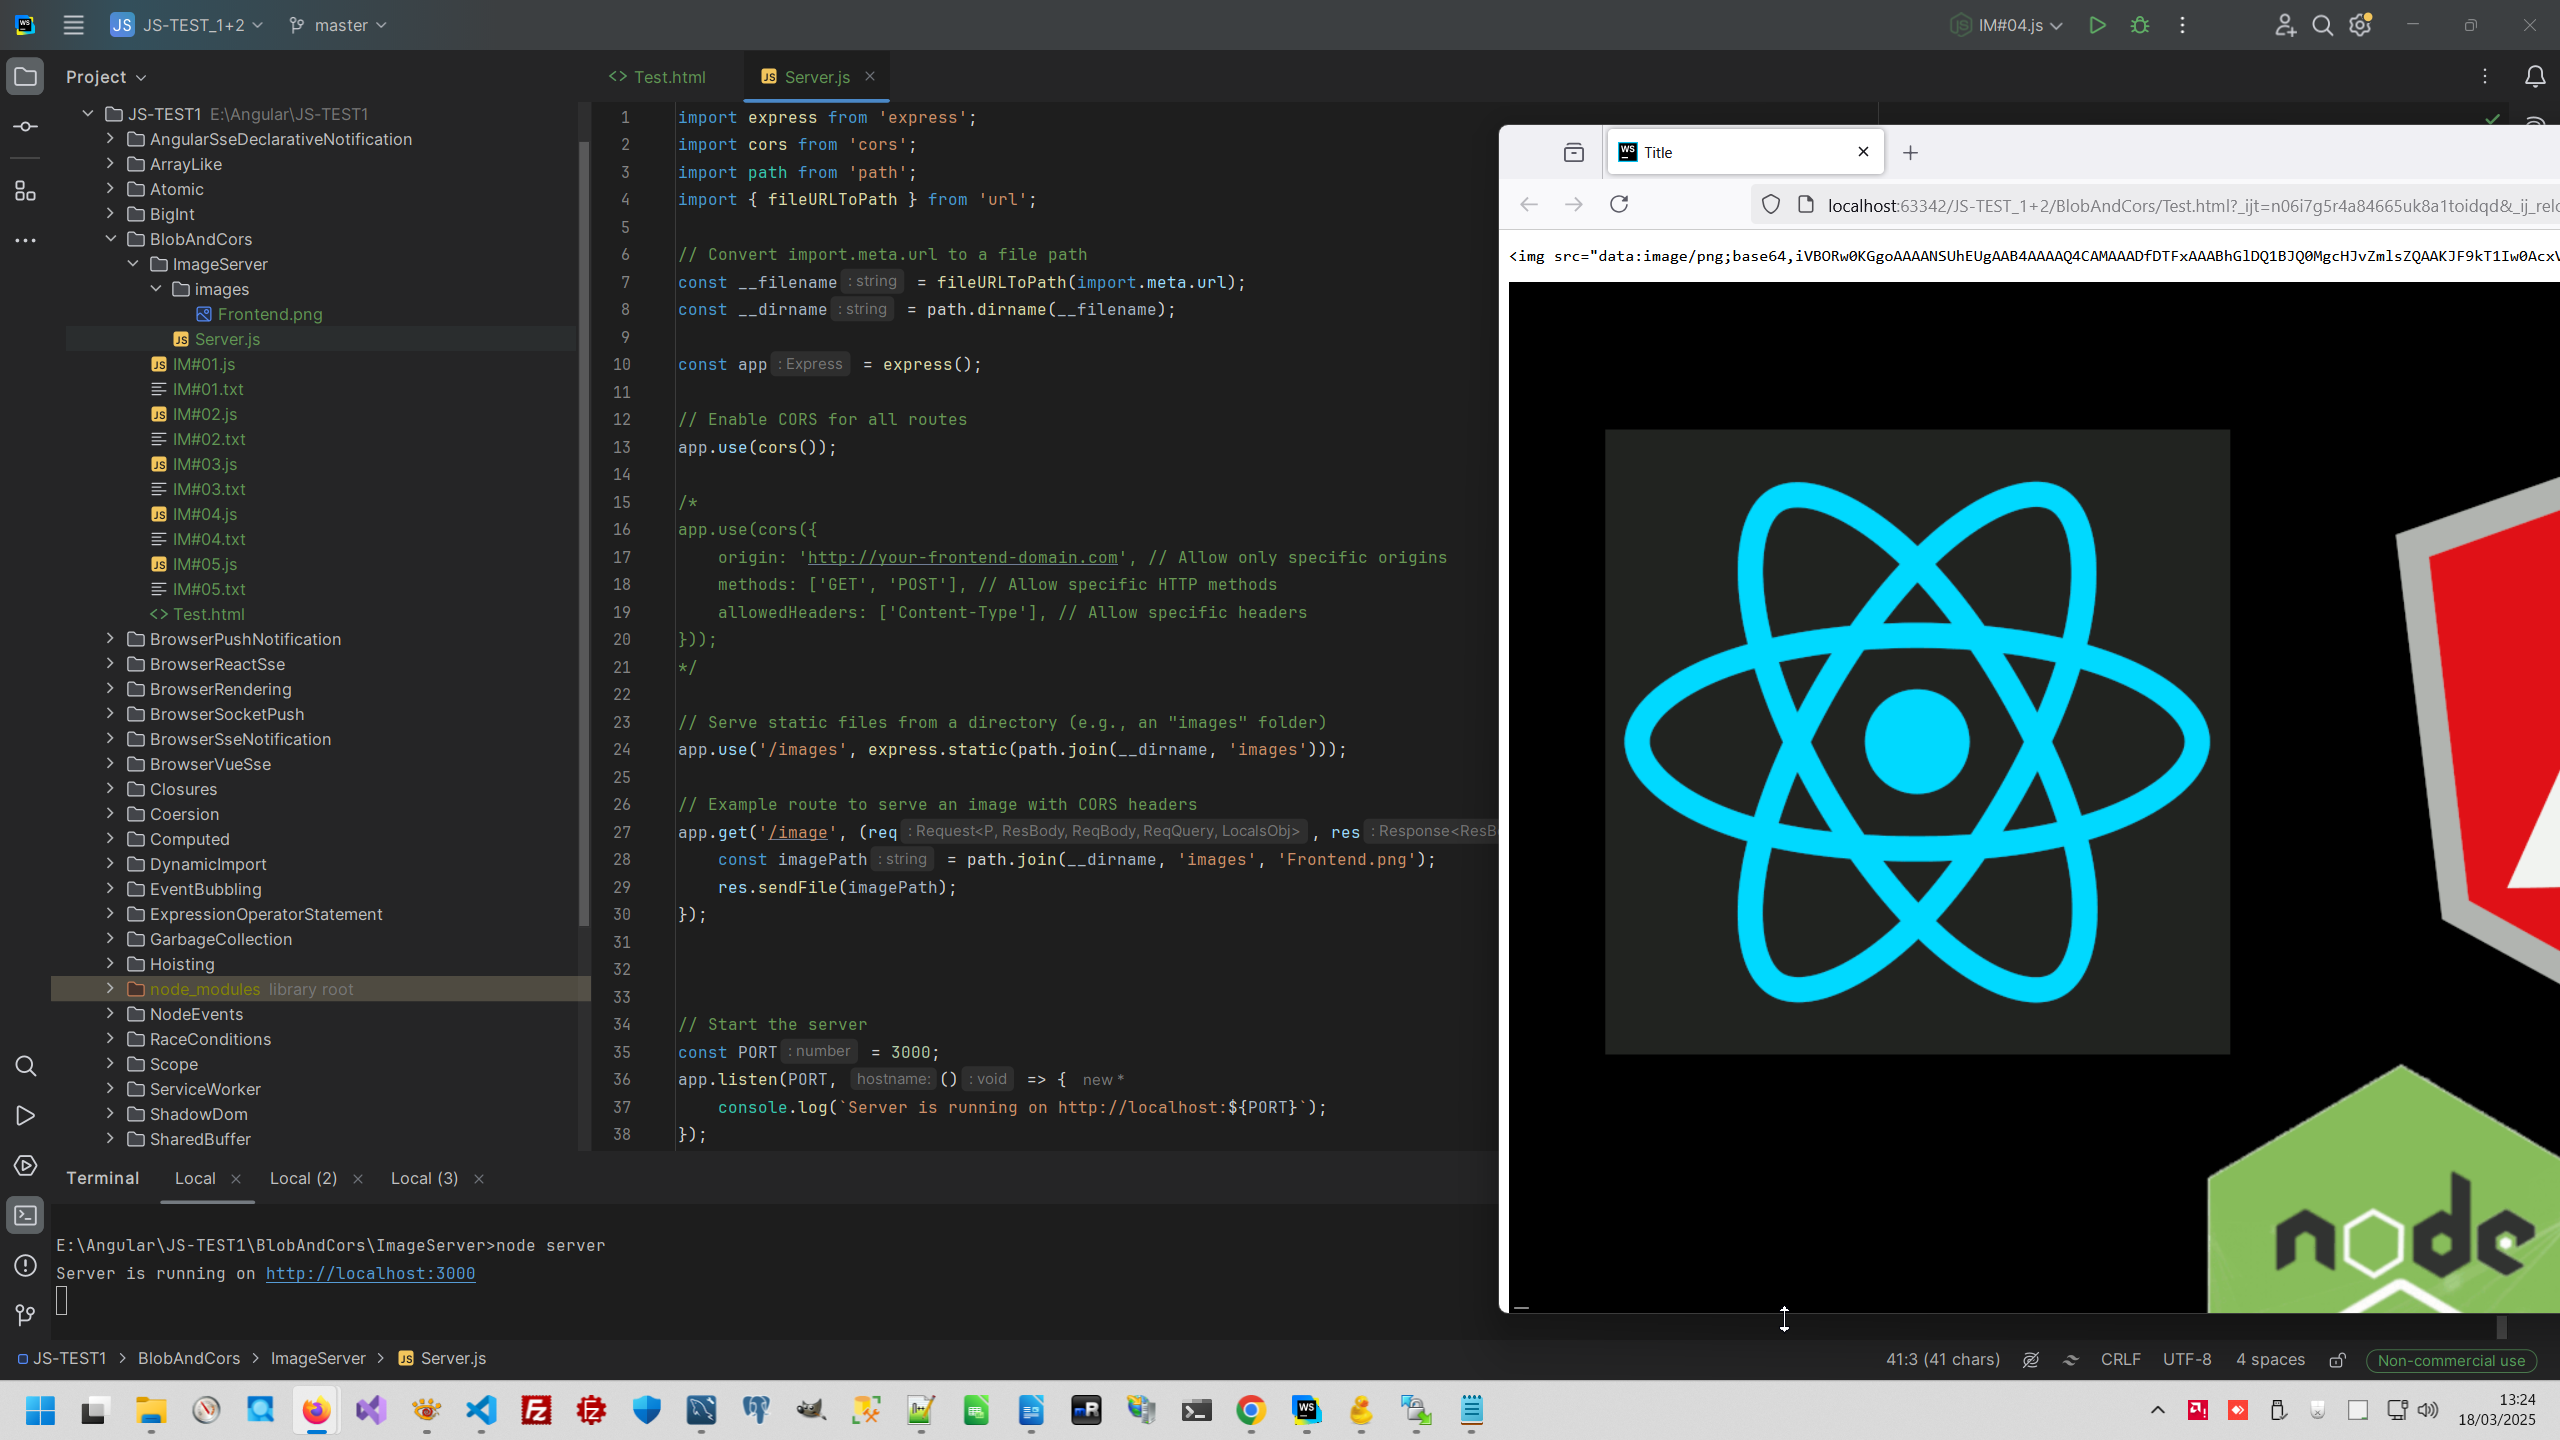
3. Create Image server with CORS middleware and show image in Browser with response.blob(), then FileReader.readAsDataURL(blob), then load data to Img.src.
This is image server, of course we can permit CORS just only concrete domain.
1: import express from 'express';
2: import cors from 'cors';
3: import path from 'path';
4: import { fileURLToPath } from 'url';
5:
6: // Convert import.meta.url to a file path
7: const __filename = fileURLToPath(import.meta.url);
8: const __dirname = path.dirname(__filename);
9:
10: const app = express();
11:
12: // Enable CORS for all routes
13: app.use(cors());
14:
15: /*
16: app.use(cors({
17: origin: 'http://your-frontend-domain.com', // Allow only specific origins
18: methods: ['GET', 'POST'], // Allow specific HTTP methods
19: allowedHeaders: ['Content-Type'], // Allow specific headers
20: }));
21: */
22:
23: // Serve static files from a directory (e.g., an "images" folder)
24: app.use('/images', express.static(path.join(__dirname, 'images')));
25:
26: // Example route to serve an image with CORS headers
27: app.get('/image', (req, res) => {
28: const imagePath = path.join(__dirname, 'images', 'Frontend.png');
29: res.sendFile(imagePath);
30: });
31:
32:
33:
34: // Start the server
35: const PORT = 3000;
36: app.listen(PORT, () => {
37: console.log('Server is running on http://localhost:{PORT}');
38: });
39:
40:
41: //http://localhost:3000/images/Frontend.png
42: //http://localhost:3000/image
43:
FileReader, of course, missing in Node, this is Browser specific code.
1: const imageUrl='http://localhost:3000/images/Frontend.png'
2:
3: fetch(imageUrl)
4: .then(response => response.blob())
5: .then(blob => {
6: return new Promise((resolve, reject) => {
7: const reader = new FileReader();
8: reader.onloadend = () => resolve(reader.result);
9: reader.onerror = reject;
10: reader.readAsDataURL(blob); // Convert Blob to base64 data URL
11: });
12: })
13: .then(dataUrl => {
14: // Create a <pre> element to display the final state of the <img> tag
15: const pre = document.createElement('pre');
16: pre.textContent = `<img src="${dataUrl}">`; // Display the full <img> tag
17: document.body.appendChild(pre);
18:
19: const img = document.createElement('img');
20: img.src = dataUrl; // Use the base64 data URL as the image source
21: document.body.appendChild(img);
22: })
23: .catch(error => {
24: console.error('Error:', error);
25: });
I used my proxy server and web server embedded to WebStorm.
4. Directly read image from FileSystem with Node.js
1: import fs from "fs";
2:
3: // Read a file as a Buffer
4: fs.readFile('ImageServer/images/Frontend.png', (err, data) => {
5: if (err) {
6: console.error('Error reading file:', err);
7: return;
8: }
9:
10: // Convert the Buffer to a base64 string
11: const base64String = data.toString('base64');
12: console.log('Base64 string:', base64String);
13:
14: // If you want to use it in a browser-like context (e.g., for testing)
15: const dataUrl = `data:image/gif;base64,${base64String}`;
16: console.log('Data URL:', dataUrl);
17: });
Base64 string: iVBORw0KGgoAAAANSUhEUgAAB4AA....
5. Concatenate all chunks into a single Buffer and create a data URL `data:image/gif;base64`
Node.js, of course, has not CORS or CSP Browser restriction and can read image from any domains.
1: import https from "https";
2:
3: const url = 'https://www.easygifanimator.net/images/samples/video-to-gif-sample.gif';
4:
5: https.get(url, (response) => {
6: let data = [];
7:
8: response.on('data', (chunk) => {
9: data.push(chunk);
10: });
11:
12: response.on('end', () => {
13: // Concatenate all chunks into a single Buffer
14: const buffer = Buffer.concat(data);
15:
16: // Convert the Buffer to a base64 string
17: const base64String = buffer.toString('base64');
18: console.log('Base64 string:', base64String);
19:
20: // Create a data URL
21: const dataUrl = `data:image/gif;base64,${base64String}`;
22: console.log('Data URL:', dataUrl);
23: });
24: }).on('error', (err) => {
25: console.error('Error fetching image:', err);
26: });
Base64 string: iVBORw0KGgoAAAANSUhEUgAAB4AA....
6. Create a transform stream to convert data chunk to base64 pipe
This is Node.js code.
1: import fs from "fs";
2: import {Transform} from "stream";
3:
4:
5: // Create a transform stream to convert data to base64
6: const base64Stream = new Transform({
7: transform(chunk, encoding, callback) {
8: this.push(chunk.toString('base64'));
9: callback();
10: }
11: });
12:
13: // Read a file and pipe it through the transform stream
14: fs.createReadStream('ImageServer/images/Frontend.png')
15: .pipe(base64Stream)
16: .on('data', (chunk) => {
17: console.log('Base64 chunk:', chunk);
18: })
19: .on('end', () => {
20: console.log('Finished reading file.');
21: });
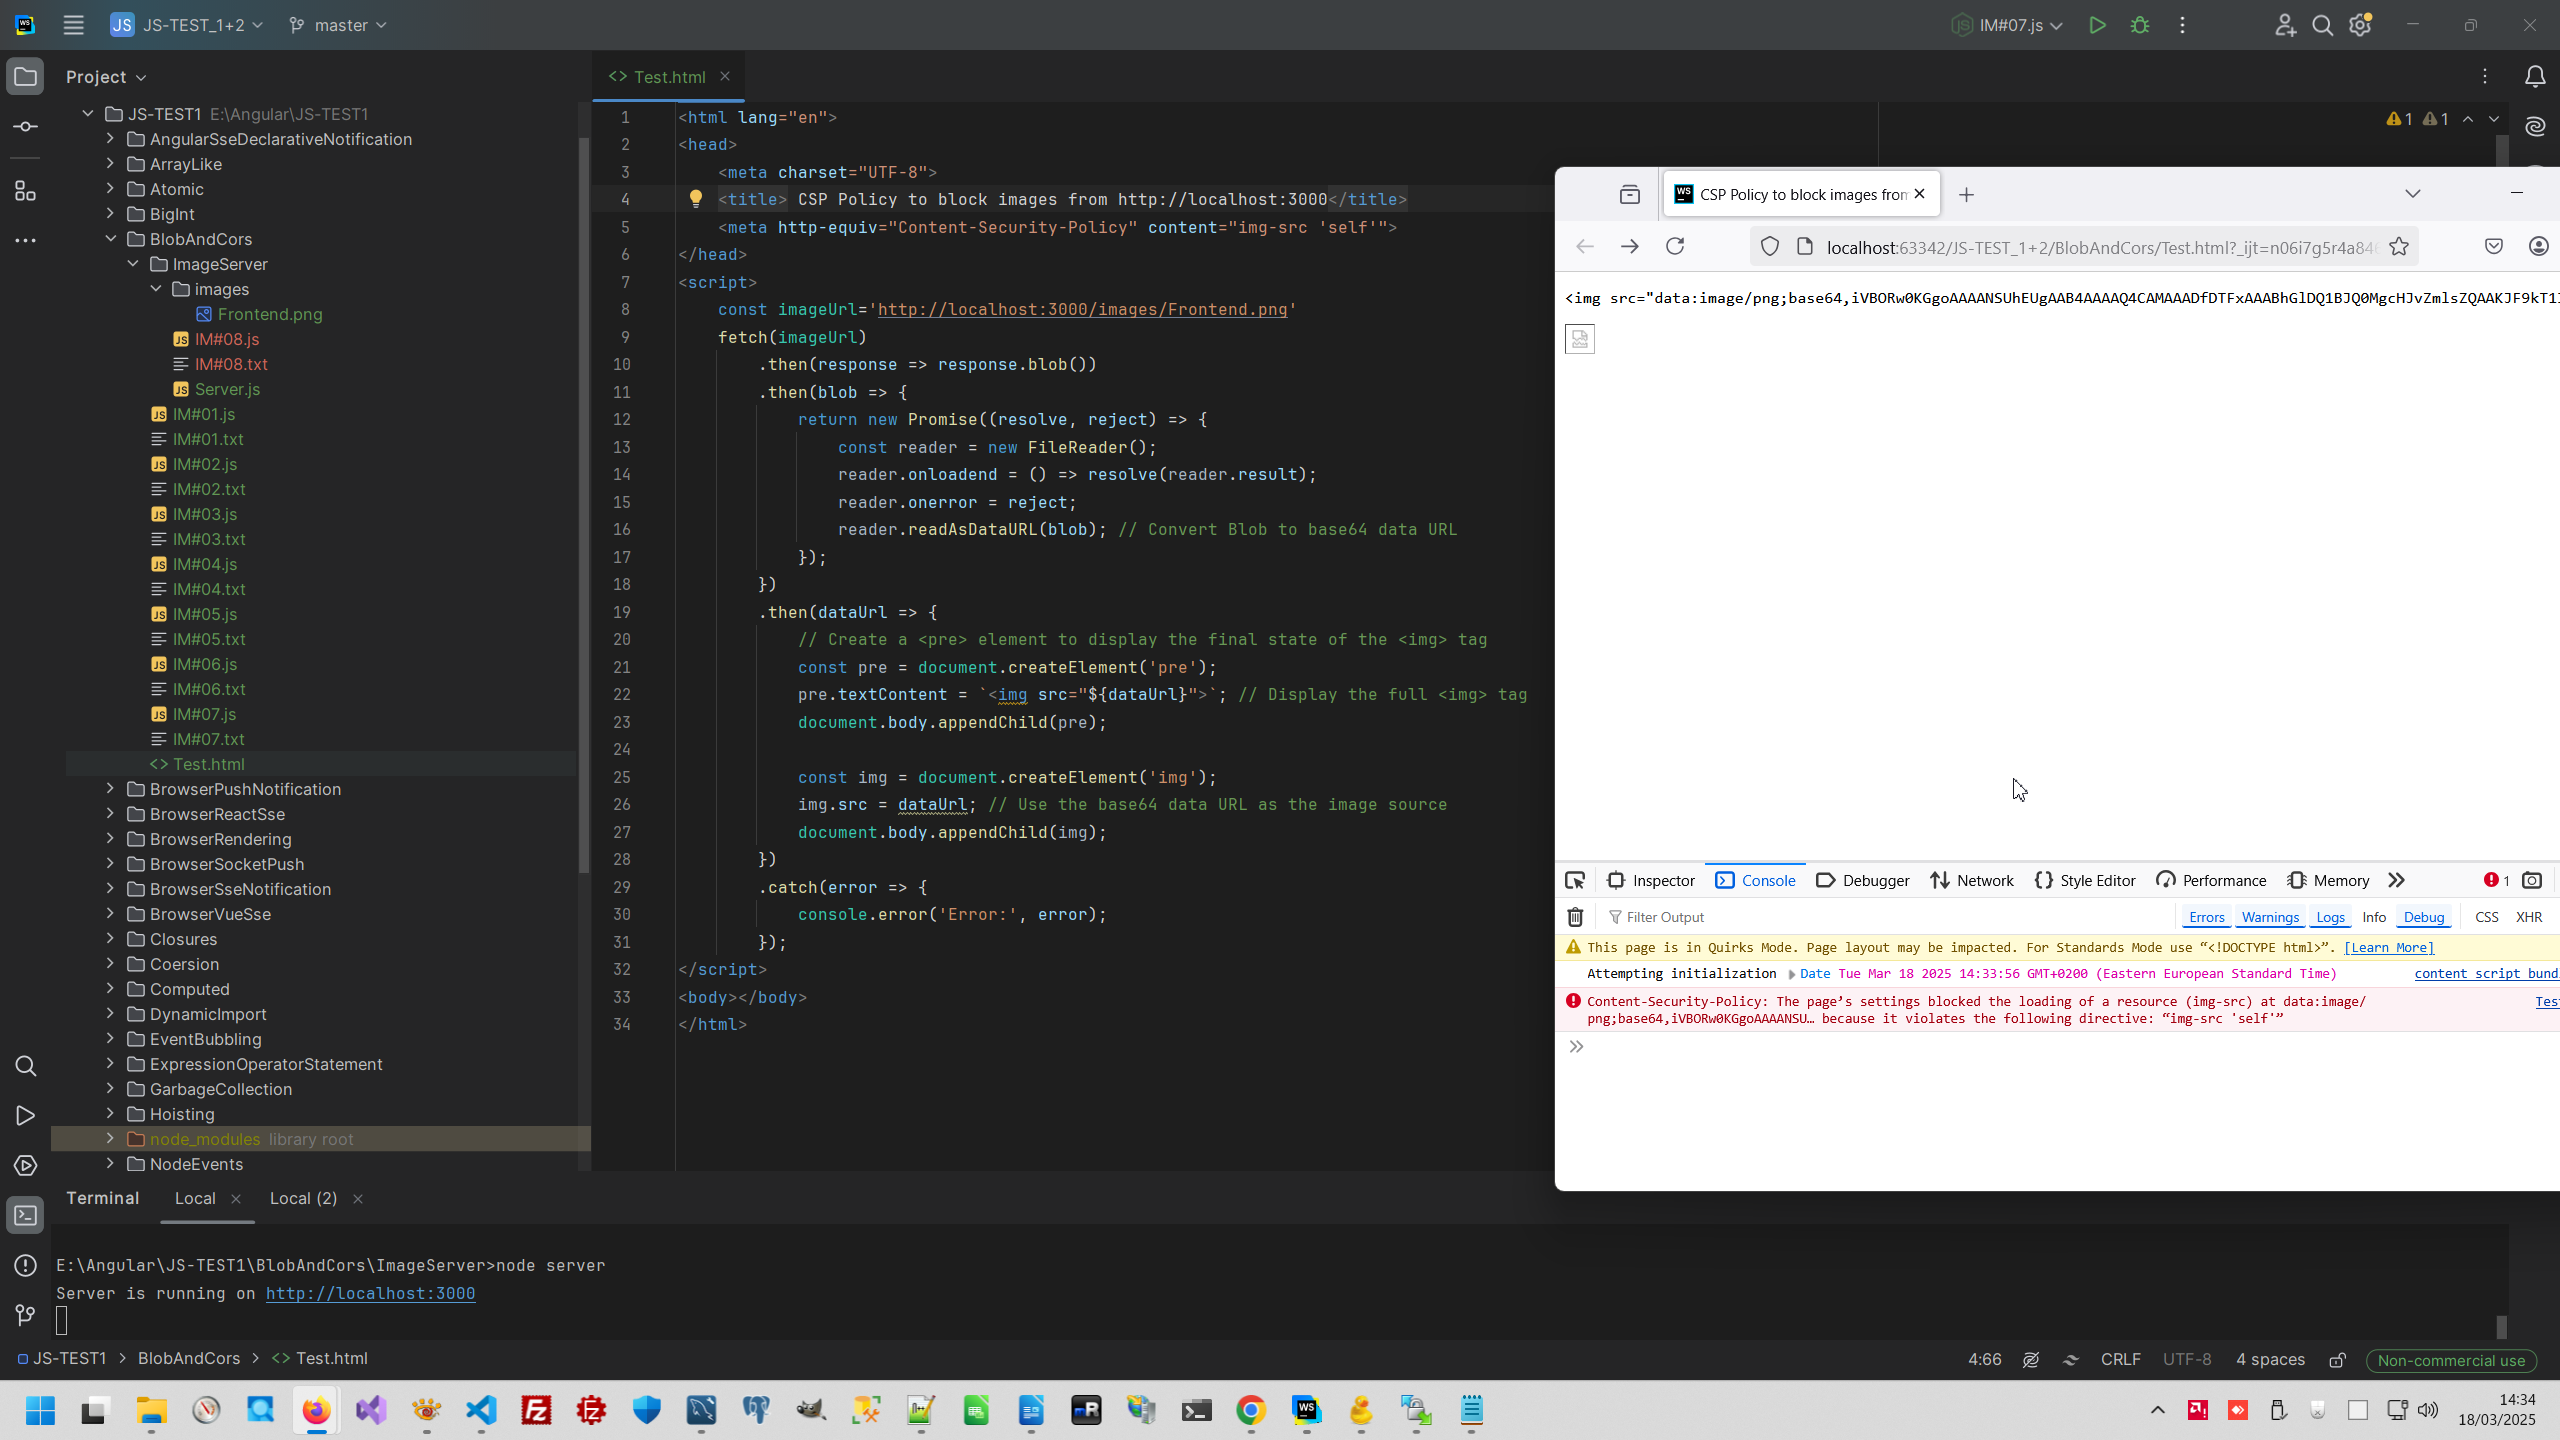
7. Manipulate in Browser level to allow or restrict show Images or Video by Content Security Policy
1: <head>
2: <meta http-equiv="Content-Security-Policy" content="img-src 'self'"/>
3: </head>
4: <body></body>
1: <head>
2: <meta http-equiv="Content-Security-Policy" content="img-src 'self' blob:"/> <!-- Allow images from the same origin and blob: URLs -->
3: </head>
    <img src='data:image/png;base64,iVBORw0KGgoAAAANSUhEUgAAB4AAAAQ4CAMAAADfDTFxAAA
     Content-Security-Policy: The page’s settings blocked the loading of a resource (img-src) at data:image/png;base64,iVBORw0KGgoAAAANSU… because it violates the following directive: “img-src 'self'”
8. Create an object URL from the Blob - URL.createObjectURL(blob)
1: //<head>
2: // <meta http-equiv="Content-Security-Policy" content="img-src 'self' blob:"/>
3: <!-- Allow images from the same origin and blob: URLs -->
4: //</head>
5:
6: const imageUrl = 'http://localhost:3000/images/Frontend.png';
7:
8: fetch(imageUrl)
9: .then(response => response.blob())
10: .then(blob => {
11: // Create an object URL from the Blob
12: const objectUrl = URL.createObjectURL(blob);
13:
14: // Create a <pre> element to display the final state of the <img> tag
15: const pre = document.createElement('pre');
16: pre.textContent = `<img src="${objectUrl}">`; // Display the <img> tag as plain text
17: document.body.appendChild(pre);
18:
19: // Create an image element and set its src to the object URL
20: const img = document.createElement('img');
21: img.src = objectUrl; // Use the object URL as the image source
22: document.body.appendChild(img);
23: })
24: .catch(error => {
25: console.error('Error:', error);
26: });
<img src="blob:http://localhost:63342/f10da726-adee-4416-97c0-52ad73a4a1ad">
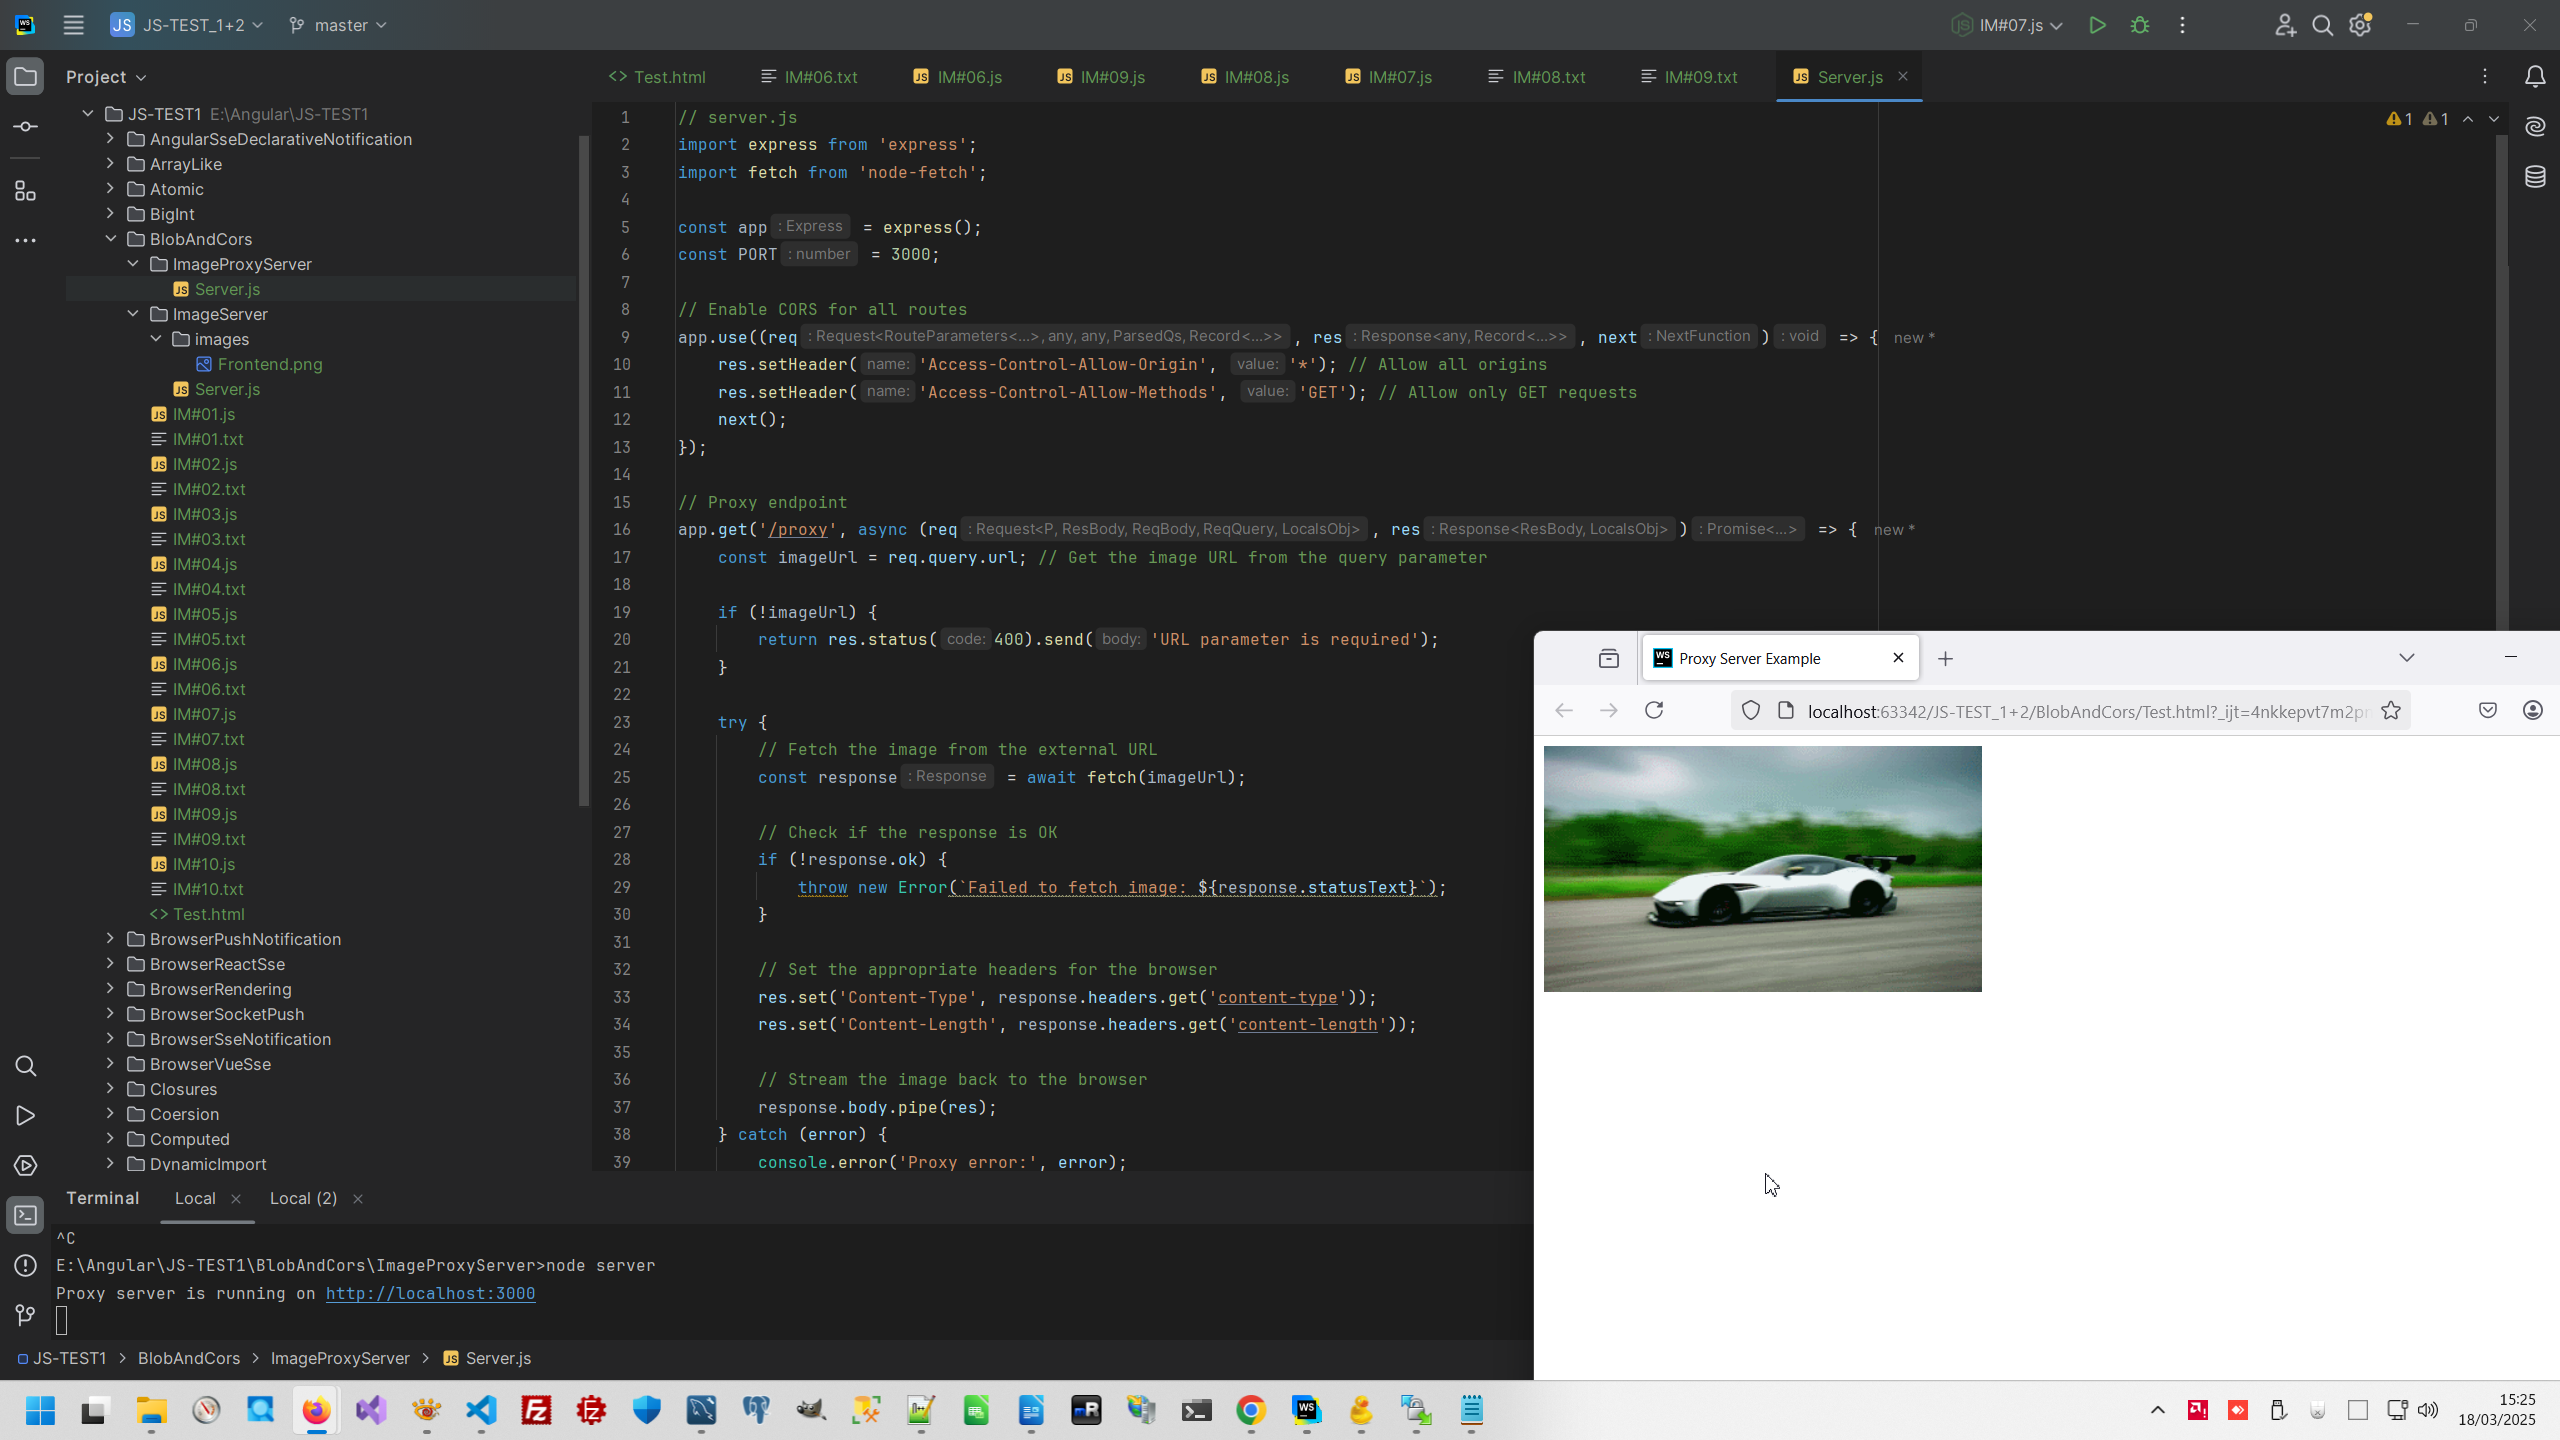
9. Simplest Image proxy server based on node-fetch.
This proxy server can request Image from any domain and can send Image to any domain.
1: // server.js
2: import express from 'express';
3: import fetch from 'node-fetch';
4:
5: const app = express();
6: const PORT = 3000;
7:
8: // Enable CORS for all routes
9: app.use((req, res, next) => {
10: res.setHeader('Access-Control-Allow-Origin', '*'); // Allow all origins
11: res.setHeader('Access-Control-Allow-Methods', 'GET'); // Allow only GET requests
12: next();
13: });
14:
15: // Proxy endpoint
16: app.get('/proxy', async (req, res) => {
17: const imageUrl = req.query.url; // Get the image URL from the query parameter
18:
19: if (!imageUrl) {
20: return res.status(400).send('URL parameter is required');
21: }
22:
23: try {
24: // Fetch the image from the external URL
25: const response = await fetch(imageUrl);
26:
27: // Check if the response is OK
28: if (!response.ok) {
29: throw new Error(`Failed to fetch image: ${response.statusText}`);
30: }
31:
32: // Set the appropriate headers for the browser
33: res.set('Content-Type', response.headers.get('content-type'));
34: res.set('Content-Length', response.headers.get('content-length'));
35:
36: // Stream the image back to the browser
37: response.body.pipe(res);
38: } catch (error) {
39: console.error('Proxy error:', error);
40: res.status(500).send('Proxy error');
41: }
42: });
43:
44: // Start the server
45: app.listen(PORT, () => {
46: console.log(`Proxy server is running on http://localhost:${PORT}`);
47: });
48:
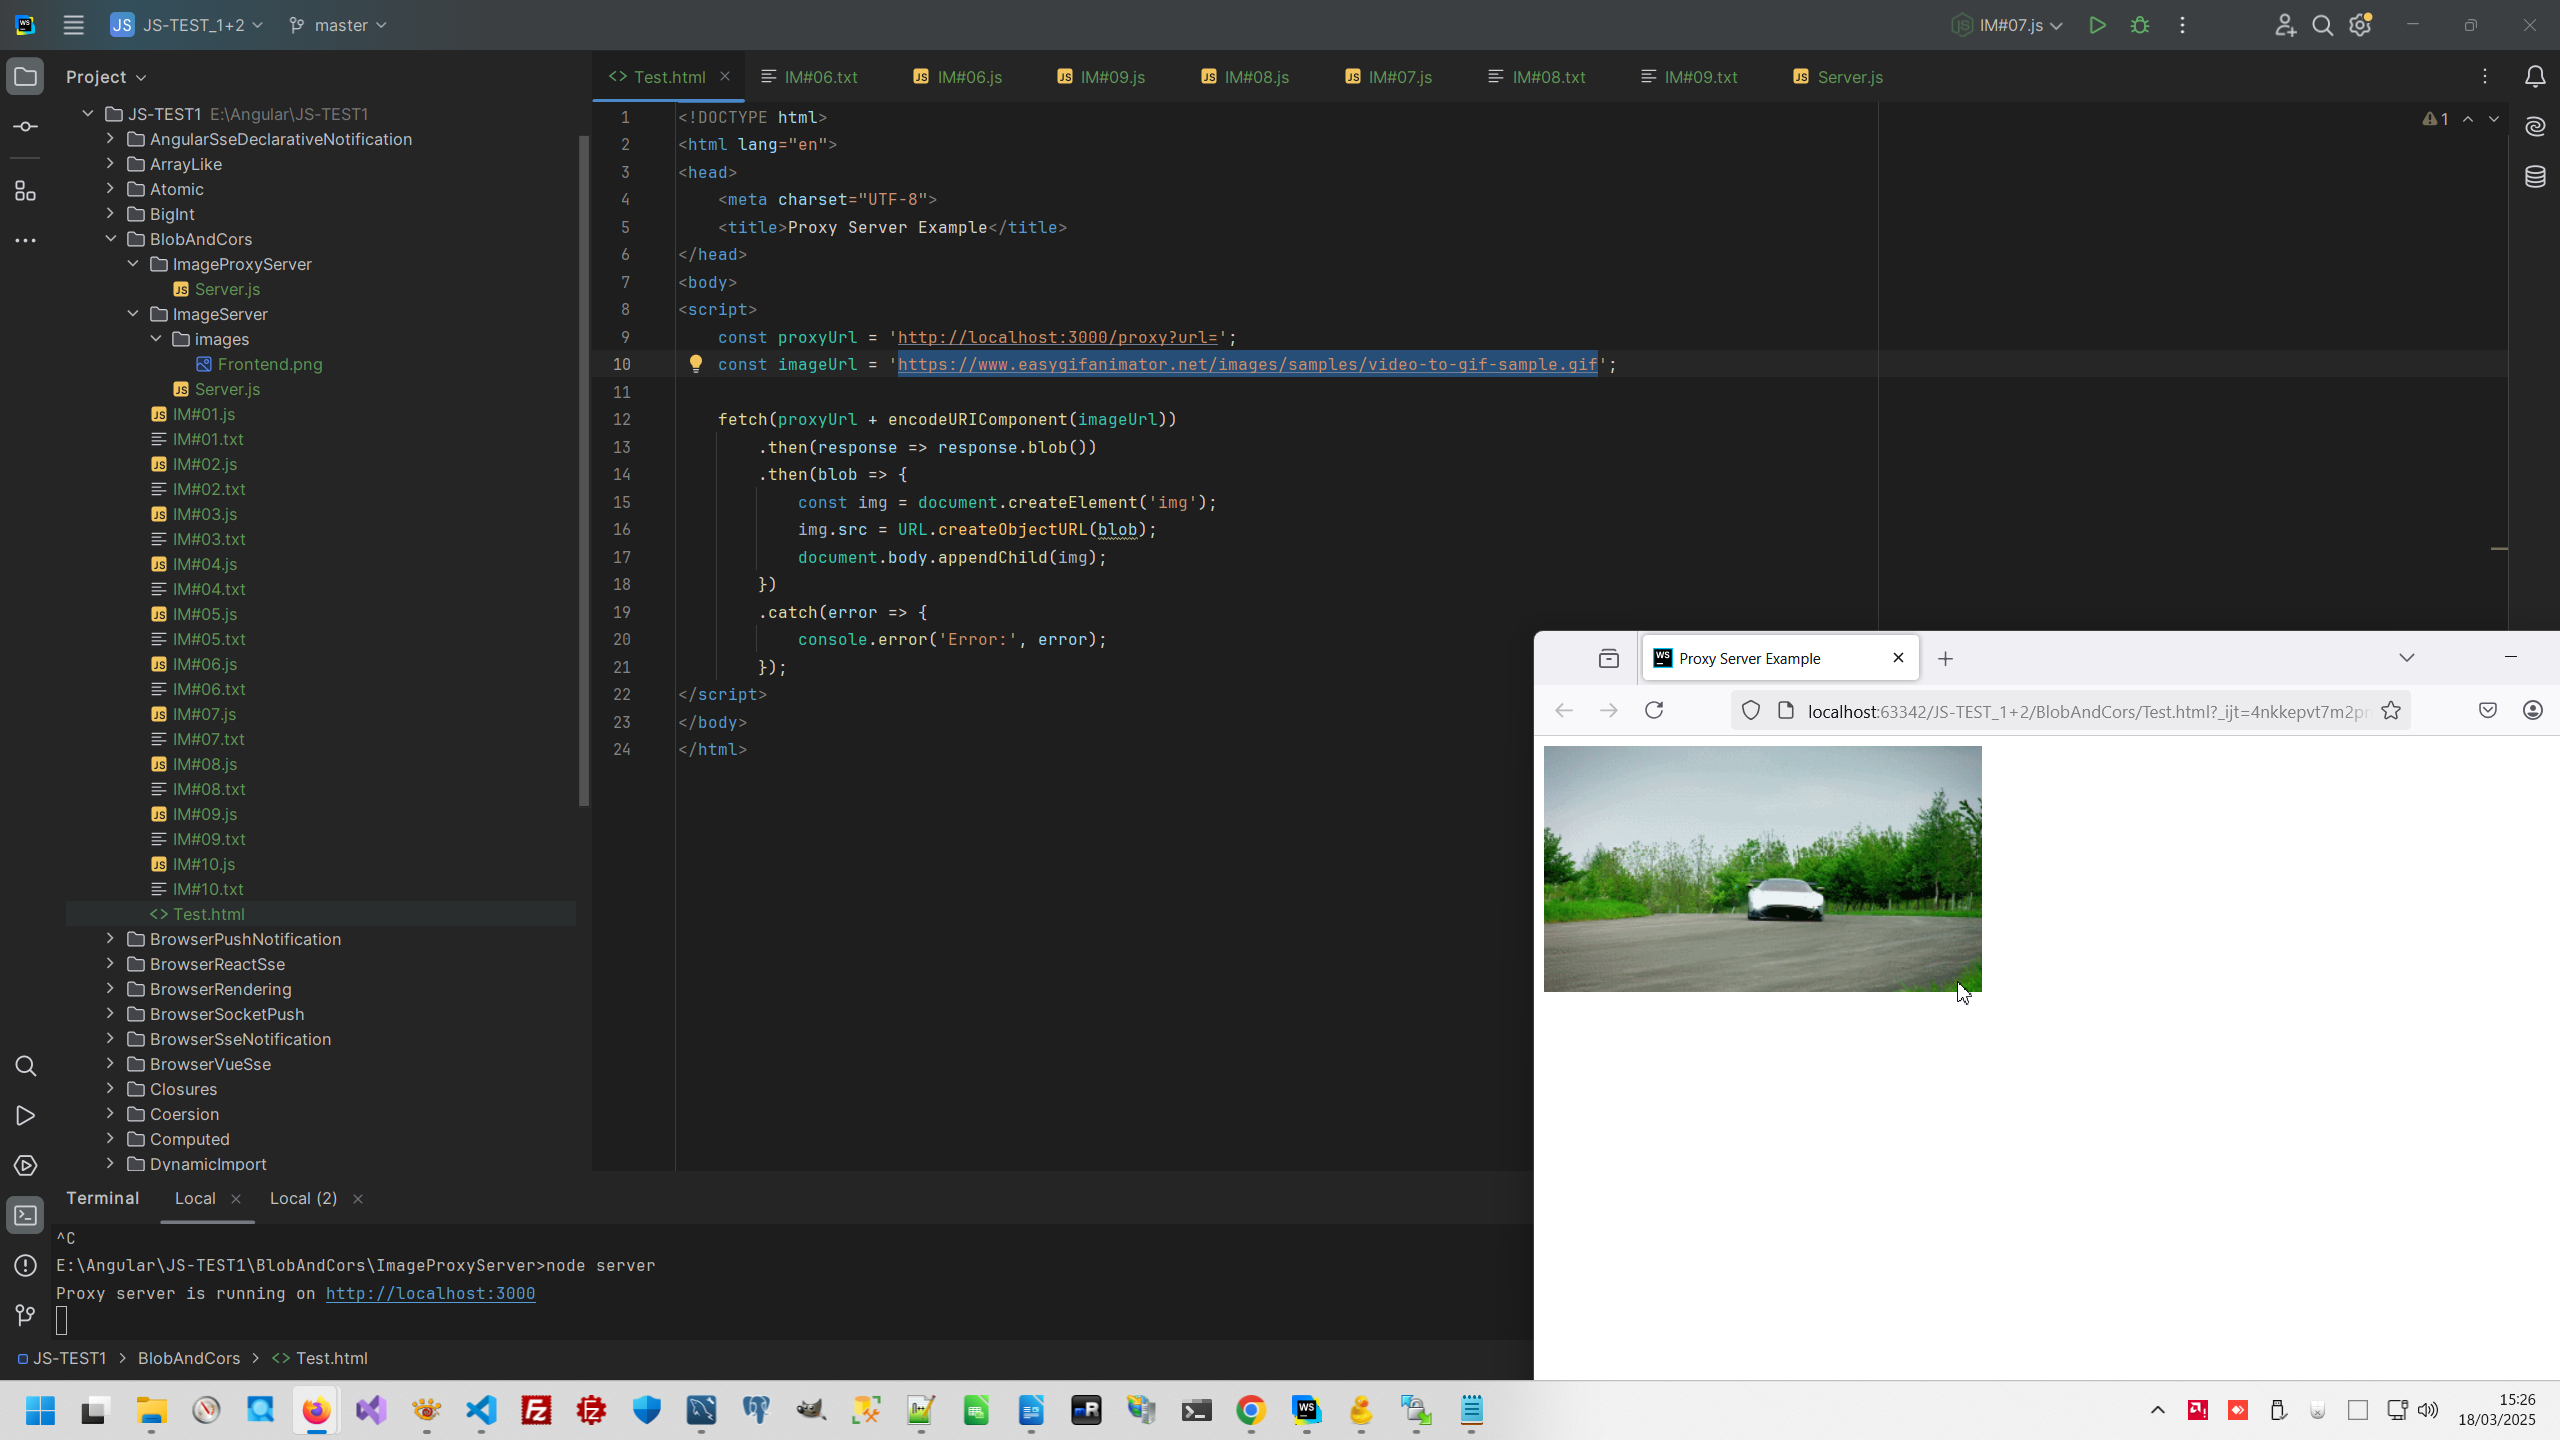
10. Browser code based on fetch from Image Proxy Server with two than() and createObjectURL from blob
1: const proxyUrl = 'http://localhost:3000/proxy?url=';
2: const imageUrl = 'https://www.easygifanimator.net/images/samples/video-to-gif-sample.gif';
3:
4: fetch(proxyUrl + encodeURIComponent(imageUrl))
5: .then(response => response.blob())
6: .then(blob => {
7: const img = document.createElement('img');
8: img.src = URL.createObjectURL(blob);
9: document.body.appendChild(img);
10: })
11: .catch(error => {
12: console.error('Error:', error);
13: });
Browser context:
ES6 context:
FrontLearning context:
 )
)
|
|